Love this? Save it for later!
Share the inspiration with your friends
There used to be a tiny, neon-lit dive bar in my old neighborhood called The Rusty Skillet that made a jalapeño popper that I still dream about. When they closed suddenly — boarded up with a handwritten “Gone Fishin'” sign that never came down — I felt a weird, specific grief. After twelve tries — some burnt, some soggy, one that actually made me cry from frustration — I finally got it. But then Halloween rolled around, and my kid asked for “mummy snacks,” and I thought: what if the two things collided?
That’s how these Easy Mummy Jalapeño Popper Crescent Wraps were born. Honestly, I was skeptical at first. Combining the gooey, spicy perfection of a stuffed jalapeño with the buttery flakiness of crescent roll dough felt like a gamble. But the first batch came out of the oven, and my neighbor, Dave, who never compliments anything, walked past, grabbed one, and just said, “Whoa.” That was enough for me.
This recipe isn’t just for Halloween parties, though it absolutely kills at those. It’s for any night you want something that feels a little bit naughty and a whole lot delicious. Maybe you’ve been there — staring down a block of cream cheese, some pickled jalapeños, and a can of crescent rolls, wondering if they could be something more. They can. Let me show you how.
Why You’ll Love This Recipe
Let me tell you why these little mummies are about to become your new secret weapon. I’ve tested this recipe about seven times (my family is tired of them, but I’m not), and every single time, they disappear in minutes. Here’s what makes them so special:
- Quick & Easy: We’re talking 20 minutes from fridge to table. Perfect for that frantic pre-party rush or a Tuesday night when you need a little joy.
- Simple Ingredients: Cream cheese, jalapeños, bacon, and crescent rolls. You probably have most of this stuff in your kitchen right now.
- Perfect for Halloween: They look like little mummies! The kids will go crazy, and the adults will love the spicy, cheesy filling.
- Crowd-Pleaser: I’ve served these to picky eaters, spice wimps, and hardcore foodies. Everyone loves them. I mean everyone.
- Unbelievably Delicious: The contrast between the crispy, golden crescent wrap and the creamy, spicy filling is pure magic. It’s comfort food with a kick.
What makes this version different from all the others? It’s the combination of using pickled jalapeños for consistent heat (no gambling on fresh ones!) and a tiny trick of pre-cooking the bacon just enough to get it crispy without burning the dough. Plus, the cream cheese base is perfectly seasoned so every bite is balanced. This isn’t just another appetizer — it’s the one people will ask you for the recipe for.
These wraps are the kind of food that makes you close your eyes after the first bite. They’re perfect for impressing guests without any stress, or turning a simple weeknight into something a little more fun.
What Ingredients You Will Need
This recipe uses simple, everyday ingredients to deliver a big punch of flavor. You won’t need any fancy grocery store trips for this one — just a few staples that come together in the most delicious way.
- 1 can (8 oz) refrigerated crescent roll dough — I prefer Pillsbury for consistent results, but any brand works. Look for the sheets if you can find them; they save you from having to press the seams together.
- 4 oz cream cheese, softened — Full-fat is best for that rich, creamy texture. Let it sit out for 20 minutes before you start so it mixes easily.
- 1/4 cup pickled jalapeños, finely chopped — This is my secret for consistent heat. Fresh jalapeños can be wildly different from one to the next. Pickled ones are predictable. Drain them well so the filling isn’t watery.
- 4 slices bacon, cooked and crumbled — You want it crispy but not burnt. I like to cook mine about 3/4 of the way, then finish it in the oven with the wraps. (adds smokey flavor)
- 1/4 cup shredded cheddar cheese — Sharp cheddar gives the best flavor. You can also use a Mexican blend if you want it extra melty.
- 1/4 teaspoon garlic powder — Just a little to round out the flavors. Don’t skip it.
- 1/4 teaspoon onion powder — Adds a subtle savory depth.
- Pinch of salt and black pepper — Go easy on the salt; the bacon and pickled jalapeños are already salty.
- 1 large egg, beaten (for egg wash) — This gives the mummies that beautiful golden-brown finish. (use a splash of milk if you’re out of eggs)
- Candy eyes (optional, for decoration) — These are purely for the Halloween factor. You can find them at any grocery store or online. They make the mummies come alive!
Ingredient Selection Tips: When picking your cream cheese, Philadelphia is my go-to brand for its consistent creaminess. For the crescent rolls, the “Big & Flaky” version works great if you want a slightly thicker, more substantial wrap. If you’re feeling adventurous, you can use a block of cream cheese and soften it in the microwave for 10-15 seconds — just be careful not to melt it.
Substitution Guidance: Need to make this dairy-free? Use a plant-based cream cheese and vegan cheddar shreds. For a gluten-free version, there are gluten-free crescent roll options available, though they can be a bit more delicate to work with. If you’re not a fan of heat, you can use mild pickled jalapeños or even just a tiny bit of the pickling liquid for flavor without the fire.
Equipment Needed
You don’t need a professional kitchen to make these. Here’s what you’ll need:
- Baking sheet — A standard half-sheet pan works perfectly. Line it with parchment paper for easy cleanup. I once used a dark non-stick pan and the bottoms got a little too brown, so stick with a light-colored one if you can.
- Parchment paper — This is non-negotiable for me. It prevents sticking and makes cleanup a breeze. You can use a silicone baking mat instead if you have one.
- Small mixing bowl — For combining the cream cheese filling.
- Sharp knife or pizza cutter — For cutting the crescent roll dough into strips. A pizza cutter makes it super fast and clean.
- Cutting board — For chopping the jalapeños and bacon.
- Small skillet — For cooking the bacon. You can also cook it in the microwave on a paper plate if you’re in a hurry.
- Pastry brush — For applying the egg wash. A silicone one is easy to clean. If you don’t have one, you can use a paper towel to dab it on.
- Measuring spoons — For the garlic powder, onion powder, and salt.
Budget-Friendly Options: Don’t have a pastry brush? Use a clean, unused paintbrush from the hardware store. No pizza cutter? A sharp knife works just fine. The most important tool here is your hands — you’ll be doing a lot of gentle wrapping.
Preparation Method
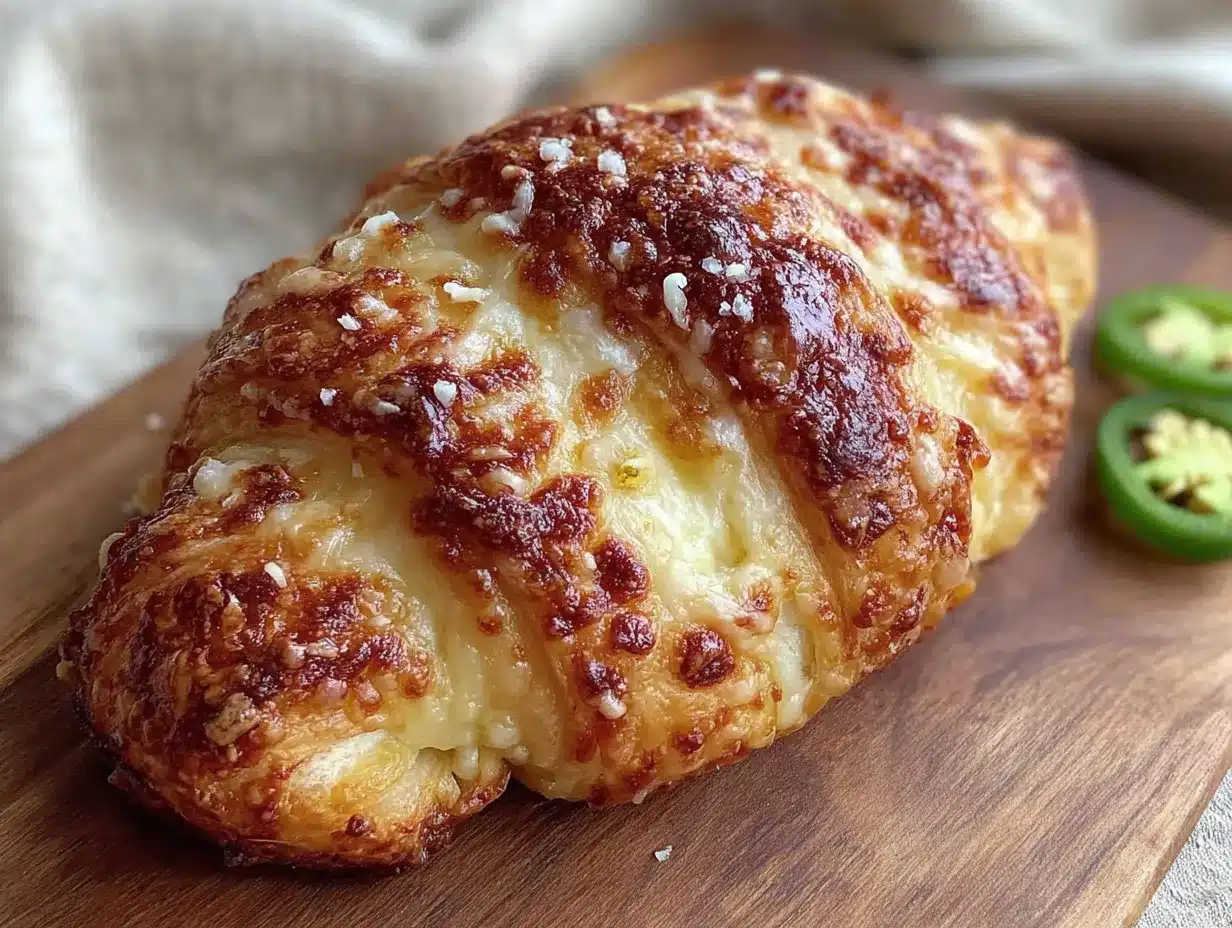
Alright, let’s get to the fun part. These steps are super straightforward, and I’ve included all the little details I learned the hard way so you don’t have to.
- Preheat your oven to 375°F (190°C). Line a baking sheet with parchment paper. This is the first thing you should do so the oven is hot and ready when you are.
- Cook the bacon. In a small skillet over medium heat, cook the 4 slices of bacon until they are crispy but not burnt — about 4-5 minutes per side. Transfer them to a paper towel-lined plate to drain. Once cool, crumble them into small pieces. Pro tip: I like to cook the bacon about 3/4 of the way because it will continue to crisp up in the oven with the wraps.
- Make the filling. In a small mixing bowl, combine the softened cream cheese, finely chopped pickled jalapeños, crumbled bacon, shredded cheddar cheese, garlic powder, onion powder, and a pinch of salt and pepper. Mix until everything is well combined. The filling should be thick and spreadable. If it’s too stiff, let the cream cheese soften a bit more.
- Prepare the crescent roll dough. Unroll the crescent roll dough onto a cutting board. Separate the dough into 8 triangles along the perforated lines. If you’re using crescent roll sheets, cut them into 8 equal rectangles. Work quickly here — the dough gets sticky if it warms up too much.
- Cut the dough into strips. Using a sharp knife or pizza cutter, cut each triangle or rectangle lengthwise into 3-4 long strips. You want them to be about 1/2 inch wide. These strips will become the “bandages” for your mummies. Don’t worry if they’re not perfectly even — it adds to the mummy look!
- Assemble the mummies. Place about 1 tablespoon of the cream cheese filling in the center of each strip of dough. Gently wrap the dough strips around the filling, overlapping them slightly to create a mummy-like effect. Leave a small space at the top for the eyes. The filling should be completely enclosed by the dough. If any filling peeks out, just tuck it back in.
- Place on the baking sheet. Arrange the assembled mummies on the prepared baking sheet, spacing them about 2 inches apart. They will puff up a bit as they bake.
- Apply the egg wash. In a small bowl, beat the egg with a splash of water. Using a pastry brush, gently brush the tops of each mummy with the egg wash. This will give them a beautiful golden-brown color. Don’t skip this step — it makes them look bakery-fresh.
- Bake. Place the baking sheet in the preheated oven and bake for 10-12 minutes, or until the crescent dough is golden brown and puffed. The kitchen will smell amazing at this point. Try not to hover.
- Add the eyes (optional). Remove the baking sheet from the oven and let the mummies cool for 2-3 minutes. While they are still warm but not hot, gently press two candy eyes onto the exposed space at the top of each mummy. If you add them while the dough is too hot, the eyes might melt. Patience, friend.
- Cool and serve. Let the mummies cool on the baking sheet for another 5 minutes before transferring them to a serving platter. Serve warm or at room temperature. They are best eaten within an hour of baking, but I doubt they’ll last that long.
Cooking Tips & Techniques
I’ve made these wraps about a dozen times now, and I’ve learned a few things the hard way. Let me save you some trouble.
Don’t overfill the wraps. I know it’s tempting to pile on the filling, but too much will cause the dough to tear or the filling to ooze out during baking. One tablespoon is the sweet spot. Trust me on this — I learned this lesson after scraping burnt cream cheese off my baking sheet at 10 PM on a Tuesday.
The dough is your friend, but it’s also delicate. Crescent roll dough can get sticky if it sits out too long. If you find it hard to work with, pop it in the fridge for 5 minutes to firm up. Also, when you’re wrapping the mummies, handle the dough gently. You don’t want to compress it too much or it won’t puff up properly.
Timing is everything. These are best served fresh out of the oven. If you’re making them for a party, you can assemble them up to 2 hours in advance and keep them in the fridge. Just add 2-3 minutes to the baking time if they’re going in cold. I once tried to reheat leftovers in the microwave, and they got soggy. The air fryer is better for reheating — 3 minutes at 350°F works like a charm.
My biggest failure: The first time I made these, I used fresh jalapeños and didn’t remove the seeds properly. The heat was all over the place — some were mild, and one was so spicy it made my husband cry. That’s why I switched to pickled jalapeños. They’re consistent, and the brine adds a nice tangy flavor.
Multitasking strategy: While the bacon is cooking, you can chop the jalapeños and mix the filling. While the mummies are baking, you can clean up the kitchen. This recipe moves fast, so having everything prepped before you start assembling is a lifesaver.
Variations & Adaptations
One of the best things about this recipe is how easy it is to adapt. Here are a few variations I’ve tried and loved:
- Spicy Chorizo Mummies: Swap the bacon for cooked and crumbled chorizo. The smoky, spicy flavor pairs beautifully with the cream cheese. I made this version for a game day party, and it was the first thing to disappear.
- Vegetarian Mummies: Skip the bacon and add 1/4 cup of finely chopped mushrooms that have been sautéed with a little garlic. You get that same umami flavor without the meat. My vegetarian friend asked for the recipe immediately.
- Buffalo Chicken Mummies: Mix 1/4 cup of shredded cooked chicken with 2 tablespoons of buffalo sauce and a tablespoon of cream cheese. Follow the same assembly instructions. These are perfect for anyone who loves a little heat.
- Cheesy Herb Mummies: Add 1 tablespoon of chopped fresh chives or parsley to the cream cheese filling. It adds a fresh, bright note that cuts through the richness. I tried this on a whim one Sunday, and now it’s my go-to spring version.
- Gluten-Free Option: Use gluten-free crescent roll dough. The texture will be slightly different — a bit more crumbly — but the flavor is still fantastic. Just be extra gentle when wrapping the strips.
Dietary Adaptations: For a lower-carb version, you can use large slices of deli ham or turkey as the wrap instead of crescent dough. It won’t be as flaky, but it will be delicious and much lighter. For a dairy-free version, use vegan cream cheese and cheese shreds. The filling will be a bit softer, so you might need to chill it for 15 minutes before assembling.
Serving & Storage Suggestions
These mummy wraps are best served warm, right after they come out of the oven. The contrast between the hot, flaky dough and the creamy, slightly spicy filling is just perfect. Arrange them on a platter with a little bowl of ranch dressing or sour cream for dipping. The cool, creamy dip is a great counterpoint to the heat.
What to serve with them: These wraps are the star of the show, but they pair beautifully with a crisp green salad or some crunchy celery and carrot sticks. For a Halloween party, serve them alongside a bowl of spicy pumpkin soup or a platter of crispy buffalo cauliflower bites for a full spread. They also go great with a cold beer or a glass of crisp white wine.
Storage: If you have leftovers (unlikely, but possible), store them in an airtight container in the refrigerator for up to 3 days. The dough will soften a bit, but the flavor is still great. To reheat, place them on a baking sheet in a 350°F oven for 5-7 minutes, or until warmed through. The air fryer works even better — 3 minutes at 350°F and they’re almost as good as fresh.
Freezer instructions: You can freeze the assembled, unbaked mummies. Place them on a baking sheet and freeze until solid, then transfer to a freezer bag. When you’re ready to bake, add 3-4 minutes to the baking time. They’re a lifesaver for last-minute parties.
Nutritional Information & Benefits
Let’s be real — these are a treat, not a health food. But here’s the nutritional breakdown for one wrap (based on 8 servings):
| Nutrient | Amount per serving |
|---|---|
| Calories | 210 |
| Total Fat | 15g |
| Saturated Fat | 7g |
| Cholesterol | 45mg |
| Sodium | 420mg |
| Total Carbohydrates | 12g |
| Dietary Fiber | 0g |
| Sugars | 3g |
| Protein | 7g |
Health Benefits: Despite being an indulgent snack, there are a few redeeming qualities. The jalapeños contain capsaicin, which has anti-inflammatory properties and can boost metabolism. The cream cheese provides a small amount of calcium and vitamin A. And the bacon? Well, it adds protein and makes everything better. Everything in moderation, right?
Dietary Considerations: This recipe contains gluten, dairy, and eggs. It is not suitable for vegans or those with celiac disease without modifications. Always check your ingredient labels for hidden allergens.
Conclusion
So there you have it — Easy Mummy Jalapeño Popper Crescent Wraps that are spooky, delicious, and ridiculously simple to make. Whether you’re throwing a Halloween bash, looking for a fun appetizer for game day, or just want to surprise your family with something a little different on a Tuesday night, these little mummies deliver.
I love this recipe because it reminds me that cooking doesn’t have to be complicated to be special. It’s creative without being fussy, impressive without being stressful. And honestly? It’s just fun. There’s something deeply satisfying about watching a tray of these come out of the oven, all golden and gooey and grinning with candy eyes.
Now I want to hear from you! Have you tried making these? Did you add your own twist? Drop a comment below and let me know how they turned out. And if you loved them, share this recipe with a friend who needs a little Halloween magic in their life. Happy cooking, and happy Halloween!
Frequently Asked Questions
Can I make these mummy wraps ahead of time?
Absolutely! You can assemble them up to 2 hours in advance and keep them in the fridge. Just add 2-3 minutes to the baking time if they’re going in cold. You can also freeze the unbaked mummies for up to a month.
Can I use fresh jalapeños instead of pickled?
You can, but I recommend pickled for consistent heat. Fresh jalapeños vary wildly in spiciness. If you use fresh, make sure to remove the seeds and membranes, and consider roasting them first to mellow the flavor.
What if I don’t have candy eyes?
No problem! You can use small dots of black olive or even a tiny dollop of black sesame seeds. Or just skip the eyes altogether — the mummies will still look cute with their bandaged stripes.
Can I use a different type of cheese?
Sure! Sharp cheddar is my favorite, but pepper jack adds extra heat, and Monterey Jack gives a milder, creamier result. You can even use a smoked gouda for a deeper, smokier flavor.
How do I prevent the crescent dough from getting soggy?
The key is to make sure your filling isn’t too wet. Drain the pickled jalapeños well, and pat them dry with a paper towel if needed. Also, don’t overstuff the wraps — too much filling can make the dough soggy as it bakes.
Pin This Recipe!
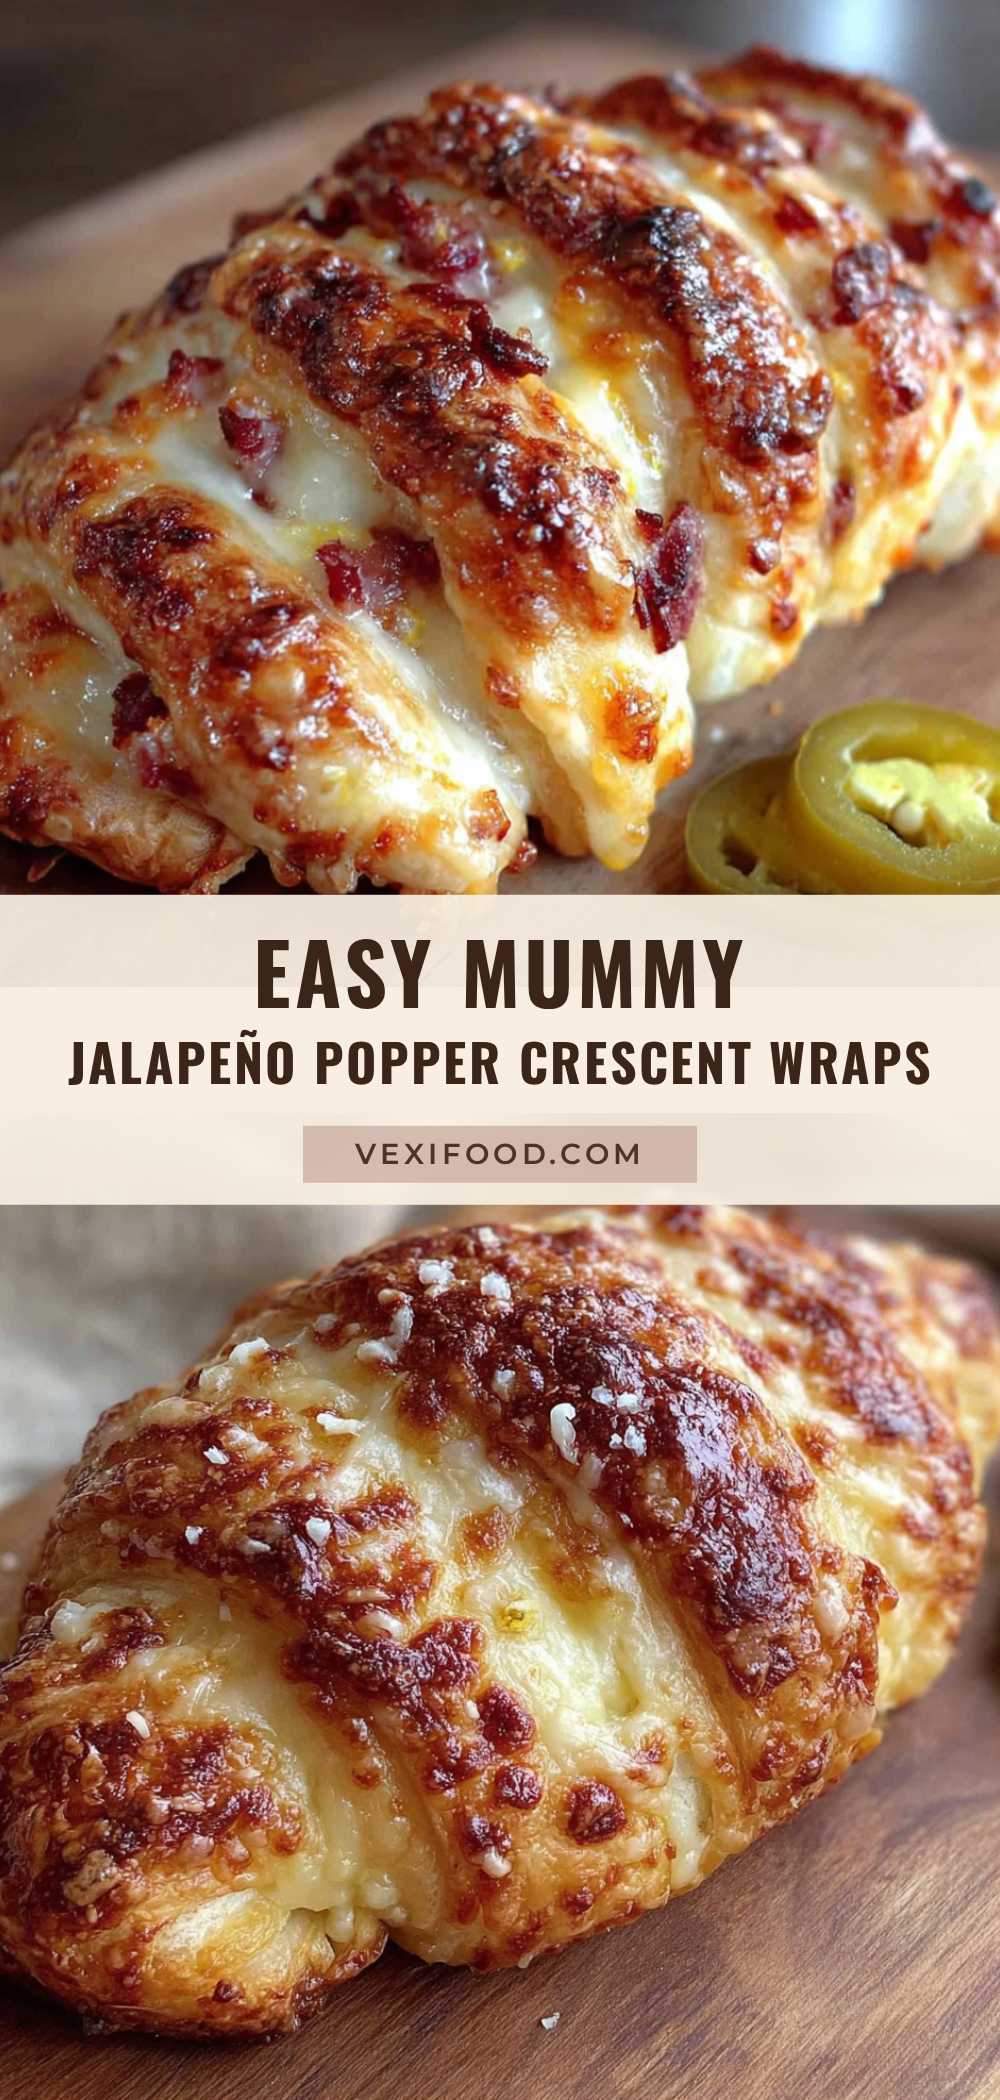
Easy Mummy Jalapeño Popper Crescent Wraps: Best Halloween Appetizer

These Easy Mummy Jalapeño Popper Crescent Wraps combine the gooey, spicy perfection of a stuffed jalapeño with the buttery flakiness of crescent roll dough. Perfect for Halloween parties or any night you want a delicious, crowd-pleasing appetizer.
- Prep Time: 10 minutes
- Cook Time: 12 minutes
- Total Time: 22 minutes
- Yield: 8 servings 1x
- Category: Appetizer
- Cuisine: American
Ingredients
- 1 can (8 oz) refrigerated crescent roll dough
- 4 oz cream cheese, softened
- 1/4 cup pickled jalapeños, finely chopped
- 4 slices bacon, cooked and crumbled
- 1/4 cup shredded cheddar cheese
- 1/4 teaspoon garlic powder
- 1/4 teaspoon onion powder
- Pinch of salt and black pepper
- 1 large egg, beaten (for egg wash)
- Candy eyes (optional, for decoration)
Instructions
- Preheat your oven to 375°F (190°C). Line a baking sheet with parchment paper.
- Cook the bacon: In a small skillet over medium heat, cook the 4 slices of bacon until crispy but not burnt — about 4-5 minutes per side. Transfer to a paper towel-lined plate to drain. Once cool, crumble into small pieces.
- Make the filling: In a small mixing bowl, combine the softened cream cheese, finely chopped pickled jalapeños, crumbled bacon, shredded cheddar cheese, garlic powder, onion powder, and a pinch of salt and pepper. Mix until well combined.
- Prepare the crescent roll dough: Unroll the dough onto a cutting board. Separate into 8 triangles along the perforated lines.
- Cut the dough into strips: Using a sharp knife or pizza cutter, cut each triangle lengthwise into 3-4 long strips, about 1/2 inch wide.
- Assemble the mummies: Place about 1 tablespoon of the cream cheese filling in the center of each strip of dough. Gently wrap the dough strips around the filling, overlapping slightly to create a mummy-like effect. Leave a small space at the top for the eyes.
- Place on the baking sheet: Arrange the assembled mummies on the prepared baking sheet, spacing them about 2 inches apart.
- Apply the egg wash: In a small bowl, beat the egg with a splash of water. Using a pastry brush, gently brush the tops of each mummy with the egg wash.
- Bake: Place the baking sheet in the preheated oven and bake for 10-12 minutes, or until the crescent dough is golden brown and puffed.
- Add the eyes (optional): Remove from the oven and let cool for 2-3 minutes. While still warm but not hot, gently press two candy eyes onto the exposed space at the top of each mummy.
- Cool and serve: Let the mummies cool on the baking sheet for another 5 minutes before transferring to a serving platter. Serve warm or at room temperature.
Notes
Don’t overfill the wraps — 1 tablespoon is the sweet spot. If the dough gets sticky, pop it in the fridge for 5 minutes. For best results, serve fresh out of the oven. To reheat leftovers, use an air fryer at 350°F for 3 minutes.
Nutrition
- Serving Size: 1 wrap
- Calories: 210
- Sugar: 3
- Sodium: 420
- Fat: 15
- Saturated Fat: 7
- Carbohydrates: 12
- Protein: 7
Keywords: Halloween appetizer, mummy wraps, jalapeño popper, crescent rolls, easy appetizer, party food



