Love this? Save it for later!
Share the inspiration with your friends
It was 10:47 PM on a random Wednesday in November, and I was supposed to be packing lunches for the next day. Instead, I found myself staring at a bag of baby carrots and a block of cheddar, hit with a very specific, very weird craving. Not for food, exactly, but for that feeling — you know the one — when you make something that makes a kid’s face light up like you’ve just handed them a winning lottery ticket.
I didn’t have any fancy cookie cutters or themed snack picks. But I had a paring knife, a bag of pretzel sticks, and the ghost of a Thanksgiving craft project from my own childhood. Honestly, I was half-asleep and running on fumes. I started slicing cheese into rough feather shapes, not really thinking, just moving. I grabbed some grapes and a handful of candy eyes left over from Halloween (don’t judge, they were on sale).
And then it hit me — I wasn’t just making a snack. I was building a hand turkey. The kind you trace with a pencil on construction paper, but edible. The kind that makes a kid forget they’re eating vegetables. I arranged the platter on a cutting board, stepped back, and let me tell you, I actually laughed out loud. It was goofy. It was colorful. It was exactly what a 10 PM kitchen experiment should be.
Maybe you’ve been there — the night before a school party, or a playdate, or just a Tuesday when you need a win. The platter I made that night is the one I still make today. It’s not fancy. It’s not complicated. But it works every single time. And honestly, that’s the whole point.
Why You’ll Love This Recipe
This isn’t just another snack platter. It’s a hands-on activity that doubles as a meal, and it’s been tested on the toughest critics I know — a classroom full of five-year-olds and a very skeptical teenager. Here’s why it’s become my go-to:
- Quick & Easy: You can assemble this whole platter in under 15 minutes. Seriously. It’s faster than making a sandwich and way more fun.
- Simple Ingredients: No specialty stores or fancy cheese counters. Everything here is a standard grocery run staple. You probably have most of it already.
- Perfect for School Parties & Playdates: It’s a crowd-pleaser that feels special without any stress. Kids love building their own turkey or just grabbing pieces off the board.
- Crowd-Pleaser: I’ve watched kids who “don’t like vegetables” gobble up carrot sticks and cucumber slices just because they were part of the feather display. It’s magic.
- Unbelievably Delicious: The combination of creamy cheese, crunchy veggies, and salty pretzels is honestly addictive. I always end up snacking on the leftovers myself.
What makes this platter different from the rest? It’s the layout. Instead of just throwing everything on a plate, you’re creating a visual anchor — the turkey body — that makes the whole thing feel like a project. Kids engage with it differently. They don’t just eat; they explore. And for parents, that’s a win-win.
This is the kind of recipe that makes you feel like a hero without breaking a sweat. It’s wholesome, it’s fun, and it fits perfectly into a balanced day of eating well. No guilt, no fuss, just happy kids and a happy you.
What Ingredients You Will Need
This recipe is all about flexibility, but here’s the core lineup that works every time. These are the ingredients I’ve tested and tweaked over countless platters, and they hold up beautifully.
For the Turkey Body
- 1 large pear or apple (I prefer a Bosc pear for its sturdy shape, but a Granny Smith apple works great too) — this forms the turkey’s body
- 2 tablespoons creamy peanut butter or sunflower seed butter (to hold the body together and act as “glue” for the eyes)
- 2 candy eyes (or use small dots of cream cheese and black olive slices for a healthier option)
- 1 small triangle of cheddar cheese (for the beak — a sharp cheddar gives the best color contrast)
- 1 small red bell pepper strip (for the wattle — that little red dangly bit under the beak)
For the Feathers (The Fun Part)
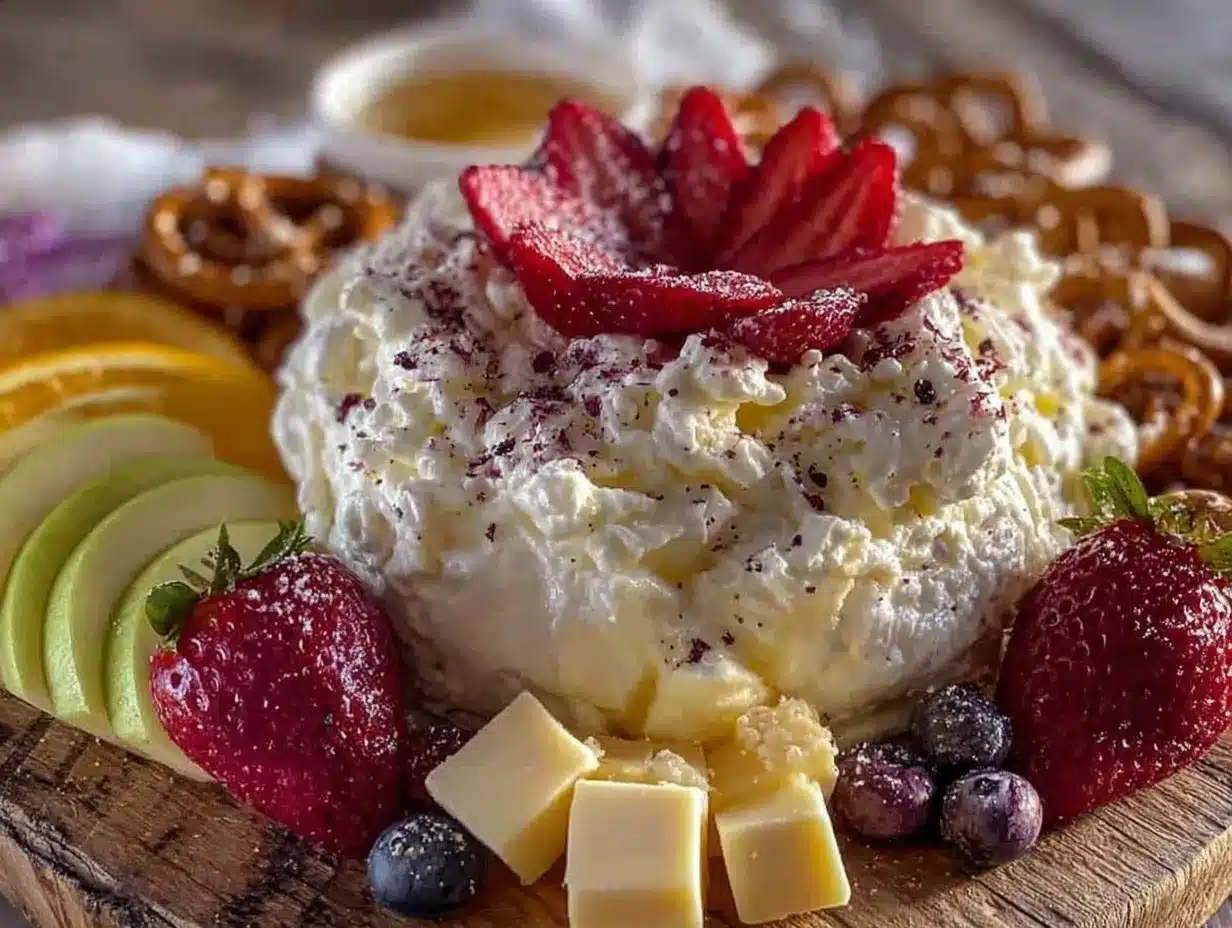
- 1 cup baby carrots (I like the pre-washed bags for convenience, but whole carrots cut into sticks work beautifully too)
- 1 cup cucumber slices (use English cucumbers for fewer seeds and a cleaner look)
- 1 cup red and yellow bell pepper strips (the colors really pop against the other veggies)
- 1 cup cherry tomatoes (halved if serving to very little ones)
- 1 cup cheese cubes (I use a mix of cheddar and Colby jack for variety)
- 1 cup pretzel sticks (these add crunch and look like feather shafts)
- 1 cup grapes (red or green — both work, but red gives a warmer color palette)
For Dipping (Optional but Recommended)
- 1/2 cup ranch dressing or hummus (homemade or store-bought — I’ve used both and they’re equally good)
- 1/4 cup Greek yogurt (for a lighter dip option that still feels creamy)
I recommend using organic produce when possible, especially for items like apples and bell peppers that tend to have higher pesticide residues. But honestly, conventional works just fine. The key is freshness — crisp veggies make for a better presentation and a more satisfying crunch.
For the cheese, I personally prefer Tillamook or Cabot blocks that I cube myself. Pre-shredded cheese has anti-caking agents that don’t melt as nicely and look less appealing on a platter. A quick cube job takes two minutes and makes a noticeable difference.
If you’re avoiding peanuts, sunflower seed butter is a perfect swap. It’s slightly less sweet but has a similar creamy texture that works great as “glue” for the candy eyes and beak.
Equipment Needed
You don’t need a professional kitchen setup for this. Here’s what I use, along with some alternatives I’ve tried when my usual tools were in the dishwasher.
- Large cutting board or serving platter (at least 12×16 inches — a wooden board gives a nice rustic look, but a white platter makes the colors pop)
- Sharp paring knife (for shaping the pear and cutting cheese — a serrated knife works in a pinch but gives a messier cut)
- Small cookie cutters (optional, but fun for cutting cheese into star or leaf shapes for the feathers — I use a set from Wilton that cost under $10)
- Toothpicks (for securing the beak and wattle to the pear body — regular wooden ones are fine, but colored cocktail picks add a festive touch)
- Small bowls (for dips — I use ramekins or small mason jars that fit nicely on the platter)
- Paper towels (for drying produce — wet veggies slide around and make the platter look messy)
I learned the hard way that a serrated knife makes a ragged cut on a pear. The first time I made this, the turkey’s “face” looked like it had been in a minor accident. A sharp paring knife gives you clean lines and a much cuter bird. If you don’t have one, a clean craft knife works in a pinch — just wash it thoroughly first.
For budget-friendly options, dollar stores often carry small cutting boards and basic cookie cutters that work perfectly. I’ve found some of my favorite platters at thrift stores for under three dollars.
Preparation Method
Let me walk you through this step by step. I’ve included all the little details I wish someone had told me the first time.
Step 1: Prep the Turkey Body (5 minutes)
Wash and dry your pear or apple thoroughly. Cut a thin slice off the bottom so it sits flat on the platter — about a quarter-inch is enough. This is crucial. The first time I skipped this step, my turkey kept rolling over like a drunk bird. Not cute.
Spread about a tablespoon of peanut butter on the cut side of a second pear slice (or use a small cookie to hold it in place) and attach it to the front of the main pear to create a rounded belly shape. If you’re using an apple, you can skip this and just use the whole apple as the body.
Step 2: Create the Face (3 minutes)
Cut a small triangle from the cheddar cheese for the beak. It should be about half an inch at the base and an inch long. Cut a small slit in the front of the pear about an inch above where the bottom meets the platter. Insert the cheese triangle point-first so it sticks out.
Cut a small strip of red bell pepper, about half an inch long and a quarter-inch wide. Make another small slit just below the beak and insert the pepper strip so it hangs down like a wattle. Use a toothpick to secure both pieces if they feel loose — I always do this for stability, especially if the platter needs to travel.
Attach the candy eyes using tiny dabs of peanut butter. Press them gently into place. If you’re using cream cheese and olive slices, the cream cheese works the same way — just a tiny smear on the back of the olive.
Step 3: Arrange the Feathers (5 minutes)
This is where the platter really comes to life. Start by placing the prepared turkey body in the center of your board or platter, slightly toward the bottom. You want room for the feathers to fan out behind it.
Working from the back of the platter forward, arrange your feather ingredients in a fan shape. I like to start with the longest items — pretzel sticks and carrot sticks — at the very back. Then layer in the bell pepper strips, cucumber slices, and cheese cubes. Finish with the cherry tomatoes and grapes closest to the body.
Don’t overthink the arrangement. Kids love a slightly messy, colorful spread. The key is variety — different colors, shapes, and textures. I’ve found that alternating colors (red, orange, green, yellow) creates the most visually appealing fan.
Step 4: Add the Dip (2 minutes)
Place your small bowl of ranch or hummus near the front of the platter, off to one side so it doesn’t block the turkey’s face. If you’re using two dips, put them on opposite sides for balance.
Spoon the dip into the bowl and smooth the top with the back of the spoon. A little garnish — a sprinkle of paprika on the hummus or a tiny parsley sprig on the ranch — makes it look intentional and pretty.
Step 5: Final Assembly and Touch-Ups (2 minutes)
Step back and look at your platter. Are there any empty spots? Fill them with extra grapes or cherry tomatoes. Is the turkey body straight? Adjust if needed. Wipe any peanut butter smudges off the platter with a damp paper towel.
If you’re making this for a party, cover the whole platter with plastic wrap and refrigerate until serving. The veggies stay crisp for up to 4 hours this way. Just remove the plastic wrap right before serving so the turkey doesn’t get condensation on its face.
Cooking Tips & Techniques
I’ve made this platter probably two dozen times now, and I’ve learned a few things the hard way. Here are my best tips for getting it right every time.
Choose the right pear. A Bosc pear is ideal because it has a firm, dense texture that holds its shape well. An Anjou or Bartlett works but tends to be softer and more prone to bruising. If all you have is a soft pear, use an apple instead. Granny Smith apples are tart and firm, which contrasts nicely with the sweet dip.
Don’t skip the toothpicks. The beak and wattle are small and tend to fall off if you just press them into the pear. A single toothpick through each piece, pushed firmly into the pear, keeps everything in place. Just warn the kids before they start eating — or remove the toothpicks yourself before serving.
Prep everything before you start assembling. I learned this the messy way. Cut all your veggies, cube the cheese, and have everything laid out before you touch the pear. Once you start building the turkey, you want to work quickly so the pear doesn’t oxidize and turn brown. A light brushing of lemon juice on the cut surfaces helps prevent browning, but honestly, nobody notices if you work fast.
Consider your audience. For toddlers, cut the grapes lengthwise to prevent choking hazards. For older kids, leave them whole — they’re more fun to pop in your mouth. I always adjust the size of the veggie pieces based on who’s eating. Baby carrots are fine for school-age kids, but for preschoolers, I cut them into thinner strips.
Make it a build-your-own activity. Sometimes I set out all the ingredients separately and let the kids assemble their own turkey platters. It takes a little longer, but the engagement is through the roof. They eat more veggies when they’ve “built” the turkey themselves. It’s a great strategy for picky eaters.
Variations & Adaptations
This recipe is incredibly flexible. Here are some of my favorite variations, all tested and kid-approved.
Seasonal Swap: Fall Harvest Version
In the autumn, I swap out the cherry tomatoes for sliced apples and add a handful of dried cranberries to the feather display. The red and orange tones feel very Thanksgiving-y, and the sweetness of the apples pairs beautifully with the cheddar cheese. I also use a small pumpkin-shaped cookie cutter for the cheese cubes — it’s a tiny detail that kids absolutely lose their minds over.
Dietary Adaptation: Gluten-Free and Nut-Free
For gluten-free needs, replace the pretzel sticks with gluten-free pretzel sticks or rice cake sticks. For nut-free, use sunflower seed butter instead of peanut butter. Everything else in the recipe is naturally gluten-free and nut-free, so it’s an easy adjustment. I’ve served this version at school parties with zero issues.
Protein-Packed Version
Add rolled-up slices of turkey or ham to the feather display. I cut them into thin strips and roll them into little spirals. They add protein and make the platter more filling for hungry kids. I’ve also added cheese sticks cut into halves for extra calcium. This version works great as a lunchbox surprise.
Sweet Tooth Variation
For a dessert-style platter, swap the veggies for fruit. Use apple slices, pear slices, strawberries, blueberries, and melon balls for the feathers. Replace the cheese cubes with small brownie bites or rice krispie treats. The turkey body stays the same, but I use a small dollop of cream cheese frosting to attach the candy eyes. This is my go-to for birthday parties.
Serving & Storage Suggestions
This platter is best served at room temperature, so if you’ve refrigerated it, let it sit out for about 15 minutes before serving. The cheese softens slightly and the flavors are more pronounced.
For presentation, I like to place the platter on a low table where kids can reach it easily. A wooden cutting board gives a nice contrast to the bright colors. If I’m serving it at a party, I put out small plates and napkins nearby so kids can grab their own pieces.
Leftover components can be stored separately. The pear body will last about a day in the refrigerator if wrapped tightly in plastic wrap — the lemon juice helps prevent browning. Veggies and cheese keep for 2-3 days in separate airtight containers. Don’t store assembled leftovers; the pear will get mushy and the veggies will lose their crunch.
For reheating — not that you’d really need to — the only thing that benefits from warming is the dip. A quick 15 seconds in the microwave for the hummus or ranch takes the chill off and makes it more inviting.
The flavors actually develop nicely over a few hours. The pear absorbs a tiny bit of peanut butter flavor from the body, and the cheese cubes take on a subtle sweetness from the fruit. It’s not a dramatic change, but it’s a pleasant one if you’re making the platter ahead of time.
Nutritional Information & Benefits
This platter is packed with good-for-you ingredients that kids actually want to eat. Here’s a rough breakdown per serving (about one-quarter of the platter):
- Calories: Approximately 280-320
- Protein: 8-10 grams (from cheese, peanut butter, and any added meat)
- Fiber: 5-7 grams (from veggies and fruit)
- Healthy Fats: 12-15 grams (from cheese and peanut butter)
- Vitamin A: 120% DV (from carrots and bell peppers)
- Vitamin C: 80% DV (from bell peppers and tomatoes)
The combination of protein, fiber, and healthy fats makes this a satisfying snack that won’t lead to a sugar crash. The colorful veggies provide a wide range of antioxidants, and the pear offers a natural sweetness that helps curb cravings for processed treats.
For parents concerned about allergens, this recipe is easily adaptable. The base version contains dairy (cheese) and nuts (peanut butter), but both can be swapped as noted above. Always check labels on store-bought dips for hidden allergens.
I love that this platter makes vegetables feel like a treat rather than a chore. It’s a small shift in presentation that can make a big difference in how kids approach healthy eating. And honestly, that’s a win in my book.
Frequently Asked Questions
Can I make this platter ahead of time?
Yes! You can prep all the components up to 24 hours in advance. Store the cut veggies in separate bags in the fridge, cube the cheese, and make the dip. Assemble the platter no more than 4 hours before serving for the best presentation. The pear will start to brown after that, even with lemon juice.
What if my kid has a peanut allergy?
No problem at all. Swap the peanut butter for sunflower seed butter, cream cheese, or even a thick hummus. The “glue” for the eyes just needs to be sticky enough to hold them in place. Sunflower seed butter works perfectly and has a similar consistency.
How do I keep the turkey from falling apart?
The key is the flat bottom. Cut a thin, even slice off the bottom of the pear so it sits level. Use toothpicks to secure the beak and wattle. If the pear is very ripe and soft, consider using an apple instead — they’re much sturdier and hold up better to handling.
Can I use different fruits for the body?
Absolutely. A large apple works beautifully. I’ve also used a firm peach in the summer (though it’s softer and needs more careful handling). A small pineapple works for a tropical twist, but you’ll need to cut a flat base and hollow out a small cavity for the face pieces to sit in securely.
Is this platter suitable for a classroom party?
Yes, with a few adjustments. Check with the teacher about any classroom allergies first. Use sunflower seed butter instead of peanut butter, and skip any ingredients that might be common allergens. Pre-portion the veggies into small cups for individual servings if you’re concerned about hygiene. The platter style works best for smaller groups of 8-10 kids.
Conclusion
This hand turkey snack platter is more than just a cute idea — it’s a practical solution for getting kids excited about healthy food. It takes 15 minutes to put together, uses ingredients you probably already have, and it never fails to get smiles and giggles from even the pickiest eaters.
I love that this recipe lets you be creative without any pressure. You can follow it exactly or make it your own. Swap in your kids’ favorite veggies. Use their favorite dip. Let them help arrange the feathers. The imperfections are what make it charming — a slightly crooked beak, a lopsided wattle, a feather that’s more carrot than pretzel. It all adds character.
I’d love to hear how your platter turns out. Did your kids love it? Did you come up with a fun variation? Drop a comment below and share your creation. And if you’re looking for more kid-friendly snack ideas, check out my healthy snack ideas for kids and fun lunchbox ideas — they’re both crowd-pleasers in my house.
Now go make that turkey. Your kids are going to love it. And honestly? You’re going to love making it. Happy snacking!
Pin This Recipe!
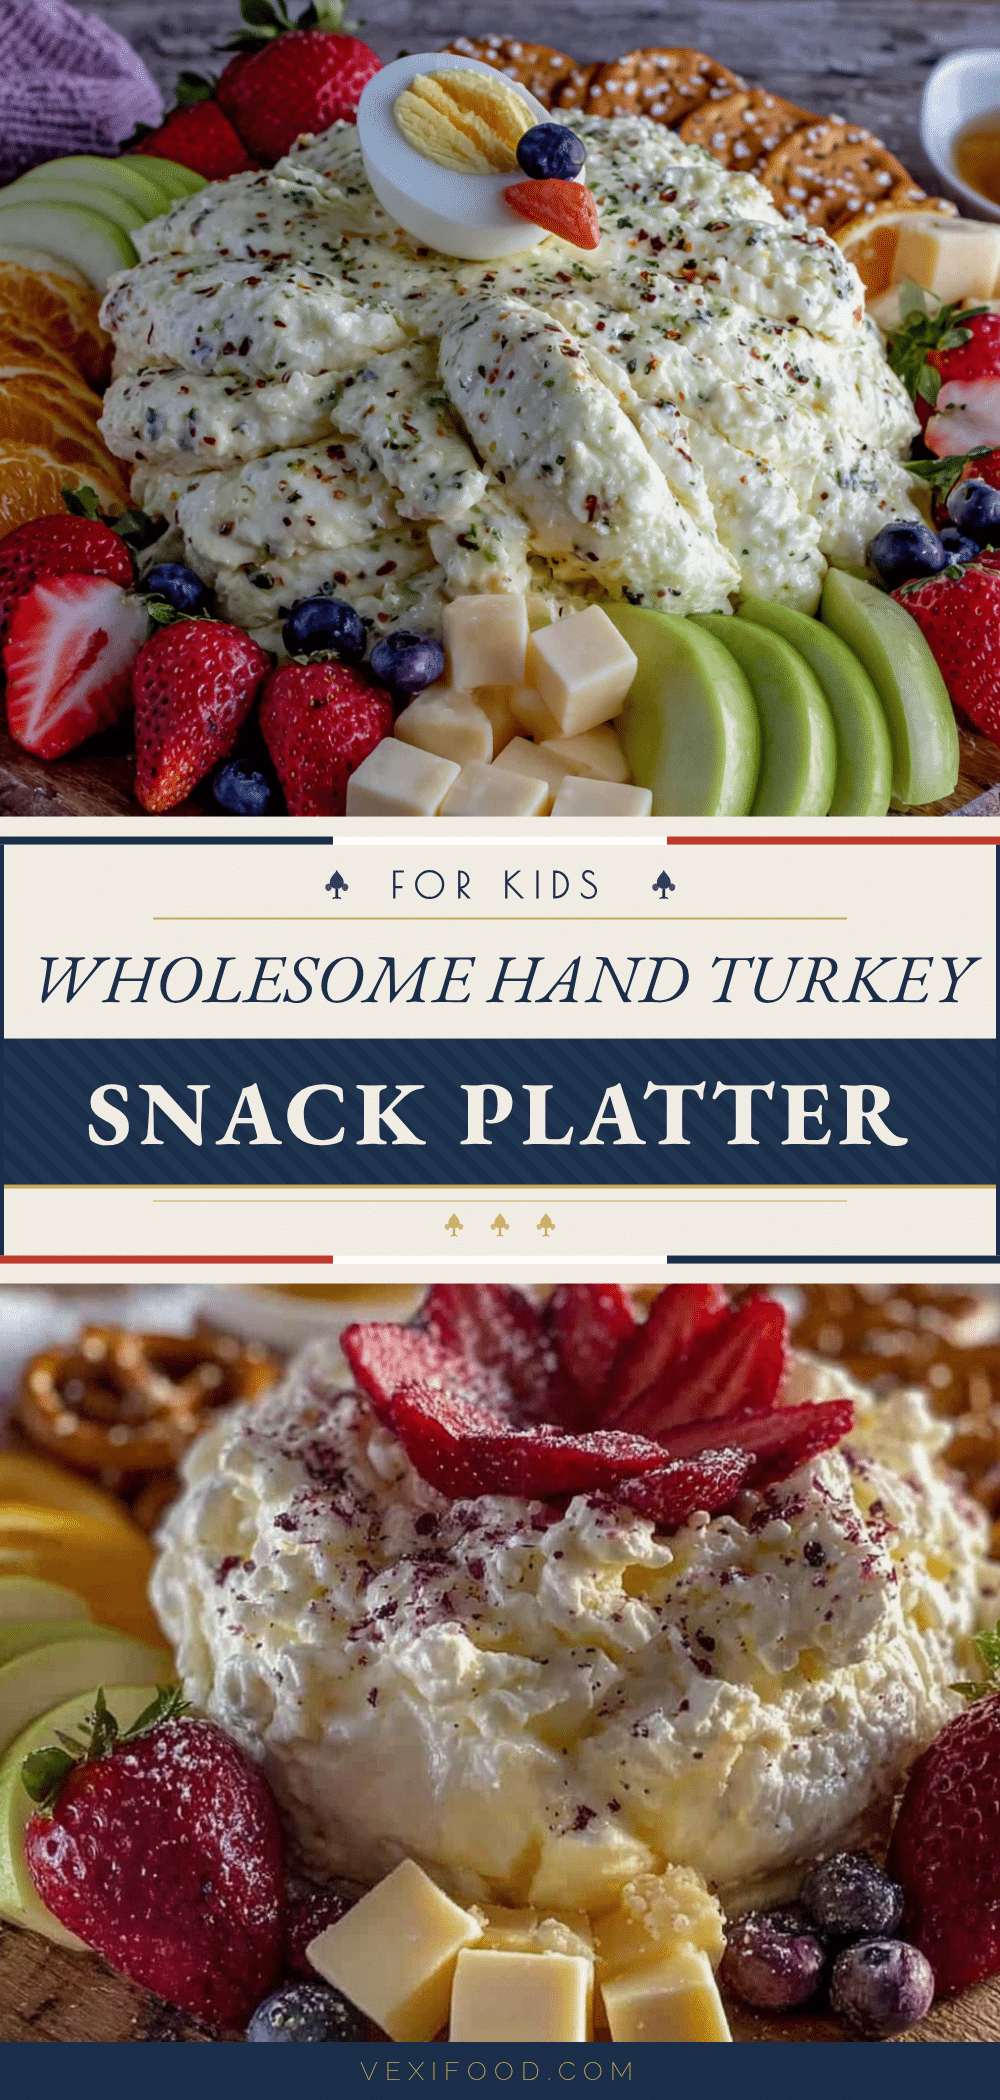
Best Hand Turkey Snack Platter for Kids
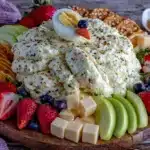
A fun and easy snack platter shaped like a hand turkey, made with fresh veggies, cheese, and pretzels. Perfect for school parties, playdates, or a creative lunchbox surprise.
- Prep Time: 15 minutes
- Cook Time: 0 minutes
- Total Time: 15 minutes
- Yield: 4 servings 1x
- Category: Snack
- Cuisine: American
Ingredients
- 1 large pear or apple (Bosc pear or Granny Smith apple recommended)
- 2 tablespoons creamy peanut butter or sunflower seed butter
- 2 candy eyes (or cream cheese and black olive slices)
- 1 small triangle of cheddar cheese (for beak)
- 1 small red bell pepper strip (for wattle)
- 1 cup baby carrots
- 1 cup cucumber slices
- 1 cup red and yellow bell pepper strips
- 1 cup cherry tomatoes (halved if serving to little ones)
- 1 cup cheese cubes (cheddar and Colby jack mix)
- 1 cup pretzel sticks
- 1 cup grapes (red or green)
- 1/2 cup ranch dressing or hummus
- 1/4 cup Greek yogurt (optional, for lighter dip)
Instructions
- Wash and dry the pear or apple. Cut a thin slice off the bottom so it sits flat on the platter.
- Spread about 1 tablespoon of peanut butter on the cut side of a second pear slice and attach it to the front of the main pear to create a rounded belly shape. (If using an apple, skip this step.)
- Cut a small triangle from cheddar cheese for the beak. Cut a small slit in the front of the pear about 1 inch above the bottom and insert the cheese triangle point-first.
- Cut a small strip of red bell pepper for the wattle. Make another slit just below the beak and insert the pepper strip. Use toothpicks to secure both pieces if needed.
- Attach the candy eyes using tiny dabs of peanut butter. Press gently into place.
- Place the turkey body in the center of a large cutting board or platter, slightly toward the bottom.
- Arrange the feather ingredients in a fan shape behind the body: start with pretzel sticks and carrot sticks at the back, then layer bell pepper strips, cucumber slices, cheese cubes, cherry tomatoes, and grapes closest to the body.
- Place small bowls of ranch dressing or hummus near the front of the platter, off to one side.
- Step back and adjust any empty spots with extra grapes or cherry tomatoes. Wipe any peanut butter smudges with a damp paper towel.
- If making ahead, cover with plastic wrap and refrigerate until serving. Remove plastic wrap right before serving.
Notes
Choose a firm Bosc pear for best results. Use toothpicks to secure beak and wattle. Prep all ingredients before assembling to prevent pear browning. For toddlers, cut grapes lengthwise to prevent choking. For a build-your-own activity, set out ingredients separately.
Nutrition
- Serving Size: 1/4 of platter
- Calories: 300
- Sugar: 18
- Sodium: 450
- Fat: 14
- Saturated Fat: 5
- Carbohydrates: 35
- Fiber: 6
- Protein: 9
Keywords: hand turkey, snack platter, kids snack, Thanksgiving snack, healthy snack, vegetable platter, school party snack



