Love this? Save it for later!
Share the inspiration with your friends
I was standing in the frozen foods aisle of my local grocery store last December when a woman walked past me pushing a cart stacked high with cans of coconut cream and evaporated milk. The cans clinked against each other, and that sound—that specific, hollow clink of metal on metal—hit me like a wave. Suddenly I was seven years old in my Tía Carmen’s tiny kitchen in the Bronx, watching her line up cans on the counter like little soldiers before the annual coquito-making marathon. She’d be wearing that faded apron with the hibiscus print, humming something under her breath, and the whole apartment would smell like cinnamon and cloves before a single drop of rum touched the pot. I honestly had to grip my shopping cart for a second. Maybe you’ve been there—that moment when a random sound or smell just yanks you right out of the present and drops you into a memory you didn’t even know you were holding onto.
My Tía Carmen passed about six years ago now, and I never got her recipe written down. I mean, I watched her make it maybe twenty times, but she was one of those cooks who did everything by feel—a splash of this, a handful of that, a taste test, a nod, then another splash. For years after she was gone, I kept trying to recreate that coquito. I’d buy all the ingredients, line up my own cans, and somehow it was always… close but not quite. Too thin. Too sweet. Not enough cinnamon. The wrong rum. I must have made seven or eight batches that first Christmas alone. My kitchen looked like a coconut cream factory exploded. But then, last Thanksgiving, I was peeling a cinnamon stick for something else, and the smell of it—sharp and warm and specific—unlocked something in my brain. I remembered her reaching for a specific brand of coconut cream, the way she’d crack the egg yolks into a separate bowl first, the exact order she added things. That night, I made a batch that finally tasted like coming home.
This coquito recipe is the result of years of trial, error, and memory-scavenging. It’s the one I now bring to every holiday gathering, the one people ask for by name, the one that makes my cousins close their eyes and say “this tastes like Tía’s.” It’s rich without being heavy, creamy without being cloying, and spiced just enough to warm you from the inside out. And honestly? It’s easier than you think. You don’t need a culinary degree or a special permit from the Puerto Rican coquito council. You just need good ingredients, a little patience, and maybe a memory of your own to chase.
Why You’ll Love This Recipe
Let me tell you something—I’ve tested a lot of coquito recipes over the years. Some were too thin, like coconut-flavored water. Others were so thick they felt like drinking pudding. And a few were just… sad, honestly, with that artificial coconut taste that reminds me of sunscreen. This one hits the sweet spot, and here’s why it’s become my go-to for every holiday party and family gathering.
- Incredibly Creamy & Rich: The secret is using a specific ratio of coconut cream to evaporated milk that gives you that velvety, luxurious texture without being heavy. It coats the glass like a dream.
- Perfectly Balanced Spices: Not too much cinnamon, not too little vanilla. The spices are warm and inviting without overpowering the coconut flavor. It’s the kind of balance that makes people take a sip and then just stare at the glass for a second.
- Easy to Make Ahead: This is the ultimate host-friendly recipe. You can make it up to a week in advance, and honestly, it gets better after a day or two in the fridge as the flavors meld together. That means one less thing to worry about when your guests are arriving.
- Crowd-Pleasing Showstopper: I’ve brought this to potlucks, Friendsgivings, and big family Christmas dinners, and it never fails. People who say they don’t like coconut drinks? They end up asking for the recipe. It’s that good.
- Customizable for Your Crowd: You can easily adjust the rum level, make it non-alcoholic for the kids or designated drivers, or even swap in a dairy-free milk. It’s forgiving and flexible.
This isn’t just another holiday drink recipe you’ll make once and forget. This is the one your friends will text you about in January asking if you still have any stashed away. It’s the one that makes you the hero of the dessert table without breaking a sweat. And honestly, it’s the closest I’ve ever come to capturing that feeling of Tía Carmen’s kitchen—the warmth, the laughter, the clinking of cans, and the promise of something special.
What Ingredients You Will Need
This recipe uses simple, wholesome ingredients that come together to create something truly magical. Most of these are pantry staples, especially if you do a lot of holiday baking, and you can find everything at your regular grocery store or local Latin market.
- Coconut Cream (15 oz can): This is the heart of the coquito. Do not confuse it with coconut milk—coconut cream is thicker, richer, and gives you that signature velvety texture. I personally recommend Coco Goya or Chaokoh brand for the best consistency. Look for cans where the cream is solid and thick, not watery.
- Evaporated Milk (12 oz can): Adds creaminess without making the drink too heavy. It also helps balance the sweetness of the condensed milk. Any brand works fine here.
- Sweetened Condensed Milk (14 oz can): This brings the sweetness and that luscious, almost syrupy texture. It’s what gives coquito its signature body. Make sure you get sweetened condensed milk, not evaporated milk—they look similar but are very different!
- Cream of Coconut (15 oz can): This is different from coconut cream. Cream of coconut is already sweetened and has a thinner, more pourable consistency. It adds another layer of coconut flavor and sweetness. Coco López is the classic brand and what I always use.
- Spices: You’ll need ground cinnamon, ground cloves, and vanilla extract. For the best flavor, use fresh spices if you can—they really make a difference. I also love adding a cinnamon stick to the mixture while it chills for an extra hint of warmth.
- Rum: This is where you can customize. Traditional coquito uses white rum or a light gold rum. I prefer Bacardí Gold or Don Q for a smooth, not-too-harsh flavor. You can also use dark rum for a deeper, more molasses-like taste. Start with ½ cup and adjust to your liking—some people like it stronger, some prefer it milder.
- Egg Yolks (optional but traditional): Some authentic recipes call for egg yolks to add richness and a silky texture. I like to add two large egg yolks for that extra luxurious mouthfeel. If you’re concerned about raw eggs, you can temper them with a bit of the warm milk mixture, or simply omit them—the coquito will still be delicious.
- Pinch of Salt: Don’t skip this! A tiny pinch of salt balances all the sweetness and makes the flavors pop. It’s a small thing that makes a big difference.
- Optional Garnishes: Ground cinnamon or nutmeg for dusting, a cinnamon stick for each glass, or a star anise for a festive touch.
Equipment Needed
You don’t need any fancy gadgets for this recipe—just a few basic kitchen tools you probably already have. Here’s what you’ll need:
- Large Mixing Bowl: For combining all the ingredients. A glass or stainless steel bowl works best.
- Whisk: A good, sturdy whisk is essential for getting that smooth, lump-free texture. I prefer a balloon whisk for this job.
- Blender or Immersion Blender: This is optional but highly recommended. A quick blitz in the blender makes the coquito extra smooth and emulsifies the fats perfectly. An immersion blender works great too and means less cleanup.
- Fine-Mesh Strainer: If you’re using egg yolks or want an extra-smooth texture, straining the coquito before bottling removes any little bits of spice or egg that might have clumped up.
- Glass Bottles or Jars: For storing and serving. I love using swing-top glass bottles—they look festive and seal tightly. Mason jars work perfectly too. Just make sure they’re clean and dry before you fill them.
- Funnel: A small funnel makes pouring the coquito into bottles much less messy. Trust me on this one—I’ve learned the hard way.
- Measuring Cups and Spoons: For accuracy. While Tía Carmen did it by feel, I recommend measuring at least the first time so you know what works.
One tip: if you’re making a large batch for a party, a large pitcher or beverage dispenser works great for serving. Just give it a good stir before pouring, as the coconut cream can settle at the bottom.
Preparation Method
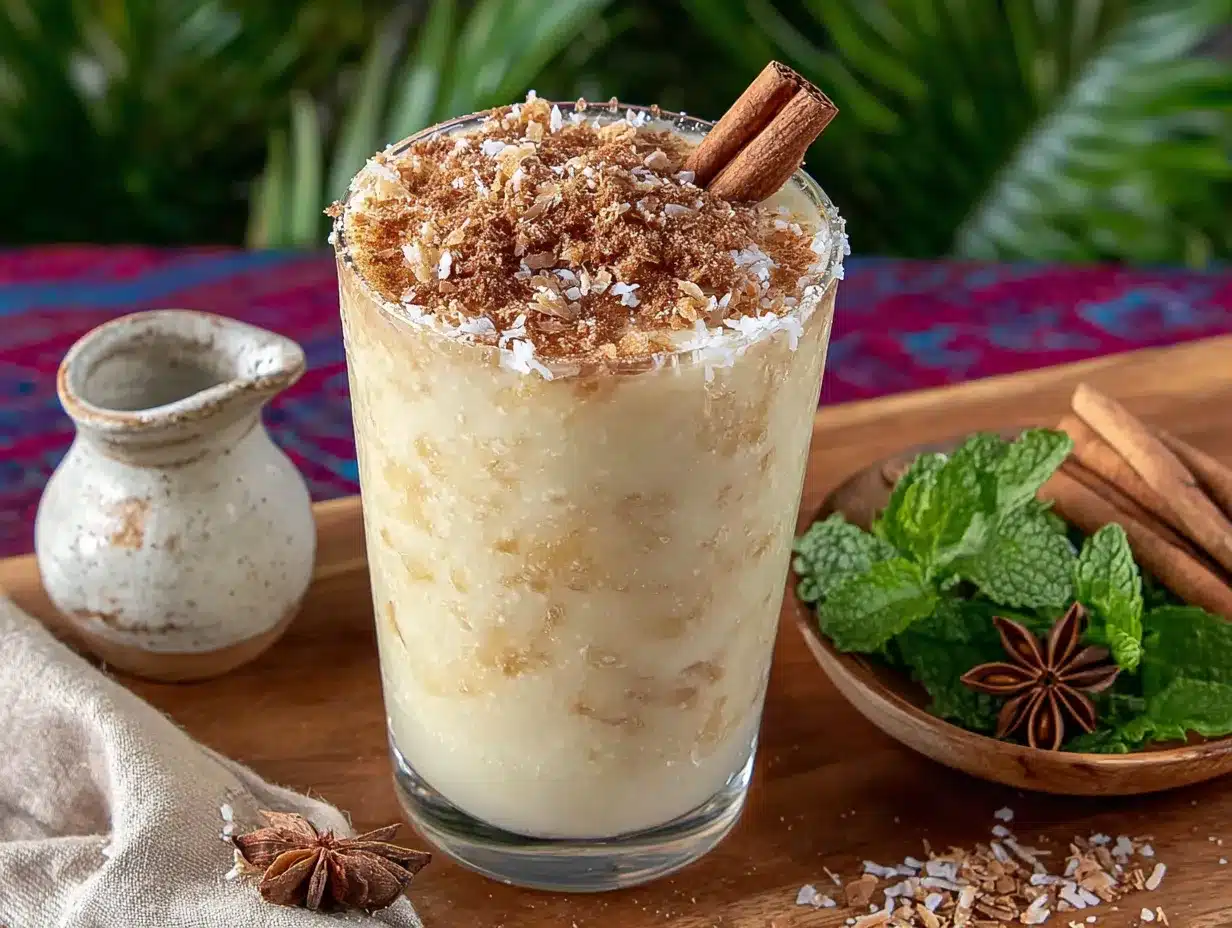
Alright, let’s get to the fun part. This recipe comes together in about 15 minutes of active time, plus at least 4 hours of chilling. The waiting is the hardest part, I promise.
- Combine the Coconut Cream and Evaporated Milk: In a large mixing bowl, whisk together the coconut cream and evaporated milk until smooth. Don’t worry if there are a few small lumps—they’ll smooth out later. The mixture should look pale and creamy.
- Add the Sweetened Condensed Milk and Cream of Coconut: Pour in the sweetened condensed milk and cream of coconut. Whisk vigorously until everything is well combined. The mixture will thicken slightly and become a beautiful, pale ivory color. This is where the magic starts.
- Incorporate the Spices and Vanilla: Add 1 teaspoon of ground cinnamon, ½ teaspoon of ground cloves, 1 teaspoon of vanilla extract, and a pinch of salt. Whisk again until the spices are evenly distributed. The smell at this point is incredible—warm, cozy, and undeniably festive.
- Add the Rum (Optional): Pour in ½ cup of your chosen rum and whisk to combine. Taste it here—this is your chance to adjust. Want it stronger? Add another ¼ cup. Prefer it milder? Stick with ½ cup or even reduce it to ¼ cup. Remember, you can always add more, but you can’t take it out.
- Blend for Smoothness (Optional but Recommended): Transfer the mixture to a blender and blend on low speed for about 30 seconds. This emulsifies everything and gives you that silky, professional texture. If you’re using an immersion blender, just blitz it right in the bowl. If you don’t have a blender, a good whisking will do—just make sure there are no lumps.
- Temper the Egg Yolks (If Using): In a small bowl, lightly beat 2 large egg yolks. Slowly drizzle about ¼ cup of the coquito mixture into the yolks while whisking constantly. This gently warms the yolks so they don’t scramble when you add them to the main mixture. Then, pour the yolk mixture back into the bowl and whisk until fully incorporated.
- Strain (Optional): For the smoothest coquito, pour the mixture through a fine-mesh strainer into a clean bowl or directly into your bottles. This catches any tiny bits of spice or egg that might have clumped up. It’s a small step that makes a big difference in texture.
- Bottle and Chill: Using a funnel, pour the coquito into your clean glass bottles or jars. Seal them tightly and refrigerate for at least 4 hours, but overnight is best. The flavors need time to meld and deepen. I know it’s tempting to taste it right away, but trust me—the wait is worth it.
- Serve Cold: When you’re ready to serve, give the bottle a gentle shake (the coconut cream can settle at the bottom). Pour into small glasses—coquito is rich, so you don’t need a big pour. Garnish with a sprinkle of ground cinnamon or a cinnamon stick if you’re feeling fancy.
Cooking Tips & Techniques
After years of trial and error, I’ve picked up a few tricks that make this recipe foolproof. Here are my best tips for coquito success.
Don’t Skip the Chill Time: I know, I know—you want to drink it now. But coquito really does need time to rest. The first time I made it, I tried a sip right after blending and thought, “Hmm, this is okay.” The next day? It was incredible. The spices mellow and meld, the coconut flavor deepens, and the texture becomes perfectly smooth. Give it at least 4 hours, but 24 hours is the sweet spot.
Watch Your Coconut Cream: Coconut cream can be finicky. If it’s too cold, it can separate or become grainy. Let your cans come to room temperature before opening them. If you see solid chunks, don’t panic—just whisk vigorously or give it a quick blitz in the blender. Also, make sure you’re using coconut cream, not coconut milk. They’re different beasts, and using the wrong one will give you a thin, watery coquito.
Adjust Sweetness to Your Taste: Some people like their coquito very sweet, others prefer it more balanced. The cream of coconut and condensed milk already bring a lot of sweetness, so start with the recommended amounts and taste before adding more. If it’s too sweet for you, you can add a splash more evaporated milk or coconut cream to balance it out.
Rum Matters, But Not That Much: You don’t need an expensive, aged rum for coquito. A good mid-range white or gold rum works perfectly. The coconut and spices are the stars here, so the rum just needs to be smooth and not too harsh. I’ve used everything from Bacardí to Don Q to a store brand, and honestly, the differences are subtle. Use what you like and what fits your budget.
One Mistake I Made: The first time I tried to make coquito without a recipe, I used coconut milk instead of cream of coconut. The result was a thin, watery, sad drink that tasted more like sad coconut water than a holiday treat. My cousins were polite about it, but I knew. Learn from my mistake—read the labels carefully!
Variations & Adaptations
One of the best things about coquito is how adaptable it is. Here are some of my favorite variations to suit different tastes and dietary needs.
- Dairy-Free Coquito: Swap the evaporated milk for a full-fat canned coconut milk (not the refrigerated kind in cartons) and use a dairy-free sweetened condensed coconut milk. The texture will be slightly different—a bit lighter—but still delicious and creamy.
- Lower-Sugar Version: Use a sugar-free sweetened condensed milk and a light cream of coconut. You can also reduce the amount of condensed milk and add a bit more coconut cream to keep the texture right. The flavor will be less sweet, but the spices will shine through more.
- Spiced-Up Coquito: Add a pinch of nutmeg, allspice, or even a tiny pinch of cayenne pepper for a warm, spicy kick. I once added a star anise to the mixture while it chilled, and it gave it a subtle licorice note that was surprisingly good.
- Non-Alcoholic Version: Simply omit the rum and add a splash of coconut water or a bit more coconut cream to keep the volume. You can also add a teaspoon of rum extract if you want that flavor without the alcohol. This is perfect for kids, pregnant guests, or anyone who doesn’t drink.
- Chocolate Coquito: Add 2 tablespoons of unsweetened cocoa powder to the mixture before blending. It gives you a rich, chocolatey twist that tastes like a liquid coconut truffle. I made this for a friend who’s a chocoholic, and she nearly cried.
- Eggnog Fusion: Replace the evaporated milk with eggnog for a holiday mashup that’s incredibly rich and festive. Just be aware that it will be even thicker and sweeter, so you might want to reduce the condensed milk slightly.
Serving & Storage Suggestions
Coquito is best served ice-cold in small glasses—think shot glasses or small tumblers. It’s rich, so a little goes a long way. I love garnishing each glass with a light dusting of ground cinnamon and a cinnamon stick for stirring. For a festive touch, add a star anise or a thin slice of star fruit. It makes for a beautiful presentation that impresses guests without much effort.
This drink is a natural fit for holiday gatherings—serve it alongside a platter of pasteles, arroz con gandules, or even simple cookies like polvorones or shortbread. It also pairs beautifully with a cheese board featuring manchego or a mild cheddar. The creamy, sweet flavors balance the saltiness of the cheese perfectly.
Storage Instructions: Store the coquito in sealed glass bottles or jars in the refrigerator. It will keep for up to 2 weeks—if it lasts that long. The flavors actually continue to develop and deepen over the first few days. Just give the bottle a gentle shake before serving, as the coconut cream can settle at the bottom.
Freezing Tips: You can freeze coquito for up to 3 months. Pour it into freezer-safe containers, leaving a little headroom for expansion. To thaw, transfer it to the refrigerator overnight and then shake or whisk well before serving. The texture might be slightly different after freezing—sometimes it can separate a bit—but a good shake or a quick blitz in the blender will bring it back.
Reheating Note: Coquito is meant to be served cold, not hot. If you’ve frozen it, just thaw and chill. Do not microwave or heat it, as the coconut cream can curdle or become grainy.
Nutritional Information & Benefits
Let’s be real—coquito is a treat, not a health drink. But knowing what’s in it helps you enjoy it mindfully. Here’s an approximate breakdown per 4-ounce serving (about half a cup), assuming the recipe makes about 10 servings and includes the optional egg yolks and rum.
- Calories: Approximately 280-320
- Fat: 18-22g (mostly from coconut cream, which is rich in healthy medium-chain triglycerides)
- Carbohydrates: 28-34g (from the sweetened milks and cream of coconut)
- Protein: 4-6g
- Sugar: 24-30g
- Alcohol: Varies based on rum amount
While it’s not low-calorie, there are a few silver linings. Coconut cream contains medium-chain triglycerides (MCTs), which are a type of fat that your body can use for quick energy. The cinnamon in this recipe is also a nice bonus—it’s known for its anti-inflammatory properties and can help with blood sugar regulation. The egg yolks, if you use them, add a dose of vitamin D and choline.
Dietary Considerations: This recipe is naturally gluten-free. For a dairy-free version, see the variations section. It contains eggs if you choose to add them, and obviously, it contains alcohol. Always label your bottles clearly if you’re serving a crowd, especially if there might be kids or non-drinkers around.
My personal take? Enjoy it in moderation. Coquito is a celebration drink, not an everyday thing. Savor a small glass, enjoy the flavors, and don’t stress about the numbers. That’s what the holidays are about.
Conclusion
This coquito recipe is more than just a drink—it’s a connection to tradition, to family, and to the warm feeling of being surrounded by people you love. Every time I make it, I think of Tía Carmen lining up her cans, humming her song, and never measuring a single thing. It took me years to get this right, and now it’s my gift to you.
I hope you make this for your next holiday gathering, your Friendsgiving, your family dinner, or just because it’s Tuesday and you deserve something special. Don’t be afraid to make it your own—add a little more cinnamon, a splash more rum, or a twist of your own. That’s what makes cooking personal, and that’s what keeps traditions alive.
I’d love to hear how it turns out for you! Drop a comment below and let me know if you made any changes, what you served it with, or if it reminded you of someone special. Share this recipe with a friend who needs a little holiday cheer, and don’t forget to pin it for later. Now go make some memories—and some coquito!
Frequently Asked Questions
Can I make coquito without eggs?
Absolutely! The egg yolks are optional. They add richness and a silky texture, but the coquito will still be delicious without them. Just omit them from the recipe and proceed as directed. The drink will be slightly thinner but still incredibly creamy and flavorful.
How long does homemade coquito last in the fridge?
Properly stored in a sealed glass bottle or jar, homemade coquito will last up to 2 weeks in the refrigerator. The flavors actually improve after a day or two as the spices meld together. Just give it a good shake before serving, as the coconut cream can settle.
Can I freeze coquito?
Yes, you can freeze coquito for up to 3 months. Pour it into a freezer-safe container, leaving a little room for expansion. Thaw it in the refrigerator overnight, then shake or whisk well before serving. The texture might be slightly different after freezing, but it will still be delicious.
What’s the best rum to use for coquito?
A good mid-range white or gold rum works best. I prefer Bacardí Gold or Don Q for their smooth flavor. You can also use dark rum for a deeper, more molasses-like taste. Avoid spiced rums, as they can clash with the cinnamon and cloves in the recipe.
Can I make coquito ahead of time for a party?
Yes, and I actually recommend it! Making coquito 1-2 days in advance allows the flavors to meld and deepen. Just store it in the refrigerator in sealed bottles, and give it a gentle shake before serving. It’s one less thing to worry about on the day of your party.
Pin This Recipe!
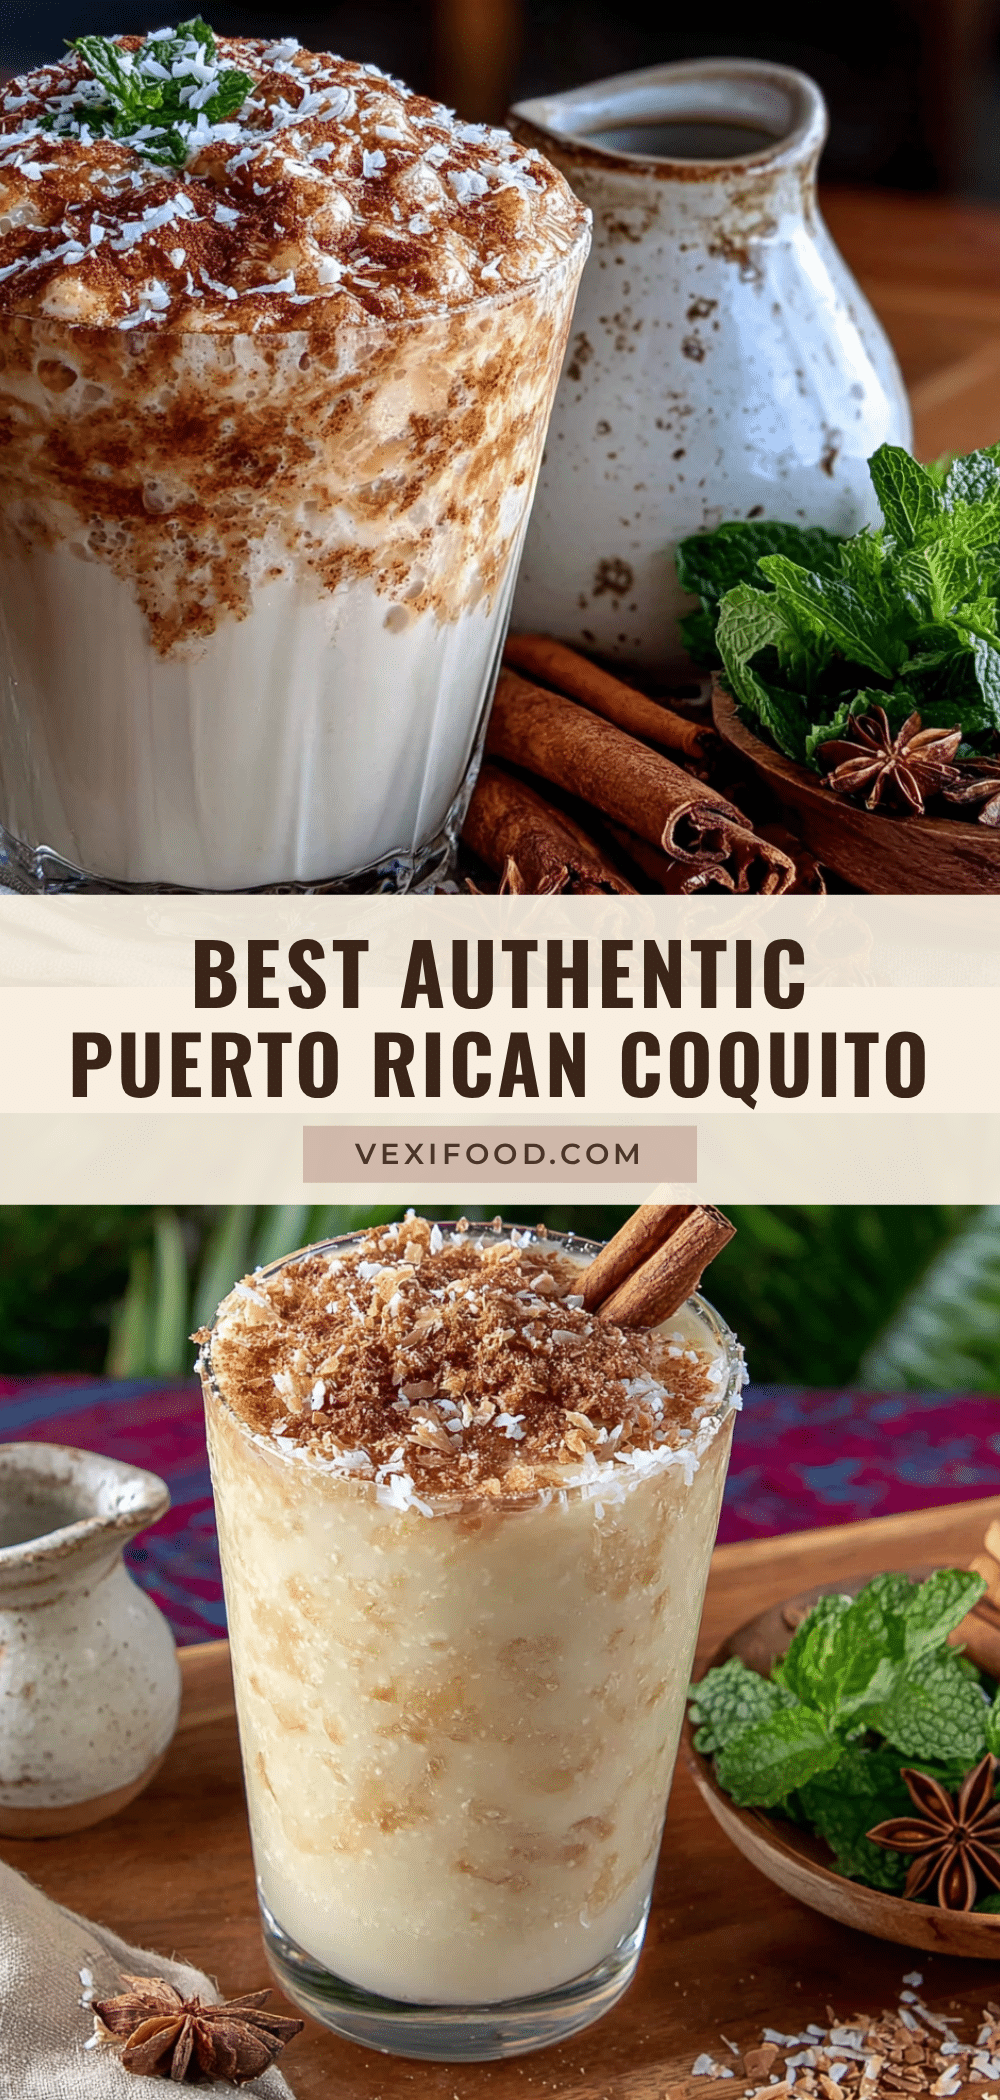
Best Authentic Puerto Rican Coquito Recipe (Creamy & Easy)

This creamy, spiced Puerto Rican coquito is a holiday tradition made with coconut cream, evaporated milk, sweetened condensed milk, and warm spices. It’s rich, velvety, and easy to make ahead for any festive gathering.
- Prep Time: 15 minutes
- Cook Time: 0 minutes
- Total Time: 4 hours 15 minutes (includes chilling)
- Yield: 10 servings 1x
- Category: Beverage
- Cuisine: Puerto Rican
Ingredients
- 1 can (15 oz) coconut cream
- 1 can (12 oz) evaporated milk
- 1 can (14 oz) sweetened condensed milk
- 1 can (15 oz) cream of coconut (e.g., Coco López)
- 1 teaspoon ground cinnamon
- 1/2 teaspoon ground cloves
- 1 teaspoon vanilla extract
- 1/2 cup white or gold rum (adjust to taste)
- 2 large egg yolks (optional)
- Pinch of salt
- 1 cinnamon stick (for chilling, optional)
- Ground cinnamon or nutmeg for garnish (optional)
Instructions
- In a large mixing bowl, whisk together the coconut cream and evaporated milk until smooth.
- Add the sweetened condensed milk and cream of coconut. Whisk vigorously until well combined and the mixture is pale ivory in color.
- Add 1 teaspoon ground cinnamon, 1/2 teaspoon ground cloves, 1 teaspoon vanilla extract, and a pinch of salt. Whisk until spices are evenly distributed.
- Pour in 1/2 cup rum and whisk to combine. Taste and adjust rum amount as desired.
- Optional: Transfer mixture to a blender and blend on low speed for 30 seconds for extra smoothness. Alternatively, use an immersion blender.
- If using egg yolks: In a small bowl, lightly beat 2 large egg yolks. Slowly drizzle about 1/4 cup of the coquito mixture into the yolks while whisking constantly to temper. Then pour the yolk mixture back into the bowl and whisk until fully incorporated.
- Optional: Strain the mixture through a fine-mesh strainer into a clean bowl or directly into bottles to remove any lumps.
- Using a funnel, pour the coquito into clean glass bottles or jars. Seal tightly and refrigerate for at least 4 hours, preferably overnight.
- Serve cold in small glasses. Garnish with a sprinkle of ground cinnamon or a cinnamon stick if desired.
Notes
For best flavor, let coquito chill for 24 hours. Use coconut cream, not coconut milk. Adjust rum to taste. If using egg yolks, temper them to avoid scrambling. Store in refrigerator for up to 2 weeks. Freeze for up to 3 months.
Nutrition
- Serving Size: 4 ounces (1/2 cup)
- Calories: 300
- Sugar: 27
- Sodium: 80
- Fat: 20
- Saturated Fat: 16
- Carbohydrates: 31
- Protein: 5
Keywords: coquito, Puerto Rican coquito, holiday drink, coconut drink, creamy coquito, easy coquito recipe, traditional coquito



