Love this? Save it for later!
Share the inspiration with your friends
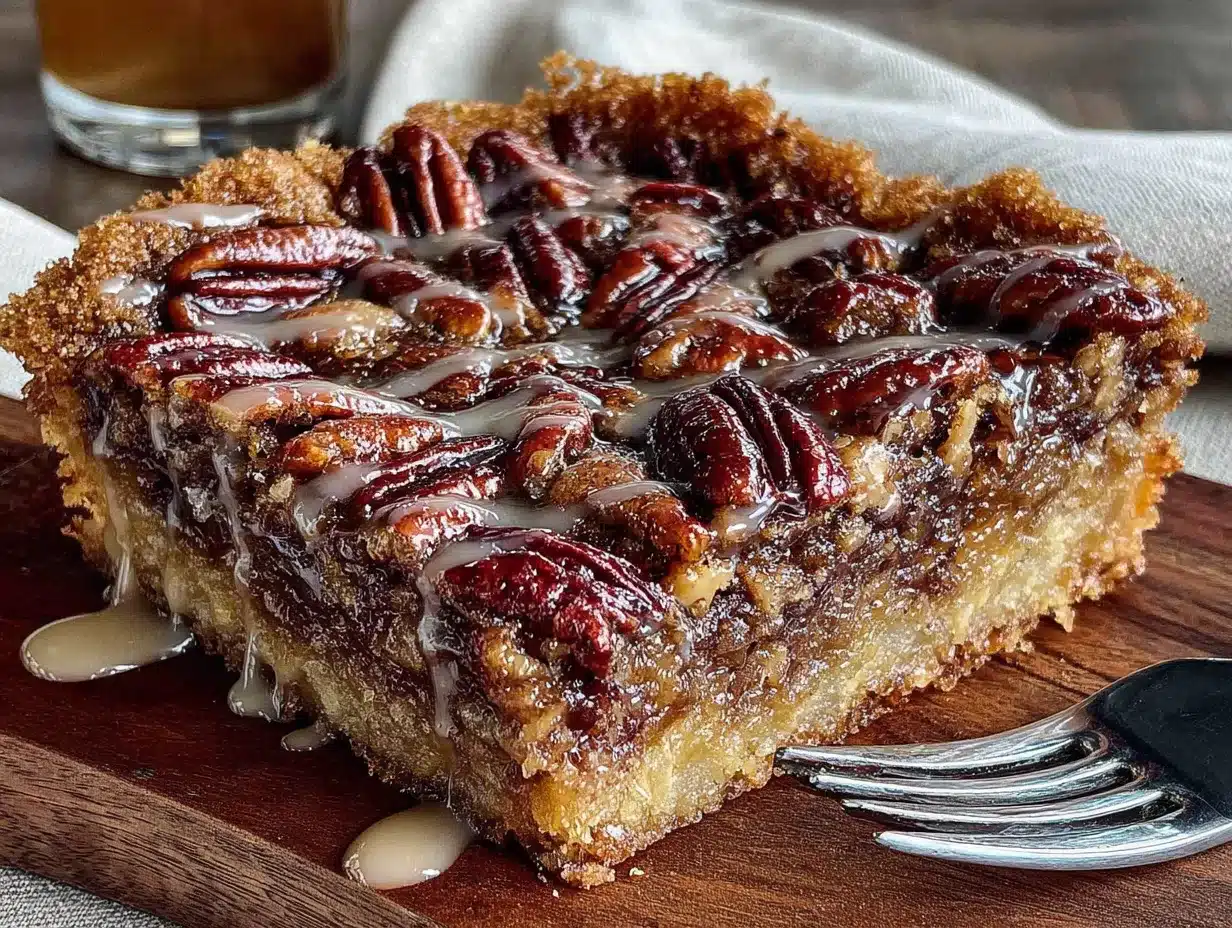
I was standing in the frozen foods aisle last Tuesday — just trying to grab a bag of peas, honestly — when a woman walked past me, and the air shifted. It was that specific smell. Brown butter. Toasted pecans. Something sweet and almost caramelized. She was carrying a bakery box from the little shop two blocks over, and the scent trailed behind her like a ghost. And suddenly I was eight years old, standing on a step stool in my aunt Carol’s kitchen, watching her stir a pot of bubbling maple syrup and butter on the stove. Her kitchen always smelled like that — warm, nutty, impossibly cozy. She passed away five years ago, and I haven’t tasted anything that reminded me of her pecan pie bars since. Until I made these.
Let me tell you, recreating that memory wasn’t easy. I burned the first batch of butter — let it go too dark, too fast, and the whole kitchen smelled like regret. But the second time? That was it. That was the smell. And when I bit into one of these Easy Maple Pecan Pie Bars with Brown Butter Crust, I actually teared up a little. Not kidding. Maybe you’ve been there — that moment when a flavor unlocks a door you thought was sealed shut. These bars are that for me. They’re not just a dessert. They’re a time machine.
And honestly? They’re way easier than a full pecan pie. No rolling out dough, no blind baking, no worrying about a soggy bottom. The brown butter crust presses right into the pan — it’s more forgiving than pie crust, I promise — and the filling sets up in the oven like a dream. That’s why I keep making them. Because they taste like a holiday memory I can actually hold onto.
Why You’ll Love This Recipe
I’ve tested this recipe six times in the last month. My neighbors have become very enthusiastic taste-testers. My husband has started hiding the leftovers. So trust me when I say — these bars deliver.
- Quick & Easy: From start to finish, you’re looking at about 45 minutes. The crust takes 10 minutes to press together, the filling is a one-pot situation, and the oven does the rest. Perfect for a Tuesday night craving or a last-minute holiday potluck.
- Simple Ingredients: No weird extracts, no obscure syrups. You need butter, flour, brown sugar, pecans, maple syrup, eggs, and a few pantry staples. That’s it. I checked my kitchen — I had everything except the pecans.
- Perfect for the Holidays: Thanksgiving, Christmas, Friendsgiving, cookie swaps — these bars are the unsung hero of the dessert table. They travel well, they slice cleanly, and they don’t need to be refrigerated. You can make them a day ahead and just bring them out when people start hovering near the kitchen.
- Crowd-Pleaser: I brought a batch to my book club last week. They were gone in fifteen minutes. One woman asked for the recipe before she even finished her first bite. Another texted me the next morning to say her kids fought over the last piece. Kids and adults both go crazy for the texture — that crunchy, buttery crust with the soft, gooey maple-pecan topping.
- Unbelievably Delicious: The brown butter crust is the game-changer here. It adds this deep, nutty, almost toffee-like flavor that regular pie crust just can’t touch. And the maple filling? It’s not cloyingly sweet — it has this rich, complex sweetness that feels sophisticated but tastes like comfort. Honestly, I think it’s better than traditional pecan pie.
What makes this recipe different from the rest? It’s the brown butter. Most pecan bar recipes use a plain shortbread crust, which is fine but forgettable. Browning the butter first adds a layer of flavor that makes people stop mid-bite and say, “Wait — what is that?” It’s also less fussy than a full pie. No blind baking, no crimping, no worrying about a cracked filling. You just press, pour, and bake. It’s the best version of pecan pie bars I’ve ever made — and I’ve made a lot.
This recipe isn’t just good. It’s the kind that makes you close your eyes after the first bite. It’s comfort food reimagined — faster, easier, but with the same soul-soothing satisfaction. Perfect for impressing guests without stress, or turning a simple weeknight into something memorable.
What Ingredients You Will Need
This recipe uses simple, wholesome ingredients to deliver that deep, nutty, maple flavor without any fuss. Most of these are pantry staples — you might already have everything except the pecans and maple syrup.
For the Brown Butter Crust
- 1 cup (2 sticks) unsalted butter — I use Land O’Lakes or Kerrygold for the best flavor. You’ll brown this, so don’t skimp on quality. The milk solids are what give it that nutty aroma.
- 1/2 cup granulated sugar — Just regular white sugar. It keeps the crust crisp without being too sweet.
- 2 cups all-purpose flour — Spoon and level it. Don’t scoop straight from the bag, or you’ll end up with a dry, crumbly crust. (Ask me how I know.)
- 1/4 teaspoon salt — Fine sea salt or table salt works. It balances the sweetness.
For the Maple Pecan Filling
- 3 large eggs — Room temperature is best. If you forgot to take them out, place them in a bowl of warm water for 5 minutes.
- 1 cup pure maple syrup — Not pancake syrup! Use the real stuff. Grade A dark amber is my go-to for baking — it has a stronger maple flavor that holds up against the nuts. I recommend Coombs Family Farms or Trader Joe’s organic maple syrup.
- 1/2 cup packed light brown sugar — Dark brown sugar works too, but light keeps the maple flavor front and center.
- 3 tablespoons unsalted butter, melted — You can use the leftover browned butter from the crust if you have extra. Waste not, want not.
- 1 teaspoon vanilla extract — Pure vanilla, not imitation. It makes a difference here.
- 1/4 teaspoon salt — To cut the sweetness and make the flavors pop.
- 2 cups pecan halves or chopped pecans — I prefer halves for a prettier presentation, but chopped works just fine. Toast them lightly in a dry pan for 3-4 minutes before adding — it brings out their oils and makes them crunchier. (Look for fresh pecans — they should smell mild and nutty, not rancid.)
Equipment Needed
You don’t need a fancy kitchen to make these bars. Here’s what I used:
- 9×13-inch baking pan — Metal or glass both work. If using glass, reduce the oven temperature by 25°F to prevent over-browning.
- Parchment paper — Non-negotiable. It makes lifting the bars out so much easier. Leave an overhang on two sides for handles.
- Medium saucepan — For browning the butter. A light-colored pan helps you see the color change.
- Mixing bowls — One large, one medium.
- Whisk — For the filling.
- Wooden spoon or spatula — For stirring the crust mixture.
- Measuring cups and spoons — Accuracy matters in baking.
- Cooling rack — Helps the bars cool evenly so they set properly.
If you don’t have a 9×13 pan, an 8×8 pan will work — just double the recipe or expect thicker bars with a longer baking time. I’ve also used a disposable aluminum pan for holiday gift-giving, and it works great. Just place it on a baking sheet for stability.
Preparation Method
Let’s get baking. I promise — this is easier than a traditional pecan pie, and the payoff is huge.
- Preheat your oven to 350°F (175°C). Line your 9×13-inch baking pan with parchment paper, leaving a 2-inch overhang on the long sides. This will be your lifting handles later.
- Brown the butter. Place 1 cup (2 sticks) of unsalted butter in a medium saucepan over medium heat. Let it melt completely, then continue cooking, swirling the pan occasionally. You’ll see it foam up, then subside, then small brown specks will appear at the bottom. This takes about 5-7 minutes. The moment it smells nutty and turns a golden-amber color, remove it from the heat. Don’t walk away — it can go from browned to burned in seconds. Pour it into a heatproof bowl to stop the cooking.
- Make the crust. In a large bowl, combine 2 cups all-purpose flour, 1/2 cup granulated sugar, and 1/4 teaspoon salt. Pour in the warm browned butter (all of it — including the brown bits at the bottom — that’s where the flavor lives). Stir with a wooden spoon until the mixture looks like wet sand and holds together when pressed. It will be crumbly but should clump when squeezed.
- Press the crust into the pan. Transfer the crust mixture to your prepared pan. Press it firmly and evenly into the bottom. I use the bottom of a measuring cup to get it really flat and compact. Don’t leave any gaps — the filling will seep through. Bake for 12-15 minutes, until the edges are just starting to turn golden. Remove from the oven and set aside.
- Make the filling. While the crust is baking, whisk together 3 large eggs in a medium bowl until frothy. Add 1 cup pure maple syrup, 1/2 cup packed light brown sugar, 3 tablespoons melted unsalted butter, 1 teaspoon vanilla extract, and 1/4 teaspoon salt. Whisk until smooth and well combined. Don’t over-whisk — you don’t want to incorporate too much air.
- Add the pecans. Stir in 2 cups pecan halves (or chopped pecans) until evenly coated. The pecans will float to the top during baking — that’s exactly what you want.
- Pour the filling over the crust. Carefully pour the maple-pecan mixture over the hot crust. Spread it evenly with a spatula. The filling will be thin — that’s okay. It will set as it bakes.
- Bake. Return the pan to the oven and bake for 25-30 minutes, until the filling is set around the edges but still slightly jiggly in the center. It should look golden and puffed. A knife inserted near the center should come out mostly clean, with just a little sticky residue. If it looks liquid, give it 5 more minutes.
- Cool completely. Place the pan on a cooling rack and let it cool for at least 2 hours. This is crucial — the filling needs time to set. If you cut too early, you’ll get a gooey mess. (I learned this the hard way. Patience, friend.)
- Slice and serve. Once completely cool, use the parchment overhang to lift the entire slab out of the pan. Place on a cutting board and slice into bars — I usually do 12 (3 rows by 4 rows) or 16 for smaller portions. Use a sharp knife and wipe it clean between cuts for neat edges.
Cooking Tips & Techniques
I’ve made these bars enough times to know where things can go sideways. Here’s what I’ve learned:
- Don’t rush the brown butter. This is the most important step. Use a light-colored pan so you can see the color change. Swirl it constantly once it starts foaming. The moment it smells nutty and looks amber, pull it off the heat. If it smells burnt, start over — it won’t taste right.
- Press the crust firmly. A loose crust will crumble when you slice. Use the bottom of a glass or measuring cup to really pack it down. I press it in layers — corners first, then edges, then the middle.
- Watch the baking time. Every oven runs differently. My friend’s oven takes 35 minutes; mine takes 27. Start checking at 25 minutes. The filling should be set at the edges but still have a slight wobble in the center. It will continue to set as it cools.
- Cool completely before slicing. I cannot stress this enough. I once cut into a warm pan because I couldn’t wait, and it was a sticky, beautiful disaster. Let it cool for a full 2 hours. If you’re making these a day ahead, even better — the flavors meld overnight.
- Use a sharp knife. A dull knife will drag through the filling and mess up the crust. Run the knife under hot water, dry it, then slice. Wipe clean between each cut.
Variations & Adaptations
These bars are forgiving. Here are some ways to make them your own:
- Gluten-Free Option: Swap the all-purpose flour with a 1:1 gluten-free baking flour blend. I’ve used Bob’s Red Mill 1:1 with great results. The crust will be slightly more crumbly, but it still tastes amazing.
- Dairy-Free Option: Use vegan butter for both the crust and the filling. I like Miyoko’s or Earth Balance. The brown butter flavor won’t be as pronounced, but the maple and pecans still shine.
- Chocolate Twist: Sprinkle 1/2 cup dark chocolate chips over the crust before pouring the filling. The chocolate melts into the bars and adds a rich, bittersweet contrast. My husband calls these “the best thing I’ve ever made.” High praise.
- Spiced Version: Add 1/2 teaspoon cinnamon and 1/4 teaspoon nutmeg to the filling. It gives the bars a cozy, fall feel. I made this version for a Friendsgiving and it disappeared fastest.
- Bourbon Maple: Replace 2 tablespoons of the maple syrup with bourbon. The alcohol bakes off, leaving a warm, smoky depth. I tried this on a whim one rainy Sunday — now it’s my secret holiday weapon.
Serving & Storage Suggestions
These bars are good at room temperature, but I actually prefer them chilled. The filling firms up and gets this fudge-like texture that’s incredible. Here’s how to serve and store them:
- Serving Temperature: Serve at room temperature or slightly chilled. If you’re feeling fancy, warm a bar for 10 seconds in the microwave and top with a scoop of vanilla ice cream or a drizzle of caramel sauce.
- Presentation: Dust with a little flaky sea salt just before serving — it cuts the sweetness and looks gorgeous. Arrange on a platter with fresh rosemary sprigs or cinnamon sticks for a holiday vibe.
- Storage: Store in an airtight container at room temperature for up to 3 days, or in the refrigerator for up to a week. Layer them with parchment paper between bars to prevent sticking.
- Freezing: These freeze beautifully. Wrap individual bars tightly in plastic wrap, then place in a freezer-safe bag. They’ll keep for up to 3 months. Thaw at room temperature for about 30 minutes before serving.
- Flavor Development: Honestly, these bars taste even better the next day. The maple flavor deepens, the crust softens slightly, and everything melds together. I always try to make them a day ahead.
Nutritional Information & Benefits
Let’s be real — these are a treat. But here’s what you should know:
- Estimated per bar (based on 12 servings): Calories: 380, Fat: 24g, Saturated Fat: 10g, Carbohydrates: 40g, Sugar: 28g, Protein: 5g, Fiber: 2g.
- Health Benefits: Pecans are packed with healthy monounsaturated fats, fiber, and antioxidants. They’re good for heart health and can help lower cholesterol. Maple syrup contains zinc and manganese, and has a lower glycemic index than refined sugar. So… it’s basically health food? (I’m kidding. Mostly.)
- Dietary Considerations: This recipe is vegetarian. For gluten-free or dairy-free, see the variations above. It contains nuts, eggs, and gluten — not suitable for those with allergies to those ingredients.
- My take: I believe in balance. These bars are a celebration — a holiday treat, a weekend indulgence. I don’t stress about the numbers. I enjoy every bite, and I suggest you do too.
Frequently Asked Questions
Can I use salted butter instead of unsalted?
Yes, but reduce the added salt in both the crust and filling to 1/8 teaspoon. Salted butter can vary in salt content, so taste as you go.
My filling didn’t set. What went wrong?
This usually happens if the bars were underbaked or cut too early. Make sure the filling is set at the edges and only slightly jiggly in the center before removing from the oven. And please — let it cool completely. Patience is key.
Can I use maple-flavored syrup instead of real maple syrup?
I wouldn’t recommend it. Maple-flavored syrup is mostly corn syrup with artificial flavoring. It will make the bars overly sweet and the texture will be different. Real maple syrup is worth the splurge here.
How do I toast the pecans?
Spread pecan halves on a baking sheet and toast at 350°F for 5-7 minutes, or until fragrant. Watch them closely — they burn quickly. Let them cool before using. Toasting brings out their natural oils and makes them crunchier.
Can I make these bars ahead of time?
Absolutely. In fact, they’re better the next day. Make them up to 2 days ahead, store in an airtight container at room temperature, and slice just before serving. They also freeze well for up to 3 months.
Conclusion
These Easy Maple Pecan Pie Bars with Brown Butter Crust are everything I want in a holiday dessert — rich, nutty, buttery, and surprisingly simple to make. They taste like a hug from someone you love. They taste like my aunt Carol’s kitchen. And honestly? They might become your new holiday tradition too.
I hope you make these and love them as much as I do. Don’t be afraid to play with the variations — add chocolate, spice it up, or keep it classic. The beauty of this recipe is how forgiving it is. And if you make a mess? That’s okay. I’ve burned butter, spilled filling, and eaten way too many test batches. It’s all part of the fun.
I’d love to hear how yours turn out. Drop a comment below — tell me about your favorite holiday memory, or just let me know if these bars made someone in your life smile. And if you share them on social media, tag me! I can’t wait to see your creations. Happy baking, friend.
Pin This Recipe!
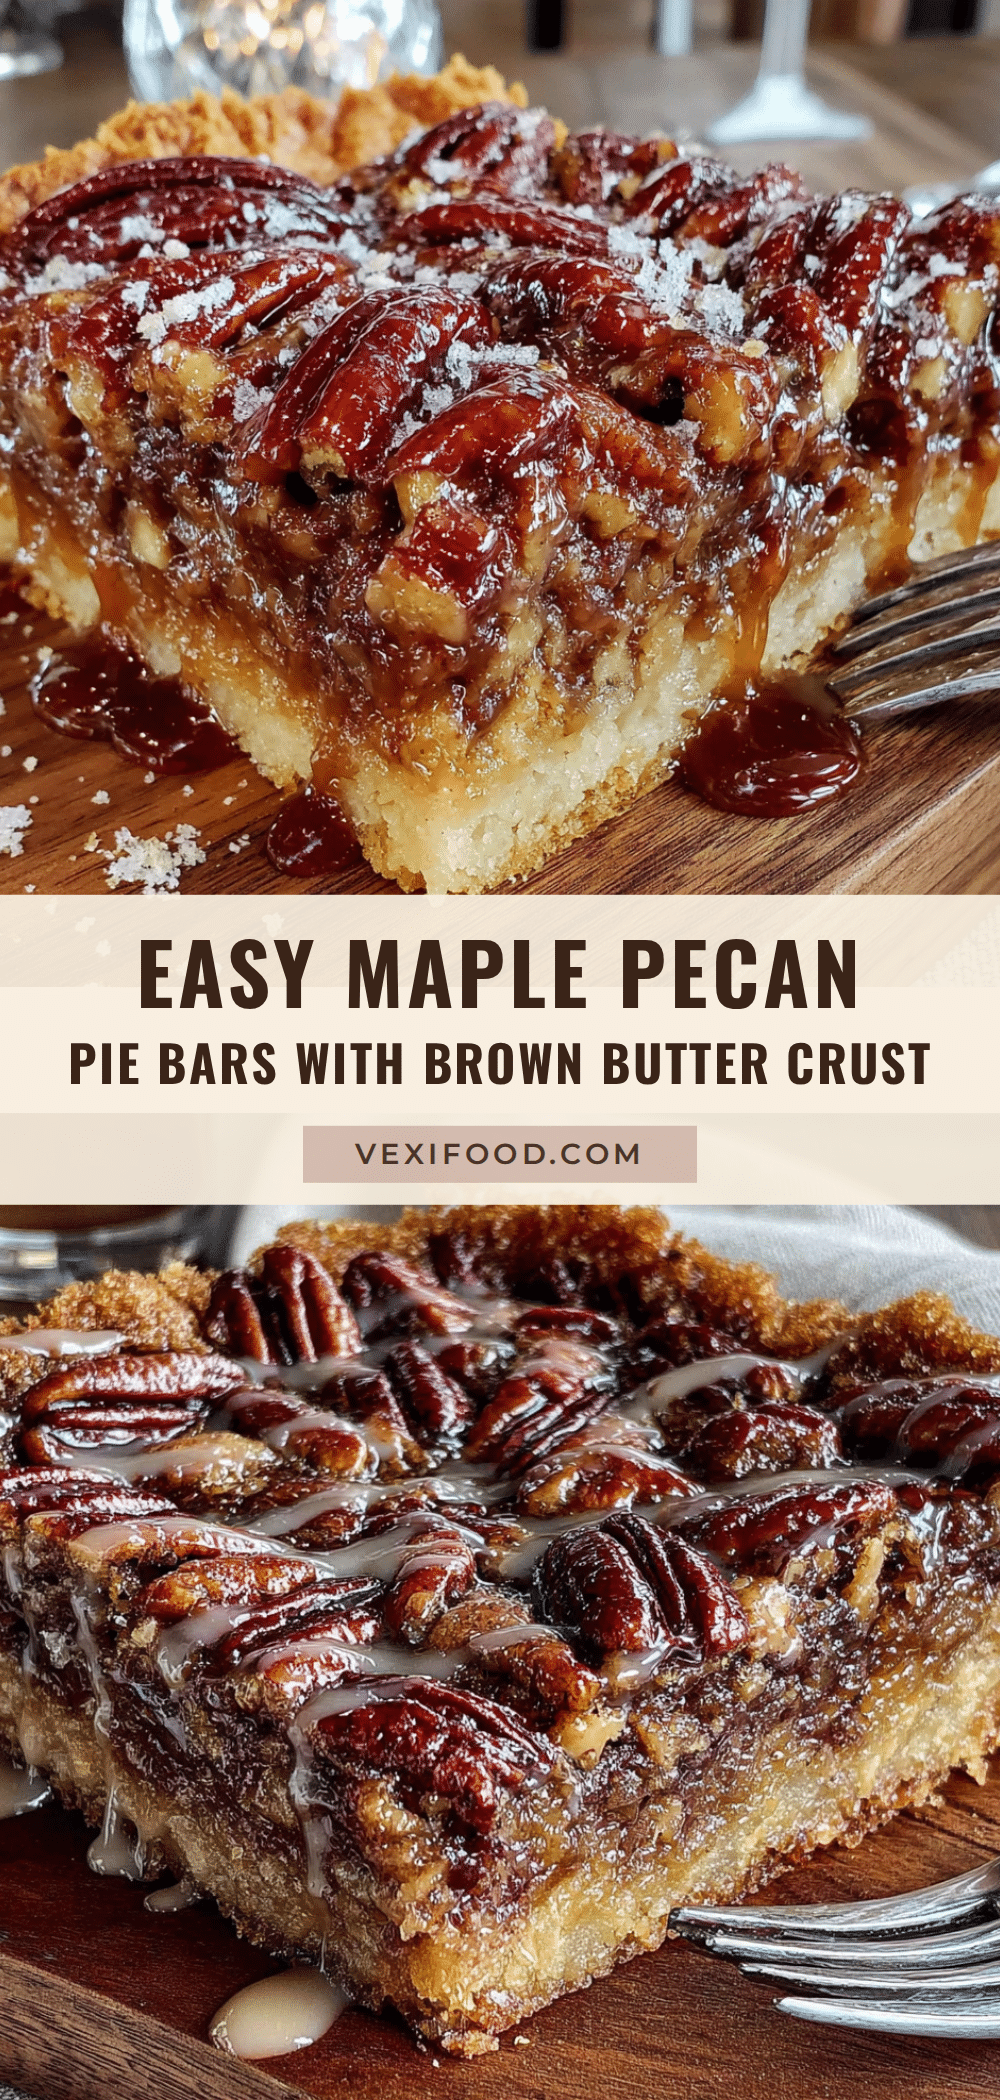
Easy Maple Pecan Pie Bars with Brown Butter Crust
These Easy Maple Pecan Pie Bars with Brown Butter Crust are the ultimate holiday dessert—rich, nutty, buttery, and surprisingly simple to make. With a deep, toffee-like brown butter crust and a soft, gooey maple-pecan topping, they taste like a hug from someone you love.
- Prep Time: 15 minutes
- Cook Time: 30 minutes
- Total Time: 45 minutes
- Yield: 12 servings 1x
- Category: Dessert
- Cuisine: American
Ingredients
- 1 cup (2 sticks) unsalted butter
- 1/2 cup granulated sugar
- 2 cups all-purpose flour
- 1/4 teaspoon salt
- 3 large eggs
- 1 cup pure maple syrup
- 1/2 cup packed light brown sugar
- 3 tablespoons unsalted butter, melted
- 1 teaspoon vanilla extract
- 1/4 teaspoon salt
- 2 cups pecan halves or chopped pecans
Instructions
- Preheat your oven to 350°F (175°C). Line your 9×13-inch baking pan with parchment paper, leaving a 2-inch overhang on the long sides.
- Brown the butter: Place 1 cup (2 sticks) of unsalted butter in a medium saucepan over medium heat. Let it melt completely, then continue cooking, swirling the pan occasionally, until it foams, subsides, and small brown specks appear. Remove from heat when it smells nutty and turns golden-amber (about 5-7 minutes). Pour into a heatproof bowl.
- Make the crust: In a large bowl, combine 2 cups all-purpose flour, 1/2 cup granulated sugar, and 1/4 teaspoon salt. Pour in the warm browned butter (including brown bits). Stir until the mixture looks like wet sand and holds together when pressed.
- Press the crust into the prepared pan firmly and evenly. Bake for 12-15 minutes, until edges are just golden. Remove from oven and set aside.
- Make the filling: In a medium bowl, whisk 3 large eggs until frothy. Add 1 cup pure maple syrup, 1/2 cup packed light brown sugar, 3 tablespoons melted unsalted butter, 1 teaspoon vanilla extract, and 1/4 teaspoon salt. Whisk until smooth.
- Stir in 2 cups pecan halves (or chopped pecans) until evenly coated.
- Pour the filling over the hot crust and spread evenly.
- Bake for 25-30 minutes, until the filling is set around the edges but still slightly jiggly in the center.
- Cool completely on a cooling rack for at least 2 hours.
- Use the parchment overhang to lift the slab out of the pan. Slice into bars (12 or 16) using a sharp knife, wiping clean between cuts.
Notes
Don’t rush the brown butter—use a light-colored pan and watch closely. Press the crust firmly to prevent crumbling. Cool completely before slicing to allow the filling to set. For best flavor, make a day ahead. Store in an airtight container at room temperature for up to 3 days, or refrigerate for up to a week. Freeze individual bars wrapped in plastic wrap for up to 3 months.
Nutrition
- Serving Size: 1 bar
- Calories: 380
- Sugar: 28
- Sodium: 150
- Fat: 24
- Saturated Fat: 10
- Carbohydrates: 40
- Fiber: 2
- Protein: 5
Keywords: maple pecan pie bars, brown butter crust, holiday dessert, pecan bars, easy dessert, Thanksgiving dessert, Christmas dessert



