Love this? Save it for later!
Share the inspiration with your friends
Introduction
“I wasn’t even planning a party that day,” I admit, chuckling as I remember the chaos. It was a rainy Saturday afternoon, and my little neighbor Mia was over for a playdate. We were surrounded by half-finished puzzles and a mountain of craft supplies when she suddenly declared she was craving something fun to eat—something “like the ocean.” Honestly, I had no idea what she meant at first. But before I could even finish my coffee, she was pulling out blue jelly cups and fish-shaped crackers from my pantry, insisting we make snack cups that looked like an underwater party.
The idea was so simple but brilliant, and it stuck with me. I mean, who wouldn’t want to dip their spoon into a bright blue sea of jelly, topped with crunchy “seaweed” and cute ocean critters? It wasn’t just a snack; it was a tiny adventure. I forgot to grab the spoons initially, which led to a hilarious scramble and a little mess on the kitchen counter—but that just made it more memorable. Since then, these Under the Sea Ocean Snack Cups have become my go-to for kids’ parties, last-minute treats, or whenever I need a quick, playful pick-me-up for the little ones.
Maybe you’ve been there, too—wanting a snack that’s as delightful to look at as it is to eat. Well, let me tell you, this recipe delivers on both fronts. It’s easy, colorful, and honestly, a little bit magical. Plus, it’s a great way to sneak in some fun without a ton of fuss. So if you’re ready to bring a splash of the ocean to your kitchen (without the saltwater mess), these snack cups are just the ticket.
Why You’ll Love This Recipe
Having tested this recipe countless times with kids ranging from toddlers to tweens, I can confidently say it’s a winner for a bunch of reasons. It’s not just a cute idea—it’s a snack that’s quick to prepare and guaranteed to bring smiles all around.
- Quick & Easy: Takes under 20 minutes from start to finish, perfect for busy afternoons or last-minute gatherings.
- Simple Ingredients: Pantry-friendly and kid-approved—no fancy shopping required.
- Perfect for Parties: These ocean snack cups make a colorful and healthy addition to birthday parties, playdates, or school events.
- Crowd-Pleaser: The mix of sweet jelly, crunchy crackers, and fresh fruit appeals to kids and adults alike.
- Unbelievably Fun: The textures and colors come together to create a mini ocean scene that kids love to explore.
This isn’t just another jelly cup recipe. The secret is in the layering technique that mimics the ocean’s depth, plus the little edible “critters” that bring the snack to life. I’ve found that using clear plastic cups really makes the colors pop and adds to the excitement. Plus, the balance of flavors is just right—not too sweet, with a refreshing hint from the fruit. Honestly, it’s the kind of snack that makes kids pause and say “wow” before they dig in, and that’s half the fun!
What Ingredients You Will Need
This recipe uses simple, wholesome ingredients to deliver bold flavors and a playful texture without the fuss. Most of these are pantry staples or easy-to-find items, making it a breeze to whip up whenever the mood strikes.
- Blue raspberry or blueberry gelatin mix: for that vibrant ocean-blue base (I like the Jell-O brand for consistent color and flavor)
- Clear plastic snack cups: about 6 to 8-ounce size (these really show off the layers)
- Vanilla or plain yogurt: acts as the “sand” layer for contrast and creaminess (full-fat is best for richness, but low-fat works too)
- Graham cracker crumbs: for the sandy texture (crushed finely, you can substitute with digestive biscuits)
- Goldfish crackers or animal-shaped crackers: the adorable “fish” swimming in your ocean
- Gummy sea creatures: optional but super fun for decoration (look for natural fruit flavors if possible)
- Fresh fruit pieces: small blueberries or sliced strawberries add freshness and color
- Whipped cream: for topping, optional but adds a fluffy “sea foam” effect
- Food-safe edible glitter or colored sugar crystals: optional, for a sparkling ocean vibe
Substitution tips: If you want to keep this dairy-free, swap yogurt for coconut or almond-based yogurt alternatives. For a gluten-free version, double-check the crackers or replace with gluten-free graham crackers. In summer, fresh berries make the ocean scene even more vibrant, but frozen berries work just fine thawed. For a healthier twist, use homemade gelatin with real fruit juice.
Equipment Needed

- Mixing bowl: to prepare the gelatin mix
- Measuring cups and spoons: for accurate proportions
- Whisk or spoon: to stir the gelatin
- Clear plastic snack cups: about 6 to 8 ounces, for assembling the snack
- Small spatula or spoon: to layer yogurt and crumbs neatly
- Refrigerator: for setting the gelatin
If you don’t have clear plastic cups, small glass jars or even sturdy silicone cups work, but be careful with glass around kids. I once tried using ceramic ramekins, and while the snack was delicious, it lost some of its visual appeal. Budget-wise, disposable cups are affordable and make cleanup a breeze, especially when hosting a bunch of kids.
Preparation Method
- Prepare the gelatin: Follow package instructions to mix the blue gelatin with boiling water (usually 1 cup boiling water to one package). Stir until completely dissolved. Add 1 cup cold water (240 ml) and mix well. Pour into a bowl and refrigerate for about 45 minutes to 1 hour, or until it starts to thicken but isn’t fully set—think of a thick syrupy consistency. This helps create distinct layers later.
- Crush the graham crackers: While the gelatin chills, place about 1 cup (100g) of graham crackers into a sealed plastic bag and gently crush with a rolling pin or use a food processor for a finer texture. Set aside.
- Assemble the sandy base: Spoon about 2 tablespoons of yogurt into the bottom of each clear cup. Sprinkle a thin layer of graham cracker crumbs (about 1 tablespoon) over the yogurt to mimic sandy ocean floor.
- Add the blue gelatin layer: Carefully spoon ¼ cup (60 ml) of the thickened gelatin over the crumb layer in each cup. Be gentle to avoid mixing layers. Return cups to the refrigerator for 15 minutes to firm up slightly.
- Decorate with ocean critters: Once the gelatin has slightly set, place a few Goldfish crackers or gummy sea creatures on top. Add a few fresh blueberries or strawberry slices for pops of color and freshness.
- Add final touches: Top with a small dollop of whipped cream to mimic sea foam. Sprinkle a pinch of edible glitter or colored sugar crystals on top for a sparkling ocean effect.
- Chill and serve: Refrigerate the snack cups for an additional 30 minutes to allow the gelatin to fully set. Serve chilled with small spoons, and watch the kids dive into their mini ocean adventures!
Quick tip: If you’re short on time, you can prepare the gelatin a day ahead and assemble on the day of serving. Just keep the gelatin covered to avoid drying out. Also, layering slowly and chilling between steps really makes the layers distinct and visually appealing.
Cooking Tips & Techniques
Making these ocean snack cups might sound straightforward, but a few tricks can make a big difference in the final result. First off, timing is everything. Letting the gelatin thicken before layering prevents the colors from bleeding into each other. I’ve learned this the hard way after one too many blurry blue puddles!
When crushing the graham crackers, aim for a sandy texture—not powdery. That crumbly feel adds a delightful crunch and mimics real ocean sand beautifully. Also, don’t skip chilling between layers; it might feel like extra waiting, but it pays off with clean, distinct layers.
Another tip: use a spoon to gently pour the gelatin instead of dumping it in. I like to use the back of the spoon to soften the fall and keep the layers neat. And if you want to avoid soggy crackers, add the graham crumb layer just before the blue gelatin, so the crumbs don’t sit too long in the yogurt.
Lastly, when adding Goldfish or gummies, place them gently on the gelatin surface so they don’t sink immediately. If you want to get fancy, you can freeze the gummies for a few minutes before adding—they’ll hold shape better.
Variations & Adaptations
This recipe is super flexible and easy to adjust based on what you have or dietary needs. Here are a few ideas I’ve tried and enjoyed:
- Fruit juice gelatin: Swap the flavored gelatin mix with natural fruit juice and unflavored gelatin for a less sweet, more natural ocean color.
- Dairy-free version: Use coconut yogurt and skip the whipped cream or choose a coconut-based whipped topping for a tropical twist.
- Chocolate ocean floor: Replace graham cracker crumbs with crushed chocolate cookies for a “deep sea” theme that’s extra indulgent.
- Seasonal twist: Add small pieces of kiwi or orange slices to represent tropical fish or coral reefs.
- Alternative shapes: Instead of Goldfish crackers, try animal crackers or small pretzel twists for a salty crunch.
One personal favorite adaptation was using homemade chia seed pudding as the sandy layer instead of yogurt—adds a nice texture and a bit of fiber, plus the kids thought it was a “sea secret.” Feel free to get creative! These snack cups are great for mixing and matching flavors and textures.
Serving & Storage Suggestions
These ocean snack cups are best served chilled, right out of the fridge. They make a colorful centerpiece on any kids’ party table, especially when arranged on a tray with little paper umbrellas or themed napkins. Pair them with refreshing drinks like lemonade or coconut water to keep the theme going.
If you’re preparing them ahead, cover each cup tightly with plastic wrap or use reusable lids to prevent them from absorbing fridge odors. Stored properly, they stay fresh for up to 2 days. I wouldn’t recommend freezing because the gelatin texture can get weird after thawing.
When reheating is necessary (sometimes kids like a slightly less cold snack), just let them sit at room temperature for 10 minutes before eating—this softens the gelatin just a touch without melting it. Over time, the flavors actually meld nicely, so leftovers can taste even better the next day.
Nutritional Information & Benefits
Each snack cup provides a balanced mix of protein (from yogurt), carbohydrates (from crackers and fruit), and a small amount of fat (from yogurt and optional whipped cream). Blueberry or raspberry gelatin adds a touch of sweetness and color without too many calories. The fresh fruit boosts antioxidants and vitamins, while the graham crackers add fiber.
This recipe can fit nicely into a kid-friendly diet that values fun and nutrition. It’s gluten-friendly if you choose the right crackers, and dairy-free options make it accessible for those with lactose intolerance. Plus, it’s a great way to introduce kids to different textures and flavors in a playful way.
Conclusion
So, why try this Fun and Easy Under the Sea Ocean Snack Cups recipe? Because it’s more than just a snack—it’s a little burst of imagination and joy that kids remember. Whether you’re hosting a party or just looking for a fun activity, these snack cups bring smiles with minimal effort.
I love how adaptable this recipe is. You can easily customize it to fit your child’s tastes or dietary needs without losing the charm. Honestly, it’s become one of my favorite quick treats to prepare, especially when I want to surprise the kids with something colorful and tasty.
Give it a whirl and let me know how your ocean snack adventure goes! I’d love to hear your tweaks, favorite critters to add, or even any funny snack mishaps—you know, the kind that make cooking so human and fun.
FAQs
- Can I make these snack cups ahead of time?
Yes! Prepare the gelatin and layers a few hours ahead, but add the crackers and toppings just before serving for best texture. - What if my kids don’t like gelatin?
Try substituting with fruit jelly or a chia seed pudding layer to keep the ocean look and texture. - Are these snack cups suitable for toddlers?
Yes, but watch for small toppings like gummies or crackers that might be a choking hazard for younger toddlers. - Can I use homemade gelatin instead of store-bought?
Absolutely! Homemade gelatin made with 100% fruit juice works well and reduces added sugars. - How do I keep the crackers from getting soggy?
Add the cracker crumbs just before pouring the gelatin layer, and serve soon after assembling to maintain crunch.
For a fun twist on kid-friendly snacks, you might enjoy how these crispy garlic chicken bites have become a hit at family dinners, or try pairing your ocean snack cups with light, fresh dishes like summer cucumber salad for a balanced meal. Those little touches can turn any meal into a memorable event!
Pin This Recipe!
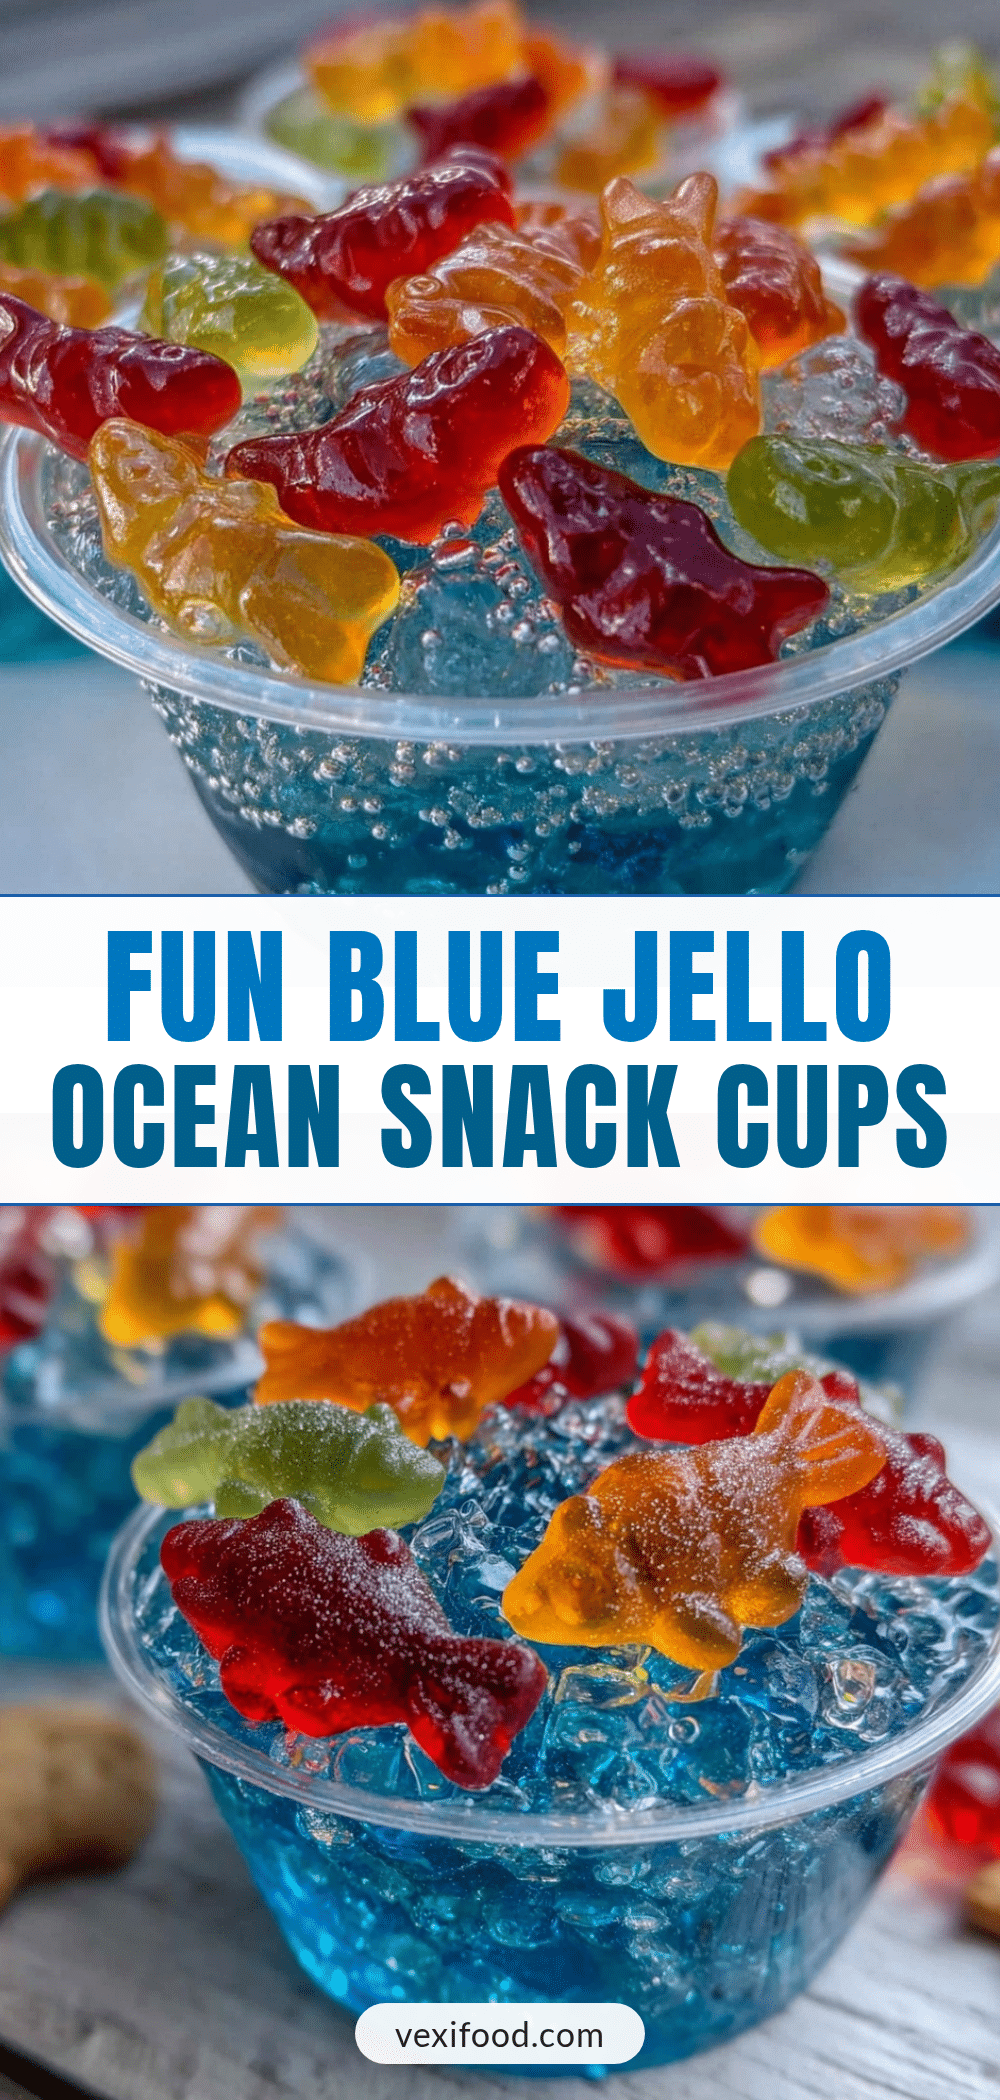
Fun and Easy Under the Sea Ocean Snack Cups Recipe for Kids Perfect Party Treats
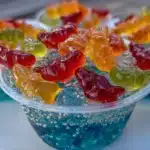
These Under the Sea Ocean Snack Cups are a quick, colorful, and playful snack perfect for kids’ parties or last-minute treats. They feature layers of blue gelatin, creamy yogurt, crunchy crackers, and fun ocean-themed toppings.
- Prep Time: 15 minutes
- Cook Time: 1 hour
- Total Time: 1 hour 15 minutes
- Yield: 6 servings
- Category: Snack
- Cuisine: American
Ingredients
- Blue raspberry or blueberry gelatin mix (1 package)
- Clear plastic snack cups (6 to 8-ounce size)
- Vanilla or plain yogurt (about 2 tablespoons per cup)
- Graham cracker crumbs (about 1 cup, crushed finely)
- Goldfish crackers or animal-shaped crackers
- Gummy sea creatures (optional)
- Fresh fruit pieces (small blueberries or sliced strawberries)
- Whipped cream (optional)
- Food-safe edible glitter or colored sugar crystals (optional)
Instructions
- Prepare the gelatin: Follow package instructions to mix the blue gelatin with 1 cup boiling water. Stir until completely dissolved. Add 1 cup cold water and mix well. Pour into a bowl and refrigerate for about 45 minutes to 1 hour, or until it starts to thicken but isn’t fully set.
- Crush the graham crackers: Place about 1 cup (100g) of graham crackers into a sealed plastic bag and gently crush with a rolling pin or use a food processor for a finer texture. Set aside.
- Assemble the sandy base: Spoon about 2 tablespoons of yogurt into the bottom of each clear cup. Sprinkle a thin layer of graham cracker crumbs (about 1 tablespoon) over the yogurt to mimic sandy ocean floor.
- Add the blue gelatin layer: Carefully spoon ¼ cup (60 ml) of the thickened gelatin over the crumb layer in each cup. Be gentle to avoid mixing layers. Return cups to the refrigerator for 15 minutes to firm up slightly.
- Decorate with ocean critters: Once the gelatin has slightly set, place a few Goldfish crackers or gummy sea creatures on top. Add a few fresh blueberries or strawberry slices for pops of color and freshness.
- Add final touches: Top with a small dollop of whipped cream to mimic sea foam. Sprinkle a pinch of edible glitter or colored sugar crystals on top for a sparkling ocean effect.
- Chill and serve: Refrigerate the snack cups for an additional 30 minutes to allow the gelatin to fully set. Serve chilled with small spoons.
Notes
Prepare gelatin ahead of time and assemble on the day of serving for best results. Chill between layering steps to keep layers distinct. Use dairy-free yogurt and gluten-free crackers for dietary adaptations. Freeze gummies briefly before adding to prevent sinking. Avoid freezing finished snack cups to maintain gelatin texture.
Nutrition
- Serving Size: 1 snack cup (about 6
- Calories: 150
- Sugar: 20
- Sodium: 150
- Fat: 4
- Saturated Fat: 1.5
- Carbohydrates: 28
- Fiber: 1
- Protein: 3
Keywords: kids snack, ocean snack cups, gelatin snack, party treats, easy kids recipe, fun snacks for kids, healthy kids snack