Love this? Save it for later!
Share the inspiration with your friends
“You know that moment when you find yourself elbow-deep in a mountain of fresh green beans, wondering what on earth to do next?” That was me one humid Saturday morning last August, standing in my cluttered kitchen with an overflowing basket from the farmer’s market. I’d intended to make a quick sauté, but then my neighbor, Mr. Thompson — the quiet guy who somehow always has a jar of something home-canned on his porch — popped by with a friendly grin and a jar of his famous garlic dill green beans. I wasn’t expecting much, honestly, but one bite changed everything.
Turns out, canning green beans with garlic and dill isn’t just for seasoned homesteaders or the ultra-patient — it’s straightforward, satisfying, and perfect for beginners (yes, including people like me who barely know their way around a pressure cooker). That jar sparked my curiosity and, after a few messy tries involving forgotten lids and slightly overcooked beans, I landed on a simple, five-step method that anyone can follow. So, whether you’re staring at a similar pile of fresh beans or just want to try your hand at preserving summer flavors, this easy garlic dill green bean canning guide is here to walk you through it.
Maybe you’ve been there — juggling fresh veggies with a mental note that you “should” learn canning — but felt overwhelmed by the jargon and equipment. Let me tell you, the process is less intimidating than it seems. Plus, having jars of garlicky, tangy green beans in your pantry feels like a little victory every time you open one. This recipe stayed with me because it’s a practical way to keep summer’s garden goodness alive all year long, with a punch of flavor that’s just right. So, roll up your sleeves, and let’s get canning!
Why You’ll Love This Recipe
After testing several versions of canned green beans, I can confidently say this easy garlic dill green bean canning guide is a winner. Whether you’re a first-timer or someone who’s dabbled in preserving, these jars deliver consistently delicious results.
- Quick & Easy: This method comes together in about an hour, making it a perfect weekend project without taking over your entire day.
- Simple Ingredients: No fancy or hard-to-find items here—just fresh green beans, garlic, dill, and pantry basics you probably already have.
- Perfect for Beginners: The step-by-step instructions remove guesswork, so you feel confident every step of the way.
- Crowd-Pleaser: These garlicky, dill-infused green beans are a hit at potlucks, family dinners, or as a tangy snack straight from the jar.
- Unbelievably Delicious: The crisp-tender beans soak up the bold flavors of garlic and dill, making every jar a little jar of summer sunshine.
This recipe isn’t just another canning guide; it’s about making canning approachable and fun. The key difference? The perfect balance of garlic and dill that shines without overpowering the fresh green bean flavor. After a few tries, I settled on a garlic amount that’s just right—not too strong but enough to make you smile with every bite. Honestly, it’s the kind of recipe that makes you want to open a jar before the holidays even begin.
What Ingredients You Will Need
This recipe uses simple, wholesome ingredients to deliver bold flavor and satisfying texture without the fuss. Most are pantry staples, and the fresh green beans are the star. Here’s what you’ll need:
- Fresh green beans: About 4 pounds (1.8 kg), trimmed and washed. Look for firm, crisp pods without blemishes for best results.
- Garlic cloves: 6-8 large cloves, peeled and halved. Fresh garlic adds that punchy aroma and flavor that canned garlic just can’t match.
- Fresh dill sprigs: 6 sprigs per quart jar. If fresh dill isn’t available, you can use 1 teaspoon of dried dill weed, but fresh is definitely preferred.
- Pickling salt: 2 tablespoons (use non-iodized salt to avoid cloudiness in the jars).
- White vinegar (5% acidity): 1 cup (240 ml) per batch for the brine. This helps preserve the beans and adds a pleasant tang.
- Water: 3 cups (720 ml) for the brine.
- Optional: Red pepper flakes (¼ teaspoon) for a subtle kick.
I usually recommend using trusted brands like Ball canning salt and Heinz white vinegar for consistent results. If you’re aiming for a gluten-free or low-sodium adaptation, you can tweak the salt amount or try apple cider vinegar instead, though white vinegar keeps the flavor bright and clean. And hey, if you’re lucky enough to have a garden, try to pick your beans fresh that morning for the best texture and taste.
Equipment Needed
Getting set up for canning isn’t as complicated as it sounds. Here’s what you’ll want on hand:
- Large canning pot or pressure canner: Essential for processing the jars safely. A tall pot with a rack works if you’re doing water bath canning.
- Quart-sized canning jars: About 4-5 jars per batch, cleaned and sterilized.
- Jar lifter: A must-have for safely lowering and lifting hot jars without burning your fingers.
- Wide-mouth funnel: Makes filling jars neat and easy.
- Bubble remover and headspace tool: Handy to remove air bubbles and measure proper jar headspace to prevent spoilage.
- Lids and screw bands: New lids are recommended for a proper seal, but screw bands can be reused if in good condition.
- Cutting board and sharp knife: For trimming beans and prepping garlic.
If you don’t have a jar lifter, a sturdy pair of tongs can work in a pinch, but the lifter is safer. Also, a magnetic lid lifter can help handle lids without touching the sealing surface. I keep a silicone mat on my counter where I place hot jars after processing to avoid cracks. For budget-conscious canners, secondhand equipment works fine as long as it’s in good condition and designed for canning.
Preparation Method
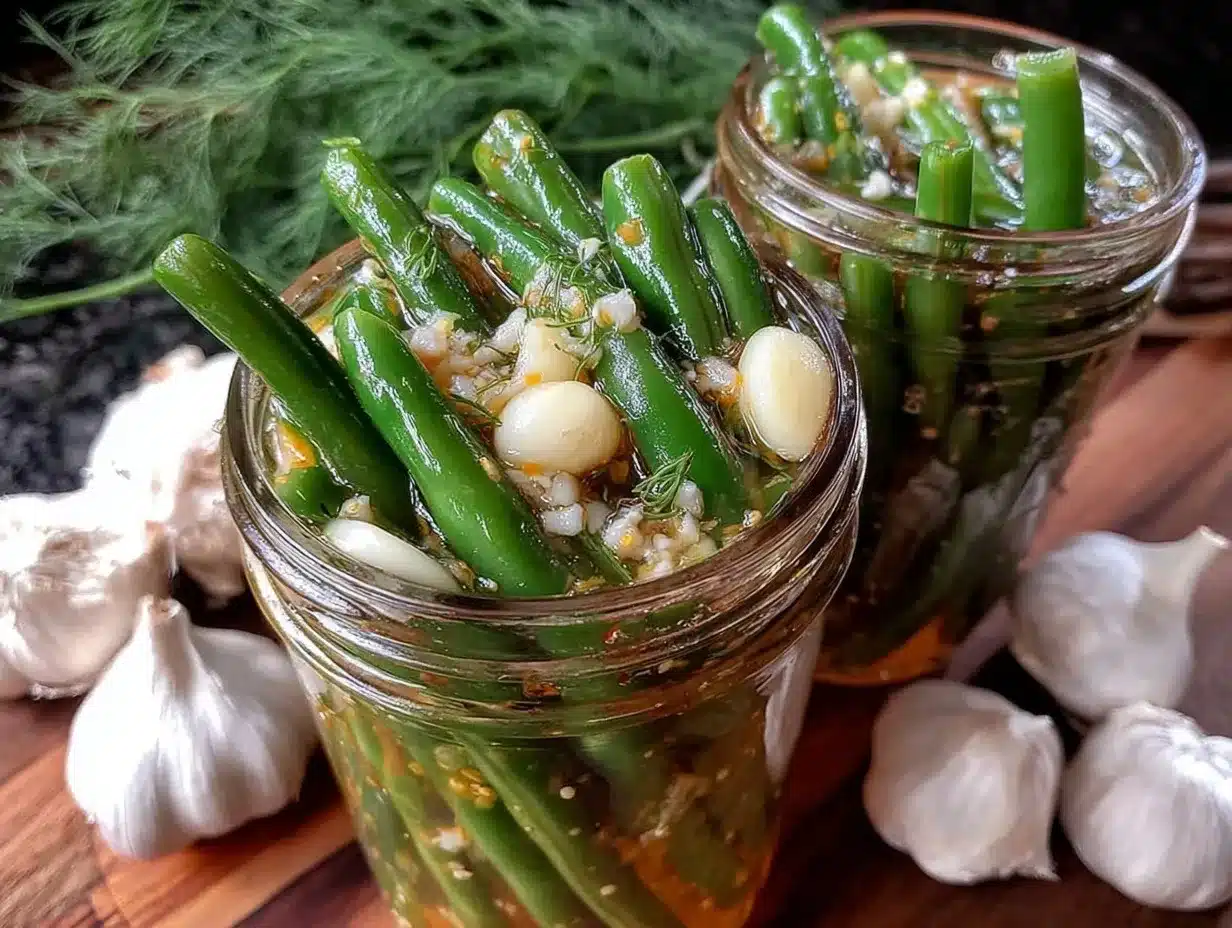
- Prepare your jars and lids: Wash jars, lids, and screw bands in hot soapy water. Rinse well. Place jars in the canning pot filled with hot water to keep warm while you prep the beans. Warm lids in a small pot of simmering water (do not boil) to soften the sealing compound. (Time: 10 minutes)
- Trim and wash green beans: Snap or cut off the stem ends and tips. Rinse thoroughly under cold running water. Drain well. (Time: 10-15 minutes)
- Pack the jars: Using your wide-mouth funnel, add 2 halved garlic cloves and 2 sprigs of fresh dill to each quart jar. Then pack the green beans vertically, pressing down gently but firmly to avoid air pockets. Leave about 1-inch (2.5 cm) headspace at the top. (Time: 15 minutes)
- Make the brine: In a saucepan, combine 3 cups (720 ml) water, 1 cup (240 ml) white vinegar, and 2 tablespoons pickling salt. Bring to a boil, stirring to dissolve salt. Pour the hot brine over the beans in each jar, covering them completely while maintaining the 1-inch headspace. (Time: 5 minutes)
- Remove air bubbles and seal jars: Slide a non-metallic spatula or bubble remover down the sides of the jar to release trapped air bubbles. Wipe the rim of each jar with a clean damp cloth to ensure a good seal. Place the warm lids on top and screw on the bands until fingertip tight. (Time: 5 minutes)
- Process the jars: Place jars into your boiling water canner, ensuring water covers jars by at least 1-2 inches (2.5-5 cm). Cover and bring to a full boil. Process for 10 minutes at sea level (adjust time if you’re at higher altitude). Turn off heat and let jars sit in hot water for 5 minutes. Remove jars with a jar lifter and place on a towel or cooling rack. (Time: 20 minutes)
- Cool and store: After 12-24 hours, check seals — lids should be concave and not flex when pressed. Label jars with date and store in a cool, dark place. (Time: 12-24 hours cooling)
Pro tip: If any jars don’t seal properly, refrigerate and use those beans within a week. Also, the first time I tried this, I forgot to wipe the jar rims and had a few leaks — lesson learned!
Cooking Tips & Techniques
Getting canning right takes a little patience, but here are some tips I picked up along the way:
- Use firm, fresh beans: Limp or over-mature beans won’t hold up well in canning and can lead to mushy results.
- Keep jars warm before filling: Cold jars with hot brine can crack, so warming them in hot water helps prevent that.
- Don’t over-pack the jars: Leave enough headspace for the liquid to circulate and allow sealing.
- Remove air bubbles carefully: Air pockets can cause spoilage or uneven pickling.
- Follow processing times exactly: Under-processing is a common mistake that risks food safety.
- Adjust for altitude: If you live above 1,000 feet (300 meters), increase processing time or pressure according to canning guidelines.
- Be patient with the seal: Sometimes lids pop a few hours after cooling. Give it time before testing.
- Label your jars: It’s easy to forget when you canned something. I always add a date and description with a permanent marker.
Honestly, the first batch I made was a little over-salted because I misread the salt measurement (whoops!). After adjusting, the flavor was balanced perfectly. Also, multitasking is key — I usually prepare the beans while the jars warm so I’m not rushed at the final steps.
Variations & Adaptations
This garlic dill green bean canning guide is quite flexible. Here are some ways you can adapt it:
- Spicy kick: Add ½ teaspoon crushed red pepper flakes per jar for a subtle heat.
- Low sodium: Reduce pickling salt by half or use a salt substitute, but note this may affect preservation slightly; refrigerate these jars and consume within a month.
- Herb swap: Try fresh thyme or tarragon instead of dill for a different flavor profile.
- Vinegar alternatives: Apple cider vinegar can be used for a milder tang, but ensure it’s 5% acidity.
- Green bean size: For thicker beans, blanching for 2 minutes before packing can help maintain texture.
I once tried adding lemon zest and a splash of white wine vinegar for a bright twist — it was surprisingly refreshing and made the jars perfect for summer picnics. Just remember to keep the safety guidelines in mind if you alter acidity or salt levels.
Serving & Storage Suggestions
These canned garlic dill green beans are ready to enjoy straight from the jar, no cooking required. Serve them chilled as a crunchy snack, alongside grilled meats, or chopped into salads for an extra burst of flavor.
They also make a great addition to a charcuterie board or can be tossed lightly in a warm sauté with olive oil and a squeeze of lemon for a quick side dish. Pair them with a crisp white wine or a cold beer for casual gatherings.
Store sealed jars in a cool, dark pantry for up to one year. Once opened, refrigerate and consume within 7 days. Reheating isn’t necessary, but if you prefer warm, gently heat the beans in a skillet over medium heat.
Over time, the flavors meld and deepen, so if you can wait a few weeks before opening, you’ll notice a richer taste. Just be sure to check the seal and appearance before consuming.
Nutritional Information & Benefits
A typical serving of these garlic dill green beans (about half a cup) contains roughly:
- Calories: 25
- Carbohydrates: 5g
- Fiber: 2g
- Protein: 1g
- Fat: 0g
- Sodium: Variable depending on salt amount
Green beans are a great source of vitamins A, C, and K, plus minerals like manganese. The garlic adds antioxidants and supports immune health, while dill contributes digestive benefits. This recipe is naturally gluten-free and low carb, making it suitable for many dietary needs.
From my experience, having these jars around encourages more veggie snacking and adds variety to meals without the hassle of fresh prep every day. It’s a small wellness win that feels good inside and out.
Conclusion
This easy garlic dill green bean canning guide offers a straightforward way to savor summer’s bounty all year long. Whether you’re new to canning or just looking for a reliable, tasty recipe, these garlicky, herb-infused green beans won’t disappoint.
Feel free to tweak the garlic level or herbs to suit your taste — after all, cooking is personal! I love this recipe because it’s approachable, rewarding, and honestly, those first crunchy bites from a homemade jar never get old.
Give it a try, and I’d love to hear how your batches turn out — drop a comment or share your own twists. There’s something so satisfying about opening a jar you made yourself, and who knows, this might become your new favorite pantry staple!
Frequently Asked Questions
Can I use frozen green beans for canning?
It’s best to use fresh green beans for canning to ensure the best texture and safety. Frozen beans release excess water and may become mushy.
Do I need a pressure canner for this recipe?
No, this recipe uses water bath canning since green beans are pickled with vinegar, which makes them safe without pressure canning.
How long do canned garlic dill green beans last?
Unopened jars stored properly can last up to one year. Once opened, refrigerate and consume within 7 days.
Can I add other vegetables to the jars?
It’s best to stick with green beans for this recipe to ensure proper acidity and safety. Mixing vegetables requires different processing times.
What if a jar doesn’t seal?
If a jar doesn’t seal, refrigerate it and use the contents within a week. You can reprocess jars with new lids if desired, but only if the contents are not spoiled.
Pin This Recipe!
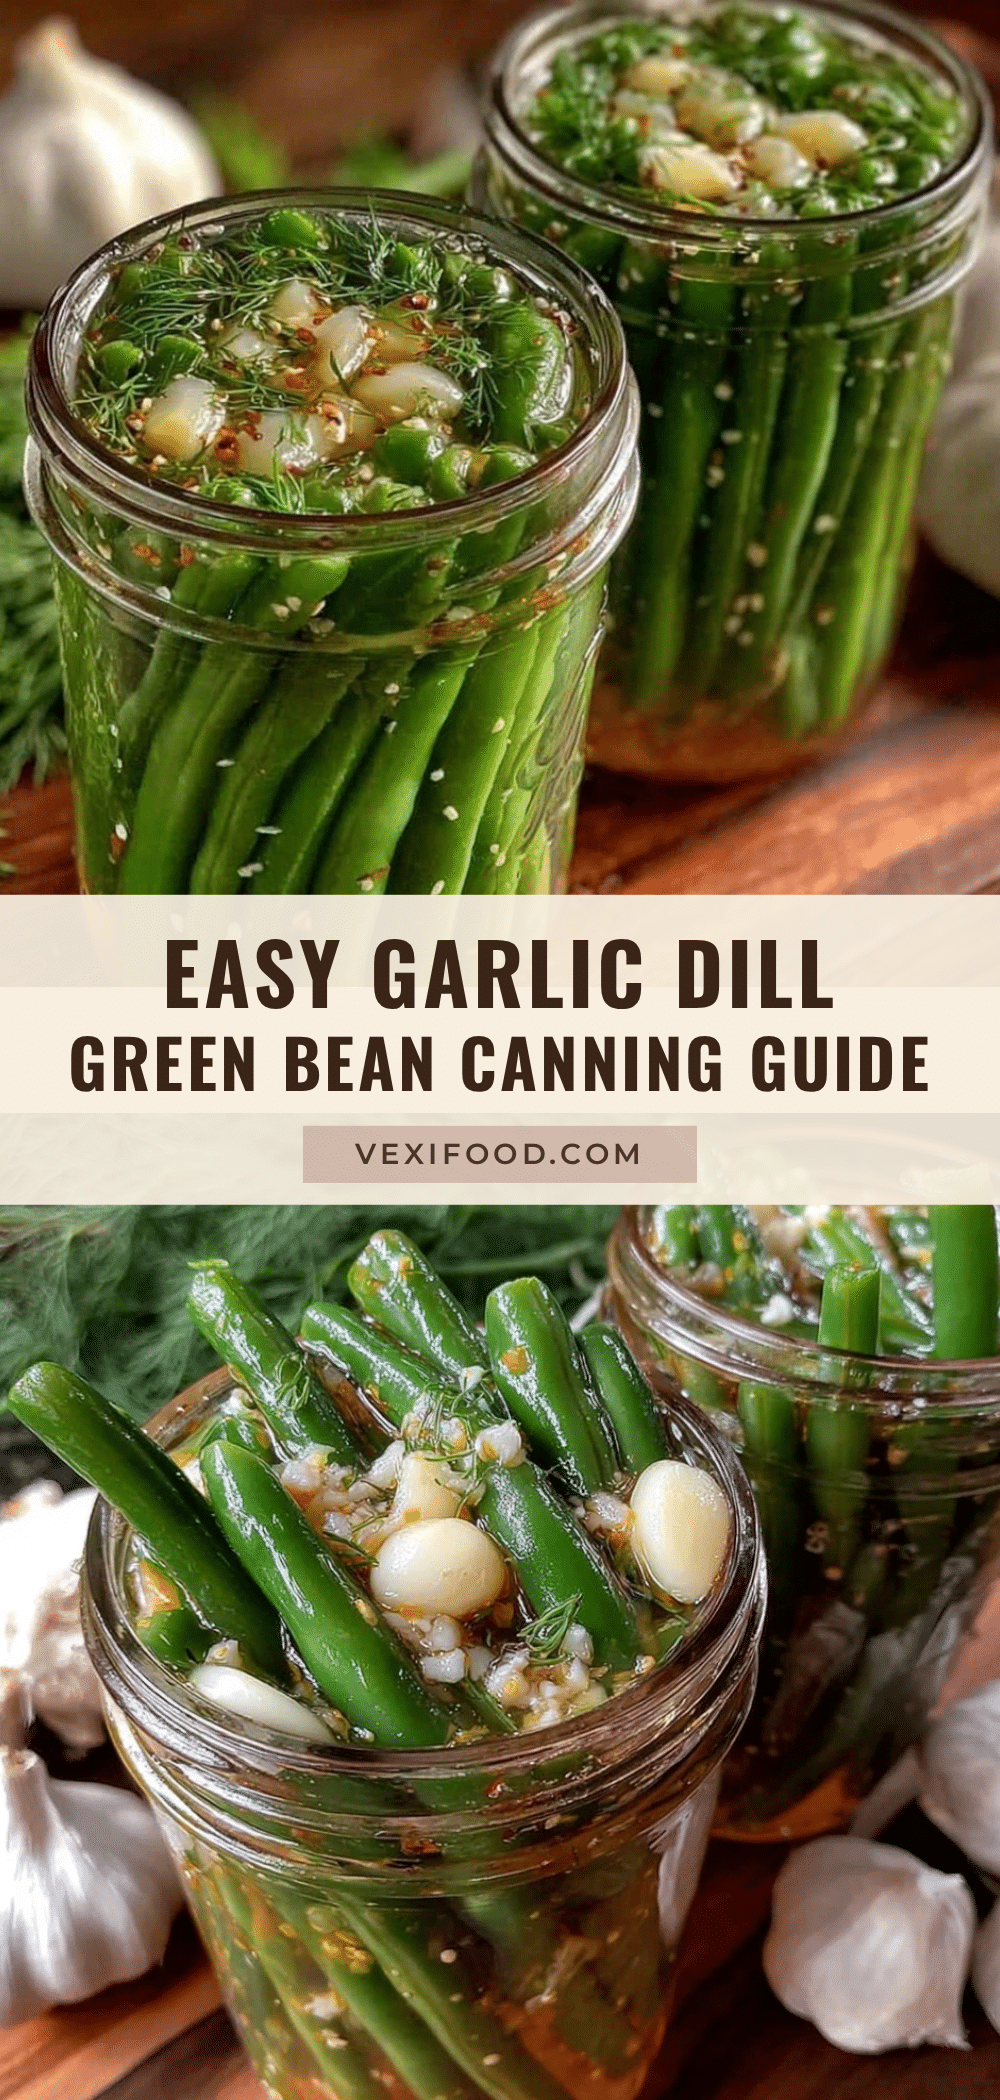
Easy Garlic Dill Green Bean Canning Guide
A straightforward, beginner-friendly guide to canning fresh green beans with garlic and dill, preserving summer flavors all year long.
- Prep Time: 35 minutes
- Cook Time: 20 minutes
- Total Time: 1 hour 15 minutes
- Yield: 4-5 quart jars 1x
- Category: Preserved Vegetables
- Cuisine: American
Ingredients
- 4 pounds fresh green beans, trimmed and washed
- 6–8 large garlic cloves, peeled and halved
- 6 fresh dill sprigs per quart jar (or 1 teaspoon dried dill weed as substitute)
- 2 tablespoons pickling salt (non-iodized)
- 1 cup white vinegar (5% acidity)
- 3 cups water
- Optional: 1/4 teaspoon red pepper flakes
Instructions
- Wash jars, lids, and screw bands in hot soapy water. Rinse well. Place jars in the canning pot filled with hot water to keep warm. Warm lids in simmering water (do not boil). (10 minutes)
- Trim and wash green beans by snapping or cutting off stem ends and tips. Rinse thoroughly and drain well. (10-15 minutes)
- Pack each quart jar with 2 halved garlic cloves and 2 sprigs of fresh dill. Pack green beans vertically, pressing gently to avoid air pockets. Leave 1-inch headspace. (15 minutes)
- In a saucepan, combine 3 cups water, 1 cup white vinegar, and 2 tablespoons pickling salt. Bring to a boil, stirring to dissolve salt. Pour hot brine over beans in jars, maintaining 1-inch headspace. (5 minutes)
- Remove air bubbles by sliding a non-metallic spatula down jar sides. Wipe jar rims with a clean damp cloth. Place warm lids on jars and screw bands until fingertip tight. (5 minutes)
- Place jars in boiling water canner, ensuring water covers jars by 1-2 inches. Cover and boil for 10 minutes at sea level (adjust for altitude). Turn off heat and let jars sit in hot water for 5 minutes. Remove jars and place on towel or rack. (20 minutes)
- After 12-24 hours, check seals (lids should be concave and not flex). Label jars with date and store in a cool, dark place.
Notes
[‘Use firm, fresh green beans for best texture.’, ‘Keep jars warm before filling to prevent cracking.’, ‘Do not over-pack jars; leave 1-inch headspace.’, ‘Remove air bubbles carefully to avoid spoilage.’, ‘Follow processing times exactly; adjust for altitude if needed.’, ‘Label jars with date and contents.’, ‘If a jar doesn’t seal, refrigerate and consume within a week.’, ‘Optional: Add red pepper flakes for a spicy kick.’, ‘For low sodium, reduce salt but refrigerate and consume sooner.’]
Nutrition
- Serving Size: 1/2 cup (about 4 oun
- Calories: 25
- Carbohydrates: 5
- Fiber: 2
- Protein: 1
Keywords: green beans, canning, garlic dill, pickled green beans, beginner canning, preserving vegetables, homemade pickles