Love this? Save it for later!
Share the inspiration with your friends
“Last summer evening, I wasn’t planning on anything fancy. I’d just dropped by my neighbor’s for a quick chat, and before I even sat down, the unmistakable tang of dill pickles hit me right at the door. She was casually slicing cucumbers, talking about how she whipped up her batch of easy refrigerator dill pickles in just minutes—no fuss, no canning, no stress. Honestly, she acted like it was nothing special, just part of her everyday kitchen rhythm. But let me tell you, that crisp bite and fresh dill aroma stuck with me long after I left.
Maybe you’ve been there—caught off guard by a simple recipe that seems too easy to be true, yet turns out to be absolutely brilliant. I tried it myself, with that cracked glass jar and a slightly messy countertop (because, hey, real life), and it quickly became my go-to for quick pickles that taste like they took all day. This recipe feels like the kind a home cook stumbles on by accident, but ends up making again and again because it’s just that good. And the best part? You don’t need any fancy equipment or hours of waiting.
If you’re like me, always hunting for that perfect crunchy pickle without the intimidating canning process, this is the one you want. Let’s dig into how to make these easy refrigerator dill pickles that are as crisp as the ones you get at a deli, but way simpler.
Why You’ll Love This Recipe
- Quick & Easy: Ready in just 5 steps and chilling time, perfect for busy days or last-minute cravings.
- Simple Ingredients: Pantry staples with fresh cucumbers and dill—no exotic spices or weird stuff needed.
- Perfect for Summer Snacks: Great for picnics, BBQs, or just crunching on during the day.
- Crowd-Pleaser: Kids and adults alike reach for these pickles again and again, trust me.
- Unbelievably Crisp: The secret brine combo keeps them snap-crisp every single time without any canning tricks.
- Unique Twist: Unlike traditional pickles that demand hours of boiling water baths, this recipe uses a cold brine method that preserves the fresh cucumber crunch.
- Emotional Connection: It’s the kind of pickle that brings back that chill summer feeling, the sound of a jar popping open, and a little moment of joy in your day.
What Ingredients You Will Need
This recipe calls for straightforward, wholesome ingredients that work together to create that signature dill pickle flavor and crispness. Whether you’re stocking your pantry or picking up fresh supplies, these items are easy to find and swap if needed.
- Fresh cucumbers: About 4-5 medium Kirby cucumbers or pickling cucumbers, sliced or whole (Kirby cucumbers are best for crunch).
- Fresh dill: 3-4 sprigs, with leaves and some stems (adds that classic dill aroma).
- Garlic cloves: 2-3, smashed (for a subtle garlicky punch).
- White vinegar: 1 cup (240 ml) – I prefer Heinz for consistent acidity.
- Water: 1 cup (240 ml), filtered if possible (balances the vinegar).
- Pickling salt or kosher salt: 1 tablespoon (avoids cloudiness, unlike table salt).
- Whole black peppercorns: 1 teaspoon (adds a mild spice layer).
- Red pepper flakes: Optional, ½ teaspoon for a little heat.
- Mustard seeds: Optional, 1 teaspoon for a slight tangy spice.
If fresh dill isn’t in season, dried dill weed works in a pinch, but fresh is definitely the way to go. For a gluten-free version, just double-check your vinegar brand to avoid any additives. I’ve swapped fresh garlic for garlic powder when I was in a rush, and it still tasted great, though less vibrant.
Equipment Needed
- Glass jars with lids: Quart-sized mason jars work perfectly – I like the wide-mouth ones for easy packing and cleaning.
- Measuring cups and spoons: For precise brine ratios.
- Small saucepan: To warm the brine slightly (optional but helps dissolve salt).
- Tongs or fork: To pack cucumbers tightly without bruising.
- Cutting board and knife: For slicing cucumbers (if not pickling whole).
If you don’t have mason jars on hand, any clean glass jar with a tight-fitting lid will do. I remember once rushing to make a batch and used a large glass peanut butter jar—worked just fine. Just make sure it seals well in the fridge. For those who love gadgets, a vacuum sealer jar lid can extend pickle shelf life, but honestly, I’ve never needed it with these quick pickles.
Preparation Method
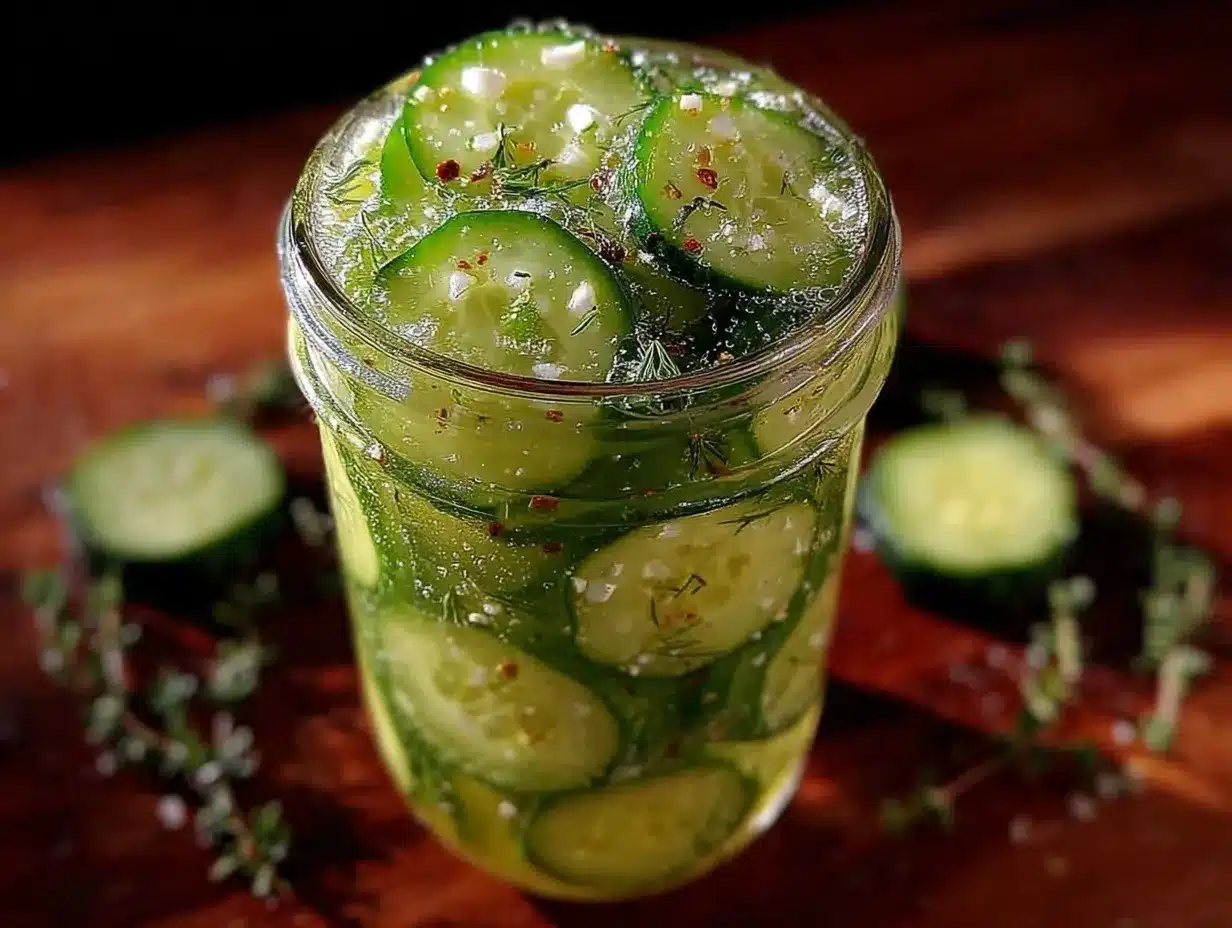
- Prepare your cucumbers: Wash them thoroughly. If you prefer slices, cut into ¼-inch (6 mm) thick rounds or spears. For whole pickles, prick the cucumbers a few times with a fork to help the brine penetrate. (Time: 5 minutes)
- Make the brine: In a small saucepan, combine 1 cup (240 ml) white vinegar, 1 cup (240 ml) water, and 1 tablespoon pickling salt. Warm over medium heat just until the salt dissolves completely. No need to boil. Remove from heat and let cool to room temperature. (Time: 5-7 minutes)
- Fill the jars: Pack cucumbers tightly into clean glass jars along with 3-4 sprigs of fresh dill, 2-3 smashed garlic cloves, 1 teaspoon black peppercorns, and any optional spices like mustard seeds or red pepper flakes. (Time: 5-10 minutes)
- Pour the brine: Once cooled, pour the brine over the cucumbers until fully submerged. Leave about ½ inch (1.25 cm) of headspace at the top. Seal the jars tightly with lids. (Time: 3 minutes)
- Refrigerate: Place the jars in the refrigerator. Let the pickles chill for at least 24 hours for mild flavor, but 3 days is ideal for full crisp, tangy punch. They’ll keep well for up to 4 weeks. (Time: Patience pays off here!)
Pro tip: If you forget to cool the brine before pouring, don’t panic—it won’t ruin your pickles, but a hot brine can soften cucumbers slightly. Also, if your pickles aren’t as crisp as you hoped after a few days, try adding a few grape leaves to the jar next time—old-school trick for crunch!
Cooking Tips & Techniques
Pickling is as much about feel as it is about measurements. Here are some tips I’ve learned the hard way:
- Choose the right cucumber: Kirby or pickling cucumbers are your best friends here. Regular slicing cucumbers have more water and can get mushy fast.
- Don’t skip the pickling salt: It’s pure and free of additives that cloud your brine and affect flavor.
- Pat dry cucumbers: Excess moisture can dilute the brine, so a quick towel dry helps keep the flavor sharp.
- Let the brine cool: Pouring hot brine can cook the cucumbers slightly, leading to a softer texture.
- Pack tightly but gently: Use tongs or a fork to avoid bruising your cukes, which can cause cloudy brine or off-flavors.
- Give it time: Pickles improve with time in the fridge. If you’re impatient like me, try to wait at least 48 hours before tasting.
Once, I tried to speed up the process by heating the cucumbers in the brine—huge mistake! They turned mushy and sad. Trust the chill and the wait; that’s where the magic happens.
Variations & Adaptations
- Spicy Dill Pickles: Add extra red pepper flakes or a few sliced jalapeños to the jar for a fiery kick.
- Garlic Lovers’ Pickles: Double the garlic and toss in some garlic powder for an intense flavor blast.
- Low-Sodium Version: Reduce salt by half and add a splash of lemon juice for brightness.
- Herb Twist: Swap dill for fresh tarragon or add fresh thyme for a different herbaceous note.
- Quick Bread-and-Butter Pickles: Add a bit of sugar (1 tablespoon) and mustard seeds for a sweeter, tangier pickle.
I once tried fermenting these pickles by leaving the jars out at room temperature for a few days before refrigeration—fun experiment but the flavor was wildly different and less crisp. For traditional crispness without canning, sticking to the fridge method is best.
Serving & Storage Suggestions
Serve these easy refrigerator dill pickles cold straight from the jar for the best crunch. They pair wonderfully with sandwiches, burgers, or as a tangy snack on the side. I like to accompany them with a creamy potato salad or alongside my crispy garlic chicken for a balanced meal.
Store pickles in the fridge with the lid tightly sealed. They’ll stay fresh and crisp for up to 4 weeks. If you notice any cloudiness or off smells, it’s time to toss them—always trust your senses. When reheating meals with pickles, add them fresh afterward to keep that satisfying crunch.
Interestingly, the flavors mellow and deepen over time, so if you’re patient, you’ll be rewarded with pickles that have a richer taste after a week or so.
Nutritional Information & Benefits
These easy refrigerator dill pickles are naturally low in calories—about 5-10 calories per medium pickle slice depending on size. They’re fat-free and a good source of vitamin K thanks to the fresh dill. The vinegar offers mild antimicrobial benefits and can support digestion.
Since this recipe uses no added sugar unless you choose the bread-and-butter variation, it’s suitable for low-carb and keto diets. Just watch out for salt content if you’re on a sodium-restricted plan. Always use pickling salt to avoid additives that might irritate sensitive stomachs.
From a wellness standpoint, these pickles are a refreshing way to add flavor without extra calories or preservatives, making them a smart snack choice when you crave something crunchy and tangy.
Conclusion
This easy refrigerator dill pickles recipe is honestly one of those kitchen gems you want to keep on hand. It’s approachable, quick, and delivers that authentic deli crunch without a single boiling pot or pressure canner. I love how it turns simple cucumbers into something that feels special but is actually everyday magic.
Feel free to tweak the herbs, spice levels, or brine ratio to make it truly your own. I’d love to hear how your batches turn out or any fun twists you add—drop a comment below! If you try these pickles, you might just find yourself reaching for them anytime you want a little crisp, tangy joy.
So go ahead, grab some cucumbers, and start your own effortless pickle tradition—you won’t regret it!
FAQs
How long do refrigerator dill pickles last?
They typically stay fresh and crisp in the fridge for up to 4 weeks. Always keep them submerged in brine and sealed tightly.
Can I use regular cucumbers instead of pickling cucumbers?
You can, but regular slicing cucumbers have higher water content and may turn mushy faster. Pickling cucumbers are best for crunch.
Do I need to boil the jars before filling?
Nope! Since these are refrigerator pickles, there’s no canning involved. Just use clean jars and lids.
Can I make these pickles spicy?
Absolutely! Add red pepper flakes or sliced jalapeños to the jar for a spicy kick.
Why are my pickles not crisp?
Common reasons include using the wrong cucumber type, pouring hot brine, or not packing cucumbers tightly. Next time, try grape leaves or alum for extra crunch, and always cool your brine first.
Pin This Recipe!
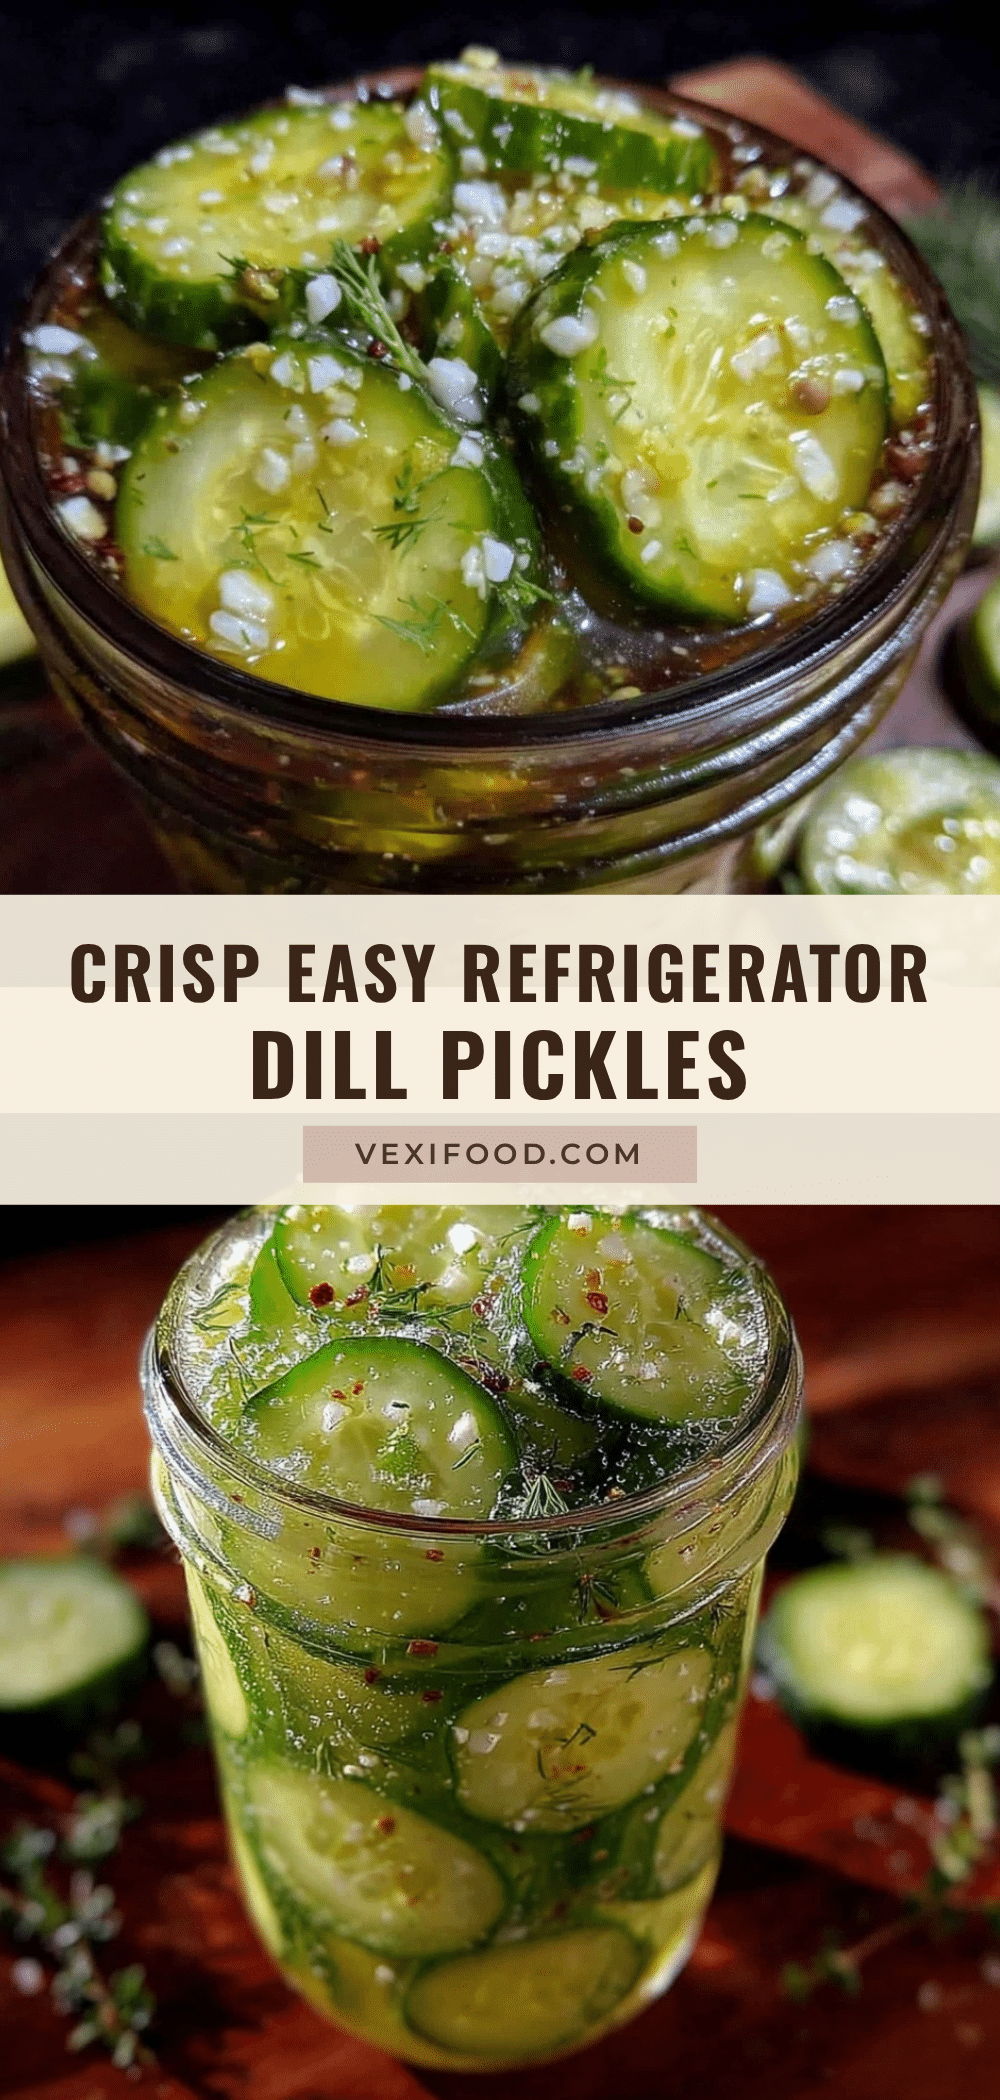
Easy Refrigerator Dill Pickles
A quick and simple recipe for crisp, tangy dill pickles made without canning. Perfect for summer snacks and ready in just 5 easy steps with no boiling required.
- Prep Time: 15 minutes
- Cook Time: 7 minutes
- Total Time: 3 days and 22 minutes
- Yield: 4-5 servings 1x
- Category: Snack
- Cuisine: American
Ingredients
- 4–5 medium Kirby cucumbers or pickling cucumbers, sliced or whole
- 3–4 sprigs fresh dill, with leaves and some stems
- 2–3 garlic cloves, smashed
- 1 cup (240 ml) white vinegar
- 1 cup (240 ml) water, filtered if possible
- 1 tablespoon pickling salt or kosher salt
- 1 teaspoon whole black peppercorns
- ½ teaspoon red pepper flakes (optional)
- 1 teaspoon mustard seeds (optional)
Instructions
- Prepare your cucumbers: Wash thoroughly. Slice into ¼-inch thick rounds or spears, or prick whole cucumbers with a fork to help brine penetration. (5 minutes)
- Make the brine: In a small saucepan, combine white vinegar, water, and pickling salt. Warm over medium heat just until salt dissolves. Do not boil. Remove from heat and cool to room temperature. (5-7 minutes)
- Fill the jars: Pack cucumbers tightly into clean glass jars with fresh dill, smashed garlic cloves, black peppercorns, and optional spices like mustard seeds or red pepper flakes. (5-10 minutes)
- Pour the brine: Once cooled, pour brine over cucumbers until fully submerged, leaving about ½ inch headspace. Seal jars tightly. (3 minutes)
- Refrigerate: Place jars in the refrigerator. Chill at least 24 hours for mild flavor, ideally 3 days for full crisp and tang. Keep refrigerated up to 4 weeks.
Notes
Use Kirby or pickling cucumbers for best crunch. Always use pickling salt to avoid cloudiness. Let brine cool before pouring to keep cucumbers crisp. Pack cucumbers tightly but gently to avoid bruising. Adding grape leaves can help increase crispness. Refrigerate at least 24 hours, ideally 3 days, for best flavor.
Nutrition
- Serving Size: About 1 medium pickl
- Calories: 510
- Sugar: 1
- Sodium: 30040
- Carbohydrates: 12
- Fiber: 0.5
Keywords: dill pickles, refrigerator pickles, quick pickles, no canning, easy pickles, crisp pickles, summer snack