Love this? Save it for later!
Share the inspiration with your friends
This was supposed to be banana bread. Plain, simple, nothing-fancy banana bread on a Thursday afternoon when I had exactly twenty minutes between meetings. I had the bananas—spotty and desperate—the flour, the sugar, the usual suspects. But somewhere between grabbing the can of pumpkin puree (thinking it was applesauce, honestly) and realizing my hand mixer was buried somewhere behind a bag of frozen peas, the whole plan shifted. I stood there, spoon in hand, staring at the pumpkin and the bananas like they were strangers at a party who didn’t know each other. And then I just… went for it. Mashed everything in one bowl, stirred until it looked like something, and prayed the oven wouldn’t betray me.
What came out of that oven was not the banana bread I planned. It was better—softer, more fragrant, with this almost custard-like crumb that made me text my sister a photo before I even took a bite. The kitchen smelled like fall had exploded inside it, and I stood there eating a slice still warm, still a little stunned that a mistake could turn out this good. Maybe you’ve been there—the moment when grabbing the wrong thing somehow gives you the right thing. That’s this bread. It’s the happy accident that became my most-requested recipe, the one I make when I need something reliable and forgiving and genuinely delicious.
I’ve made this easy one-bowl pumpkin banana bread at least a dozen times since that first pan, tweaking the ratios, testing the bake time, and it never lets me down. No mixer needed, no complicated steps, just one bowl and a spoon and a little bit of faith. It’s the kind of recipe that makes you look like you planned it all along—even when you absolutely did not.
Why You’ll Love This Recipe
Let me tell you why this pumpkin banana bread has earned a permanent spot in my kitchen rotation. It’s not just good—it’s the kind of good that makes you close your eyes after the first bite and forget you’re standing in your kitchen in sweatpants.
- Quick & Easy: From bowl to oven in under 15 minutes. No mixer, no sifting, no fuss. Perfect for those afternoons when a craving hits and patience is thin.
- Simple Ingredients: You probably have most of this in your pantry right now. Canned pumpkin, ripe bananas, flour, sugar, eggs—nothing fancy, nothing expensive.
- One-Bowl Wonder: Less dishes means more time actually eating the bread. I’m not saying this is the only reason I make it, but… it’s definitely a reason.
- Perfect for Fall (and All Year): The pumpkin keeps it moist, the banana adds natural sweetness, and together they create this cozy flavor that works for breakfast, snack, or dessert.
- Crowd-Pleaser: I’ve brought this to brunches, potlucks, and neighbor drop-offs. It disappears every single time. Kids love it, adults love it, even my picky uncle asked for the recipe.
- Unbelievably Moist: The combination of pumpkin and banana creates a texture that’s almost pudding-like in the center, with a tender crumb that stays soft for days. No dry bread here.
What makes this recipe different from every other pumpkin banana bread out there? It’s the method—mixing everything in one bowl without overworking the batter, letting the ingredients do the heavy lifting instead of a mixer. I tested this with different flour ratios, different levels of ripeness, and different mixing times to find the sweet spot where the bread rises beautifully without getting tough. This is the version that works every single time, and I’m honestly a little proud of that.
What Ingredients You Will Need
This recipe uses simple, wholesome ingredients that work together to create something greater than the sum of their parts. Most of these are pantry staples, which makes this bread perfect for spontaneous baking sessions.
- Ripe Bananas (3 medium, mashed): The riper, the better. Look for bananas with plenty of brown spots—they’re sweeter and easier to mash. If your bananas aren’t ripe enough, you can speed things up by baking them at 300°F for 15 minutes until the skins darken.
- Pumpkin Puree (1 cup, not pumpkin pie filling): Make sure you grab 100% pure pumpkin puree, not the pre-sweetened pie filling. I prefer Libby’s for its consistent texture, but any brand works. The pumpkin adds moisture and a subtle earthiness that pairs beautifully with the banana.
- All-Purpose Flour (1 ¾ cups): Standard all-purpose flour gives this bread the perfect structure. You can substitute with whole wheat pastry flour for a heartier texture, but avoid using straight whole wheat flour—it’ll make the bread too dense.
- Granulated Sugar (½ cup): Just enough to sweeten without overwhelming the natural sugars from the banana and pumpkin. You can reduce this to ⅓ cup if you prefer a less sweet bread.
- Brown Sugar (½ cup, packed): This adds depth and a hint of molasses flavor. Light or dark brown sugar both work—dark will give a richer taste.
- Eggs (2 large, room temperature): Room temperature eggs incorporate more easily into the batter, creating a smoother texture. If you forget to take them out ahead of time, place them in a bowl of warm water for 5 minutes.
- Vegetable Oil (⅓ cup): Oil keeps this bread incredibly moist, even after a few days. You can substitute with melted coconut oil or melted butter, but oil gives the best texture.
- Vanilla Extract (1 teaspoon): Pure vanilla extract adds warmth and rounds out the flavors. Avoid imitation vanilla if you can—the difference is noticeable.
- Baking Soda (1 teaspoon): This is the main leavening agent. Make sure your baking soda is fresh—test it by dropping a little into vinegar; it should fizz immediately.
- Baking Powder (½ teaspoon): A small amount helps with additional lift. Check the expiration date, as old baking powder won’t give you the rise you want.
- Salt (½ teaspoon): Salt enhances all the flavors and balances the sweetness. Don’t skip it—it makes a difference.
- Ground Cinnamon (1 ½ teaspoons): The star spice here. It complements both pumpkin and banana beautifully.
- Ground Nutmeg (½ teaspoon): Adds a warm, slightly nutty note. Freshly grated nutmeg is amazing if you have it.
- Ground Ginger (¼ teaspoon): A tiny amount adds a subtle kick that makes the bread more interesting. Optional, but highly recommended.
- Optional Mix-Ins: ½ cup chocolate chips, chopped walnuts, or dried cranberries. I usually add chocolate chips because, well, chocolate.
Equipment Needed
One of the best things about this recipe is how little equipment it requires. You don’t need a stand mixer, a food processor, or any fancy gadgets. Here’s what you’ll need:
- Large Mixing Bowl: Any large bowl will do. I use a ceramic one because it’s heavy and doesn’t slide around while I’m mixing.
- Wooden Spoon or Sturdy Spatula: A wooden spoon is my go-to for mixing this batter—it’s strong enough to mash the bananas and sturdy enough to incorporate the flour without bending.
- 9×5-inch Loaf Pan: Standard size works perfectly. If you use an 8×4-inch pan, you’ll need to increase the baking time by 5-10 minutes.
- Parchment Paper: Lining the pan makes removal effortless. You can also grease the pan thoroughly with butter or non-stick spray, but parchment is foolproof.
- Measuring Cups and Spoons: For accurate measurements. I recommend using dry measuring cups for flour and sugar, and a liquid measuring cup for the oil and pumpkin.
- Cooling Rack: Essential for even cooling. If you don’t have one, you can use the inverted loaf pan to elevate the bread slightly.
- Fork or Potato Masher: For mashing the bananas. A fork works fine, but a potato masher is faster and gives you more control over the texture.
That’s it. No mixer, no sifter, no complicated gadgets. Just basic kitchen tools that you probably already own.
Preparation Method
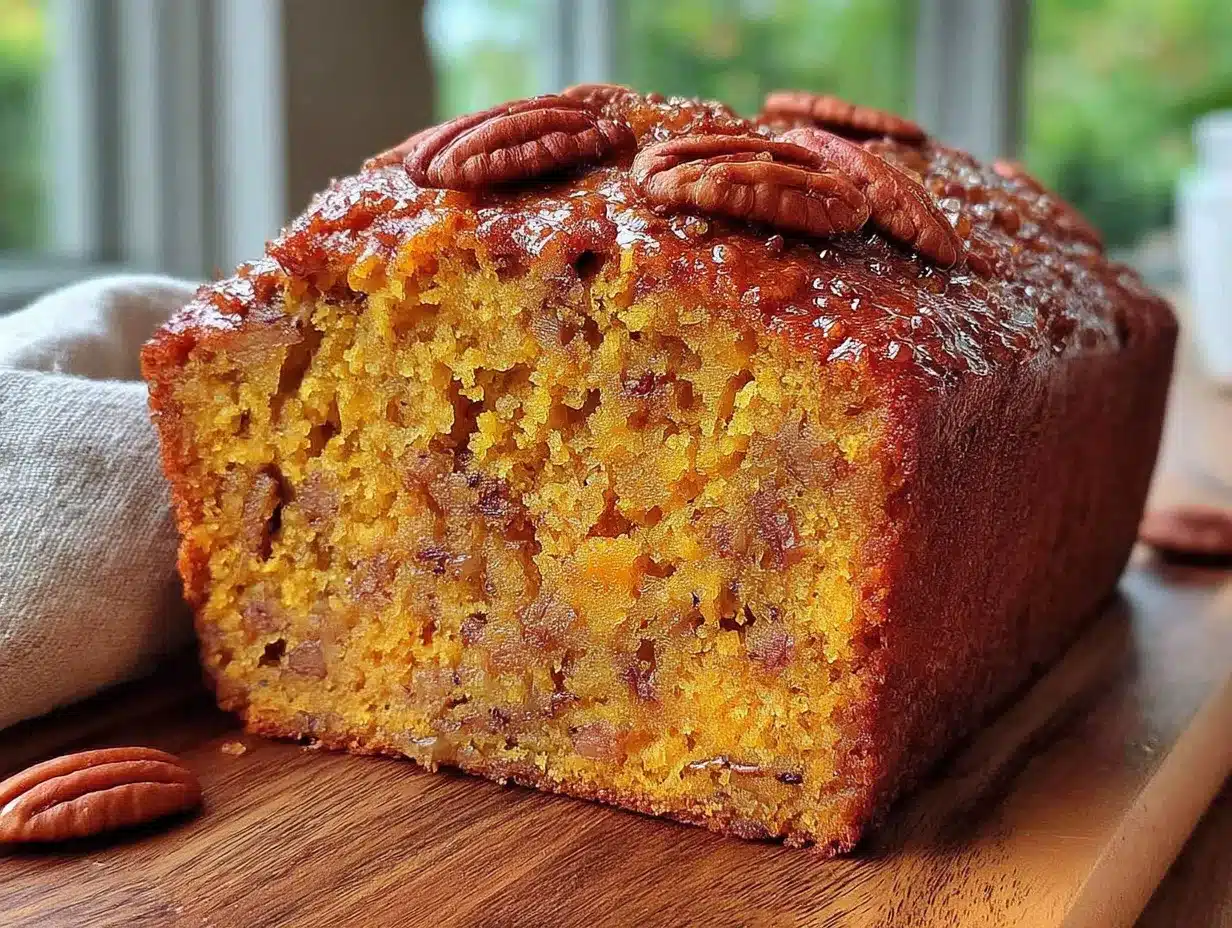
Let’s get to the good part—making the bread. Follow these steps carefully, and you’ll have a perfectly moist, fragrant loaf every time.
- Preheat your oven to 350°F (175°C). Position the rack in the center of the oven. While it’s heating, line your 9×5-inch loaf pan with parchment paper, leaving some overhang on the long sides for easy lifting. If you don’t have parchment, grease the pan thoroughly with butter or non-stick spray.
- Mash the bananas. In your large mixing bowl, add the three ripe bananas. Mash them with a fork or potato masher until they’re mostly smooth with a few small lumps remaining. You want some texture—completely smooth bananas can make the bread gummy. Aim for a consistency where you can still see small banana pieces.
- Add the wet ingredients. To the mashed bananas, add the pumpkin puree, eggs, vegetable oil, and vanilla extract. Stir everything together with your wooden spoon until well combined. Don’t worry if it looks a little separated at this point—that’s normal. The mixture should be smooth and slightly thick, like a thin pancake batter.
- Add the sugars. Pour in the granulated sugar and packed brown sugar. Stir until the sugars are fully incorporated and you don’t see any dry streaks. The mixture will become slightly thinner and more liquid. Taste a tiny bit if you want—it should be sweet with a hint of pumpkin.
- Mix the dry ingredients separately (in the same bowl). This is the one-bowl trick: instead of using a second bowl, push the wet mixture to one side of the bowl. On the empty side, add the flour, baking soda, baking powder, salt, cinnamon, nutmeg, and ginger. Use your spoon to gently stir the dry ingredients together on their side before incorporating them into the wet mixture. This prevents overmixing and ensures even distribution of the leavening agents.
- Fold the dry ingredients into the wet. Using a gentle folding motion, incorporate the flour mixture into the wet ingredients. Stir just until you no longer see streaks of flour—about 10 to 12 strokes. A few small lumps are perfectly fine. Overmixing at this stage will develop gluten and make your bread tough. The batter should be thick but scoopable, like a thick muffin batter.
- Fold in any mix-ins. If you’re adding chocolate chips, nuts, or dried fruit, gently fold them in now. Use about 6 to 8 strokes to distribute them evenly. Don’t overmix—you want the mix-ins scattered throughout, not crushed into the batter.
- Pour the batter into the prepared pan. Use your spatula to scrape every last bit of batter into the loaf pan. Spread it evenly, making sure the corners are filled. Tap the pan gently on the counter a few times to release any air bubbles. The batter should come about two-thirds of the way up the sides of the pan.
- Bake for 55 to 65 minutes. Place the pan in the preheated oven and bake until a toothpick inserted into the center comes out clean or with just a few moist crumbs. The top should be golden brown and cracked slightly. If the top is browning too quickly after 40 minutes, tent the pan loosely with aluminum foil.
- Cool in the pan for 10 minutes. Remove the pan from the oven and place it on a cooling rack. Let the bread cool in the pan for exactly 10 minutes—this allows it to set without sticking. Then, use the parchment overhang to lift the bread out of the pan and transfer it to the cooling rack.
- Cool completely before slicing. This is the hardest part, I know. But slicing into warm bread will cause it to crumble and fall apart. Let it cool for at least 1 hour on the rack. The bread continues to set as it cools, developing that perfect tender crumb.
Pro tip: If you’re in a hurry, you can speed up the cooling process by placing the bread in the refrigerator for 30 minutes after it’s been on the rack for 15 minutes. But honestly, the wait is worth it.
Cooking Tips & Techniques
After making this bread more times than I can count, I’ve learned a few things that make the difference between good bread and great bread. Here are my best tips:
Don’t overmix the batter. This is the number one mistake I see people make. When you overmix, you develop too much gluten, and your bread turns out dense and tough instead of tender and soft. Stir just until the flour disappears—a few lumps are your friend.
Use room temperature ingredients. Cold eggs and cold bananas don’t incorporate as smoothly into the batter, which can lead to uneven texture. Take your eggs out of the fridge 30 minutes before you start, and make sure your bananas are at room temperature. If you forgot, place the eggs in warm water for 5 minutes and microwave the bananas for 10 seconds to take the chill off.
Check for doneness with a thermometer. A toothpick test is reliable, but an instant-read thermometer is even better. The internal temperature of the bread should reach 200°F to 205°F (93°C to 96°C) when it’s fully baked. This takes the guesswork out of the process.
Let the bread rest overnight. I know this sounds crazy, but this bread actually tastes better the next day. The flavors meld together overnight, and the texture becomes even more moist and tender. Wrap the cooled bread tightly in plastic wrap and let it sit at room temperature overnight. Slice it the next morning, and you’ll be amazed at the difference.
Don’t skip the parchment paper. I learned this the hard way when my first loaf stuck to the pan and came out in pieces. Parchment paper with overhang makes removal effortless and keeps your loaf intact. It’s worth the extra 30 seconds.
Adjust baking time for your oven. Every oven runs slightly differently. If your bread is browning too quickly on top but still raw in the center, tent it with foil and continue baking. If it’s taking longer than 65 minutes, check your oven temperature with an oven thermometer—it might be running cooler than it says.
Test your baking soda. Old baking soda won’t give you the rise you need. Before you start, test it by dropping a small amount into vinegar—if it fizzes vigorously, it’s good. If not, buy a new box.
Variations & Adaptations
One of the things I love about this recipe is how adaptable it is. Here are some variations I’ve tried and loved:
Gluten-Free Version: Substitute the all-purpose flour with a 1:1 gluten-free baking flour blend. I’ve had great results with Bob’s Red Mill and King Arthur brands. Add 1 teaspoon of xanthan gum if your blend doesn’t already include it. The texture will be slightly more delicate, but still delicious.
Dairy-Free Version: This recipe is already dairy-free if you use vegetable oil! Just make sure your chocolate chips (if using) are dairy-free. Most dark chocolate chips are naturally dairy-free.
Lower Sugar Option: Reduce the granulated sugar to ¼ cup and the brown sugar to ¼ cup. The bananas and pumpkin provide enough natural sweetness that you won’t miss the extra sugar much. You can also substitute with coconut sugar for a lower glycemic option.
Chocolate Chip Pumpkin Banana Bread: My personal favorite variation. Fold in ½ cup of semi-sweet chocolate chips along with the dry ingredients. The chocolate melts into the batter, creating little pockets of gooey goodness. I’ve also tried white chocolate chips, which add a nice sweetness.
Nutty Crunch: Add ½ cup of chopped walnuts or pecans for texture and healthy fats. Toast the nuts lightly in a dry pan before adding them to the batter—this brings out their flavor and keeps them crunchy.
Spice It Up: Increase the cinnamon to 2 teaspoons and add ¼ teaspoon of ground cloves or allspice. This creates a more complex spice profile that’s perfect for fall baking.
Mini Loaves or Muffins: Divide the batter among 3 mini loaf pans or 12 muffin cups. Bake mini loaves for 30 to 35 minutes and muffins for 18 to 22 minutes. Adjust the time based on your pan size—start checking early.
Vegan Option: Replace the eggs with 2 flax eggs (2 tablespoons ground flaxseed mixed with 6 tablespoons water, let sit for 5 minutes). The texture will be slightly denser, but still moist and delicious.
I once made this with a combination of chocolate chips and dried cranberries, and it was a revelation. The tartness of the cranberries balanced the sweetness perfectly. Don’t be afraid to experiment—this recipe is forgiving.
Serving & Storage Suggestions
This bread is incredibly versatile when it comes to serving. Here’s how I enjoy it and how to keep it fresh:
Serving Temperature: I prefer this bread at room temperature, but it’s also delicious warm. To reheat individual slices, microwave for 10 to 15 seconds or toast lightly in a toaster oven. A pat of butter melted on a warm slice is pure heaven.
Presentation Ideas: Slice the bread into 1-inch thick pieces and arrange on a wooden board. Dust with powdered sugar for a prettier presentation. For a dessert twist, serve with a dollop of whipped cream or a scoop of vanilla ice cream.
Perfect Pairings: This bread pairs beautifully with coffee, tea, or a glass of cold milk. For a breakfast spread, serve alongside scrambled eggs and fresh fruit. For dessert, drizzle with a simple cream cheese glaze (4 ounces cream cheese, 2 tablespoons powdered sugar, 1 tablespoon milk, whisked until smooth).
Storage Instructions: Store the bread in an airtight container at room temperature for up to 4 days. The moisture from the pumpkin and banana keeps it soft, but it’s best enjoyed within the first 2 to 3 days. If your kitchen is warm, you can store it in the refrigerator, but let it come to room temperature before serving for the best texture.
Freezing Instructions: This bread freezes beautifully. Wrap the cooled loaf tightly in plastic wrap, then in a layer of aluminum foil. Freeze for up to 3 months. To thaw, remove the foil and let the bread come to room temperature on the counter for 2 to 3 hours. You can also freeze individual slices for quick grab-and-go snacks—wrap each slice in plastic wrap and store in a freezer bag.
Flavor Development: As I mentioned earlier, this bread actually improves after a day. The flavors meld together, and the texture becomes more cohesive. If you can resist eating it immediately, wrap it tightly and let it sit at room temperature overnight. You’ll be rewarded with an even better loaf the next day.
Nutritional Information & Benefits
Here’s the approximate nutritional breakdown for one slice (based on 10 slices per loaf, without mix-ins):
| Nutrient | Amount Per Slice |
|---|---|
| Calories | 245 |
| Total Fat | 9g |
| Saturated Fat | 1.5g |
| Cholesterol | 37mg |
| Sodium | 210mg |
| Total Carbohydrates | 39g |
| Dietary Fiber | 2.5g |
| Sugars | 21g |
| Protein | 4g |
| Vitamin A | 60% DV |
| Vitamin C | 6% DV |
| Potassium | 200mg |
This bread offers some real nutritional benefits. Pumpkin is packed with vitamin A, which supports eye health and immune function. Bananas provide potassium, which is essential for heart health and muscle function. The fiber from both fruits helps with digestion and keeps you feeling full longer.
If you’re watching your sugar intake, you can reduce the sugar as mentioned in the variations section. The natural sweetness from the bananas and pumpkin means you can cut the added sugar without sacrificing flavor. For a lower-carb option, substitute the all-purpose flour with almond flour (use 1 ½ cups) and reduce the sugar to ¼ cup.
This bread is vegetarian and can easily be made vegan or gluten-free. It contains eggs and wheat (if using all-purpose flour), so it’s not suitable for those with allergies to those ingredients. Always check your mix-ins for potential allergens.
Conclusion
This easy one-bowl pumpkin banana bread has become a staple in my kitchen for good reason. It’s forgiving, it’s delicious, and it proves that sometimes the best recipes come from happy accidents. The combination of pumpkin and banana creates something truly special—a bread that’s moist without being dense, sweet without being cloying, and simple enough for a weekday but impressive enough for company.
I hope you give this recipe a try and make it your own. Add your favorite mix-ins, adjust the spices to your liking, and don’t be afraid to experiment. That’s the beauty of baking—every loaf tells a story, and this one started with a mistake that turned into something wonderful. Let me know in the comments how yours turns out! Did you add chocolate chips? Walnuts? Did you try the vegan version? I’d love to hear about your variations and happy accidents. Share this recipe with someone who needs a little comfort baking in their life, and don’t forget to pin it for later. Happy baking, friends.
Frequently Asked Questions
Can I use frozen bananas for this recipe?
Yes, absolutely! Frozen bananas work great. Thaw them completely at room temperature, then drain off any excess liquid before mashing. The texture will be slightly softer, but the flavor is even more concentrated. Just make sure they’re fully thawed so they incorporate smoothly into the batter.
Why did my bread sink in the middle?
A sunken center usually means the bread was underbaked or the oven temperature was too low. Make sure your oven is properly preheated to 350°F and check the bread with a toothpick or thermometer before removing it. If the top is browning too quickly, tent it with foil to prevent burning while the center finishes baking.
Can I make this recipe without pumpkin?
You can, but it won’t be the same bread. If you don’t have pumpkin, substitute with an equal amount of applesauce or mashed sweet potato. The texture will be slightly different, but still delicious. The pumpkin adds moisture and a specific flavor that’s hard to replicate, so I recommend trying it with pumpkin at least once.
How do I know when my bananas are ripe enough?
Look for bananas with plenty of brown spots—the more spots, the sweeter and softer they’ll be. The peel should be mostly yellow with brown patches, and the banana should feel soft when gently squeezed. If your bananas are still mostly green or yellow without spots, they’re not ripe enough and won’t mash well or provide enough sweetness.
Can I double this recipe?
Yes! This recipe doubles beautifully. Use a large bowl and mix everything as directed. You can bake two loaves at the same time, but make sure they’re on the same oven rack and rotate them halfway through baking for even results. The baking time may increase by 5 to 10 minutes, so start checking at the 55-minute mark.
Pin This Recipe!
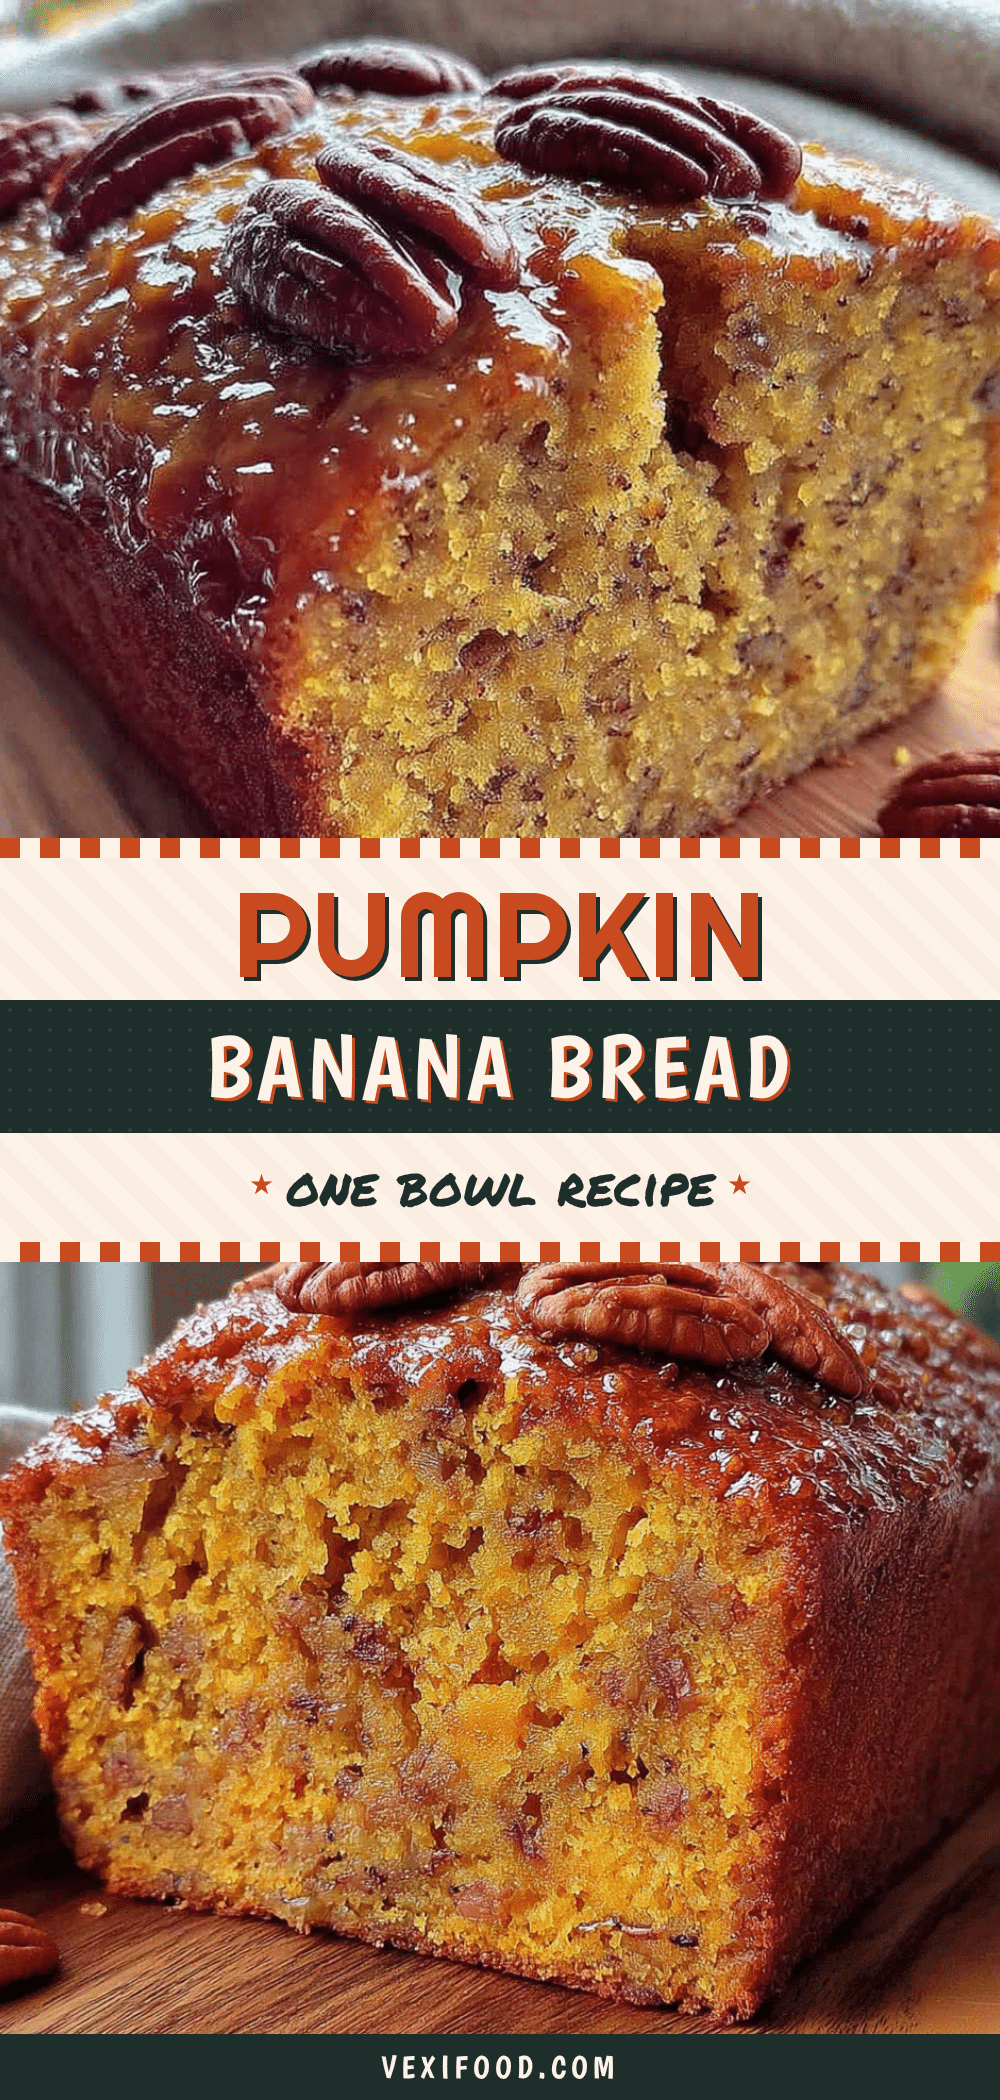
Easy One-Bowl Pumpkin Banana Bread Recipe (No Mixer)
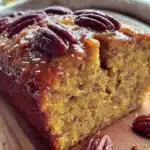
A moist, tender pumpkin banana bread made entirely in one bowl with no mixer needed. This happy accident turned into the most-requested recipe, combining pumpkin and banana for a cozy, custard-like crumb that’s perfect for breakfast, snack, or dessert.
- Prep Time: 15 minutes
- Cook Time: 60 minutes
- Total Time: 1 hour 15 minutes
- Yield: 10 servings 1x
- Category: Bread
- Cuisine: American
Ingredients
- 3 medium ripe bananas, mashed
- 1 cup pumpkin puree (not pumpkin pie filling)
- 2 large eggs, room temperature
- ⅓ cup vegetable oil
- 1 teaspoon vanilla extract
- ½ cup granulated sugar
- ½ cup brown sugar, packed
- 1 ¾ cups all-purpose flour
- 1 teaspoon baking soda
- ½ teaspoon baking powder
- ½ teaspoon salt
- 1 ½ teaspoons ground cinnamon
- ½ teaspoon ground nutmeg
- ¼ teaspoon ground ginger (optional)
- ½ cup chocolate chips, chopped walnuts, or dried cranberries (optional mix-ins)
Instructions
- Preheat your oven to 350°F (175°C). Position the rack in the center of the oven. Line a 9×5-inch loaf pan with parchment paper, leaving overhang on the long sides, or grease thoroughly.
- In a large mixing bowl, mash the ripe bananas with a fork or potato masher until mostly smooth with a few small lumps remaining.
- Add the pumpkin puree, eggs, vegetable oil, and vanilla extract to the mashed bananas. Stir with a wooden spoon until well combined.
- Add the granulated sugar and packed brown sugar. Stir until fully incorporated and no dry streaks remain.
- Push the wet mixture to one side of the bowl. On the empty side, add the flour, baking soda, baking powder, salt, cinnamon, nutmeg, and ginger. Gently stir the dry ingredients together on their side before folding them into the wet mixture.
- Fold the dry ingredients into the wet using a gentle folding motion, stirring just until no streaks of flour remain (about 10 to 12 strokes). A few small lumps are fine. Do not overmix.
- If using mix-ins, gently fold them in with 6 to 8 strokes.
- Pour the batter into the prepared loaf pan and spread evenly. Tap the pan gently on the counter a few times to release air bubbles.
- Bake for 55 to 65 minutes, until a toothpick inserted into the center comes out clean or with a few moist crumbs. If the top browns too quickly after 40 minutes, tent loosely with aluminum foil.
- Cool in the pan for 10 minutes, then use the parchment overhang to lift the bread out and transfer to a cooling rack. Cool completely (at least 1 hour) before slicing.
Notes
For best flavor, wrap cooled bread tightly in plastic wrap and let sit at room temperature overnight before slicing. The bread freezes well for up to 3 months. To test doneness, internal temperature should reach 200°F to 205°F (93°C to 96°C).
Nutrition
- Serving Size: 1 slice (1/10 of loa
- Calories: 245
- Sugar: 21
- Sodium: 210
- Fat: 9
- Saturated Fat: 1.5
- Carbohydrates: 39
- Fiber: 2.5
- Protein: 4
Keywords: pumpkin banana bread, one bowl banana bread, no mixer banana bread, easy pumpkin bread, moist banana bread, fall baking, quick bread