Love this? Save it for later!
Share the inspiration with your friends
This was supposed to be a classic pub-style burger night. I had the brioche buns toasted, the lettuce crisping in the fridge, and a plan for thick, juicy patties that would take forever to cook through. But my cast iron skillet was already screaming hot from searing onions, and I just grabbed a handful of ground beef without thinking. I smashed it flat against that screaming surface with a spatula, muttered something unkind about my own impatience, and figured dinner was ruined. What came out of that pan was nothing like the plan—and better.
Honestly, I stood there staring at the lacy, browned edges for a solid ten seconds before I even touched it. The edges were practically caramelized, like the best parts of a pan-seared steak but on a burger. I mean, I had been making burgers for years, and somehow I’d never let them get this crispy on purpose. That night, I learned that thin and smashed isn’t a compromise—it’s a whole different level of delicious.
Maybe you’ve been there, standing over a hot stove wondering why your homemade burgers never taste as good as the ones from that little diner downtown. The secret isn’t fancy meat or secret sauces. It’s the smash. It’s the courage to press down hard and let the heat do the work. This crispy smash cheeseburger perfection recipe is the one that finally made me stop ordering takeout on burger night. I keep coming back to it because it’s fast, it’s ridiculously satisfying, and that crunchy, salty edge never gets old.
Why You’ll Love This Recipe
This isn’t just another burger recipe. This is the one that changes your mind about what a homemade burger can be. I’ve tested this method at least two dozen times—on gas stoves, electric coils, even a camping griddle—and it works every single time. Here’s why this crispy smash cheeseburger perfection will become your new go-to:
- Quick & Easy: From fridge to table in under 20 minutes. No marinating, no resting, no complicated steps. Perfect for those nights when you need dinner fast.
- Simple Ingredients: You probably have everything in your kitchen right now. Ground beef, cheese, buns, and basic seasonings. No fancy grocery store trips required.
- Perfect for Weeknights or Game Day: These burgers are fast enough for a Tuesday dinner but impressive enough for a weekend gathering. They hold up beautifully on a platter, too.
- Crowd-Pleaser: I’ve served these to picky kids, burger snobs, and vegetarian friends who “just wanted one bite.” Every single person asked for the recipe.
- Unbelievably Delicious: That crispy, lacy crust combined with melted cheese and a soft bun? It’s next-level comfort food that hits every texture note.
What makes this recipe different from every other burger out there is the technique. Most recipes tell you to form patties gently and handle the meat as little as possible. That’s great for thick burgers. But for smash burgers, you want to press hard, spread thin, and create maximum surface area for browning. It’s counterintuitive, and that’s exactly why it works so beautifully.
This recipe is the kind that makes you close your eyes after the first bite. It’s comfort food reimagined—faster, crispier, and with the same soul-soothing satisfaction as a diner classic. Perfect for impressing guests without stress, or turning a simple Tuesday into something memorable.
What Ingredients You Will Need
This recipe uses simple, everyday ingredients to deliver bold flavor and that signature crispy texture. Most of these are pantry staples, but a few specific choices make a real difference.
- Ground beef (80/20 blend): This is non-negotiable. The 20% fat content is what creates that crispy, lacy crust. Leaner blends will dry out and won’t brown properly. I prefer ground chuck for its rich flavor.
- American cheese slices: Yes, the individually wrapped ones. They melt perfectly and have that creamy, tangy quality that complements the salty crust. You can use cheddar or provolone, but American is classic for a reason.
- Soft hamburger buns: Brioche buns are my favorite—they’re sturdy enough to hold up to the juicy patty but soft enough to squish down. Potato rolls work great too.
- Salt and black pepper: Simple seasonings are all you need. The high heat does the heavy lifting. I use kosher salt for better distribution.
- Butter or oil for the pan: A little fat helps the patties release easily. I use unsalted butter for flavor, but vegetable oil works fine too.
- Optional toppings: Pickles, shredded lettuce, sliced onion, tomato, ketchup, mustard, and mayonnaise. Keep it simple or load it up—your call.
For the best results, I recommend using ground beef from a trusted local butcher or a brand like ButcherBox. The quality of the meat really shines through when you’re not masking it with a lot of seasonings. Look for beef that’s bright red and freshly ground—avoid anything that looks gray or has excess liquid in the package.
If you want to switch things up, ground turkey or chicken can work, but you’ll need to add a little oil to the pan and watch carefully to prevent drying out. For a vegetarian option, try a plant-based ground meat substitute, but know that the texture won’t be exactly the same.
Equipment Needed
You don’t need a lot of fancy gear to make crispy smash cheeseburger perfection. Here’s what you’ll actually use:
- Cast iron skillet or flat griddle: A cast iron skillet holds heat better than anything else. A flat griddle works perfectly too. Non-stick pans can work, but you won’t get the same crust.
- Heavy metal spatula: A thin, sturdy spatula is essential for smashing. I use a fish spatula—it’s flexible enough to get under the patty without breaking it.
- Parchment paper squares: Cut a few squares to place between the spatula and the meat. This prevents sticking and makes smashing much easier.
- Large bowl: For portioning the meat. A simple mixing bowl works fine.
- Kitchen scale (optional but helpful): For consistent patty sizes. I portion mine at 3 ounces each.
- Sharp knife and cutting board: For prepping toppings.
If you don’t have a cast iron skillet, a stainless steel pan works almost as well. Avoid non-stick for this recipe—you want that high heat and direct contact with the metal. A bench scraper can also help you lift the patties cleanly if your spatula isn’t sturdy enough. I learned that the hard way after destroying a few patties with a flimsy plastic spatula.
Preparation Method
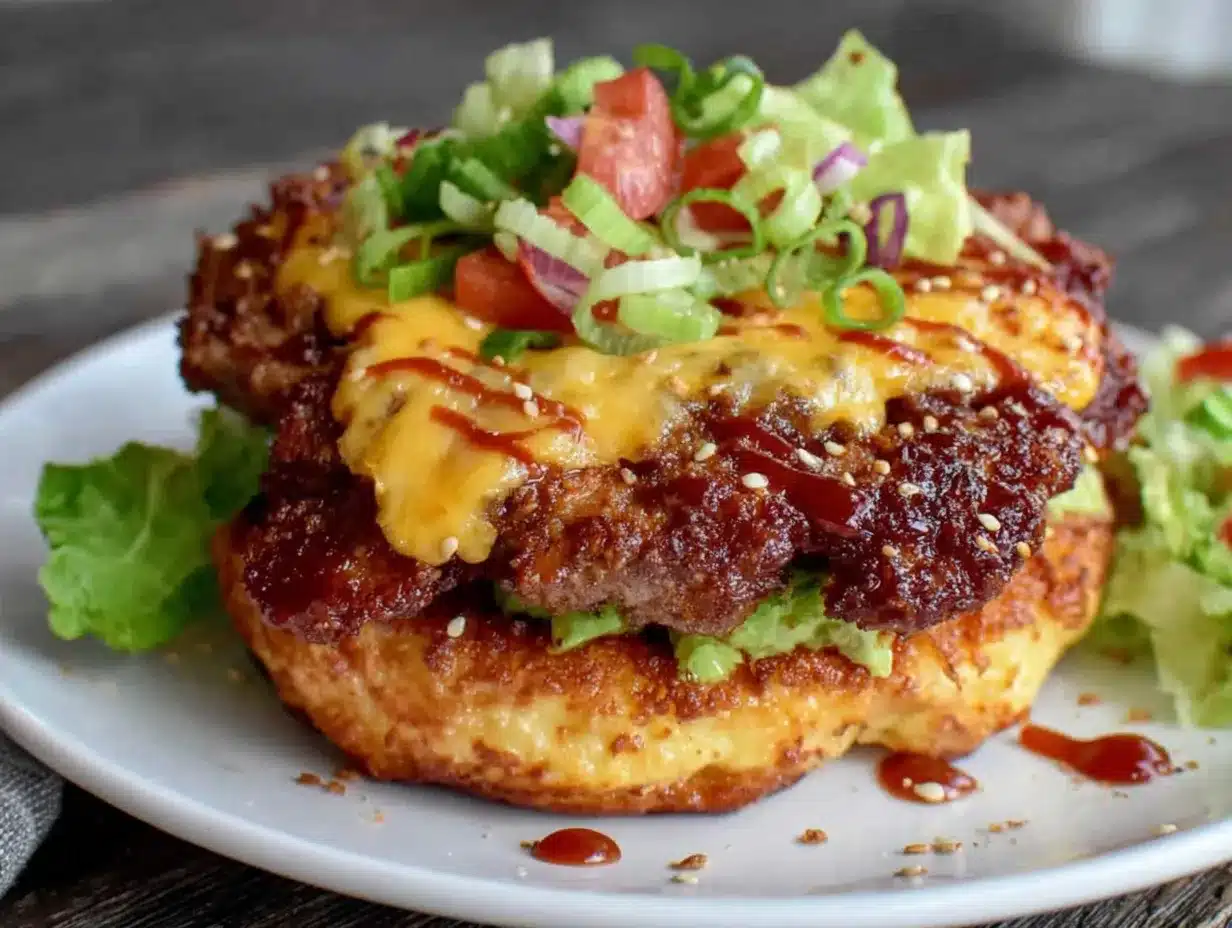
Follow these steps carefully, and you’ll have crispy smash cheeseburger perfection in under 20 minutes. The key is working quickly and confidently—don’t overthink it.
- Preheat your pan: Place your cast iron skillet or griddle over medium-high heat for at least 5 minutes. It should be smoking hot before you add any meat. A drop of water should sizzle and evaporate immediately.
- Prepare the meat: Divide the ground beef into equal portions—about 3 ounces (85 grams) each. Roll each portion into a loose ball. Do not season the meat yet. Do not press or compact it. Loose balls smash better.
- Toast the buns: While the pan heats, split your buns and toast them lightly in a separate pan or under the broiler. This takes about 1-2 minutes. Toasted buns prevent sogginess and add a nice crunch.
- First smash: Place a parchment paper square on your work surface. Put one meatball on the parchment, then cover with another parchment square. Use your heavy spatula to press down firmly, flattening the meat into a thin, uneven circle—about 4 inches (10 cm) across. The edges should be ragged and thin. Repeat for each patty, keeping them on the parchment until ready to cook.
- Season and cook: Carefully peel off the top parchment and transfer the patty to the hot pan, parchment side up. Peel off the remaining parchment. Season generously with salt and pepper. Cook for 2-3 minutes without moving it. You should see the edges turning deep brown and crispy.
- Flip and add cheese: Using your metal spatula, scrape under the patty to release it from the pan. It should release easily if the crust has formed properly. Flip it over. Immediately place a slice of American cheese on top. Cook for another 1-2 minutes until the cheese is melted and gooey.
- Assemble: Transfer the patty to your toasted bottom bun. Add your toppings—pickles, lettuce, onion, tomato, sauces. Place the top bun on and press down gently. Serve immediately while the cheese is still molten and the crust is at its crispiest.
A few notes from my many trials: Don’t overcrowd the pan. Cook only 2 patties at a time in a 12-inch skillet. If you crowd them, the temperature drops and you lose that crucial crust. Also, resist the urge to press down again after the initial smash. Once it’s in the pan, leave it alone. Trust the process.
The first time I made these, I flipped the patty too early and the crust tore off. It was a sad, sad moment. Now I wait until the edges are visibly dark and the patty releases easily from the pan. That’s your cue. If it sticks, it’s not ready.
Cooking Tips & Techniques
After making these burgers more times than I can count, I’ve collected a few tricks that make all the difference. Here’s what I wish someone had told me from the start:
- Don’t season the meat beforehand: Salt draws out moisture. If you season the ground beef before smashing, it becomes wet and won’t brown properly. Season only after the patty hits the pan.
- Use parchment paper for smashing: This was a game-changer for me. The meat doesn’t stick to the spatula, and you get a perfectly flat, thin patty every time. No more wrestling with greasy hands.
- Work in batches: Cook no more than 2 patties at a time in a standard skillet. If you try to cook 4, the pan cools down and you end up steaming instead of searing. Patience pays off here.
- Keep the pan hot: Between batches, let the pan come back up to temperature for about 30 seconds. You should see a little smoke before adding the next patty.
- Scrape, don’t lift: When flipping, use a firm scraping motion with your spatula. This ensures you get under the entire crust without breaking it. A confident scrape works better than a tentative lift.
One of my biggest failures happened when I tried to rush the process. I added all four patties at once, the pan temperature plummeted, and I ended up with gray, sad patties that had zero crunch. I ate them anyway—because waste not—but it was a humbling reminder that heat management is everything.
For consistent results, I recommend using a timer. Two minutes on the first side, one minute on the second side after flipping. Adjust based on your stove and pan, but these times are a reliable starting point. Once you get comfortable, you’ll be able to judge by sight and sound alone.
Variations & Adaptations
This recipe is endlessly adaptable. Here are a few variations I’ve tried and loved:
- Spicy Smash Burger: Add a pinch of cayenne pepper and smoked paprika to the seasoning. Top with pepper jack cheese and sriracha mayo. The heat pairs beautifully with the salty crust.
- Bacon Cheeseburger Style: Cook 2 slices of bacon per patty until crispy. Crumble them over the cheese while it melts. Add a smear of maple syrup to the top bun for a sweet-savory twist that’s absolutely ridiculous.
- Mushroom Swiss Variation: Sauté sliced mushrooms in butter until deeply browned. Place them under the Swiss cheese on the patty during the last minute of cooking. The earthy mushrooms complement the beef perfectly.
- Low-Carb Option: Skip the bun entirely and serve the patty over a bed of crisp lettuce with tomato slices and avocado. Use a fork and knife—it’s messy but delicious.
- Double Smash: Use two 2-ounce (55 gram) patties per burger instead of one 3-ounce patty. Stack them with cheese in between. The double smash gives you even more crispy surface area per bite.
I once tried a version with crumbled blue cheese and caramelized onions. It was incredible, but the blue cheese was a bit strong for my family. My kids called it “stinky burger night.” So now I keep the blue cheese for my own special batch and stick with American for everyone else. Adaptations are personal—don’t be afraid to experiment.
Serving & Storage Suggestions
These smash burgers are best served immediately, hot off the pan, when the crust is at its crispiest and the cheese is still stretchy. I recommend serving them on a warm plate with a side of crispy fries, onion rings, or a simple green salad. For a classic diner experience, add a pickle spear and a handful of kettle chips.
If you’re serving a crowd, keep the cooked patties warm on a baking sheet in a 200°F (93°C) oven. Place them in a single layer, not stacked, to preserve the crust. Assemble the burgers just before serving to prevent the buns from getting soggy.
For storage, leftover patties can be refrigerated in an airtight container for up to 3 days. The crust will soften, but the flavor remains excellent. To reheat, place the patties in a hot skillet for 1-2 minutes per side. Avoid the microwave—it turns the crust into a sad, rubbery mess.
These patties also freeze beautifully. Place cooled patties in a single layer on a baking sheet and freeze until solid, then transfer to a freezer bag. They’ll keep for up to 3 months. Reheat directly from frozen in a hot skillet for 3-4 minutes per side. The crust won’t be quite as dramatic as fresh, but it’s still pretty great for a quick weeknight dinner.
I’ve noticed that the flavors actually deepen slightly after a day in the fridge. The salt and beef meld together in a way that’s subtly different but still delicious. Don’t be afraid to make a double batch on purpose—you’ll thank yourself later.
Nutritional Information & Benefits
Here’s the approximate nutritional breakdown for one crispy smash cheeseburger (with bun and cheese, no additional toppings):
| Nutrient | Amount |
|---|---|
| Calories | 450-500 |
| Protein | 28g |
| Fat | 32g |
| Carbohydrates | 22g |
| Fiber | 1g |
| Sugar | 4g |
| Sodium | 650mg |
Ground beef is an excellent source of high-quality protein, iron, zinc, and B vitamins. The 80/20 blend provides enough fat to keep you satisfied, and the cheese adds calcium. If you’re watching your sodium, you can reduce the salt slightly, but don’t skip it entirely—it’s essential for that crust.
For a lighter option, use a lettuce wrap instead of a bun and swap the American cheese for a lower-fat alternative. You’ll cut about 100 calories and 15 grams of carbohydrates. I occasionally do this when I’m trying to eat lighter, and honestly, the crispy patty is so flavorful that I don’t miss the bun much.
This recipe is naturally gluten-free if you skip the bun or use a gluten-free alternative. It’s also nut-free and egg-free, making it a safe choice for many common allergies. Always check your specific ingredient labels to be sure.
Conclusion
This crispy smash cheeseburger perfection recipe is proof that sometimes the best dishes come from happy accidents. That moment of frustration—smashing the patty flat because I thought I’d ruined dinner—turned into a technique I now use on purpose every single time. It’s fast, it’s forgiving, and it delivers a texture that thick burgers just can’t match.
I love this recipe because it reminds me that cooking doesn’t have to be complicated to be incredible. A few simple ingredients, a hot pan, and a little confidence are all you need. Whether you’re feeding a hungry family on a Tuesday night or impressing friends on game day, these smash burgers deliver every single time.
Now it’s your turn. Grab that ground beef, crank up the heat, and don’t be afraid to smash hard. I’d love to hear how yours turn out—drop a comment below and let me know your favorite topping combination. And if you try a wild variation, definitely share it. Happy cooking!
Frequently Asked Questions
Can I use lean ground beef for smash burgers?
You can, but I don’t recommend it. Lean beef (90/10 or higher) lacks the fat needed to create that crispy, lacy crust. The fat renders out during cooking and creates the sizzle that browns the meat. Without it, you’ll end up with a dry, tough patty. Stick with 80/20 for the best results.
Why is my smash burger sticking to the pan?
This usually happens for two reasons: the pan isn’t hot enough, or you’re trying to flip too early. Make sure your pan is smoking hot before adding the meat. Then, let the patty cook undisturbed for a full 2-3 minutes. The crust needs time to form. If it’s sticking, give it another 30 seconds and try again.
Can I make these smash burgers on a grill?
Yes, but you’ll need a flat griddle surface or a cast iron skillet on the grill. A standard grill grate won’t work because the meat will fall through the gaps. A flat top griddle attachment is perfect for this. The high heat of a grill actually works beautifully for achieving that crust.
How do I prevent the patties from shrinking too much?
Smash burgers are supposed to shrink a bit—that’s part of what creates the crispy edges. But if you want to minimize shrinkage, make your patties slightly larger than the bun before cooking. They’ll shrink down to the perfect size. Also, don’t overwork the meat. Handle it as little as possible.
What’s the best cheese for smash burgers?
American cheese is the classic choice because it melts smoothly and has a mild, creamy flavor that doesn’t overpower the beef. That said, cheddar, provolone, pepper jack, and Swiss all work well. I recommend using thinly sliced cheese so it melts quickly without overwhelming the patty.
Pin This Recipe!
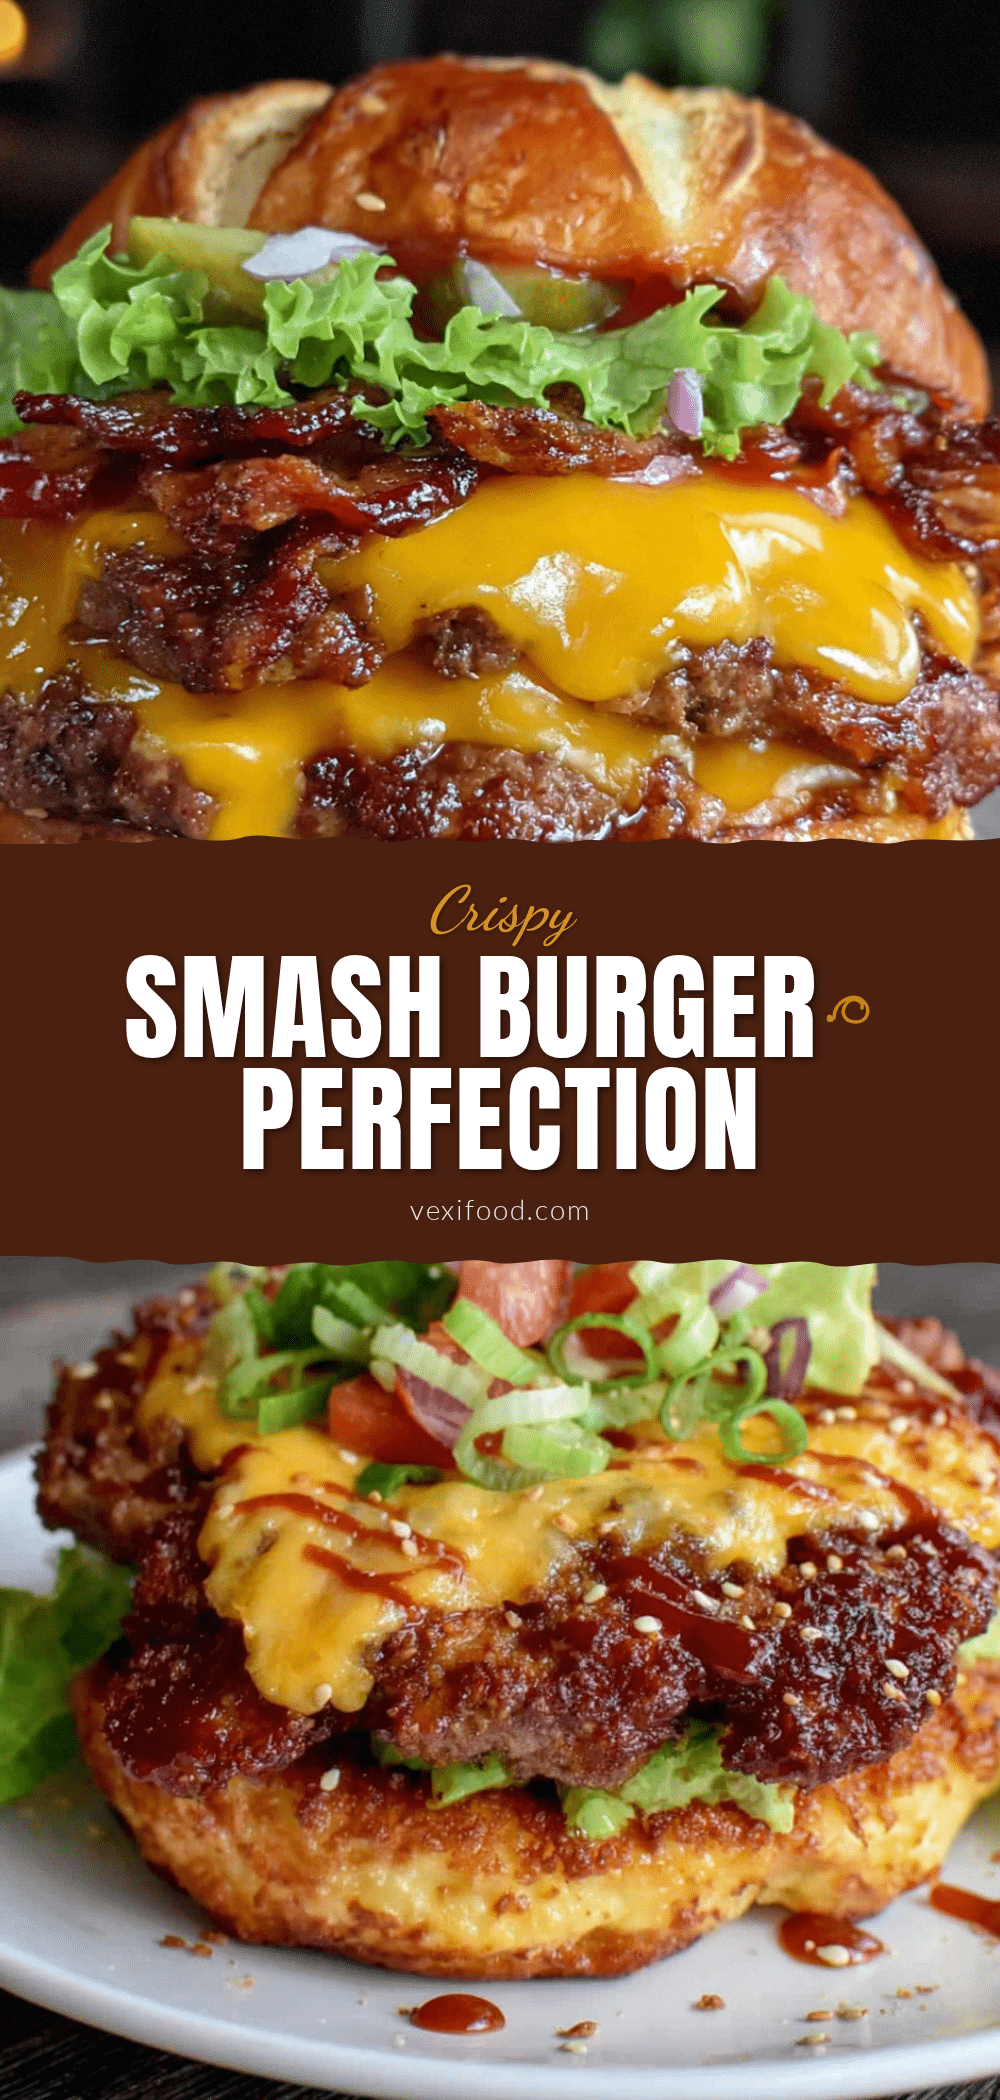
Crispy Smash Cheeseburger Perfection: Best Easy Recipe
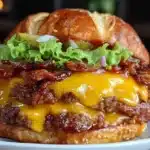
This crispy smash cheeseburger recipe delivers a lacy, caramelized crust and juicy interior in under 20 minutes. It’s the ultimate quick and satisfying weeknight dinner or game day crowd-pleaser.
- Prep Time: 10 minutes
- Cook Time: 10 minutes
- Total Time: 20 minutes
- Yield: 4 servings 1x
- Category: Main Course
- Cuisine: American
Ingredients
- 1 lb (450g) ground beef (80/20 blend)
- 4 slices American cheese
- 4 soft hamburger buns (brioche or potato rolls)
- Kosher salt, to taste
- Freshly ground black pepper, to taste
- 1–2 tbsp unsalted butter or vegetable oil (for the pan)
- Optional toppings: pickles, shredded lettuce, sliced onion, tomato, ketchup, mustard, mayonnaise
Instructions
- Preheat your cast iron skillet or griddle over medium-high heat for at least 5 minutes until smoking hot.
- Divide the ground beef into 4 equal portions (about 3 oz / 85g each). Roll each into a loose ball; do not season yet.
- Toast the buns in a separate pan or under the broiler for 1-2 minutes until lightly golden.
- Place a parchment paper square on your work surface. Put one meatball on the parchment, cover with another square, and press firmly with a heavy metal spatula to flatten into a thin, uneven circle about 4 inches (10 cm) across. Repeat for all patties.
- Carefully peel off the top parchment and transfer the patty to the hot pan, parchment side up. Peel off the remaining parchment. Season generously with salt and pepper. Cook for 2-3 minutes without moving until edges are deep brown and crispy.
- Using a metal spatula, scrape under the patty to release it. Flip it over and immediately place a slice of American cheese on top. Cook for another 1-2 minutes until cheese is melted.
- Transfer the patty to the toasted bottom bun. Add desired toppings, place the top bun on, and press down gently. Serve immediately.
Notes
Don’t season the meat beforehand; salt draws out moisture and prevents browning. Use parchment paper for smashing to prevent sticking. Cook only 2 patties at a time to maintain pan temperature. Let the pan reheat between batches. For best results, use 80/20 ground beef—leaner blends won’t crisp properly. Leftover patties can be refrigerated for up to 3 days or frozen for up to 3 months; reheat in a hot skillet.
Nutrition
- Serving Size: 1 burger (with bun a
- Calories: 475
- Sugar: 4
- Sodium: 650
- Fat: 32
- Saturated Fat: 14
- Carbohydrates: 22
- Fiber: 1
- Protein: 28
Keywords: smash burger, crispy cheeseburger, easy burger recipe, weeknight dinner, game day food, American cuisine