Love this? Save it for later!
Share the inspiration with your friends
This was supposed to be chili. I had the beans soaking, the ground beef thawing, and this whole vision of a big pot simmering on the stove for hours. Classic, hearty, the kind of thing you serve with a side of cornbread and call it a day. But then, my neighbor, a guy named Frank who I swear can smell a grill lighting from three blocks away, yelled over the fence asking if I was bringing my “famous nachos” to the block party that weekend. I panicked. I looked at the ground beef, the blocks of cheese, the cans of beans sitting on my counter, and I just switched gears. I dumped the chili plan and started layering chips. Honestly, it felt like a betrayal of my original idea. I mean, chili and nachos are cousins, sure, but they’re not the same thing. I was already committed to a different dish in my head.
The result was a chaotic, glorious mess. I was juggling a hot skillet of seasoned beef, trying to keep the chips from getting soggy, and Frank was already at my door with a cooler. The first batch I made was a little too heavy on the cheese and light on the toppings—a rookie mistake when you’re trying to feed a hungry crowd. But that second batch? The one where I actually spaced everything out and let the flavors mingle? That was the one. People weren’t just eating it; they were hovering around the pan like it was a campfire. I stood there with a spoon in one hand and a beer in the other, watching this accidental creation disappear. Maybe you’ve been there, where a last-minute pivot becomes the new go-to.
That’s how this Ultimate Loaded Tailgate Nacho Bar with Ground Beef was born out of a failed chili night. It’s not just a snack; it’s a full-on experience. The kind of dish that makes you look like a hero without spending all day in the kitchen. It stayed with me because it solved a problem I didn’t know I had: how to feed a crowd with minimal stress and maximum flavor. Now, I don’t plan chili for parties anymore. I plan this.
Why You’ll Love This Recipe
Let’s face it, feeding a group of hungry people—whether it’s for a big game, a birthday, or just a Tuesday—can be stressful. You want something that feels special but doesn’t chain you to the stove. This nacho bar is that perfect middle ground. It’s built for sharing, and it’s designed to be easy.
- Quick & Easy: From start to finish, you can have this on the table in about 30 minutes. The ground beef cooks up fast, and the rest is just assembly. Perfect for when you’re running late or when the game is about to start.
- Simple Ingredients: No fancy grocery trips needed here. Ground beef, cheese, chips, and a few pantry staples are all you really need. You likely already have most of this in your fridge and cupboards.
- Perfect for Gatherings: This is the ultimate crowd-pleaser for game day, potlucks, or casual get-togethers. Everyone can build their own plate, which means less work for you and more fun for them.
- Crowd-Pleaser: It’s a proven fact that nachos disappear faster than almost anything else at a party. Kids love it, adults love it, and it’s hard to find someone who doesn’t grab a handful.
- Unbelievably Delicious: The combination of seasoned beef, melted cheese, and crunchy chips is pure comfort food magic. It’s the kind of thing that makes you go back for a second (or third) plate.
What makes this recipe different from the rest is the layering technique. I don’t just pile everything on top and hope for the best. I build layers of chips, cheese, and beef so every single bite has a little bit of everything. No sad, naked chips at the bottom of the pan. It’s a small detail, but it makes a huge difference. This isn’t just another nacho recipe; it’s the one you’ll come back to every time you need to feed a hungry crowd. It’s comfort food, perfected.
What Ingredients You Will Need
This recipe uses simple, wholesome ingredients to deliver bold flavor and satisfying texture without the fuss. Most of these are pantry staples or easy to find at any grocery store.
- For the Beef:
- 1 lb (450g) ground beef (80/20 is ideal for flavor; drain excess fat)
- 1 tablespoon olive oil (for browning the meat)
- 1 medium yellow onion, finely diced (adds sweetness and texture)
- 2 cloves garlic, minced (fresh is best, but jarred works in a pinch)
- 1 packet (1 oz) taco seasoning (I prefer the McCormick brand for balanced flavor, or use homemade)
- 1/2 cup (120ml) water (helps the seasoning blend and keeps the meat moist)
- For the Nacho Base:
- 1 large bag (13-16 oz) restaurant-style tortilla chips (look for sturdy chips that won’t break easily, like Tostitos or Santitas)
- 3 cups (340g) shredded Mexican blend cheese (or a mix of sharp cheddar and Monterey Jack; shred it yourself for the best melt)
- For the Toppings (The “Bar” Part):
- 1 (15 oz) can black beans, drained and rinsed (adds fiber and heartiness)
- 1 cup (150g) cherry tomatoes, diced
- 1 medium jalapeño, thinly sliced (remove seeds for less heat)
- 1/2 cup (80g) pickled jalapeños (for that tangy kick)
- 1/2 cup (120ml) sour cream
- 1/2 cup (120ml) salsa or pico de gallo
- 1 avocado, diced (or guacamole, if you’re feeling fancy)
- 1/4 cup (15g) fresh cilantro, chopped
- 1 lime, cut into wedges (for squeezing just before serving)
Ingredient Tips: For the best texture, use a block of cheddar and shred it yourself. Pre-shredded cheese has anti-caking agents that prevent it from melting as smoothly. If you want to go lighter, you can use ground turkey or a plant-based crumble instead of beef—just adjust the cooking time. For a gluten-free option, double-check your taco seasoning label, as some brands contain flour.
Equipment Needed
You don’t need a ton of fancy gear for this, which is part of the beauty. Here’s what you’ll need to pull this off:
- Large Skillet or Frying Pan: A 12-inch skillet is perfect for browning the ground beef. Cast iron is great for even heat, but a non-stick pan works just fine.
- Large Rimmed Baking Sheet: A half-sheet pan (18×13 inches) is ideal for building the nachos. The rim is crucial to keep everything from sliding off.
- Cheese Grater: If you’re shredding your own cheese (which I highly recommend), a box grater or a coarse microplane will do the job.
- Cutting Board and Sharp Knife: For dicing the onion, tomatoes, and avocado. A dull knife makes this part a chore.
- Spatula or Wooden Spoon: For breaking up the ground beef as it cooks.
- Small Bowls: For setting up the topping bar. Ramekins or small prep bowls work perfectly.
Budget-Friendly Options: If you don’t have a rimmed baking sheet, you can use a large oven-safe casserole dish or even a disposable aluminum pan. Just make sure it’s sturdy enough to hold the weight. For the skillet, any pan you have will work—just keep an eye on the heat to prevent burning.
Preparation Method
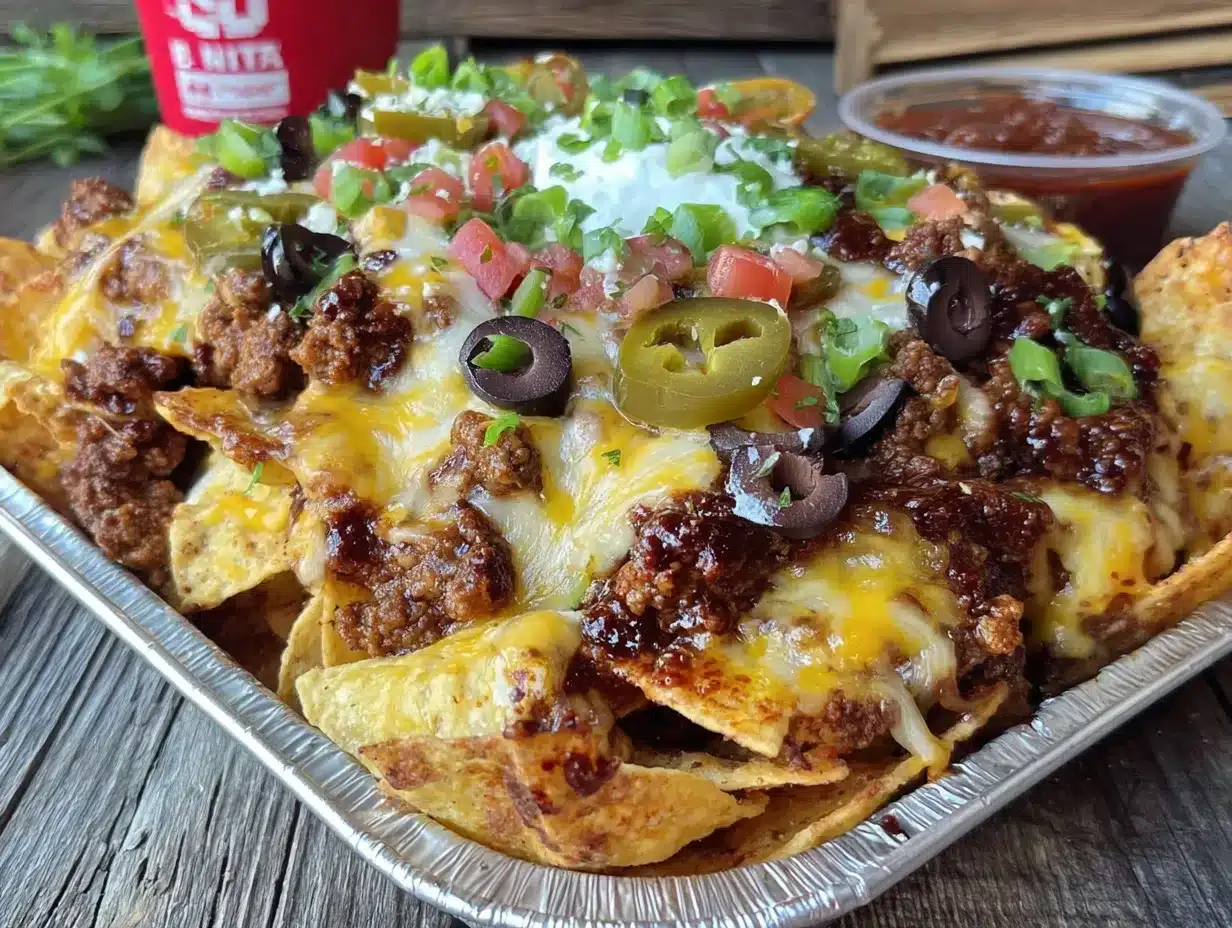
- Preheat and Prep (5 minutes): Preheat your oven to 400°F (200°C). While it’s heating up, dice your onion, mince the garlic, and shred the cheese if you’re using a block. Set your toppings out in small bowls so everything is ready to go.
- Cook the Beef (10 minutes): Heat the olive oil in your large skillet over medium-high heat. Add the ground beef and break it apart with a spatula. Cook for about 5-7 minutes, until it’s browned and no longer pink. If there’s a lot of fat, carefully drain most of it off, leaving about a tablespoon for flavor. Add the diced onion and cook for 2 minutes until it softens. Stir in the garlic and cook for 30 seconds until fragrant. Sprinkle the taco seasoning over the meat, add the water, and stir. Let it simmer for 2-3 minutes until the liquid thickens slightly. Turn off the heat.
- First Layer of Chips (2 minutes): Spread half of the tortilla chips in an even layer on your baking sheet. Don’t be shy—make sure they cover the whole pan. Sprinkle half of the shredded cheese over the chips.
- Add the Beef and Beans (3 minutes): Spoon half of the seasoned ground beef evenly over the first layer of cheese. Scatter half of the black beans over the beef. This creates a middle layer of flavor.
- Second Layer of Chips (2 minutes): Spread the remaining tortilla chips over the beef and beans. Top with the remaining ground beef and black beans. Finish with the rest of the shredded cheese. Make sure the cheese covers the top layer well, especially the edges, to protect the chips from burning.
- Bake (10-12 minutes): Place the baking sheet in the preheated oven. Bake for 10-12 minutes, or until the cheese is fully melted and bubbly. Keep an eye on the edges—if they start to brown too quickly, the nachos are done. You want the cheese melted, not the chips burnt.
- Add Fresh Toppings (2 minutes): Remove the baking sheet from the oven. Immediately scatter the diced tomatoes, fresh jalapeños, and pickled jalapeños over the hot nachos. Let it cool for 2 minutes so nobody burns their mouth.
- Serve Immediately: Just before serving, dollop spoonfuls of sour cream and salsa over the top. Add the diced avocado and a generous sprinkle of fresh cilantro. Squeeze a lime wedge over everything for a bright, fresh finish. Serve straight from the baking sheet—it’s part of the experience!
Sensory Cues: When the beef is done, it should look dark and crumbly, and the kitchen should smell like a taco truck. The cheese should be bubbly and slightly golden around the edges when it comes out of the oven. The chips should still have a slight crunch when you bite into them—if they’re soft, they’ve been in too long.
Cooking Tips & Techniques
I’ve made this recipe more times than I can count, and I’ve learned a few things the hard way. Here are my best tips to make sure your nacho bar is a hit.
Don’t Overload the Chips: It’s tempting to pile everything on at once, but too many toppings can make the chips soggy. Stick to two layers of chips and two layers of cheese. The fresh toppings go on after baking, which keeps them crisp and bright.
Shred Your Own Cheese: I know it’s an extra step, but pre-shredded cheese has a coating that stops it from melting smoothly. Freshly shredded cheese melts into a gooey, stretchy blanket that coats every chip. Trust me on this one.
Watch the Oven: Every oven is different. The first time I made this, I walked away for a minute and the edges of the chips turned dark brown. Start checking at the 8-minute mark. You want the cheese melted, not the chips charred.
Use Sturdy Chips: Thin, flimsy chips will break under the weight of the beef and cheese. Look for “restaurant-style” or “thick cut” chips. They hold up better and give you a satisfying crunch.
Keep Toppings Separate: If you’re setting up a bar, keep the wet toppings (sour cream, salsa) in separate bowls. If you put them on the hot nachos too early, they’ll make the chips soggy. Let everyone add their own toppings at the table.
Variations & Adaptations
This recipe is a canvas, and you can paint it any way you like. Here are a few of my favorite twists.
- Vegetarian Version: Skip the ground beef and use two cans of black beans or a plant-based crumble. Cook the beans with the same taco seasoning and water for a few minutes to build flavor. You won’t miss the meat.
- Spicy Kick: If you like heat, add a diced serrano pepper to the beef while it cooks. Use hot taco seasoning and top with extra pickled jalapeños. A drizzle of hot sauce (like Cholula or Tapatío) at the end takes it over the top.
- Breakfast Nachos: This is a fun twist for a lazy Sunday. Swap the ground beef for crumbled breakfast sausage or chorizo. Top with a fried egg and a drizzle of crema. It’s indulgent and incredible.
- Dairy-Free Option: Use a dairy-free shredded cheese (I like the Violife brand for melting) and a cashew-based sour cream. The rest of the toppings are naturally dairy-free.
- Different Protein: Shredded chicken, carnitas, or even leftover brisket work beautifully here. Just warm the protein with a little taco seasoning and water before layering.
I once tried a version with ground lamb and a sprinkle of feta cheese on top. It was a little Greek-Mex fusion thing, and honestly, it was fantastic. Don’t be afraid to experiment—that’s how new favorites are born.
Serving & Storage Suggestions
This dish is best served hot, straight from the oven. The contrast between the warm, melty cheese and the cool, fresh toppings is what makes it so good. I like to put the baking sheet right on the table with a stack of small plates and forks (or just let people use their hands—it’s a tailgate, after all).
What to Serve With It: This nacho bar is a meal in itself, but if you want to round it out, a simple side of Mexican street corn salad or a bowl of fresh fruit works well. For drinks, cold beer or a pitcher of margaritas is the obvious choice. For a non-alcoholic option, try a big pitcher of horchata or limeade.
Storage: Nachos are really best eaten fresh, but if you have leftovers, store them in an airtight container in the fridge for up to 2 days. The chips will soften, but the flavor will still be good. To reheat, spread them on a baking sheet and warm them in a 350°F (175°C) oven for 5-7 minutes. Don’t use the microwave—it will turn them into a sad, soggy mess.
Make-Ahead Tip: You can cook the ground beef up to 2 days in advance and store it in the fridge. When you’re ready to serve, just reheat it in a skillet with a splash of water, then assemble and bake. This makes game day prep a breeze.
Nutritional Information & Benefits
While this is definitely a treat-yourself dish, it does have some redeeming qualities. Here’s a rough estimate per serving (about 1/8 of the pan):
- Calories: 480
- Fat: 28g
- Carbohydrates: 35g
- Protein: 24g
- Fiber: 6g
- Sugar: 4g
- Sodium: 780mg
Health Benefits: The black beans add a solid dose of fiber and plant-based protein, which helps keep you full. The avocado provides healthy monounsaturated fats and potassium. The fresh tomatoes and cilantro add a pop of vitamins A and C. If you’re watching your sodium, you can use low-sodium taco seasoning and rinse the black beans well.
Dietary Considerations: This recipe can easily be made gluten-free (check the seasoning packet) and dairy-free (use alternative cheese and sour cream). It’s naturally nut-free and egg-free. For a lower-carb option, serve the beef and toppings over a bed of lettuce or cauliflower chips instead of tortilla chips.
I’m a firm believer that food should be enjoyed, not stressed over. This recipe is a celebration, and one plate of these nachos isn’t going to derail a healthy lifestyle. Balance is key, and this is a delicious part of that balance.
Conclusion
This Ultimate Loaded Tailgate Nacho Bar with Ground Beef is more than just a recipe—it’s a solution to the eternal question of what to feed a hungry crowd. It’s fast, it’s forgiving, and it’s guaranteed to make you the most popular person at the party. The layers of crunchy chips, seasoned beef, and gooey cheese are a combination that never gets old.
I love this recipe because it reminds me of that chaotic, happy evening when my chili plans fell apart and something better took their place. It’s proof that some of the best things in life come from happy accidents. I hope you make this your own—pile on your favorite toppings, experiment with different proteins, and don’t be afraid to get a little messy. That’s what nachos are all about.
I’d love to hear how yours turn out! Drop a comment below and tell me your favorite topping combination, or share a photo of your nacho bar on social media. Tag me so I can see your creation. Until next time, happy cooking!
Frequently Asked Questions
Can I make this in a slow cooker?
Yes, you can cook the ground beef in a skillet first, then transfer it to a slow cooker with the beans and cheese. Keep it on warm and let guests build their own nachos with chips on the side. The chips won’t be baked, but it’s a great option for a party.
How do I keep the chips from getting soggy?
The key is layering and not overloading. Bake the nachos just until the cheese melts, and add wet toppings like salsa and sour cream right before serving. Letting the nachos sit for too long after baking will also make them soft.
Can I use ground turkey instead of beef?
Absolutely. Ground turkey works perfectly. Just be aware that it’s leaner, so you might need to add a tablespoon of oil to the pan to keep it from drying out. The taco seasoning will add plenty of flavor.
What’s the best way to reheat leftover nachos?
The oven is your best friend here. Spread the leftover nachos on a baking sheet and warm them at 350°F (175°C) for 5-7 minutes. This will help crisp the chips back up a little. Avoid the microwave at all costs—it makes them rubbery.
Can I prepare the toppings ahead of time?
Yes! Dice the tomatoes, slice the jalapeños, and chop the cilantro up to a day in advance. Store them in separate containers in the fridge. The avocado should be cut just before serving to prevent browning. This makes assembly a breeze on game day.
Pin This Recipe!
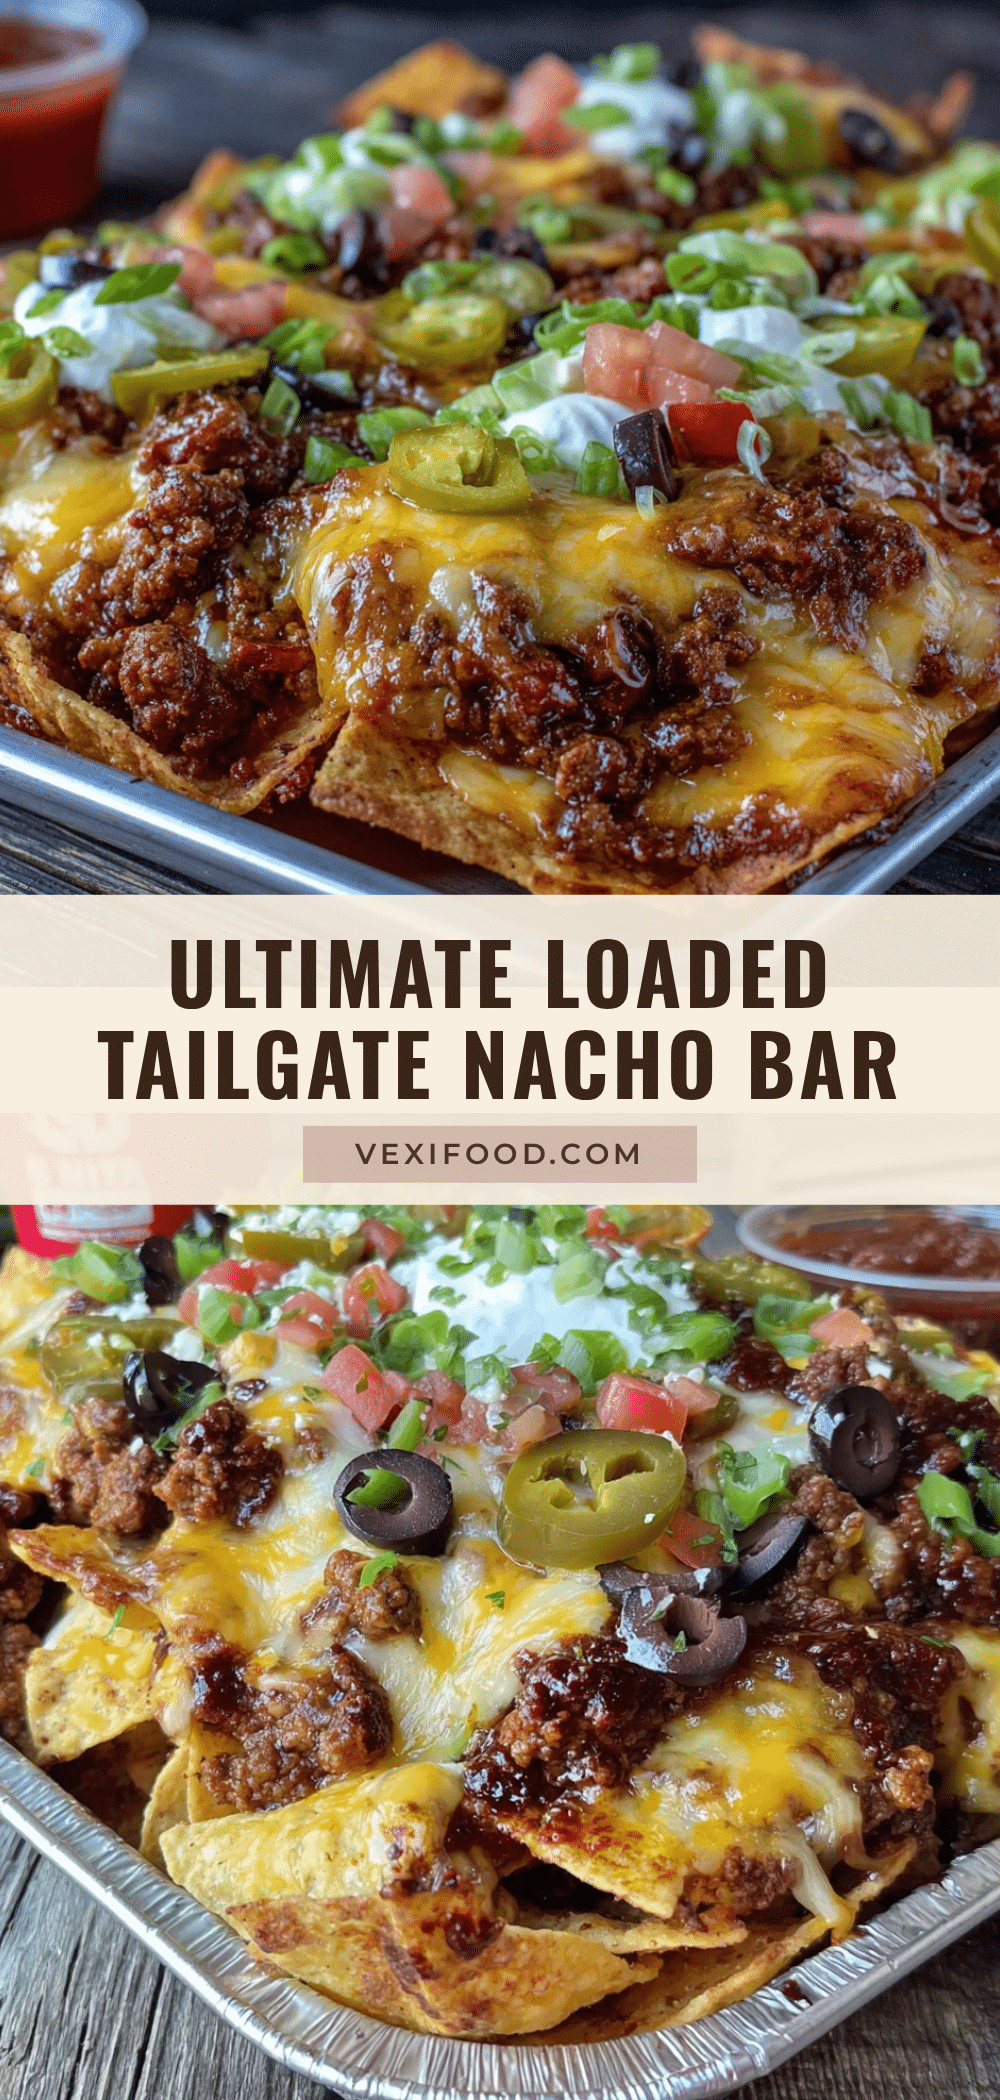
Ultimate Loaded Tailgate Nacho Bar with Ground Beef
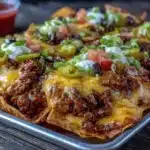
This Ultimate Loaded Tailgate Nacho Bar with Ground Beef is a quick and easy crowd-pleaser, perfect for game day or any gathering. Layers of crunchy chips, seasoned beef, and gooey cheese create an unforgettable experience.
- Prep Time: 15 minutes
- Cook Time: 12 minutes
- Total Time: 27 minutes
- Yield: 8 servings 1x
- Category: Appetizer
- Cuisine: Mexican-American
Ingredients
- 1 lb (450g) ground beef (80/20 is ideal)
- 1 tablespoon olive oil
- 1 medium yellow onion, finely diced
- 2 cloves garlic, minced
- 1 packet (1 oz) taco seasoning (e.g., McCormick)
- 1/2 cup (120ml) water
- 1 large bag (13–16 oz) restaurant-style tortilla chips (e.g., Tostitos or Santitas)
- 3 cups (340g) shredded Mexican blend cheese (or sharp cheddar and Monterey Jack)
- 1 (15 oz) can black beans, drained and rinsed
- 1 cup (150g) cherry tomatoes, diced
- 1 medium jalapeño, thinly sliced (seeds removed for less heat)
- 1/2 cup (80g) pickled jalapeños
- 1/2 cup (120ml) sour cream
- 1/2 cup (120ml) salsa or pico de gallo
- 1 avocado, diced
- 1/4 cup (15g) fresh cilantro, chopped
- 1 lime, cut into wedges
Instructions
- Preheat oven to 400°F (200°C). Dice onion, mince garlic, and shred cheese if using a block. Set toppings in small bowls.
- Heat olive oil in a large skillet over medium-high heat. Add ground beef and cook for 5-7 minutes, breaking it apart, until browned. Drain excess fat, leaving about 1 tablespoon.
- Add diced onion and cook for 2 minutes until softened. Stir in garlic and cook for 30 seconds until fragrant.
- Sprinkle taco seasoning over meat, add water, and stir. Simmer for 2-3 minutes until liquid thickens. Turn off heat.
- Spread half of the tortilla chips in an even layer on a large rimmed baking sheet. Sprinkle half of the shredded cheese over chips.
- Spoon half of the seasoned ground beef over the cheese layer. Scatter half of the black beans over the beef.
- Spread remaining tortilla chips over the beef and beans. Top with remaining ground beef and black beans. Finish with remaining shredded cheese, covering edges well.
- Bake for 10-12 minutes, until cheese is melted and bubbly. Watch edges to prevent burning.
- Remove from oven. Immediately scatter diced tomatoes, fresh jalapeños, and pickled jalapeños over hot nachos. Let cool for 2 minutes.
- Just before serving, dollop sour cream and salsa on top. Add diced avocado and sprinkle with fresh cilantro. Squeeze lime wedges over everything. Serve straight from the baking sheet.
Notes
For best results, shred your own cheese for smooth melting. Use sturdy restaurant-style chips to prevent breakage. Add wet toppings like salsa and sour cream just before serving to keep chips crunchy. Leftovers can be stored in an airtight container in the fridge for up to 2 days; reheat in a 350°F oven for 5-7 minutes.
Nutrition
- Serving Size: 1/8 of the pan
- Calories: 480
- Sugar: 4
- Sodium: 780
- Fat: 28
- Saturated Fat: 12
- Carbohydrates: 35
- Fiber: 6
- Protein: 24
Keywords: nachos, ground beef, tailgate, game day, loaded nachos, easy appetizer, crowd-pleaser