Love this? Save it for later!
Share the inspiration with your friends
I was at my local hardware store—of all places—picking up a new caulk gun for a bathroom project that was already two weekends overdue. The guy at the counter, a grizzled older man named Frank who always smells faintly of sawdust and coffee, started telling me about these pumpkin bars his wife makes for their church bake sale. “They win every single year,” he said, not looking up from my receipt. “The secret is you gotta burn the butter first. She says it drives people crazy.” I stood there, caulk gun in hand, utterly captivated by this unexpected pumpkin bar sermon from a hardware store employee. He even drew me a rough diagram on the back of a receipt showing the temperature of the butter as it changes color. I mean, you don’t forget that kind of thing. I went home, fixed the bathroom, and made these bars that same night. And honestly? Frank was right. That browned butter changes everything—it adds this nutty, almost toffee-like depth that plain butter just can’t touch. Maybe you’ve been there, staring at a pumpkin dessert recipe and thinking, “What’s the point of browning the butter?” Let me tell you, it’s the one step you absolutely cannot skip.
These brown butter pumpkin bars with cream cheese frosting have become my official fall bake-sale contribution, my “I’m sorry I forgot your birthday” offering, and the thing I make when I need to feel like I’ve actually accomplished something in the kitchen. They’re that good. And the best part? They come together in one bowl (well, two if you count the frosting) with absolutely no stand mixer required. Just a whisk, a spatula, and a little patience while that butter does its magic in the pan.
Why You’ll Love This Recipe
I’ve tested this recipe seven times. Seven. My neighbors have been very patient, and my kitchen scale has seen things. But I wanted to get it absolutely right—the perfect balance of pumpkin spice, that deep nutty flavor from the browned butter, and a cream cheese frosting that’s tangy enough to cut through the sweetness without being overpowering. Here’s why I think you’re going to love it too:
- Quick & Easy: From start to finish, you’re looking at about 45 minutes of active time. The bars bake in 25 minutes flat, making them perfect for those “I need a dessert for tomorrow” moments.
- Simple Ingredients: Nothing weird here. Butter, pumpkin puree, flour, sugar, eggs, and your standard pumpkin pie spice blend. You probably have most of this already.
- Perfect for Fall Gatherings: These bars are the star of any Thanksgiving dessert table, Friendsgiving potluck, or cozy weekend baking session. They travel well, too—no delicate layers to collapse.
- Crowd-Pleaser: I’ve served these to kids, adults, and that one friend who “doesn’t really like pumpkin desserts.” All of them asked for seconds. All of them.
- Unbelievably Delicious: The browned butter adds a complexity that makes these taste like you spent hours in the kitchen. But you didn’t. You just browned some butter and stirred things together.
What makes this recipe different from all the other pumpkin bars out there? It’s the browned butter, hands down. That simple extra step transforms the entire dessert from “good” to “I need this recipe immediately.” The nutty, caramelized notes from the butter complement the earthy pumpkin and warm spices in a way that feels almost magical. And the cream cheese frosting? I’ve balanced it with just a touch more salt than usual to offset the sweetness of the bars. It’s not your average cream cheese frosting—it’s better.
This is the kind of dessert that makes you close your eyes after the first bite. It’s comfort food for the soul, reimagined with a technique that feels fancy but isn’t. Perfect for impressing guests without any stress, or turning an ordinary Tuesday into something worth remembering.
What Ingredients You Will Need
This recipe uses simple, wholesome ingredients to deliver bold flavor and satisfying texture without any fuss. Most of these are pantry staples, especially if you’re a fall baker. Let’s break down what you’ll need and why each ingredient matters.
For the Pumpkin Bars
- 1 cup (226g) unsalted butter — This is the star. You’ll be browning it, so don’t use salted butter here (the salt content can throw off the browning process). I prefer using Kerrygold or Plugrà for the best flavor, but any good-quality unsalted butter works.
- 1 ¾ cups (350g) granulated sugar — Standard white sugar. It dissolves easily and helps create that tender crumb. Don’t substitute with brown sugar here—the flavor balance works best with white.
- 1 cup (245g) pumpkin puree — Make sure you’re using 100% pure pumpkin puree, not pumpkin pie filling. Libby’s is my go-to brand. If you’re feeling ambitious, homemade pumpkin puree works beautifully too (just make sure it’s well-drained so your bars aren’t soggy).
- 2 large eggs — Room temperature is ideal. If you forgot to take them out of the fridge, place them in a bowl of warm water for 5 minutes.
- 1 teaspoon vanilla extract — Pure vanilla extract, not imitation. It adds warmth and depth.
- 2 cups (250g) all-purpose flour — Spoon and level your flour for the most accurate measurement. Scooping directly from the bag can pack in too much flour, making your bars dry.
- 2 teaspoons pumpkin pie spice — You can buy it pre-mixed, or make your own with 1 teaspoon cinnamon, ½ teaspoon ginger, ¼ teaspoon nutmeg, ¼ teaspoon allspice, and a pinch of cloves.
- 1 teaspoon baking powder — For lift and a tender texture.
- ½ teaspoon baking soda — Helps the bars rise and brown nicely.
- ½ teaspoon salt — Fine sea salt or table salt. Don’t skip this—it balances the sweetness and enhances the pumpkin flavor.
For the Cream Cheese Frosting
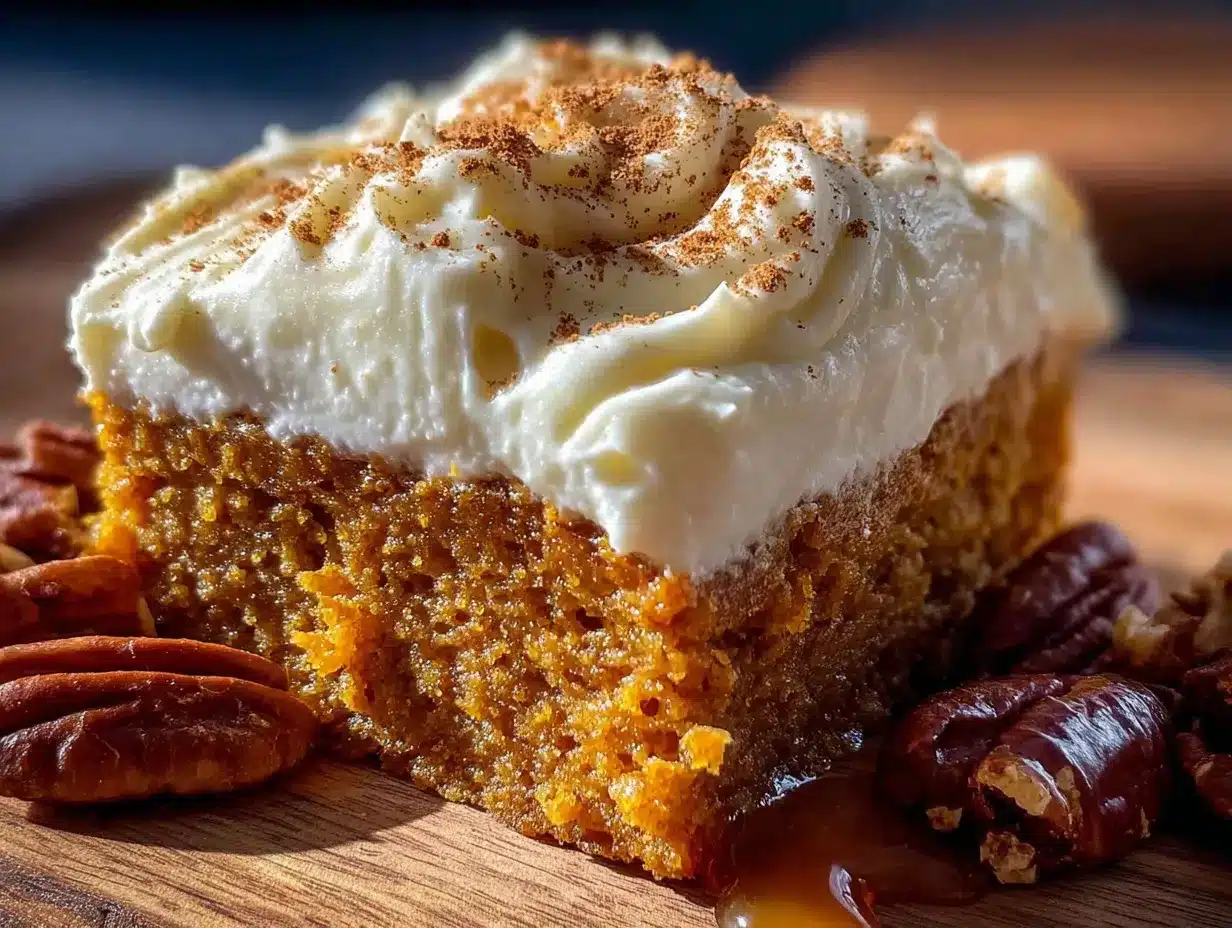
- 8 oz (226g) cream cheese — Full-fat, brick-style cream cheese. Not the spreadable kind in a tub. Philadelphia is my trusted brand. Make sure it’s softened to room temperature so you don’t end up with lumpy frosting.
- ½ cup (113g) unsalted butter — Softened. This adds richness and helps the frosting hold its shape.
- 3 cups (360g) powdered sugar — Sifted if you want an extra-smooth finish (I usually skip sifting and just beat it well).
- 1 teaspoon vanilla extract — Again, pure vanilla.
- ¼ teaspoon salt — This is my secret. A little extra salt in the frosting makes the whole dessert more balanced.
Equipment Needed
You don’t need a fancy kitchen for these bars. Here’s what you’ll need:
- 9×13-inch baking pan — Metal or glass both work, but metal gives slightly better browning on the edges. If using glass, reduce the oven temperature by 25°F.
- Light-colored saucepan or skillet — For browning the butter. A light-colored pan helps you see the color change. I use a stainless steel saucepan. Dark nonstick pans make it harder to judge the color.
- Large mixing bowl — For the wet ingredients.
- Medium mixing bowl — For the dry ingredients.
- Whisk — A good balloon whisk is your best friend here.
- Rubber spatula — For folding and scraping every last bit of batter.
- Parchment paper — Lining the pan makes removal so much easier. I’ve tried greasing the pan directly, and the bars always stick. Parchment is non-negotiable.
- Electric hand mixer or stand mixer — For the frosting. You can do it by hand with a whisk and some elbow grease, but your arm will thank you for using a mixer.
- Cooling rack — Essential for even cooling. Don’t skip this or your bars will get soggy on the bottom.
If you don’t have parchment paper, you can grease the pan thoroughly with butter and dust it with flour, but honestly, parchment is worth the investment. A roll lasts forever and saves so much frustration.
Preparation Method
Let’s get baking. This method is broken down into clear steps, with all the little details I’ve learned from making these bars more times than I care to count.
Step 1: Brown the Butter
Place the 1 cup of unsalted butter in your light-colored saucepan over medium heat. Swirl the pan occasionally as the butter melts. It will start to foam and crackle—that’s the water evaporating. Keep swirling. After about 5-7 minutes, the foam will subside and you’ll see golden specks forming at the bottom of the pan. The butter will smell nutty and amazing. As soon as it turns a deep amber color (think the color of a penny), remove it from the heat immediately and pour it into a heat-safe bowl. Don’t walk away during this process—browned butter can go from perfect to burnt in about 15 seconds. Let it cool for 10-15 minutes while you prepare the other ingredients.
Step 2: Preheat and Prep
Preheat your oven to 350°F (175°C). Line your 9×13-inch baking pan with parchment paper, leaving some overhang on the long sides so you can lift the bars out later. If you don’t have parchment, grease the pan thoroughly with butter.
Step 3: Mix the Wet Ingredients
In your large mixing bowl, combine the cooled browned butter (it should still be liquid but not hot) with the granulated sugar. Whisk until well combined—it will look a bit grainy, that’s normal. Add the pumpkin puree, eggs, and vanilla extract. Whisk until smooth and fully incorporated. The mixture will be thick and glossy.
Step 4: Combine the Dry Ingredients
In your medium mixing bowl, whisk together the flour, pumpkin pie spice, baking powder, baking soda, and salt. Make sure there are no lumps. This step is important because it evenly distributes the leavening agents and spices throughout the flour.
Step 5: Fold Everything Together
Add the dry ingredients to the wet ingredients in three additions, folding gently with your rubber spatula after each addition. Do not overmix—stop as soon as you no longer see streaks of flour. Overmixing will make the bars tough. The batter will be thick and slightly fluffy.
Step 6: Bake the Bars
Spread the batter evenly into your prepared pan. Use an offset spatula or the back of a spoon to smooth the top. Bake for 22-28 minutes, or until a toothpick inserted in the center comes out clean or with just a few moist crumbs. The edges should be lightly golden and pulling away from the sides of the pan. Let the bars cool in the pan on a wire rack for at least 30 minutes before frosting. They need to be completely cool, or the frosting will melt and slide right off.
Step 7: Make the Frosting
While the bars cool, make the cream cheese frosting. In a large bowl (or the bowl of your stand mixer), beat the softened cream cheese and butter together on medium speed until smooth and creamy—about 2 minutes. There should be no lumps. Add the powdered sugar, vanilla extract, and salt. Start on low speed to avoid a sugar cloud, then increase to medium-high and beat for 2-3 minutes until light and fluffy. Scrape down the sides of the bowl as needed.
Step 8: Frost and Serve
Once the bars are completely cool, spread the frosting evenly over the top. Use an offset spatula for a smooth finish, or create swirls for a more rustic look. For clean slices, refrigerate the frosted bars for 20 minutes before cutting. Use a sharp knife and wipe it clean between cuts for neat edges.
Cooking Tips & Techniques
Here are the things I wish someone had told me before my first attempt at these bars:
Don’t rush the browned butter. I burnt my first batch because I walked away to answer a text. The difference between perfect browned butter and burnt butter is literally seconds. Stay at the stove, keep swirling, and trust your nose. When it smells like toasted nuts, it’s done.
Room temperature ingredients matter. Cold eggs and cold pumpkin puree can cause the browned butter to seize up and become grainy. Let everything sit out for 20 minutes before you start. Your batter will come together much more smoothly.
Use a light hand with the flour. The most common mistake in bar recipes is using too much flour. Spoon it into your measuring cup and level it off with a knife. If you scoop directly from the bag, you can end up with 20-30% more flour than the recipe calls for, resulting in dry, crumbly bars.
Let the bars cool completely. I know it’s tempting to frost them while they’re still warm, but trust me—the frosting will melt into a puddle. Patience is key here. I usually make the bars in the afternoon, let them cool, then frost them in the evening.
For the cleanest cuts, chill the frosted bars. Pop them in the fridge for 20-30 minutes before slicing. Use a sharp chef’s knife and wipe it clean between each cut. You’ll get beautiful, bakery-style squares.
Variations & Adaptations
One of the best things about this recipe is how flexible it is. Here are some variations I’ve tried and loved:
Gluten-Free Version: Substitute the all-purpose flour with a 1:1 gluten-free baking flour blend (I like Bob’s Red Mill). The texture will be slightly more delicate, but still delicious. Add ¼ teaspoon xanthan gum if your blend doesn’t already include it.
Dairy-Free Version: Use a high-quality vegan butter for both the bars and the frosting. Miyoko’s or Country Crock Plant Butter work well. For the cream cheese frosting, use a dairy-free cream cheese alternative like Kite Hill or Tofutti. Note that dairy-free cream cheese tends to be softer, so you may need to chill the frosted bars longer before serving.
Spice It Up: If you love a bold pumpkin spice flavor, add an extra teaspoon of cinnamon and a pinch of ground cardamom to the dry ingredients. The cardamom adds a warm, floral note that pairs beautifully with the browned butter.
Add Some Crunch: Fold ½ cup of toasted pecans or walnuts into the batter before baking. The nuts add texture and complement the nutty browned butter flavor perfectly. I’ve also tried it with pepitas (pumpkin seeds) on top of the frosting for a pretty garnish.
Make It a Layer Cake: Double the recipe and bake it in two 9-inch round cake pans. Layer the frosting between the cakes and on top. It’s a stunning fall dessert that’s perfect for birthdays or Thanksgiving.
Pumpkin Chocolate Chip Bars: Fold 1 cup of semi-sweet chocolate chips into the batter before baking. The chocolate and pumpkin spice combination is surprisingly wonderful—think pumpkin spice hot chocolate in bar form.
Serving & Storage Suggestions
These bars are best served at room temperature or slightly chilled. If you’re serving them at a gathering, let them sit out for 15-20 minutes after removing from the fridge so the frosting softens just a bit. They pair beautifully with a hot cup of coffee, a chai latte, or a glass of cold milk.
For a pretty presentation, cut the bars into 24 squares (6 rows by 4 rows). Arrange them on a platter and sprinkle a little extra pumpkin pie spice or cinnamon on top. A few fresh rosemary sprigs or edible flowers make a gorgeous fall garnish if you’re feeling fancy.
Storage: Store the frosted bars in an airtight container in the refrigerator for up to 5 days. The flavors actually develop and deepen over the first 24 hours, so don’t be surprised if they taste even better the next day. If you’re stacking them, place a sheet of parchment paper between layers to prevent the frosting from sticking.
Freezing: These bars freeze beautifully. For best results, freeze them unfrosted. Wrap the cooled, unfrosted bars tightly in plastic wrap, then a layer of aluminum foil. They’ll keep for up to 3 months. When you’re ready to serve, thaw them in the refrigerator overnight, then make the frosting fresh and spread it on. Alternatively, you can freeze the fully frosted bars on a baking sheet until firm, then wrap them individually in plastic wrap and store in a freezer bag. Thaw in the refrigerator overnight before serving.
Reheating: If you prefer your bars warm (I sometimes do for breakfast, no judgment), microwave an individual bar for 10-15 seconds. The frosting will get slightly melty, which is honestly delicious.
Nutritional Information & Benefits
Here’s the estimated nutritional breakdown per bar (based on 24 servings):
- Calories: 285
- Total Fat: 16g
- Saturated Fat: 10g
- Cholesterol: 65mg
- Sodium: 180mg
- Total Carbohydrates: 34g
- Dietary Fiber: 1g
- Sugars: 24g
- Protein: 3g
These bars are a treat, no doubt about it, but they do offer some nutritional benefits. Pumpkin is packed with vitamin A (over 200% of your daily needs per cup), which supports eye health and immune function. It’s also a good source of fiber and antioxidants. The cream cheese and butter provide calcium and healthy fats, which help keep you full and satisfied. If you’re looking to lighten things up, you can reduce the sugar in the bars to 1 ½ cups without affecting the texture too much. For a lower-calorie option, skip the frosting and dust the bars with powdered sugar instead.
As always, this recipe contains dairy, gluten, and eggs. For allergen-friendly variations, see the adaptations section above.
Conclusion
These brown butter pumpkin bars with cream cheese frosting have earned a permanent spot in my fall baking rotation. They’re the kind of dessert that makes people pause mid-bite and say, “Wait, what’s in this?” That nutty browned butter, the warm spices, the tangy frosting—it all comes together in a way that feels both familiar and surprising. And honestly? They’re so easy to make that there’s no reason not to try them.
I’d love to hear how yours turn out. Did you add any fun variations? Did Frank’s hardware store wisdom live up to the hype? Leave a comment below and let me know. And if you share a photo on social media, tag me—I love seeing your baking adventures. Until next time, happy baking, and remember: don’t walk away from the browning butter.
Frequently Asked Questions
Can I use salted butter instead of unsalted for browning?
Technically yes, but I don’t recommend it. Salted butter has a higher water content and can brown unevenly. The salt also concentrates as the butter browns, which can throw off the flavor balance. Stick with unsalted for the best results.
Why did my cream cheese frosting turn out lumpy?
This usually happens when your cream cheese or butter is too cold. Make sure both are at room temperature before you start. If you do end up with lumps, try warming the bowl slightly over a pot of simmering water (a makeshift double boiler) and beating again. It usually smooths right out.
Can I make these bars ahead of time?
Absolutely. You can bake the bars up to 2 days in advance and store them unfrosted in the refrigerator. Make the frosting and frost them the day you plan to serve. The bars actually taste better after a day in the fridge—the flavors meld together beautifully.
How do I know when the butter is properly browned?
You’re looking for a deep amber color, similar to the color of a new penny. The butter will smell nutty and toasted. You’ll also see small brown specks (the milk solids) settling at the bottom of the pan. This is good—those specks are flavor bombs. Just don’t let them turn black.
Can I use pumpkin pie filling instead of pumpkin puree?
No, please don’t. Pumpkin pie filling is pre-sweetened and spiced, which will throw off the entire balance of the recipe. Your bars will be overly sweet and the texture will be off. Always use 100% pure pumpkin puree for baking.
Pin This Recipe!
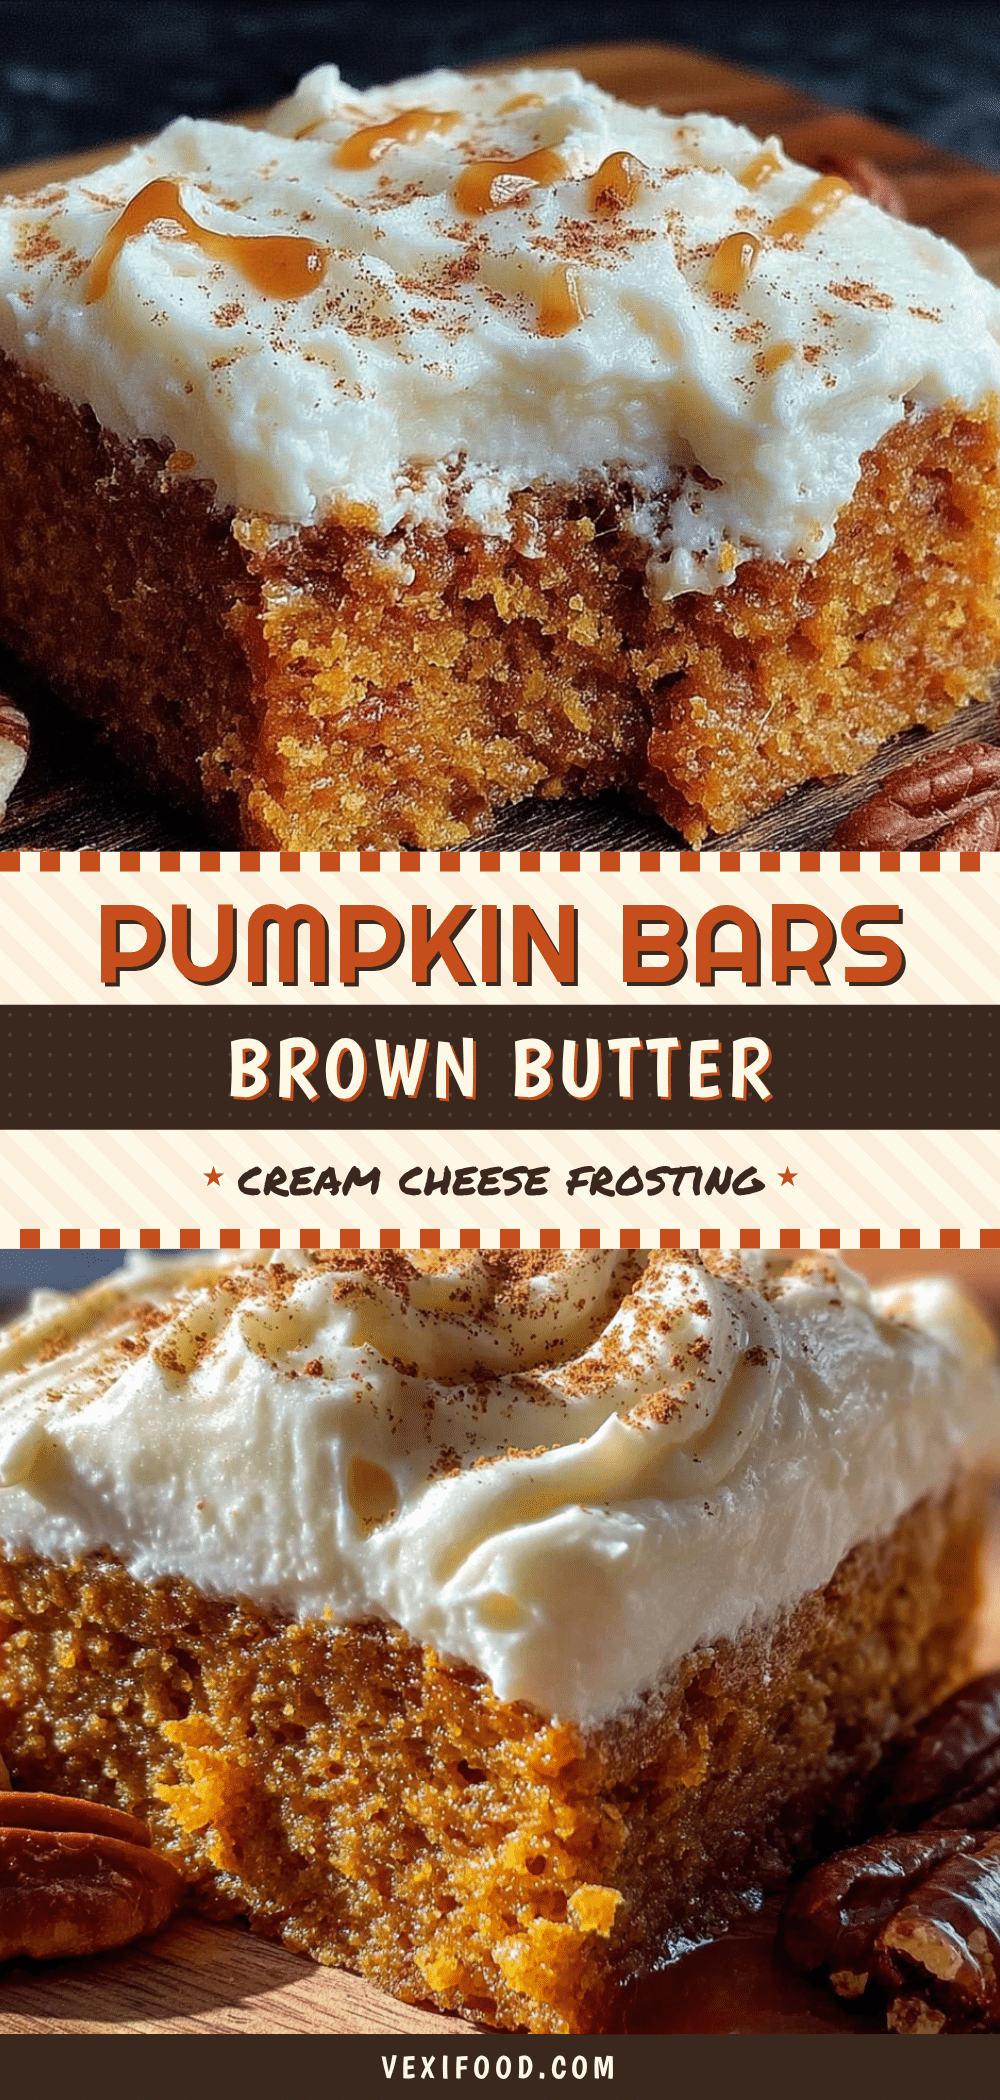
Easy Brown Butter Pumpkin Bars with Cream Cheese Frosting
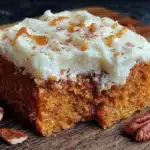
These brown butter pumpkin bars with cream cheese frosting are the ultimate fall dessert. The nutty browned butter adds a deep, toffee-like flavor that perfectly complements the warm pumpkin spices, all topped with a tangy, perfectly balanced cream cheese frosting.
- Prep Time: 20 minutes
- Cook Time: 25 minutes
- Total Time: 45 minutes
- Yield: 24 servings 1x
- Category: Dessert
- Cuisine: American
Ingredients
- 1 cup (226g) unsalted butter
- 1 ¾ cups (350g) granulated sugar
- 1 cup (245g) pumpkin puree
- 2 large eggs, room temperature
- 1 teaspoon vanilla extract
- 2 cups (250g) all-purpose flour
- 2 teaspoons pumpkin pie spice
- 1 teaspoon baking powder
- ½ teaspoon baking soda
- ½ teaspoon salt
- 8 oz (226g) cream cheese, softened
- ½ cup (113g) unsalted butter, softened
- 3 cups (360g) powdered sugar
- 1 teaspoon vanilla extract
- ¼ teaspoon salt
Instructions
- Brown the butter: Place 1 cup unsalted butter in a light-colored saucepan over medium heat. Swirl occasionally as it melts. After 5-7 minutes, when the butter turns a deep amber color and smells nutty, remove from heat immediately and pour into a heat-safe bowl. Let cool for 10-15 minutes.
- Preheat oven to 350°F (175°C). Line a 9×13-inch baking pan with parchment paper, leaving overhang on the long sides.
- Mix wet ingredients: In a large bowl, combine cooled browned butter with granulated sugar and whisk until combined. Add pumpkin puree, eggs, and vanilla extract. Whisk until smooth.
- Combine dry ingredients: In a medium bowl, whisk together flour, pumpkin pie spice, baking powder, baking soda, and salt.
- Fold dry ingredients into wet ingredients in three additions, mixing gently with a rubber spatula until just combined. Do not overmix.
- Spread batter evenly into prepared pan. Bake for 22-28 minutes, until a toothpick inserted in center comes out clean or with a few moist crumbs. Cool in pan on a wire rack for at least 30 minutes, then cool completely.
- Make frosting: In a large bowl, beat softened cream cheese and butter together on medium speed until smooth (about 2 minutes). Add powdered sugar, vanilla extract, and salt. Beat on low speed, then increase to medium-high and beat for 2-3 minutes until light and fluffy.
- Spread frosting evenly over completely cooled bars. For clean slices, refrigerate frosted bars for 20 minutes before cutting. Use a sharp knife, wiping clean between cuts.
Notes
Don’t rush the browned butter—it can go from perfect to burnt in seconds. Use room temperature ingredients for best results. Let bars cool completely before frosting to prevent melting. For clean cuts, chill frosted bars for 20-30 minutes before slicing. Store in an airtight container in the refrigerator for up to 5 days. Freeze unfrosted bars for up to 3 months.
Nutrition
- Serving Size: 1 bar
- Calories: 285
- Sugar: 24
- Sodium: 180
- Fat: 16
- Saturated Fat: 10
- Carbohydrates: 34
- Fiber: 1
- Protein: 3
Keywords: pumpkin bars, brown butter, cream cheese frosting, fall dessert, pumpkin dessert, easy pumpkin bars, Thanksgiving dessert