Love this? Save it for later!
Share the inspiration with your friends
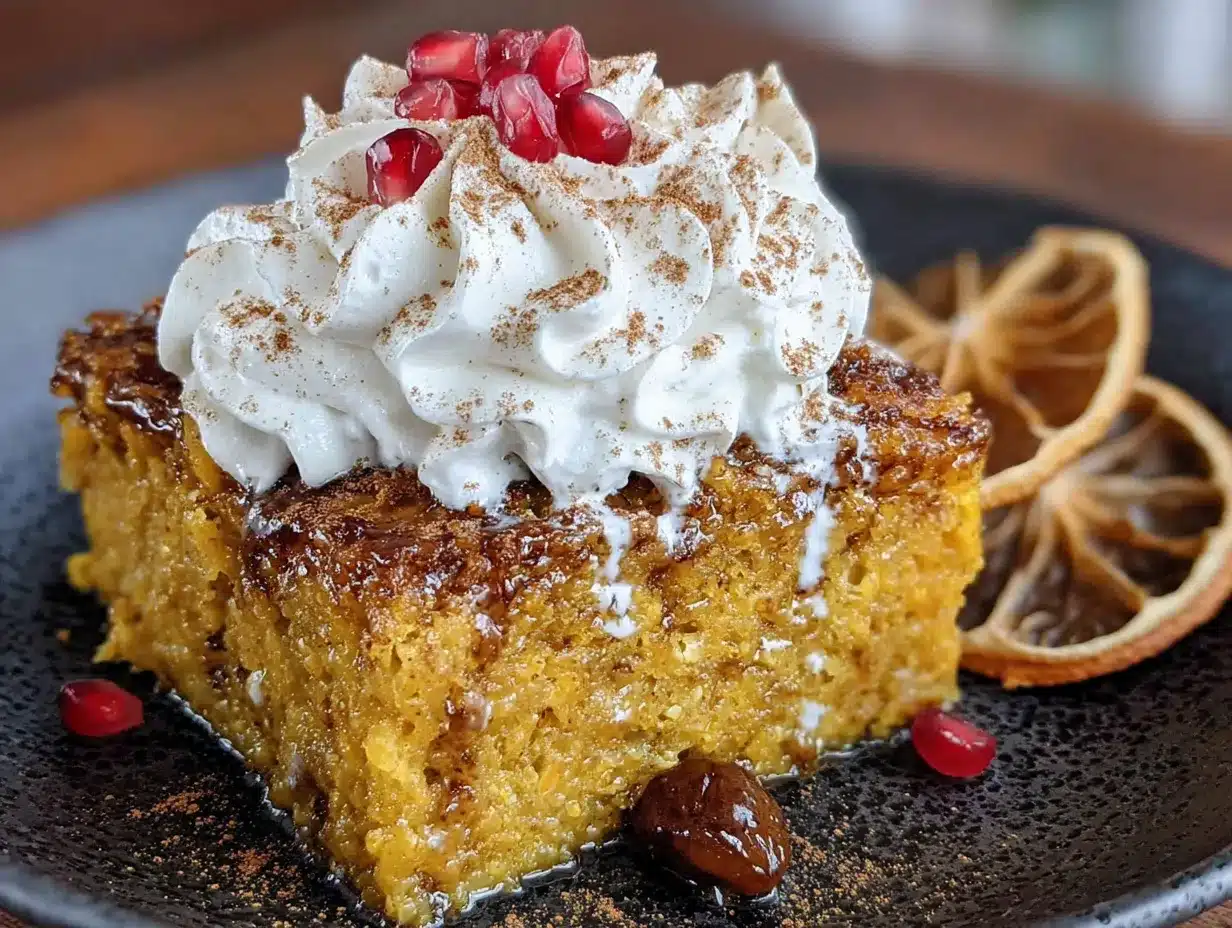
There used to be a little Salvadoran bakery on the corner of Oak and 7th, a place called La Ventana, that made a tres leches cake that was basically a religious experience. When they closed—just a note on the door one Tuesday, “Gracias por todo”—I genuinely mourned. I mean, I stood there staring at the empty display case like I’d lost a friend. After seven tries—seven batches of soggy, collapsed, or just plain wrong cakes—I finally cracked the code. And then, because my kids kept swiping slices before I could even get the cinnamon cream on, I added pumpkin. This Kid-Approved Pumpkin Tres Leches Cake with Cinnamon Whipped Cream is the result of that obsession meeting a family who refuses to eat anything that doesn’t taste like a hug. Let me tell you, it was worth every single failed sponge.
Why You’ll Love This Recipe
This isn’t just another pumpkin dessert. It’s the one that makes everyone at the table go quiet—and with kids, that’s practically a miracle. I’ve tested this cake on picky eaters, dairy-sensitive cousins, and my husband who “doesn’t do pumpkin.” All of them asked for seconds.
- Kid-Approved & Budget-Friendly: Uses pantry staples like canned pumpkin and evaporated milk. No fancy trips to specialty stores.
- Incredibly Moist, Not Soggy: The three milks soak in just right, thanks to a foolproof sponge that holds its shape. I learned this the hard way—batch four was a soup.
- Perfect for Fall Gatherings: Whether it’s a school potluck, Thanksgiving dessert table, or a cozy Sunday dinner, this cake travels well and feeds a crowd.
- Simple Ingredients, Big Flavor: Cinnamon, nutmeg, and a whisper of clove make the pumpkin shine. The whipped cream is the cloud it deserves to sit on.
- Leftovers That Get Better: Honestly, day two is even better. The flavors meld overnight, and the cake stays beautifully tender. Your kids will fight over the last slice.
This recipe is the one I reach for when I need a guaranteed win. It’s comfort food reimagined—familiar enough for little hands, special enough for grown-up taste buds. And the cinnamon whipped cream? That’s the secret weapon.
What Ingredients You Will Need
This recipe uses simple, honest ingredients to create something that tastes far more complex than it is. Most of these are probably in your pantry right now, which is exactly how I like to cook.
For the Pumpkin Sponge Cake
- 1 cup all-purpose flour (spooned and leveled—don’t scoop directly from the bag, or you’ll get a dry cake)
- 1 teaspoon baking powder
- 1/2 teaspoon baking soda
- 1 teaspoon ground cinnamon (I prefer Saigon cinnamon for warmth)
- 1/2 teaspoon ground nutmeg (freshly grated if you have it—worth the extra 30 seconds)
- 1/4 teaspoon ground cloves
- 1/4 teaspoon salt
- 1 cup canned pumpkin puree (not pumpkin pie filling—trust me on this)
- 3 large eggs, room temperature
- 3/4 cup granulated sugar
- 1/3 cup vegetable oil (or melted coconut oil for a subtle twist)
- 1 teaspoon vanilla extract
For the Three Milks Mixture
- 1 can (12 ounces) evaporated milk
- 1 can (14 ounces) sweetened condensed milk
- 1/2 cup whole milk (or 2%—anything works, honestly)
- 1/2 teaspoon vanilla extract
For the Cinnamon Whipped Cream
- 2 cups heavy whipping cream, cold
- 3 tablespoons powdered sugar
- 1 teaspoon ground cinnamon
- 1/2 teaspoon vanilla extract
A quick note on substitutions: If you’re dairy-free, use full-fat canned coconut milk in place of the whole milk and a dairy-free sweetened condensed milk (it’s available at most grocery stores now). The whipped cream is trickier to replace, but a coconut cream whipped topping works in a pinch. For a gluten-free version, swap the all-purpose flour with a 1:1 gluten-free baking blend—I’ve tested it with Bob’s Red Mill and it worked beautifully.
Equipment Needed
You don’t need a fancy bakery setup for this cake, which is part of its charm. Here’s what you’ll actually use:
- 9×13-inch baking pan (glass or metal both work; glass may need an extra 5 minutes in the oven)
- Electric hand mixer or stand mixer (for the sponge and the whipped cream—you could do it by hand, but your arm will hate you)
- Large mixing bowls (at least two)
- Whisk and rubber spatula
- Measuring cups and spoons
- Toothpick or cake tester
- Large liquid measuring cup (for mixing the milks)
If you don’t have an electric mixer, a sturdy whisk and some elbow grease will work for the whipped cream—just chill your bowl and beaters first. I’ve done it on camping trips with a hand whisk, and while it’s a workout, the result is still glorious.
Preparation Method
Let’s walk through this step by step. I’ll tell you exactly what to look for so you don’t end up with a puddle like I did on attempt number four.
Step 1: Preheat and Prep
Preheat your oven to 350°F (175°C). Grease your 9×13 pan with butter or nonstick spray, then lightly dust with flour. This helps the sponge release cleanly later.
Step 2: Mix the Dry Ingredients
In a medium bowl, whisk together the flour, baking powder, baking soda, cinnamon, nutmeg, cloves, and salt. Set aside. This ensures the spices are evenly distributed—nobody wants a pocket of pure clove in one bite.
Step 3: Beat the Eggs and Sugar
In a large bowl, beat the eggs and granulated sugar together on medium-high speed for about 3 minutes. You’re looking for a pale, thick, ribbon-like consistency—when you lift the beaters, the batter should fall back in a slow ribbon that holds its shape for a second. This is the key to a light sponge.
Step 4: Add the Wet Ingredients
Reduce the mixer speed to low. Add the pumpkin puree, vegetable oil, and vanilla extract. Mix until just combined—don’t overmix, or you’ll deflate all that air you just whipped in.
Step 5: Fold in the Dry Ingredients
Add the flour mixture in two additions, folding gently with a rubber spatula. Use a light hand here. Stop as soon as you no longer see streaks of flour. A few lumps are fine—they’ll bake out.
Step 6: Bake the Sponge
Pour the batter into your prepared pan and spread it evenly. Bake for 22-28 minutes, until a toothpick inserted in the center comes out clean or with a few moist crumbs. The top should be golden and spring back when lightly pressed. Let the cake cool completely in the pan on a wire rack—this takes about 30-40 minutes. Don’t rush it.
Step 7: Make the Three Milks Mixture
While the cake cools, whisk together the evaporated milk, sweetened condensed milk, whole milk, and vanilla extract in a large liquid measuring cup. Set aside.
Step 8: Soak the Cake
Once the cake is completely cool, poke holes all over the surface with a fork or skewer. Don’t be shy—you want those holes deep so the milk mixture can really seep in. Slowly pour the milk mixture over the cake, starting at the edges and working your way to the center. It will look like a lot of liquid, but trust the process. Cover the pan with plastic wrap and refrigerate for at least 4 hours, or overnight. This is where the magic happens.
Step 9: Make the Cinnamon Whipped Cream
Just before serving, pour the cold heavy cream, powdered sugar, cinnamon, and vanilla into a chilled bowl. Beat on medium-high until soft peaks form—about 2-3 minutes. Don’t overbeat, or you’ll end up with butter. Spread the whipped cream over the chilled cake.
Step 10: Serve and Enjoy
Slice and serve cold. The cake should be incredibly moist but still hold its shape when cut. Garnish with a light dusting of cinnamon or a few pepitas if you’re feeling fancy.
Cooking Tips & Techniques
I’ve made this cake more times than I can count, and I’ve collected a few hard-won lessons along the way.
- Don’t skip the room temperature eggs. Cold eggs won’t whip up as fluffy, and that fluff is what makes the sponge light enough to absorb the milk without turning into a brick.
- Let the cake cool completely. I know it’s tempting to pour the milk over a warm cake, but it will make the texture gummy. Patience pays off here.
- Use a fork, not a knife, to poke holes. A fork creates the perfect size holes for the milk to soak into without tearing the cake apart. I learned this after a disastrous attempt with a chopstick—too big, too messy.
- Chill overnight if you can. The cake needs time to absorb all that milky goodness. Four hours is the minimum, but overnight gives you that perfect, pudding-like texture.
- Whip the cream just before serving. If you whip it too early, it will start to separate. Keep it in the fridge until the last minute.
Variations & Adaptations
This cake is wonderfully adaptable. Here are a few twists I’ve tried and loved:
- Dairy-Free Version: Use full-fat canned coconut milk for the whole milk and a dairy-free sweetened condensed milk. For the whipped cream, chill a can of full-fat coconut milk overnight, scoop off the solid cream, and whip it with the cinnamon and sugar. It’s a little less stable, but delicious.
- Gluten-Free Version: Swap the all-purpose flour with a 1:1 gluten-free baking blend. I’ve used King Arthur Measure for Measure with great results. No other adjustments needed.
- Pumpkin Spice Twist: Add 1/2 teaspoon of pumpkin pie spice to the whipped cream for an extra layer of fall flavor. My kids call this the “super pumpkin” version.
- Boozy Adult Version: Add 2 tablespoons of dark rum or bourbon to the milk mixture. It adds a lovely warmth without being overpowering. Just don’t tell the kids.
- Mini Cupcakes: Bake the batter in a lined muffin tin for 15-18 minutes. Poke holes, pour a smaller amount of milk mixture over each, and top with whipped cream. Perfect for school parties or bake sales.
Serving & Storage Suggestions
This cake is best served cold, straight from the fridge. The texture is at its peak when chilled—think of it as a creamy, pumpkin-spiced pudding cake. I like to slice it into squares and serve with a light dusting of cinnamon on top. A few toasted pepitas or a drizzle of caramel sauce wouldn’t hurt either.
For storage, cover the pan tightly with plastic wrap or transfer slices to an airtight container. It will keep in the refrigerator for up to 4 days. Honestly, the flavor only gets better as it sits—day three is my favorite. You can also freeze the cake (without the whipped cream) for up to 2 months. Wrap it well in plastic wrap and foil, then thaw in the fridge overnight. Whip up a fresh batch of cinnamon cream before serving.
As for reheating, I don’t recommend it. This cake is meant to be enjoyed cold. But if you absolutely must have a warm dessert, microwave a single slice for 10-15 seconds—just enough to take the chill off without melting the cream.
Nutritional Information & Benefits
Here’s the honest truth: this is a dessert, not a health food. But it does have some redeeming qualities. Pumpkin is packed with vitamin A and fiber, and the eggs provide a good dose of protein. The cinnamon isn’t just for flavor—it’s also known for its anti-inflammatory properties. One serving (1/12 of the cake) contains approximately:
- Calories: 380
- Fat: 22g
- Carbohydrates: 42g
- Protein: 7g
- Fiber: 2g
- Sugar: 30g
If you’re watching your sugar intake, you can reduce the sweetened condensed milk by a couple of tablespoons, but know that it will affect the texture slightly. This cake is a treat, meant to be shared and savored. It’s the kind of dessert that makes a Tuesday night feel special without breaking the bank or requiring a culinary degree.
Conclusion
This Kid-Approved Pumpkin Tres Leches Cake with Cinnamon Whipped Cream is the dessert I never knew I needed—until I couldn’t stop making it. It’s the one that brings my family to the table, makes the kids fight over the last slice, and leaves everyone asking for the recipe. And you know what? I love sharing it. Because good food is meant to be passed around.
I’d love to hear how it turns out for you. Did your kids love it? Did you try a fun variation? Drop a comment below and let me know—I read every single one. And if you snap a photo, tag me on Pinterest or Instagram. There’s nothing better than seeing this cake land on another family’s table.
Happy baking, and remember: the best cakes are the ones that come with a story.
Frequently Asked Questions
Can I make this cake ahead of time?
Absolutely. In fact, I recommend it. The cake needs at least 4 hours to soak up the milk mixture, and overnight is even better. Just hold off on the whipped cream until you’re ready to serve. The cake base will keep in the fridge for up to 4 days.
Can I use fresh pumpkin instead of canned?
You can, but you’ll need to roast and puree it first, then drain off any excess liquid. Canned pumpkin is more consistent and saves time. If you go the fresh route, make sure your puree isn’t watery—pat it with paper towels if needed.
My cake came out too wet. What went wrong?
This usually happens if the sponge wasn’t baked long enough or if you poked too many holes. Make sure your toothpick comes out clean before cooling. Also, pour the milk mixture slowly—you can always add more, but you can’t take it back. If it’s too late, serve it in bowls with a spoon. It’s still delicious.
Can I use a different type of milk for the tres leches mixture?
Yes, but the traditional blend of evaporated, sweetened condensed, and whole milk gives the best texture. You can swap the whole milk for 2% or even oat milk, but avoid skim—it’s too thin and won’t create that creamy richness. Coconut milk is a great dairy-free option.
How do I get the whipped cream to hold its shape?
Start with cold cream, a cold bowl, and cold beaters. Whip on medium-high until soft peaks form—don’t overdo it. If your kitchen is warm, set the bowl in an ice bath while you whip. A tablespoon of cornstarch or a pinch of cream of tartar can also help stabilize it. Just don’t tell anyone your secret.
Pin This Recipe!
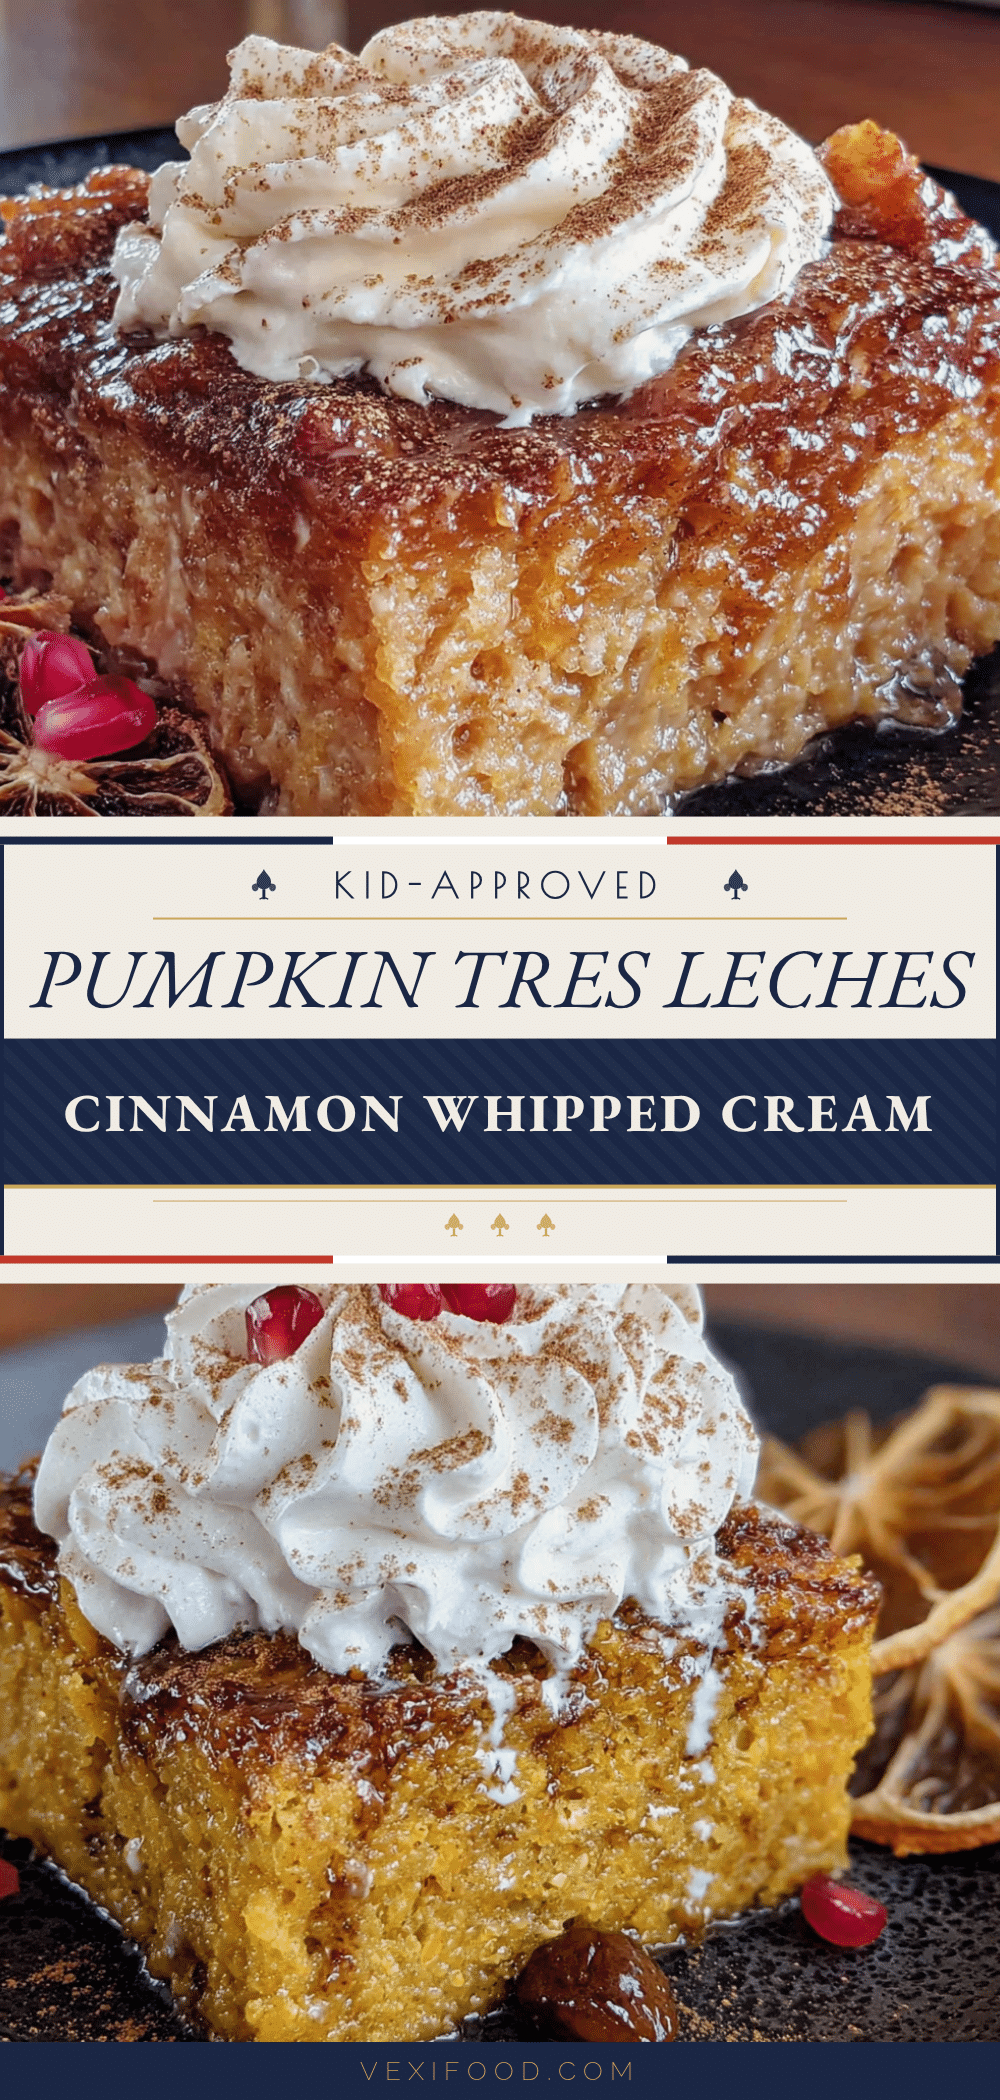
Kid-Approved Pumpkin Tres Leches Cake with Cinnamon Whipped Cream
A moist, pumpkin-spiced tres leches cake soaked in three milks and topped with cinnamon whipped cream. This kid-approved dessert is perfect for fall gatherings and gets even better overnight.
- Prep Time: 20 minutes
- Cook Time: 25 minutes
- Total Time: 4 hours 45 minutes (includes chilling)
- Yield: 12 servings 1x
- Category: Dessert
- Cuisine: American
Ingredients
- 1 cup all-purpose flour (spooned and leveled)
- 1 teaspoon baking powder
- 1/2 teaspoon baking soda
- 1 teaspoon ground cinnamon (preferably Saigon cinnamon)
- 1/2 teaspoon ground nutmeg (freshly grated if possible)
- 1/4 teaspoon ground cloves
- 1/4 teaspoon salt
- 1 cup canned pumpkin puree (not pumpkin pie filling)
- 3 large eggs, room temperature
- 3/4 cup granulated sugar
- 1/3 cup vegetable oil (or melted coconut oil)
- 1 teaspoon vanilla extract
- 1 can (12 ounces) evaporated milk
- 1 can (14 ounces) sweetened condensed milk
- 1/2 cup whole milk (or 2%)
- 1/2 teaspoon vanilla extract
- 2 cups heavy whipping cream, cold
- 3 tablespoons powdered sugar
- 1 teaspoon ground cinnamon
- 1/2 teaspoon vanilla extract
Instructions
- Preheat oven to 350°F (175°C). Grease a 9×13-inch baking pan with butter or nonstick spray and lightly dust with flour.
- In a medium bowl, whisk together flour, baking powder, baking soda, cinnamon, nutmeg, cloves, and salt. Set aside.
- In a large bowl, beat eggs and granulated sugar on medium-high speed for about 3 minutes until pale, thick, and ribbon-like.
- Reduce mixer speed to low. Add pumpkin puree, vegetable oil, and vanilla extract. Mix until just combined.
- Add flour mixture in two additions, folding gently with a rubber spatula until no streaks of flour remain.
- Pour batter into prepared pan and spread evenly. Bake for 22-28 minutes until a toothpick inserted in the center comes out clean or with a few moist crumbs. Cool completely in the pan on a wire rack (30-40 minutes).
- While cake cools, whisk together evaporated milk, sweetened condensed milk, whole milk, and 1/2 teaspoon vanilla extract in a large liquid measuring cup. Set aside.
- Once cake is completely cool, poke holes all over the surface with a fork or skewer. Slowly pour milk mixture over the cake, starting at edges and working to center. Cover with plastic wrap and refrigerate for at least 4 hours or overnight.
- Just before serving, pour cold heavy cream, powdered sugar, 1 teaspoon cinnamon, and 1/2 teaspoon vanilla into a chilled bowl. Beat on medium-high until soft peaks form (2-3 minutes). Spread over chilled cake.
- Slice and serve cold. Garnish with a dusting of cinnamon or pepitas if desired.
Notes
For best results, chill the cake overnight. The whipped cream should be made just before serving. For a dairy-free version, use full-fat canned coconut milk for the whole milk and dairy-free sweetened condensed milk. For gluten-free, use a 1:1 gluten-free baking blend.
Nutrition
- Serving Size: 1 slice (1/12 of cak
- Calories: 380
- Sugar: 30
- Sodium: 280
- Fat: 22
- Saturated Fat: 12
- Carbohydrates: 42
- Fiber: 2
- Protein: 7
Keywords: pumpkin tres leches cake, pumpkin dessert, fall dessert, tres leches cake, cinnamon whipped cream, kid-friendly dessert