Love this? Save it for later!
Share the inspiration with your friends
Introduction
The school Halloween party was in two hours and I’d completely forgotten. Everyone else would be bringing elaborate themed cupcakes, caramel apples, and those perfectly decorated sugar cookies that look like they belong in a bakery window. I had a package of Oreos, a box of instant pudding, and a bag of gummy worms I’d bought on a whim. Let me tell you, the panic was real. I was standing in my kitchen at 10 AM, staring at these ingredients, wondering if I could somehow turn them into something that didn’t look like an afterthought.
Then it hit me. Dirt cups. That childhood classic that somehow never gets old. I whipped them together in about fifteen minutes, threw them in the fridge, and rushed out the door. Honestly, I wasn’t expecting much. I figured the kids would eat them because, well, kids eat anything with gummy worms. But when I walked into that classroom, the other parents had gone all out. There were graveyard cakes, mummy brownies, and even a pumpkin-shaped cheese ball. My little cups of chocolate pudding and crushed cookies looked almost comically simple.
You know that feeling when you’re the underdog and you don’t even realize it? That was me. The kids went absolutely wild for these things. They were grabbing them before the teacher could even say “please wait.” One little boy in a vampire costume actually said, “These are the best things I’ve ever eaten,” which, coming from a six-year-old, is basically a Michelin star. I’ve been making these no-bake Halloween dirt cups every year since, and honestly, they’ve never let me down.
Why You’ll Love This Recipe
These spooky no-bake Halloween dirt cups are the kind of recipe that makes you look like a hero without actually having to do much work. I’ve tested this version through countless Halloween parties, classroom celebrations, and even a few grown-up gatherings where everyone secretly wanted the kid’s dessert. Here’s why this recipe works so well:
- Quick & Easy: Comes together in under 20 minutes of active prep time. The hardest part is crushing the Oreos, and honestly, that’s kind of fun.
- Simple Ingredients: You probably already have most of these in your pantry. No special trips to the fancy grocery store required.
- Perfect for Halloween Parties: These dirt cups are the ultimate Halloween dessert. They’re spooky, fun, and kids absolutely love them.
- Crowd-Pleaser: I’ve never seen anyone turn down a dirt cup. Not once. Not even the adults who pretend they’re too sophisticated for gummy worms.
- Unbelievably Delicious: The creamy chocolate pudding combined with the crunchy cookie “dirt” and chewy gummy worms creates a texture combination that’s pure magic.
What makes this recipe different from all the other dirt cup recipes out there? It’s the little things. I use a specific ratio of pudding to crushed cookies that ensures every bite has the perfect balance of creamy and crunchy. I also let the pudding set for just the right amount of time before adding the “dirt” layer, so it stays distinct and doesn’t get soggy. And I’ve figured out the best way to arrange the gummy worms so they look like they’re actually crawling out of the dirt.
This recipe isn’t just good—it’s the kind of dessert that makes people smile the second they see it. It’s Halloween fun at its finest, with zero stress and maximum payoff.
What Ingredients You Will Need
This recipe uses simple, everyday ingredients to create something that feels special. Most of these are pantry staples, which is exactly what you want when you’re in a time crunch.
- For the Pudding Layer:
- 2 packages (3.9 ounces each) instant chocolate pudding mix (I prefer Jell-O brand for the smoothest texture)
- 3 cups cold whole milk (2% works fine, but whole milk gives the creamiest result)
- 1 teaspoon vanilla extract (optional, but it adds a lovely depth of flavor)
- For the Dirt Layer:
- 1 package (14.3 ounces) Oreo cookies (about 36 cookies, regular not double-stuff)
- 2 tablespoons unsalted butter, melted (this helps the “dirt” hold together slightly)
- For Decoration:
- 1 bag (4.5 ounces) gummy worms (I recommend Trolli or Black Forest for the best texture)
- Optional: candy pumpkins, candy corn, or plastic spider rings for extra spooky flair
- Optional: 8-10 small clear plastic cups (about 5-7 ounces each)
Let me talk about the pudding for a second. I’ve tried making this with homemade chocolate pudding, and while it’s delicious, it doesn’t set up as firmly as the instant stuff. For dirt cups, you want that firm, spoonable texture that holds its shape when you dig in. Instant pudding is definitely the way to go here.
For the Oreos, regular ones work best. Double-stuff creates too much cream filling, which makes the “dirt” clump together instead of looking like actual soil. If you want a slightly less sweet version, you can use the Oreo Thins, but I find the regular ones have the perfect cookie-to-cream ratio for this recipe.
The gummy worms are where you can have some fun. I like to use a mix of colors and flavors—red, green, yellow, and orange all look great against the dark chocolate “dirt.” If you’re feeling extra festive, you can also add some candy eyeballs or plastic spiders to really sell the spooky theme.
Equipment Needed
You don’t need any fancy equipment for this recipe, which is part of what makes it so great. Here’s what you’ll need:
- Electric mixer or whisk: An electric hand mixer makes the pudding come together in about two minutes, but you can absolutely whisk it by hand if you want a mini arm workout.
- Large mixing bowl: For the pudding. A 2-quart bowl works perfectly.
- Medium mixing bowl: For crushing the Oreos.
- Food processor or zip-top bag: For crushing the Oreos into “dirt.” A food processor gives you the most consistent texture, but a zip-top bag and rolling pin work just as well. I’ve used both methods, and honestly, the bag method is more satisfying.
- 8-10 clear plastic cups: The clear cups are important because you want to see the layers. I use 5-ounce cups for individual servings, but you can use any size you like.
- Spatula: For scraping every last bit of pudding out of the bowl.
- Measuring cups and spoons: For accurate measurements.
If you don’t have a food processor, don’t worry. I’ve made these dirt cups in a hotel room once (long story involving a last-minute trip and a promise to bring dessert) using a plastic bag and a wine bottle. It worked perfectly. The key is to crush the cookies until they resemble fine soil with a few slightly larger pieces for texture.
Preparation Method
Let me walk you through this step by step. I’ve made these so many times that I’ve got the process down to a science.
- Crush the Oreos: Place the Oreo cookies (cream filling and all) in a food processor and pulse until they resemble fine crumbs. You want a mix of fine “dirt” and slightly coarser pieces. If you’re using the bag method, place the cookies in a large zip-top bag, seal it, and crush them with a rolling pin or heavy pan. Transfer the crumbs to a medium bowl and stir in the melted butter. Set aside.
- Make the pudding: In a large mixing bowl, combine the instant chocolate pudding mix with the cold milk. Whisk or beat with an electric mixer on medium speed for about 2 minutes, until the pudding thickens. Add the vanilla extract if you’re using it and stir to combine. The pudding will be thick but still pourable at this point.
- Start layering: Spoon about 2 tablespoons of the crushed Oreo mixture into the bottom of each cup. This creates the first “dirt” layer. Use the back of a spoon or a small tamper to press it down gently. You want it to be fairly compact so it creates a distinct layer.
- Add the pudding: Spoon or pour the chocolate pudding over the cookie layer, filling each cup about three-quarters full. Leave some room at the top for the final dirt layer and the gummy worms. Tap the cups gently on the counter to settle the pudding and remove any air bubbles.
- Chill the cups: Place the cups in the refrigerator for at least 30 minutes, or up to 2 hours. This allows the pudding to set completely. I know it’s tempting to skip this step, but trust me, it makes a big difference. The pudding needs time to firm up so the layers stay distinct.
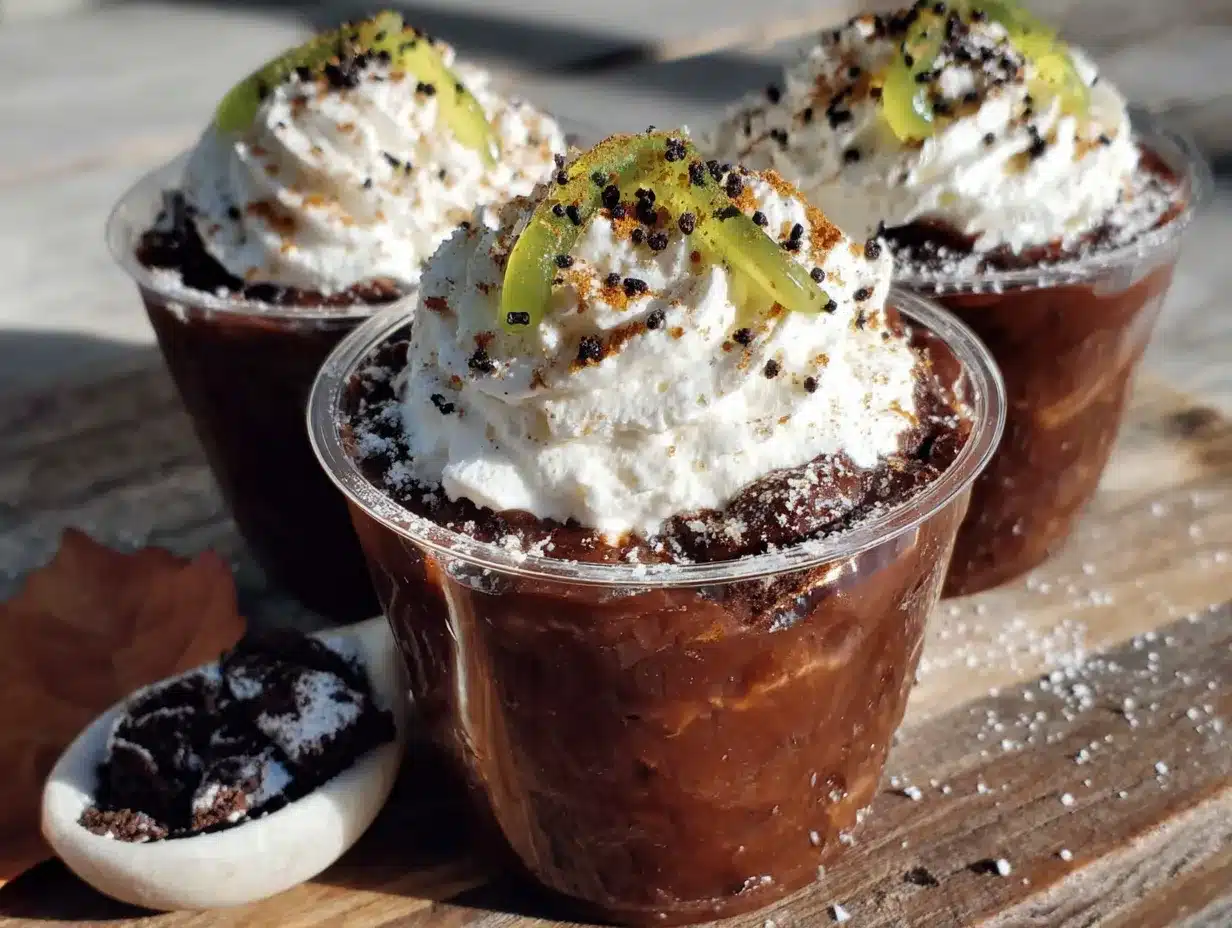
- Add the top dirt layer: Once the pudding is set, sprinkle a generous layer of the remaining Oreo crumbs over the top of each cup. You want to completely cover the pudding so it looks like a little cup of soil. Use about 1 to 2 tablespoons per cup, depending on the size of your cups.
- Add the gummy worms: This is the fun part. Take 2-3 gummy worms per cup and press them gently into the Oreo “dirt” so they look like they’re crawling out. I like to arrange them at different angles—some peeking out the side, some emerging from the center, some halfway buried. Get creative with it.
- Final chill: Return the cups to the refrigerator for another 15-20 minutes before serving. This helps the gummy worms stay in place and allows the flavors to meld together.
A few things I’ve learned the hard way: Don’t overmix the pudding. Overmixing can make it grainy instead of silky smooth. Also, make sure your milk is really cold. Cold milk helps the instant pudding set up properly. And here’s a pro tip—if you’re making these for a party, you can prep everything except the gummy worms a day ahead. Just add the worms right before serving so they stay nice and chewy.
Cooking Tips & Techniques
After making these dirt cups more times than I can count, I’ve picked up a few tricks that make the process smoother and the results better. Let me share them with you.
Don’t skip the butter in the Oreo crumbs. I know it seems like an extra step, but the melted butter helps the “dirt” hold together slightly when you press it into the cups. Without it, the crumbs can be too dry and dusty. The butter gives them a slightly sandy texture that’s much more realistic.
Crush the cookies in batches. If you’re using a food processor, don’t try to crush all the Oreos at once. Work in batches of about 12 cookies at a time. This gives you more control over the texture and prevents the cookies from turning into a paste. You want crumbs, not cookie butter.
Let the pudding set completely. I know I’ve said this already, but it’s worth repeating. The 30-minute chill time is non-negotiable. If you add the top layer of crumbs too soon, they’ll sink into the pudding and you’ll lose that beautiful layered effect. Patience is key here.
Use clear cups for the best visual effect. The whole point of dirt cups is seeing those layers of chocolate pudding and cookie crumbs. Clear plastic cups let everyone see exactly what they’re getting. I’ve tried using opaque cups in a pinch, and it’s just not the same.
Make extra “dirt.” I always crush a few extra Oreos beyond what the recipe calls for. Kids love to sprinkle extra “dirt” on top, and having a little extra means you can be generous with the layers without worrying about running out.
One mistake I made early on was using reduced-fat Oreos. Don’t do it. They don’t crush as evenly, and the flavor isn’t as rich. Full-fat, full-sugar Oreos are the way to go for this recipe. Your dirt cups will thank you.
Variations & Adaptations
One of the best things about this recipe is how adaptable it is. I’ve tried several variations over the years, and they’ve all been hits.
Dairy-Free Version: Use almond milk or oat milk instead of cow’s milk, and swap the butter for coconut oil. Most instant pudding mixes are dairy-free, but double-check the label. The texture will be slightly less creamy, but it’s still delicious. I made this version for a friend’s dairy-free daughter, and she couldn’t tell the difference.
Gluten-Free Version: Use gluten-free chocolate sandwich cookies. There are several brands available now that taste remarkably similar to Oreos. Just make sure to check the pudding mix label as well—most are gluten-free, but some brands add wheat starch.
Peanut Butter Dirt Cups: Add 2 tablespoons of creamy peanut butter to the pudding mixture before whisking. This gives the pudding a subtle peanut butter flavor that pairs beautifully with the chocolate. I tried this on a whim one year, and it’s become my personal favorite variation.
Pumpkin Spice Dirt Cups: For a fall twist, replace one package of chocolate pudding with instant vanilla pudding and add 1 teaspoon of pumpkin pie spice. Top with crushed graham crackers instead of Oreos for a “pumpkin patch” effect. This is perfect for Thanksgiving or fall harvest parties.
Spider Web Dirt Cups: After adding the top layer of Oreo crumbs, drizzle a little melted white chocolate in a spiral pattern to create a spider web effect. Add a plastic spider ring on top for extra spookiness. This takes about two extra minutes but looks incredibly impressive.
The beauty of this recipe is that it’s a blank canvas. You can customize it based on what you have on hand, what dietary restrictions you need to accommodate, or just what mood you’re in. Don’t be afraid to experiment.
Serving & Storage Suggestions
These dirt cups are best served cold, straight from the refrigerator. The contrast between the cold, creamy pudding and the crunchy cookie “dirt” is what makes them so satisfying.
Serving Temperature: Serve chilled, but not ice-cold. If they’ve been in the fridge for more than a few hours, let them sit at room temperature for about 5 minutes before serving. This takes the chill off and allows the flavors to open up.
Presentation Ideas: Arrange the cups on a platter or tray lined with fake spider webs. Add some plastic spiders, candy eyeballs, or small tombstones made from graham crackers for a full Halloween display. I once served these on a black platter with battery-operated tea lights around them, and it looked amazing.
Storage Instructions: Store any leftover dirt cups in the refrigerator, covered with plastic wrap or with lids if your cups have them. They’ll keep for up to 3 days, though the Oreo crumbs will soften over time. I actually prefer them on day two when the flavors have had a chance to meld together.
Freezing: You can freeze these, but I don’t recommend it. The pudding can become watery when thawed, and the texture just isn’t the same. If you absolutely need to make them ahead, prepare the pudding and the Oreo crumbs separately and assemble them the day you plan to serve them.
Make-Ahead Tips: You can prepare the pudding up to 2 days in advance and store it in the fridge. Crush the Oreos and store them in an airtight container at room temperature. When you’re ready to serve, just layer everything together. This is my go-to strategy for parties when I know I’ll be short on time.
Nutritional Information & Benefits
Let’s be real—these are a treat, not a health food. But here’s the nutritional breakdown for one serving (based on 8 servings):
- Calories: Approximately 380-420 per cup
- Total Fat: 16-18g
- Saturated Fat: 7-9g
- Carbohydrates: 55-60g
- Sugar: 38-42g
- Protein: 6-8g
- Calcium: 15% of daily value (from milk)
- Iron: 10% of daily value (from chocolate and Oreos)
While these aren’t exactly a health food, they do offer a small amount of calcium and iron. The milk in the pudding provides calcium for bone health, and the chocolate and Oreos contribute a little iron. The gummy worms are mostly sugar, but they do make people smile, which I think counts for something.
If you’re looking to make these a bit more nutrient-dense, you can use low-fat milk and reduced-sugar pudding mix. You can also add a tablespoon of chia seeds or flax meal to the pudding for extra fiber and omega-3s. The kids won’t even notice.
As with any dessert, moderation is key. These are meant for special occasions, not everyday snacking. But honestly, a little indulgence now and then is good for the soul.
Conclusion
These no-bake Halloween dirt cups are proof that you don’t need to spend hours in the kitchen to create something memorable. They’re fun, they’re delicious, and they’re guaranteed to be a hit at any Halloween gathering. I’ve made them for school parties, neighborhood get-togethers, and even adult dinner parties where everyone secretly wanted the kid’s dessert.
What I love most about this recipe is how it brings people together. There’s something about digging into a cup of chocolate “dirt” and finding gummy worms that makes everyone feel like a kid again. It’s pure, uncomplicated joy in a cup.
I encourage you to make this recipe your own. Add your favorite Halloween candies, experiment with different pudding flavors, or get creative with the decorations. The possibilities are endless. And when you make them, I’d love to hear about it. Drop a comment below and let me know how they turned out. Did your kids love them? Did you add a special twist? Share your dirt cup stories—I read every single comment.
Happy Halloween, and happy cooking!
Frequently Asked Questions
Can I use homemade chocolate pudding instead of instant? Yes, but the texture will be softer and the layers may not be as distinct. Homemade pudding takes longer to set and doesn’t firm up as much as instant pudding. If you go this route, plan to chill the cups for at least 2 hours before serving.
How far in advance can I make these dirt cups? You can assemble them up to 24 hours ahead of time. The Oreo crumbs will soften slightly, but many people actually prefer the texture on day two. Just add the gummy worms right before serving so they stay chewy.
Can I use a different type of cookie for the dirt layer? Absolutely. Chocolate wafer cookies, graham crackers, or even crushed pretzels can work. Each gives a slightly different flavor and texture. I’ve used crushed chocolate graham crackers before, and they were delicious.
What if I don’t have clear plastic cups? You can use small glass jars, mason jars, or even disposable shot glasses for mini versions. The key is using something clear so you can see the layers. I’ve also made these in small ceramic ramekins, and while you lose the visual effect, they taste just as good.
Can I make these without dairy? Yes. Use almond milk, oat milk, or coconut milk in place of cow’s milk, and use coconut oil instead of butter in the Oreo crumbs. Most instant pudding mixes are dairy-free, but always check the label to be sure. The texture will be slightly different, but the flavor is still fantastic.
Pin This Recipe!
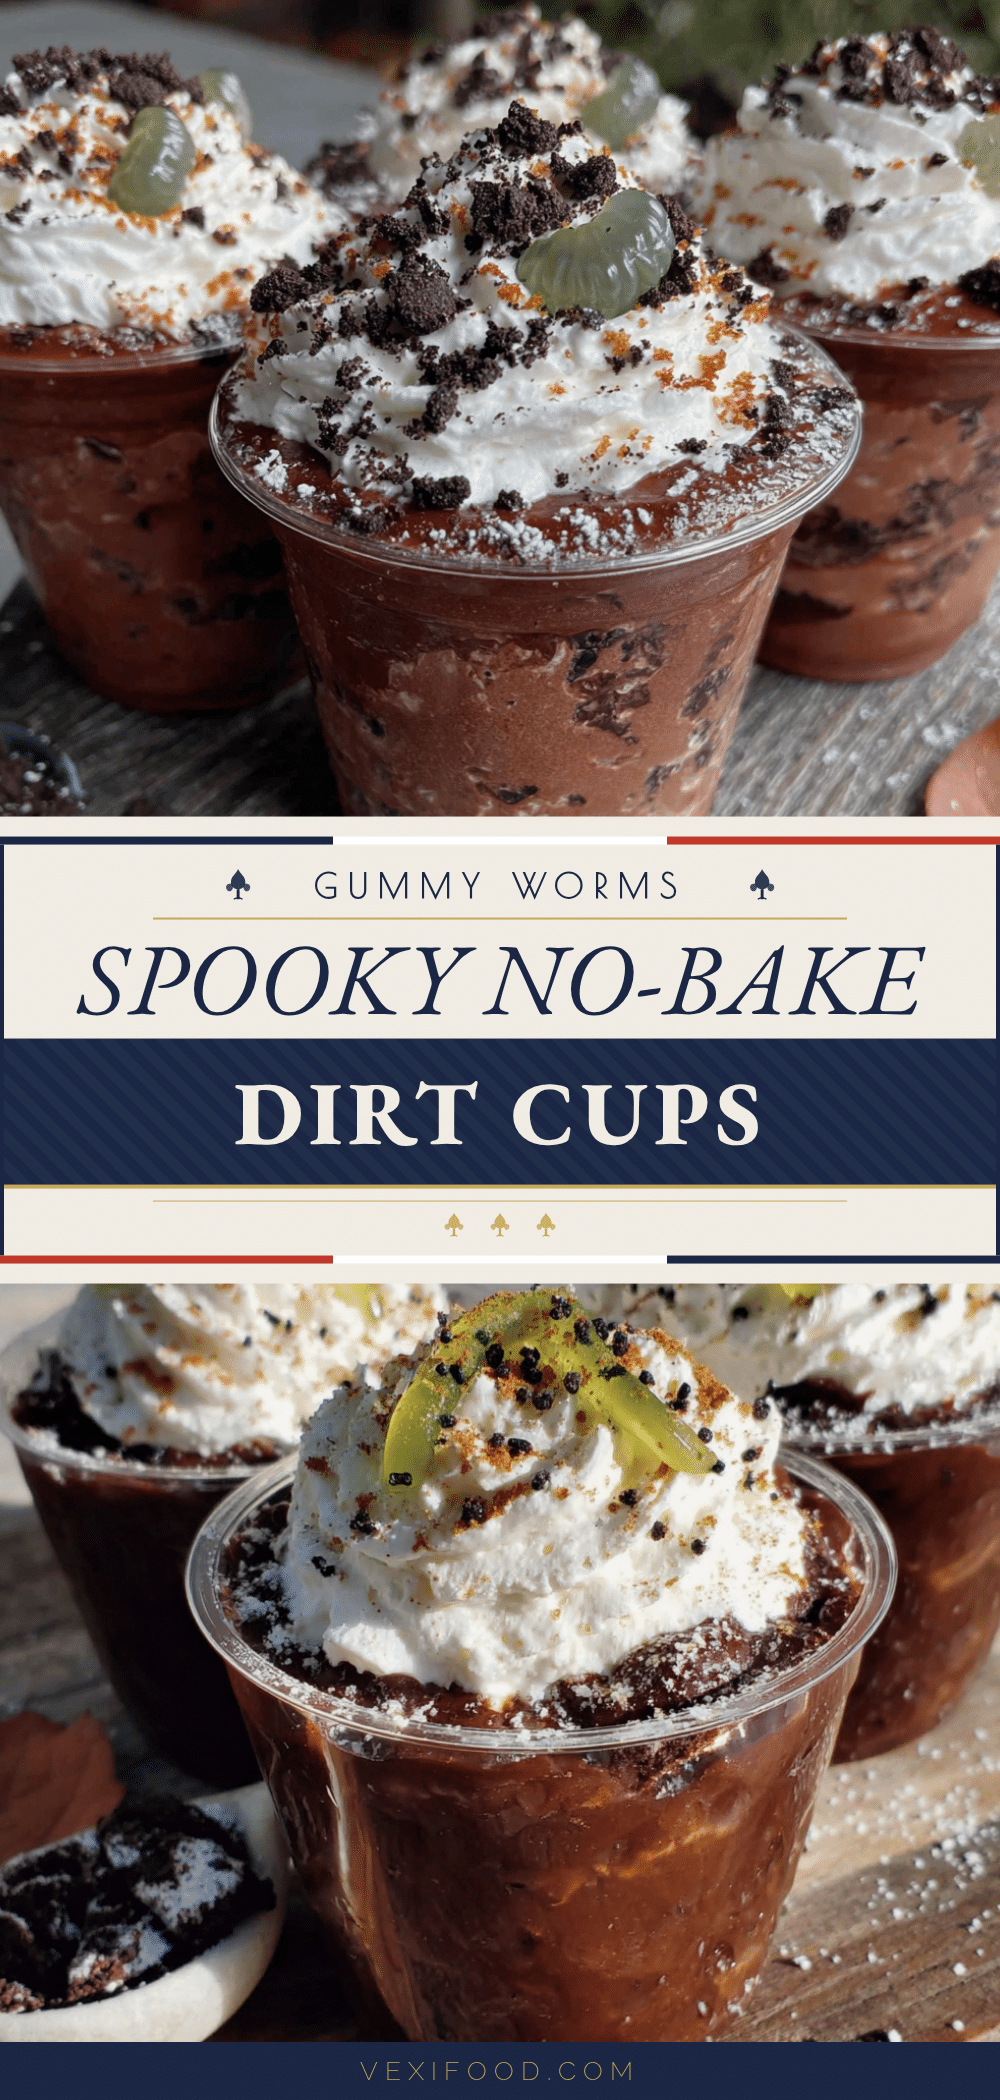
The Best No-Bake Halloween Dirt Cups Recipe
These no-bake Halloween dirt cups are a quick and easy dessert made with creamy chocolate pudding, crushed Oreo ‘dirt,’ and gummy worms. Perfect for Halloween parties, they come together in under 20 minutes and are guaranteed to be a crowd-pleaser.
- Prep Time: 15 minutes
- Cook Time: 0 minutes
- Total Time: 1 hour 5 minutes (including chilling)
- Yield: 8-10 servings 1x
- Category: Dessert
- Cuisine: American
Ingredients
- 2 packages (3.9 ounces each) instant chocolate pudding mix
- 3 cups cold whole milk
- 1 teaspoon vanilla extract (optional)
- 1 package (14.3 ounces) Oreo cookies (about 36 cookies, regular not double-stuff)
- 2 tablespoons unsalted butter, melted
- 1 bag (4.5 ounces) gummy worms
- Optional: candy pumpkins, candy corn, or plastic spider rings for decoration
- Optional: 8-10 small clear plastic cups (about 5-7 ounces each)
Instructions
- Crush the Oreos: Place the Oreo cookies (cream filling and all) in a food processor and pulse until they resemble fine crumbs. If using the bag method, place cookies in a large zip-top bag, seal, and crush with a rolling pin or heavy pan. Transfer crumbs to a medium bowl and stir in the melted butter. Set aside.
- Make the pudding: In a large mixing bowl, combine the instant chocolate pudding mix with the cold milk. Whisk or beat with an electric mixer on medium speed for about 2 minutes, until the pudding thickens. Add the vanilla extract if using and stir to combine.
- Start layering: Spoon about 2 tablespoons of the crushed Oreo mixture into the bottom of each cup. Press it down gently with the back of a spoon or a small tamper.
- Add the pudding: Spoon or pour the chocolate pudding over the cookie layer, filling each cup about three-quarters full. Tap the cups gently on the counter to settle the pudding and remove air bubbles.
- Chill the cups: Place the cups in the refrigerator for at least 30 minutes, or up to 2 hours, to allow the pudding to set.
- Add the top dirt layer: Once the pudding is set, sprinkle a generous layer of the remaining Oreo crumbs over the top of each cup, using about 1 to 2 tablespoons per cup.
- Add the gummy worms: Press 2-3 gummy worms per cup gently into the Oreo ‘dirt’ so they look like they’re crawling out. Arrange them at different angles for a fun effect.
- Final chill: Return the cups to the refrigerator for another 15-20 minutes before serving.
Notes
Don’t skip the butter in the Oreo crumbs; it helps the ‘dirt’ hold together. Crush cookies in batches for better texture. Let the pudding set completely before adding the top layer to keep layers distinct. Use clear cups for the best visual effect. Make extra ‘dirt’ for topping. Avoid reduced-fat Oreos for best results.
Nutrition
- Serving Size: 1 cup
- Calories: 400
- Sugar: 40
- Sodium: 380
- Fat: 17
- Saturated Fat: 8
- Carbohydrates: 58
- Fiber: 2
- Protein: 7
Keywords: Halloween dirt cups, no-bake dessert, chocolate pudding, Oreo dirt, gummy worms, Halloween party dessert, easy dessert