Love this? Save it for later!
Share the inspiration with your friends
My roommate Sarah asked why I couldn’t just pour the caramel straight into the cream mixture without cooking it first. I was in the middle of explaining the science—something about sugar crystallization and temperature control—when I stopped. I actually had no idea why I was making it harder than it needed to be.
I’d spent the last three summers perfecting a traditional custard-based ice cream, and let me tell you, it was a labor of love. Eggs, cream, sugar, constant stirring, a thermometer that beeped at the exact wrong moment every single time. But Sarah, who barely cooks anything beyond pasta, just looked at my pile of dirty bowls and said, “Isn’t the whole point of ice cream that it’s frozen? Why are you making it so complicated?”
Honestly, she had a point. I mean, I’d been so caught up in doing it the “right” way that I’d completely ignored the obvious shortcut staring me in the face. So I tried it her way. I whisked the caramel sauce into the cold cream, folded in the whipped cream, and stuck it in the freezer. And you know what? It worked. It actually worked better than my complicated version. The texture was creamier, the caramel swirled through every bite, and I didn’t have to wash a single saucepan.
That’s the thing about cooking, I guess. Sometimes you’re so busy being the expert that you forget to listen to the person who just wants ice cream—and honestly, that person might be onto something. This no-churn salted caramel ice cream is now the only version I make, and I make it a lot. Maybe you’ve been there too, overthinking a recipe when the simpler path was right in front of you.
Why You’ll Love This Recipe
Let me tell you why this particular recipe has become my go-to for everything from lazy Sunday afternoons to last-minute dinner party desserts. It’s not just good—it’s the kind of ice cream that makes you close your eyes after the first bite and forget you’re eating something you made in your own kitchen.
- No Ice Cream Maker Required: Seriously, you don’t need any fancy equipment. Just a mixing bowl, a whisk, and a freezer. That’s it.
- Ready in Under 6 Hours: Most of that time is hands-off freezing. You’ll spend maybe 15 minutes actually making it, which is perfect for those “I need dessert now” moments.
- Simple Pantry Ingredients: Heavy cream, sweetened condensed milk, butter, sugar, and salt. You probably have most of these in your kitchen right now.
- Perfect for Weeknights: When you’re tired and hungry and just want something sweet, this recipe respects your time and energy. No complicated steps, no special equipment to clean.
- Crowd-Pleaser Every Time: I’ve brought this to potlucks, family dinners, and casual get-togethers, and every single time someone asks for the recipe. Kids love it, adults love it, and people who claim they don’t like sweets somehow finish their bowl.
What makes this different from other no-churn recipes is the caramel technique. Instead of using store-bought caramel sauce (which is fine but can be overly sweet), you make a quick stovetop caramel that takes about 5 minutes. The salt balances the sweetness perfectly, and because you’re folding it into the cream rather than cooking it, the caramel stays in glorious ribbons throughout the ice cream. It’s comfort food reimagined—faster, simpler, but with the same soul-soothing satisfaction.
What Ingredients You Will Need
This recipe uses simple, wholesome ingredients to deliver that rich, creamy, salty-sweet flavor without any fuss. Most of these are pantry staples, which is exactly what you want on a busy weeknight when the craving hits.
For the Salted Caramel Sauce
- 1 cup granulated sugar (regular white sugar works best here; don’t substitute brown sugar as it changes the caramel flavor)
- 6 tablespoons unsalted butter, cut into small cubes (I recommend Kerrygold or Plugrà for the richest flavor)
- 1/2 cup heavy cream, at room temperature (cold cream will cause the caramel to seize up)
- 1 teaspoon flaky sea salt, plus more for finishing (Maldon is my go-to, but any flaky salt works)
For the Ice Cream Base
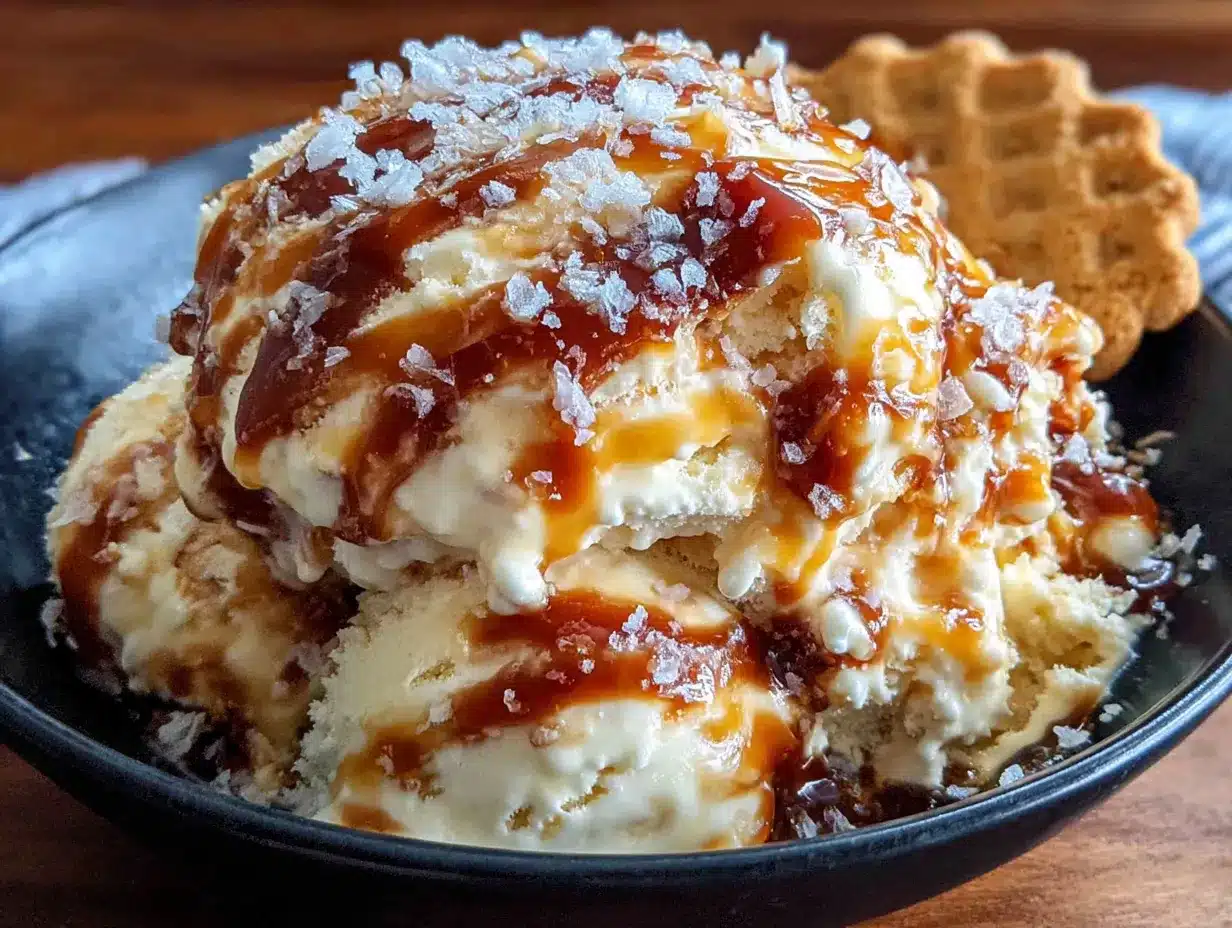
- 2 cups heavy cream, cold (look for cream with at least 36% milk fat for the best texture)
- 1 can (14 ounces) sweetened condensed milk (I prefer Eagle Brand, but any brand works)
- 1 teaspoon vanilla extract (pure vanilla extract, not imitation, makes a noticeable difference)
- Pinch of salt (to balance the sweetness)
One thing I’ve learned the hard way: don’t skimp on the cream quality. I once tried using a cheaper brand with lower fat content, and the ice cream came out icy rather than creamy. Spend the extra dollar or two—your taste buds will thank you. Also, if you’re dairy-free, you can substitute full-fat coconut cream for the heavy cream and use a dairy-free sweetened condensed milk. The texture won’t be exactly the same, but it’s still delicious.
Equipment Needed
Here’s the beautiful thing about no-churn ice cream: you probably already own everything you need. No ice cream maker, no thermometer, no complicated gadgets.
- Large mixing bowl (stainless steel or glass works best; plastic can retain odors)
- Hand mixer or stand mixer (you can whisk by hand, but your arm will get tired—trust me, I’ve done it)
- Medium saucepan (for making the caramel sauce)
- Wooden spoon or silicone spatula (for stirring the caramel)
- Loaf pan or 9×5-inch baking dish (for freezing the ice cream)
- Plastic wrap or parchment paper (to cover the surface and prevent ice crystals)
- Measuring cups and spoons
If you don’t have a hand mixer, you can definitely whip the cream by hand with a whisk. It’ll take about 5-7 minutes of vigorous whisking, but it’s a great arm workout. I’ve done it more times than I’d like to admit because I forgot to charge my mixer. A word of advice: make sure your bowl is completely clean and dry—any trace of grease will stop the cream from whipping properly.
Preparation Method
Alright, let’s make some ice cream. This is going to be easier than you think, I promise.
- Make the salted caramel sauce (5 minutes): Place the granulated sugar in a medium saucepan over medium heat. Don’t stir it—just let it melt. Watch it carefully as it starts to turn amber around the edges. Swirl the pan gently (don’t stir) to help the sugar melt evenly. This takes about 3-4 minutes. Once the sugar is completely melted and a deep amber color, remove it from the heat immediately. Add the cubed butter and whisk until melted and combined. The mixture will bubble up violently—that’s normal. Slowly pour in the heavy cream while whisking constantly. It will bubble up again, so be careful. Stir in the flaky sea salt. Let the caramel cool to room temperature, about 20 minutes.
- Whip the cream (3-4 minutes): In your large mixing bowl, pour in the cold heavy cream. Using your hand mixer or stand mixer with the whisk attachment, whip the cream on medium-high speed until stiff peaks form. You’re looking for peaks that hold their shape when you lift the beaters. Be careful not to overwhip—if the cream starts to look grainy or separates, you’ve gone too far. Cold cream whips faster and holds its shape better, so keep it refrigerated until the last minute.
- Fold in the condensed milk (2 minutes): In a separate bowl, whisk together the sweetened condensed milk, vanilla extract, and pinch of salt. Gently fold this mixture into the whipped cream using a spatula. Use a slow, sweeping motion—fold from the bottom up and rotate the bowl. Don’t stir or you’ll deflate all that air you just whipped into the cream. The mixture should be smooth, thick, and uniform in color.
- Add the caramel swirl (2 minutes): Pour about half of the ice cream base into your loaf pan. Drizzle about a third of the cooled caramel sauce over the top. Use a knife or skewer to gently swirl it through the base. Repeat with the remaining base and another third of the caramel. Reserve the last third of caramel for drizzling on top when serving. Don’t over-swirl—you want distinct ribbons of caramel, not a uniformly brown mixture.
- Freeze (5-6 hours minimum): Cover the surface of the ice cream directly with plastic wrap or parchment paper. This prevents ice crystals from forming on top. Place the lid or another layer of plastic wrap over the pan. Freeze for at least 5-6 hours, but overnight is even better. The ice cream needs to be completely firm before scooping.
- Serve (1 minute): When you’re ready to eat, let the ice cream sit at room temperature for 5-10 minutes to soften slightly. Scoop into bowls, drizzle with the reserved caramel sauce, and sprinkle with a little extra flaky sea salt. That finishing salt is not optional—it’s what makes this ice cream unforgettable.
A few notes from experience: if your caramel seizes up when you add the cream, don’t panic. Just return it to low heat and whisk gently until smooth. And if your ice cream is too hard to scoop straight from the freezer, you either froze it too long or your freezer is too cold. Let it sit out for 10-15 minutes and it’ll soften right up.
Cooking Tips & Techniques
I’ve made this recipe more times than I can count, and I’ve definitely made my share of mistakes along the way. Here’s what I’ve learned so you don’t have to learn the hard way.
Watch the caramel like a hawk. Sugar can go from perfectly amber to burnt in about 30 seconds. I once got distracted by a phone call and ended up with a pan of black, bitter syrup that smelled like regret. Set a timer, and don’t walk away from the stove. The color should be a deep amber, like a new penny.
Room temperature cream for the caramel is non-negotiable. I learned this the hard way when I poured cold cream into hot caramel and ended up with a lumpy, grainy mess. The cold cream causes the caramel to seize and form hard chunks. If you forget to take the cream out of the fridge, microwave it for 15-20 seconds until it’s no longer cold.
Don’t over-whip the cream. Stiff peaks are what you want—the cream should hold its shape but still look smooth and glossy. If you keep whipping, you’ll end up with butter. I’ve done this exactly once, and let me tell you, salted caramel butter is not the same as salted caramel ice cream.
Use a metal loaf pan if you have one. Metal conducts cold better than glass or ceramic, so your ice cream will freeze faster and more evenly. If you’re using glass, expect it to take an extra hour or two to fully set.
Plan ahead for scooping. No-churn ice cream freezes harder than churned ice cream because there’s less air incorporated. Let it sit at room temperature for 10-15 minutes before scooping. Run your ice cream scoop under hot water for cleaner scoops.
Variations & Adaptations
One of the best things about this recipe is how adaptable it is. Here are some variations I’ve tried and loved.
Chocolate Salted Caramel: Add 1/4 cup of unsweetened cocoa powder to the sweetened condensed milk before folding it into the whipped cream. The chocolate and salted caramel combination is absolutely divine. I made this for a friend’s birthday party and it disappeared in 10 minutes.
Vegan Version: Substitute the heavy cream with full-fat coconut cream (refrigerated overnight and scooped from the top of the can) and use a dairy-free sweetened condensed milk. The coconut flavor is subtle but present, so this works best if you enjoy coconut. The texture is slightly less creamy but still delicious.
Bourbon Salted Caramel: Add 2 tablespoons of bourbon to the caramel sauce after removing it from the heat. The alcohol doesn’t freeze completely, so the ice cream stays slightly softer and scoopable straight from the freezer. Plus, the bourbon adds a warm, oaky note that pairs beautifully with the caramel.
Espresso Salted Caramel: Dissolve 1 tablespoon of instant espresso powder in 1 tablespoon of hot water and add it to the ice cream base before folding. The coffee flavor enhances the caramel and adds a sophisticated depth. This is my go-to for after-dinner dessert.
Mix-In Options: Fold in 1/2 cup of crushed pretzels for a salty crunch, or 1/2 cup of toasted pecans for nutty richness. Chocolate chips, toffee bits, or even crumbled shortbread cookies all work beautifully.
Serving & Storage Suggestions
This ice cream is best served slightly softened, about 5-10 minutes out of the freezer. Scoop it into bowls and drizzle with that reserved caramel sauce. I like to add another pinch of flaky sea salt right before serving—that final hit of salt makes the caramel flavor pop.
For a truly indulgent dessert, serve this alongside a warm brownie or a slice of apple pie. The hot-and-cold contrast is absolutely magical. A sprinkle of toasted coconut or a drizzle of chocolate sauce takes it over the top. If you’re feeling fancy, serve it in a waffle cone with a drizzle of caramel and a sprinkle of sea salt.
Storage: Keep the ice cream in an airtight container in the freezer for up to 2 weeks. Press a piece of plastic wrap directly onto the surface before sealing to prevent ice crystals from forming. After about 2 weeks, the texture starts to get icy, so this is best enjoyed fresh.
Reheating the caramel: If your reserved caramel sauce thickens in the refrigerator, microwave it for 10-15 seconds and stir until smooth. You can also warm it in a small saucepan over low heat.
One thing I love about this recipe is that the flavors actually get better after a day or two in the freezer. The caramel infuses into the cream, and the salt mellows out slightly, creating a more balanced flavor. So don’t be afraid to make it a day ahead.
Nutritional Information & Benefits
Let’s be honest—this is a treat, not a health food. But here’s what you should know:
- Estimated per serving (1/2 cup): Approximately 350-400 calories, 22g fat, 40g carbohydrates, 4g protein
- Key ingredients: Heavy cream provides calcium and vitamin A. Butter adds richness and fat-soluble vitamins. The salt helps balance electrolytes (okay, that’s a stretch, but it makes me feel better).
- Dietary considerations: This recipe is gluten-free and contains dairy. It’s not suitable for vegans unless modified. The caramel sauce is egg-free, which is great for those with egg allergies.
- Potential allergens: Dairy (cream, butter, condensed milk). If you’re lactose intolerant, the lactose-free substitutions mentioned above work well.
Look, I’m not going to pretend this is a health food. It’s ice cream. But the beauty of making it yourself is that you control exactly what goes into it. No preservatives, no artificial flavors, no weird stabilizers. Just real ingredients, made with love. And honestly, sometimes that’s the healthiest thing you can eat.
Conclusion
This easy no-churn salted caramel ice cream has become my go-to dessert for so many reasons. It’s simple enough to make on a Tuesday night after work, impressive enough to serve at a dinner party, and delicious enough that people genuinely can’t believe you made it yourself. The caramel is rich and buttery, the cream is light and airy, and that hit of salt at the end ties everything together perfectly.
I love that this recipe proves you don’t need fancy equipment or culinary school training to make incredible ice cream at home. It’s just good ingredients, a little patience, and the willingness to try something simple. The next time you’re craving something sweet, I hope you give this recipe a try. Play with the variations, add your favorite mix-ins, and make it your own. And when you do, come back and tell me how it turned out—I’d love to hear about your caramel adventures.
Now go make some ice cream. You deserve it!
Frequently Asked Questions
Can I use store-bought caramel sauce instead of making my own?
You can, but the texture and flavor won’t be quite the same. Homemade caramel has a deeper, more complex flavor and a thinner consistency that swirls beautifully into the ice cream. Store-bought sauces are often thicker and sweeter, which can make the ice cream overly sweet and harder to swirl. If you’re short on time, look for a high-quality jarred caramel sauce and thin it slightly with a tablespoon of cream.
Why is my ice cream icy instead of creamy?
This usually happens for one of two reasons: either the cream wasn’t whipped enough before folding, or the ice cream has been in the freezer too long. Stiff peaks are crucial because the air you whip into the cream creates the creamy texture. If you see ice crystals, it means too much water was incorporated. Make sure your cream is very cold, and don’t over-mix when folding. Also, press plastic wrap directly onto the surface to prevent freezer burn.
How long does this ice cream keep in the freezer?
It’s best within the first week, but it will keep for up to 2 weeks in an airtight container. After that, the texture starts to get icy and the caramel can crystallize. If you’re making it for a special occasion, I recommend making it no more than 2-3 days ahead for the best texture.
Can I make this without a hand mixer?
Absolutely! You can whip the cream by hand using a whisk. It will take about 5-7 minutes of steady whisking, and your arm will get tired, but it works. Make sure the cream is very cold and your bowl is clean. A tip: chill the bowl and whisk in the freezer for 10 minutes before starting—it helps the cream whip faster.
Can I double this recipe?
Yes, but you’ll need to use a larger container for freezing. A 9×13-inch baking dish works well for a double batch. Just make sure the ice cream base is no more than 2 inches deep in the container so it freezes evenly. You may also need to increase the freezing time by an hour or two. And double the caramel sauce too—trust me, you’ll want extra for drizzling.
Pin This Recipe!
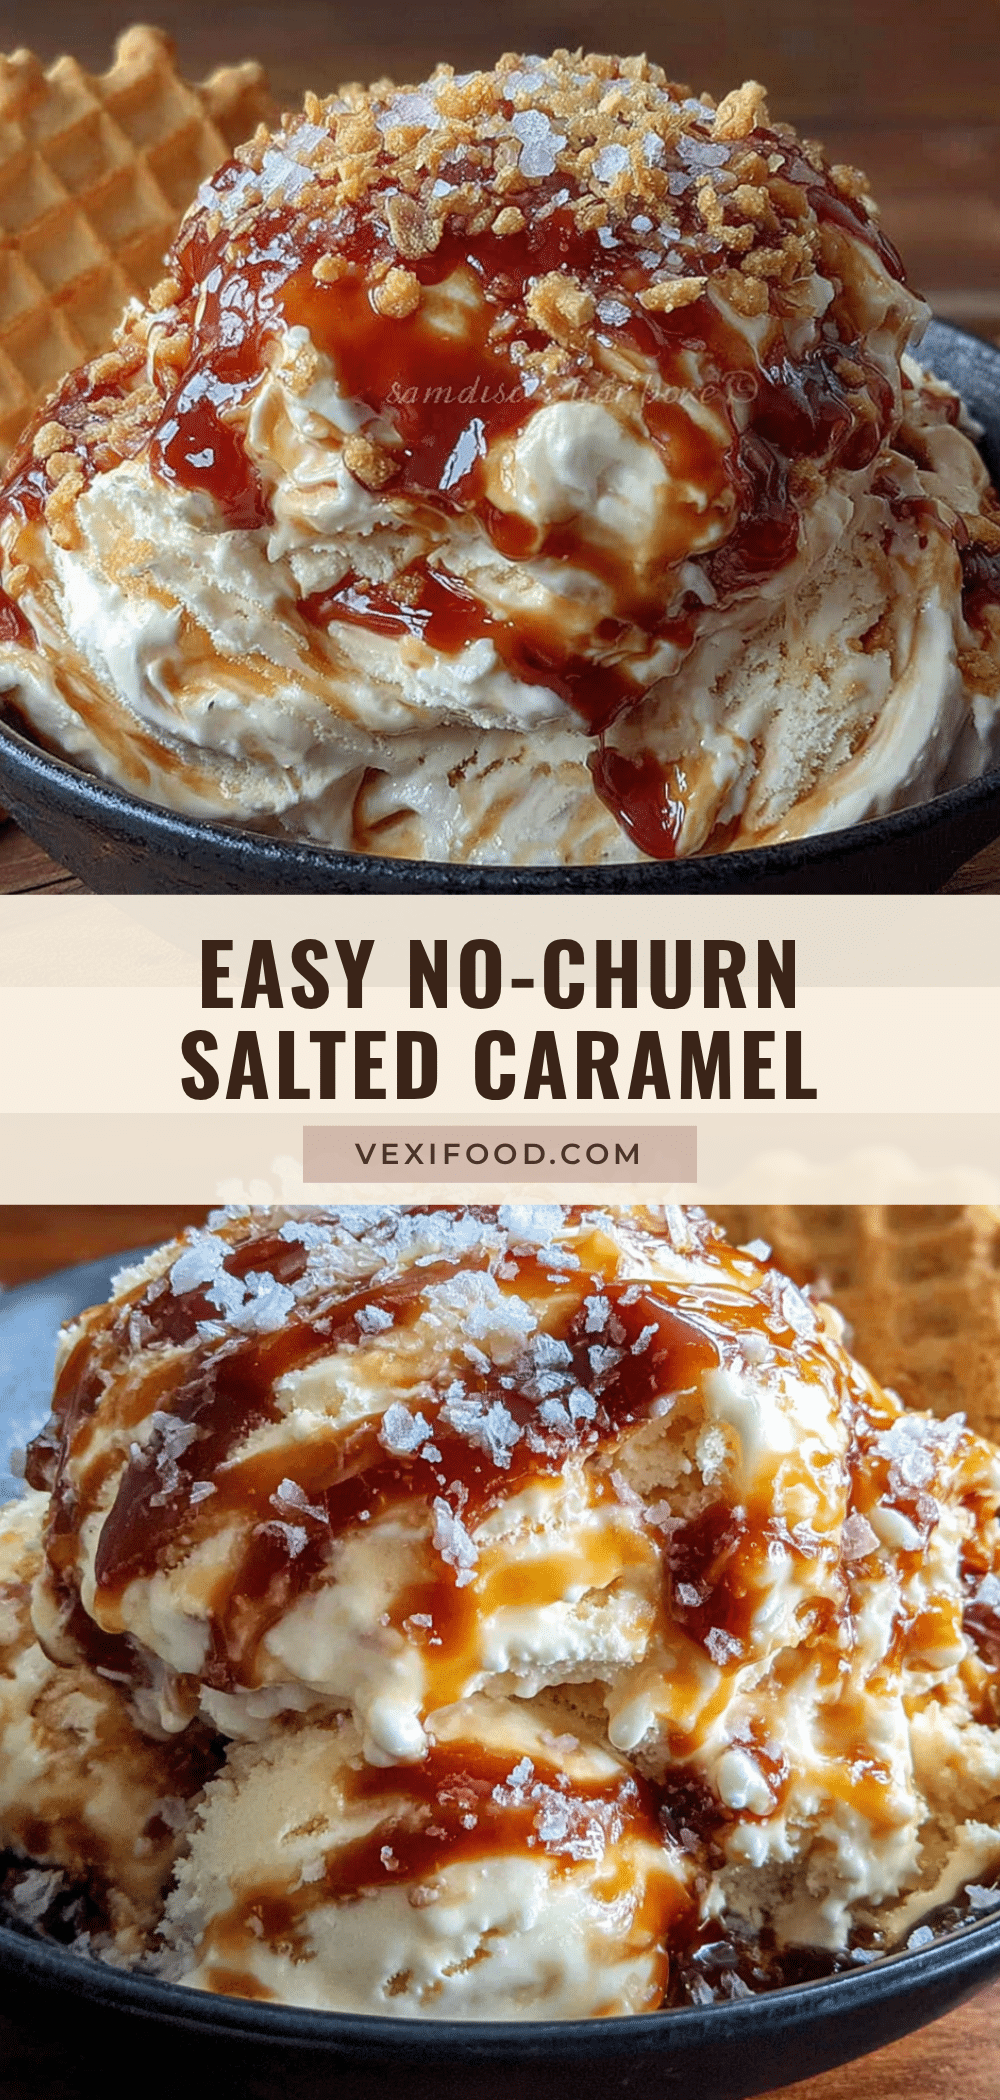
Easy No-Churn Salted Caramel Ice Cream (Best Homemade Recipe)

This easy no-churn salted caramel ice cream is creamy, rich, and swirled with homemade caramel. No ice cream maker required, ready in under 6 hours, and made with simple pantry ingredients.
- Prep Time: 15 minutes
- Cook Time: 5 minutes
- Total Time: 6 hours 20 minutes (including freezing)
- Yield: 8 servings 1x
- Category: Dessert
- Cuisine: American
Ingredients
- 1 cup granulated sugar
- 6 tablespoons unsalted butter, cut into small cubes
- 1/2 cup heavy cream, at room temperature
- 1 teaspoon flaky sea salt, plus more for finishing
- 2 cups heavy cream, cold
- 1 can (14 ounces) sweetened condensed milk
- 1 teaspoon vanilla extract
- Pinch of salt
Instructions
- Make the salted caramel sauce: Place the granulated sugar in a medium saucepan over medium heat. Let it melt without stirring, swirling the pan gently until deep amber, about 3-4 minutes. Remove from heat, add cubed butter and whisk until melted. Slowly pour in the heavy cream while whisking constantly. Stir in flaky sea salt. Let cool to room temperature, about 20 minutes.
- Whip the cream: In a large mixing bowl, pour in the cold heavy cream. Using a hand mixer or stand mixer with whisk attachment, whip on medium-high speed until stiff peaks form, about 3-4 minutes.
- Fold in the condensed milk: In a separate bowl, whisk together sweetened condensed milk, vanilla extract, and pinch of salt. Gently fold this mixture into the whipped cream using a spatula until smooth and uniform.
- Add the caramel swirl: Pour about half of the ice cream base into a loaf pan. Drizzle about a third of the cooled caramel sauce over the top. Use a knife or skewer to gently swirl. Repeat with remaining base and another third of caramel. Reserve the last third for serving.
- Freeze: Cover the surface of the ice cream directly with plastic wrap or parchment paper. Place lid or another layer of plastic wrap over the pan. Freeze for at least 5-6 hours, preferably overnight.
- Serve: Let the ice cream sit at room temperature for 5-10 minutes to soften slightly. Scoop into bowls, drizzle with reserved caramel sauce, and sprinkle with extra flaky sea salt.
Notes
Watch the caramel carefully to avoid burning. Use room temperature cream for the caramel to prevent seizing. Do not over-whip the cream. For easier scooping, let ice cream sit at room temperature for 10-15 minutes. Store in an airtight container for up to 2 weeks.
Nutrition
- Serving Size: 1/2 cup
- Calories: 375
- Sugar: 38
- Sodium: 250
- Fat: 22
- Saturated Fat: 14
- Carbohydrates: 40
- Protein: 4
Keywords: no-churn ice cream, salted caramel, homemade ice cream, easy dessert, no ice cream maker