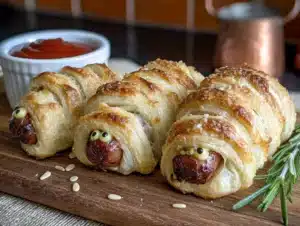
Love this? Save it for later!
Share the inspiration with your friends
I was standing in the grocery store aisle last October, staring at a box of frozen pigs in a blanket, when my neighbor found me. She watched me attempting to calculate how many packages I’d need for a classroom party without going over my budget. She didn’t say anything at first. Then she just reached into my cart, picked up the box, and put it back on the shelf. “Come over,” she said. “I’ll show you something better.”
An hour later, her kitchen was a glorious mess. Flour on the counter, hot dogs everywhere, and two of her kids giggling as they wrapped dough strips around little sausages. “Mummy dogs,” she called them, and honestly, I’d never seen anything so simple make children that happy. I mean, the store-bought version would have cost me three times as much and tasted like cardboard. This was different. This was kid-approved mini mummy hot dogs made with stuff I already had in my pantry.
Maybe you’ve been there — wanting to do something special for Halloween without spending a fortune on pre-made snacks that disappoint. That’s exactly why this recipe stuck with me. It’s not fancy. It’s not complicated. But it’s the kind of thing that makes kids light up, and that’s worth more than any themed packaging from the store. Let me show you how to make it.
Why You’ll Love This Recipe
Let’s be real for a second — Halloween snacks can be a total headache. Between the sugar overload and the overpriced themed treats, it’s easy to feel like you’re failing before you even start. These mini mummy hot dogs solve all of that in one go.
- Budget-Friendly : A pack of hot dogs and a can of crescent rolls costs less than five bucks. You can feed a whole classroom party for the price of one fancy coffee run.
- Quick & Easy : We’re talking 20 minutes from fridge to table. No complicated techniques, no fancy equipment, no stress.
- Kid-Approved : I’ve tested these on actual children — picky eaters, Halloween skeptics, the whole bunch. They disappear faster than candy.
- Simple Ingredients : You probably have everything in your kitchen right now. No special grocery trips needed.
- Perfect for Halloween : They look spooky and fun without being scary. Great for parties, school events, or just a cozy movie night at home.
- Crowd-Pleaser : Honestly, adults love them too. There’s something about the salty-savory combo wrapped in golden dough that hits different.
What makes these different from other recipes? It’s the little tricks I’ve learned from making them about fifty times. The way you cut the dough strips, the temperature of the hot dogs, the perfect bake time — those small details turn a good snack into an unforgettable one. And let me tell you, when your kid comes home from school and says “everyone loved my mummy dogs,” that feeling is priceless.
What Ingredients You Will Need
This recipe uses simple, everyday ingredients to create something that feels special. You don’t need anything fancy — just the basics that are probably already sitting in your fridge and pantry.
- Hot dogs (1 package, standard size) — I prefer beef hot dogs for flavor, but any kind works. Turkey, chicken, or even plant-based options are totally fine. Just make sure they’re the regular size, not the jumbo ones.
- Refrigerated crescent roll dough (1 can, 8-count) — This is the shortcut that makes everything easy. Pillsbury is my go-to, but store brands work just as well. You’ll use the dough to create the mummy wrappings.
- Mustard (yellow or Dijon, for the eyes) — A tiny dab creates the perfect mummy eyes. Yellow mustard gives that classic Halloween look, but Dijon works if that’s what you have.
- Ketchup (optional, for dipping) — Kids love dipping, so having some on the side is always a win.
- Ranch dressing (optional, for dipping) — Another crowd-pleaser. My kids fight over who gets the last drop.
- Egg wash (1 egg beaten with 1 tablespoon water) — This gives the dough that gorgeous golden-brown finish. You can skip it if you’re in a hurry, but the color won’t be as nice.
- Sesame seeds (optional, for decoration) — A few seeds on top add a fun texture and make the mummies look even more authentic. Totally optional though.
One thing I’ve learned — buy the crescent rolls that come in the tube, not the sheet. The perforated triangles are actually perfect for this recipe because they naturally separate into strips. If you can only find the sheet version, just cut it into thin strips yourself. It takes an extra minute but works the same way.
Equipment Needed
The beauty of this recipe is that you don’t need any special tools. Here’s what you’ll need:
- Baking sheet — A standard half-sheet pan works perfectly. Line it with parchment paper for easy cleanup.
- Parchment paper — Not strictly necessary, but trust me, you’ll thank yourself later. The dough can stick to ungreased pans.
- Sharp knife or pizza cutter — For cutting the dough into strips. A pizza cutter makes it faster and more even.
- Pastry brush — For applying the egg wash. A silicone brush is easiest to clean, but any brush works.
- Small bowl — For the egg wash.
- Toothpicks — Optional, but helpful for keeping the dough strips in place if they’re being stubborn.
- Cooling rack — Helps the mummy dogs stay crispy instead of soggy on the bottom.
If you don’t have a pizza cutter, a sharp knife does the job just fine. And honestly, I’ve used a butter knife in a pinch — it wasn’t pretty, but it worked. Don’t let missing equipment stop you from making these.
Preparation Method
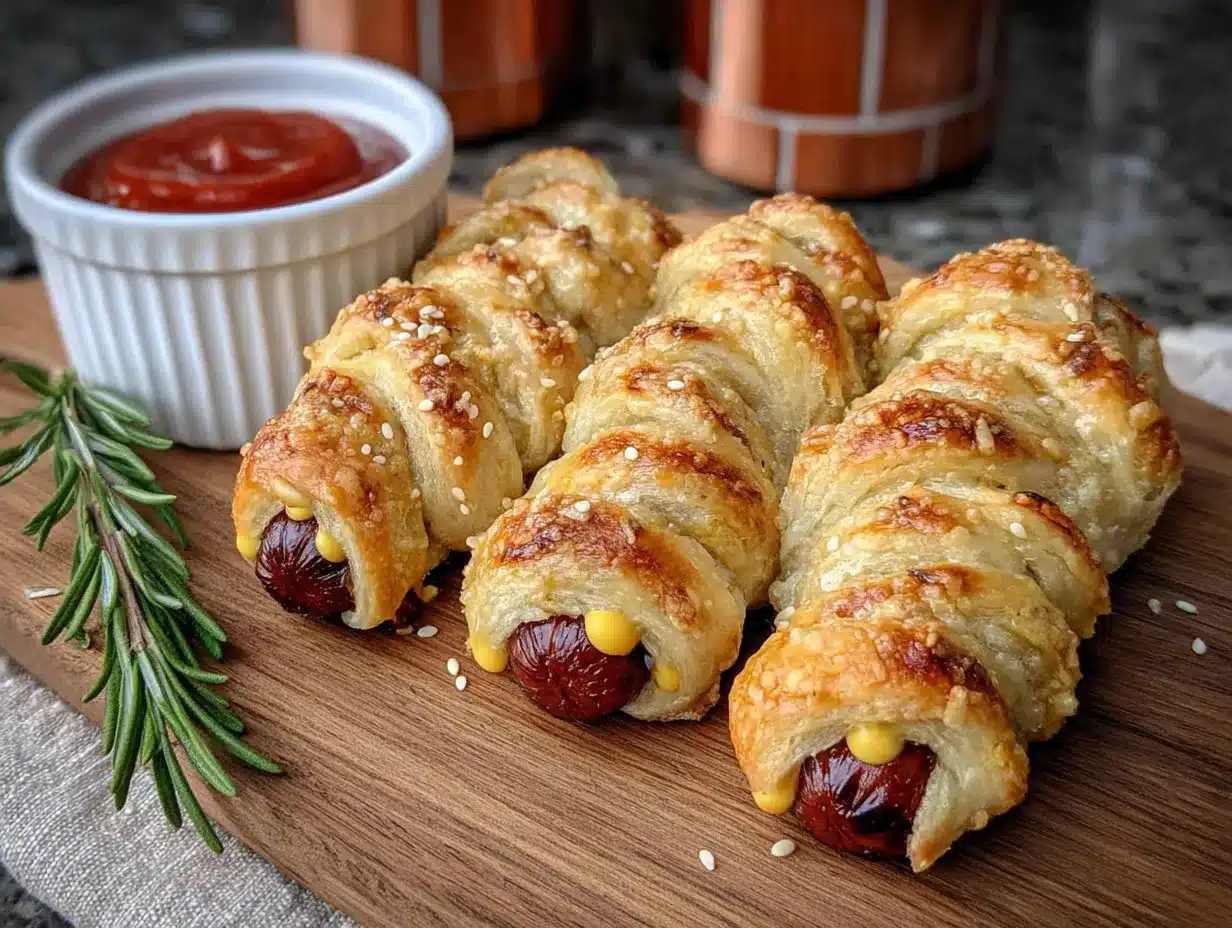
Alright, let’s get to the fun part. Here’s how to make these kid-approved mini mummy hot dogs step by step.
- Preheat your oven to 375°F (190°C). Line a baking sheet with parchment paper. This gives you time to prep while the oven heats up.
- Unroll the crescent dough and separate it along the perforated lines. You should have 8 triangles. Don’t worry if they look weird — that’s normal.
- Cut each triangle into thin strips. Using a pizza cutter or sharp knife, slice each triangle lengthwise into 3-4 strips. The strips should be about 1/4 inch wide. They don’t have to be perfect — in fact, uneven strips make the mummies look more authentic.
- Pat the hot dogs dry with a paper towel. This helps the dough stick better. If the hot dogs are wet, the dough will slide right off.
- Wrap each hot dog with the dough strips. Start at one end and wrap diagonally, leaving a small gap near the top for the “face.” Don’t wrap too tightly — the dough needs room to expand as it bakes. Leave about 1/2 inch of the hot dog exposed at the top for the eyes.
- Press the ends of the dough strips gently against the hot dog to secure them. If they’re being stubborn, use a tiny dab of water to help them stick.
- Place the wrapped hot dogs on the prepared baking sheet, leaving about 2 inches of space between each one. They’ll expand slightly as they bake.
- Brush each mummy dog with the egg wash. This gives them that beautiful golden-brown color. Don’t skip this step if you want them to look professional.
- Bake for 12-15 minutes, or until the dough is golden brown and the hot dogs are heated through. The exact time depends on your oven — start checking at 12 minutes.
- Remove from the oven and let them cool on the baking sheet for 2-3 minutes. Then transfer to a cooling rack to prevent soggy bottoms.
- Add the eyes while they’re still warm but not hot. Use a toothpick to dab a tiny amount of mustard on each mummy’s “face.” Two small dots per mummy dog. Don’t overdo it — a little goes a long way.
- Serve immediately with your favorite dipping sauces. Watch them disappear.
A few things I’ve learned the hard way — don’t overwork the dough. It gets sticky and tough if you handle it too much. Also, if the dough strips break, just press them back together. They’ll fuse during baking and nobody will notice.
Cooking Tips & Techniques
After making these about fifty times (not exaggerating), I’ve picked up some tricks that make a real difference.
Keep the dough cold. If the crescent roll dough gets too warm, it becomes impossible to work with. It gets sticky, tears easily, and doesn’t puff up properly in the oven. If your kitchen is warm, pop the dough in the fridge for 10 minutes before you start wrapping.
Don’t over-wrap. I know it’s tempting to cover the whole hot dog in dough, but leave some gaps. The gaps are what make them look like mummies instead of just hot dogs in bread. Plus, the exposed hot dog gets slightly crispy edges that taste amazing.
Space them out. On the baking sheet, give each mummy dog some breathing room. If they’re too close together, they’ll steam instead of bake, and you’ll end up with soft, pale dough instead of golden, crispy goodness.
Watch the oven. Every oven runs differently. I once burned a batch because I got distracted folding laundry. Set a timer and check them at the 12-minute mark. You’re looking for deep golden brown — not pale, not dark.
Let them rest. I know it’s hard when hungry kids are hovering, but letting them cool for a few minutes makes a huge difference. The dough continues to crisp up as it cools, and the mustard eyes won’t slide off if the surface isn’t steaming hot.
One of my biggest failures — I once used turkey hot dogs and didn’t pat them dry. The dough slid off in one big blob during baking. It was a disaster. Learn from my mistakes. Dry those hot dogs.
Variations & Adaptations
One of the best things about this recipe is how flexible it is. Here are some ways to make it your own.
Cheesy Mummy Dogs — Before wrapping, cut a slit lengthwise in each hot dog and stuff it with a strip of cheddar or mozzarella cheese. The cheese melts out during baking and looks like mummy goo. Kids absolutely lose their minds over this version.
Spicy Mummy Dogs — For adults who want a little heat, use spicy sausage instead of hot dogs. Brush with sriracha before wrapping. The contrast between spicy sausage and flaky dough is surprisingly good.
Vegetarian Mummy Dogs — Plant-based hot dogs work perfectly here. Just make sure to pat them dry before wrapping. I’ve used both tofu dogs and veggie sausages, and both work well. The baking time stays the same.
Gluten-Free Mummy Dogs — Use gluten-free crescent roll dough if you can find it. The texture is slightly different — denser and less flaky — but the kids won’t care. You can also use gluten-free puff pastry cut into strips.
Breakfast Mummy Dogs — This sounds weird, but trust me. Use breakfast sausage links instead of hot dogs and wrap them in pancake batter strips baked in the oven. Serve with maple syrup for dipping. It’s a Halloween morning game-changer.
My personal favorite variation is the cheesy version. I made it for my daughter’s Halloween party last year, and three parents asked for the recipe. It’s that good.
Serving & Storage Suggestions
These mini mummy hot dogs are best served warm, right out of the oven. The dough is flaky, the hot dog is juicy, and the mustard eyes are still fresh. But they’re also surprisingly good at room temperature, which makes them perfect for parties.
Presentation ideas — Arrange them on a platter with a bowl of ketchup in the center for dipping. Add some black olives or pretzel sticks on the side for a spooky touch. If you’re feeling fancy, arrange them in a circle like a mummy wreath.
Dipping sauces — Ketchup is the classic, but ranch dressing, honey mustard, and barbecue sauce are all excellent choices. For a Halloween twist, try green salsa or purple cabbage slaw.
Storage — Leftover mummy dogs can be stored in an airtight container in the refrigerator for up to 3 days. The dough will soften slightly, but they’re still delicious.
Reheating — The best way to reheat them is in the oven at 350°F (175°C) for 5-7 minutes. The microwave works in a pinch, but the dough will be soft instead of crispy. If you’re using the microwave, wrap them in a paper towel to absorb moisture.
Freezing — You can freeze unbaked mummy dogs for up to 2 months. Arrange them on a baking sheet and freeze until solid, then transfer to a freezer bag. Bake straight from frozen, adding 3-5 minutes to the baking time.
One thing I love about this recipe — the flavors actually get better after a day in the fridge. Something about the dough absorbing the hot dog juices makes them even more delicious the next day.
Nutritional Information & Benefits
Let’s be honest — these aren’t health food. But they’re not meant to be. They’re a fun Halloween treat that brings joy without breaking the bank. Here’s the estimated nutritional breakdown per serving (2 mummy dogs):
- Calories: 280-320
- Protein: 10-12g
- Carbohydrates: 22-26g
- Fat: 16-20g
- Sodium: 700-900mg
The hot dogs provide a decent amount of protein, which helps keep kids full during a long Halloween night. The crescent roll dough adds carbohydrates for quick energy. If you’re watching sodium, look for low-sodium hot dogs or turkey dogs.
For a slightly healthier version, use whole wheat crescent roll dough and turkey hot dogs. You can also add a side of carrot sticks or apple slices to balance out the meal.
One thing I appreciate about this recipe — portion control is built in. Each mummy dog is a single serving, so it’s easy to keep track of how much everyone is eating. No mindless snacking from a giant bag of chips.
Conclusion
These kid-approved mini mummy hot dogs have become a Halloween tradition in my house, and I’m honestly a little emotional about it. There’s something about watching kids’ faces light up when they see those little mustard eyes staring back at them — it’s pure magic.
What I love most is how accessible this recipe is. No fancy ingredients, no complicated techniques, no stress. Just good food made with love that brings people together. That’s what cooking should be about.
I’d love to hear how yours turn out. Did your kids help wrap them? Did you try any fun variations? Drop a comment below and let me know. And if you’re looking for more Halloween fun, check out our Halloween snack board for more budget-friendly ideas. Happy Halloween, friends. Make it delicious.
Frequently Asked Questions
Can I make these ahead of time?
Absolutely. You can assemble the mummy dogs up to 24 hours in advance and keep them covered in the refrigerator. Just add 2-3 minutes to the baking time since they’ll be cold from the fridge. You can also freeze them unbaked for up to 2 months.
What if I don’t have crescent roll dough?
No problem. You can use puff pastry, pizza dough, or even refrigerated biscuit dough flattened into strips. Each option gives a slightly different texture, but they all work. Puff pastry gives the flakiest result, while pizza dough makes them chewier.
How do I keep the dough from unraveling?
Make sure the hot dogs are dry before wrapping. If the dough still won’t stay put, use a toothpick to secure the ends. Remove the toothpicks after baking. You can also press the ends of the dough gently against the hot dog — the heat of baking will seal them.
Can I use jumbo hot dogs?
You can, but you’ll need to adjust the baking time. Jumbo hot dogs take longer to heat through, so add 3-5 minutes to the baking time. You’ll also need more dough strips to cover them completely. I recommend sticking with standard-size hot dogs for the best results.
What’s the best way to get the mustard eyes to stick?
Add the mustard eyes while the mummy dogs are still warm but not hot. If they’re too hot, the mustard will slide right off. If they’re too cold, the mustard won’t adhere. Aim for about 2-3 minutes after they come out of the oven. Use a toothpick to dab tiny dots — less is more here.
Pin This Recipe!
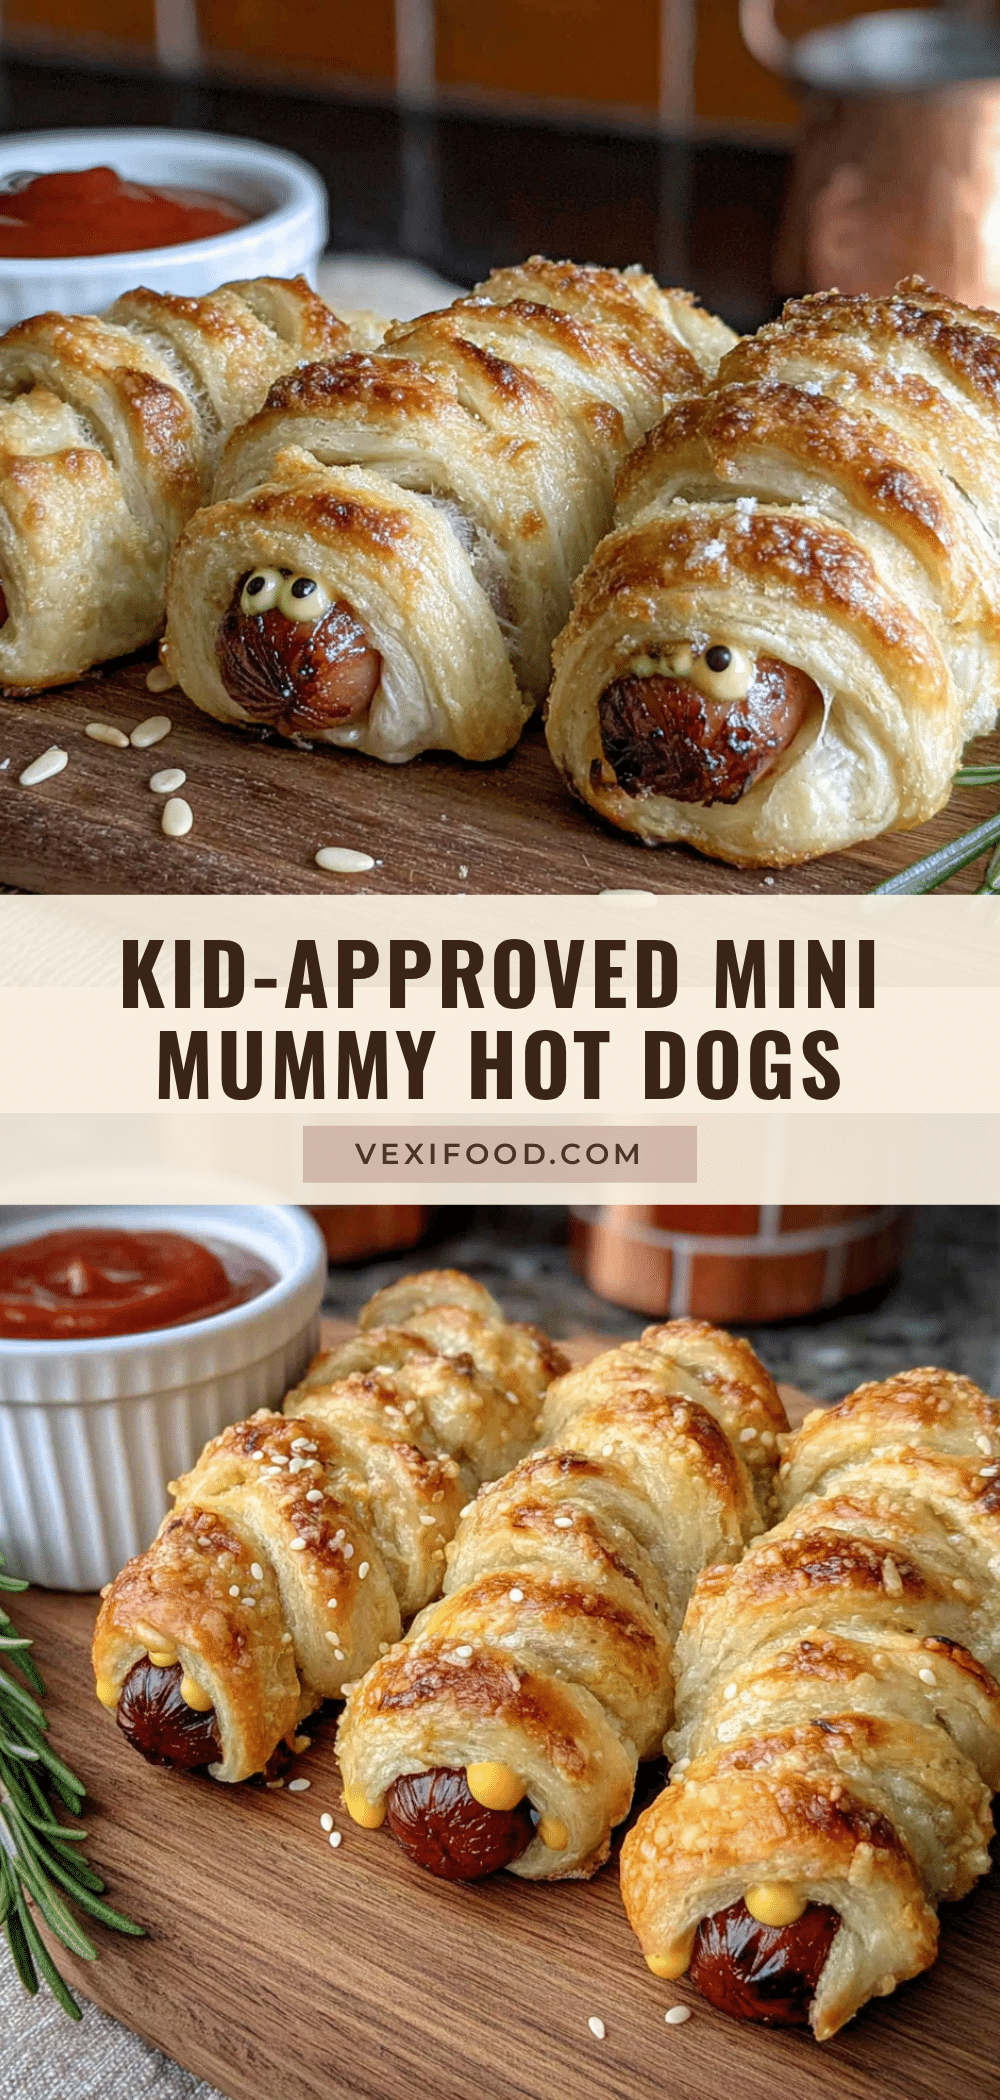
Easy Kid-Approved Mini Mummy Hot Dogs: Best Budget Halloween Snack

These mini mummy hot dogs are a budget-friendly, kid-approved Halloween snack made with simple ingredients like hot dogs and crescent roll dough. Quick to prepare and fun to eat, they’re perfect for parties, school events, or a cozy movie night.
- Prep Time: 10 minutes
- Cook Time: 15 minutes
- Total Time: 25 minutes
- Yield: 8 servings (1 mummy dog per serving) 1x
- Category: Appetizer
- Cuisine: American
Ingredients
- 1 package standard-size hot dogs (beef, turkey, chicken, or plant-based)
- 1 can (8-count) refrigerated crescent roll dough
- Yellow or Dijon mustard (for eyes)
- Ketchup (optional, for dipping)
- Ranch dressing (optional, for dipping)
- 1 egg beaten with 1 tablespoon water (egg wash)
- Sesame seeds (optional, for decoration)
Instructions
- Preheat your oven to 375°F (190°C). Line a baking sheet with parchment paper.
- Unroll the crescent dough and separate it along the perforated lines into 8 triangles.
- Cut each triangle lengthwise into 3-4 thin strips (about 1/4 inch wide) using a pizza cutter or sharp knife.
- Pat the hot dogs dry with a paper towel to help the dough stick.
- Wrap each hot dog with the dough strips diagonally, leaving about 1/2 inch of the hot dog exposed at the top for the face. Do not wrap too tightly.
- Press the ends of the dough strips gently against the hot dog to secure them. Use a tiny dab of water if needed.
- Place the wrapped hot dogs on the prepared baking sheet, leaving about 2 inches of space between each.
- Brush each mummy dog with the egg wash.
- Bake for 12-15 minutes, or until the dough is golden brown and the hot dogs are heated through.
- Remove from the oven and let cool on the baking sheet for 2-3 minutes, then transfer to a cooling rack.
- While still warm (but not hot), use a toothpick to dab a tiny amount of mustard on each mummy’s face to create eyes.
- Serve immediately with your favorite dipping sauces.
Notes
Keep the dough cold for easier handling. Don’t over-wrap the hot dogs; leave gaps for a mummy look. Space them out on the baking sheet to avoid steaming. Let them rest a few minutes after baking for best texture. For cheesy mummy dogs, cut a slit in the hot dog and stuff with cheese before wrapping.
Nutrition
- Serving Size: 2 mummy dogs
- Calories: 300
- Sugar: 4
- Sodium: 800
- Fat: 18
- Saturated Fat: 6
- Carbohydrates: 24
- Protein: 11
Keywords: Halloween snack, mummy hot dogs, kid-friendly, budget-friendly, easy appetizer, crescent roll hot dogs