Love this? Save it for later!
Share the inspiration with your friends
There used to be a tiny, unassuming panadería tucked away on a side street in Santa Fe that made the most incredible pan de muerto. When they closed their doors suddenly three winters ago, I felt a genuine pang of loss. Honestly, it sounds silly to get so attached to a bakery, but their version of this bread was something else entirely. After twelve tries—and some truly sad, dense loaves—I finally got it.
I remember walking in on a crisp November afternoon, the air thick with the scent of orange blossom and warm dough. The woman behind the counter, Señora Elena, would always wrap the bread in a piece of brown paper, tied with simple kitchen twine. That first bite was pure comfort. The bread was soft, almost pillowy, with a subtle sweetness that wasn’t overpowering. The orange blossom glaze was the star—floral, bright, and not at all perfumey. It was the kind of bread that made you want to curl up with a cup of coffee and forget the world for a bit.
When they closed, I was determined to recreate that feeling. I spent months experimenting, tweaking ratios, and testing different types of flour. I even called a few other bakeries to ask for tips, which felt a little desperate, if I’m being honest. But this recipe? This is it. It’s the one that finally made me close my eyes and smile after the first bite. It’s the cozy, comforting pan de muerto I’d been chasing. Maybe you’ve been there, searching for a taste of a memory. This one is for you.
Why You’ll Love This Recipe
This isn’t just another bread recipe. It’s a carefully crafted experience, tested in my own kitchen until it was just right. I wanted a pan de muerto that was accessible for home bakers but still carried that authentic, bakery-quality soul. After all those failed attempts, I learned exactly what works and what doesn’t, so you don’t have to.
- Quick & Easy: While it does require some rising time, the active prep is only about 20 minutes. It’s a perfect weekend baking project that feels special without taking over your whole day.
- Simple Ingredients: You likely have most of these pantry staples already. No need for a trip to a specialty store—just butter, eggs, flour, and a few fragrant additions.
- Perfect for Día de Muertos or Cozy Mornings: This bread is traditionally made for the holiday, but honestly, it’s too good to save for just one occasion. It’s wonderful for a slow Sunday brunch or a comforting afternoon snack.
- Crowd-Pleaser: I’ve brought this to gatherings and it always disappears. The unique flavor of orange blossom is intriguing but approachable, winning over both adventurous eaters and those who prefer classic sweets.
- Unbelievably Delicious: The texture is what gets me every time. It’s soft and tender with a slightly crisp, sugary crust from the glaze. It’s next-level comfort food.
What makes this recipe different from the rest is the technique of blooming the yeast with a touch of orange blossom water and the specific way we incorporate the butter to keep the crumb light. It’s not just another version—it’s my best version, perfected after many, many loaves. This is the kind of bread that makes you close your eyes after the first bite. Trust me on that.
What Ingredients You Will Need
This recipe uses simple, wholesome ingredients that come together to create something truly special. The key players are the orange blossom water and the butter, so using good quality makes a real difference here. Most of these are pantry staples, which makes this an easy recipe to pull together on a whim.
- All-purpose flour, 4 cups (500g), plus more for dusting. I prefer King Arthur Flour for its consistent protein content, which gives a reliable rise.
- Active dry yeast, 2 ¼ teaspoons (one standard packet). Make sure it’s not expired, or your bread won’t rise properly.
- Whole milk, ½ cup (120ml), warmed to about 110°F. It should feel like warm bathwater. If it’s too hot, it can kill the yeast.
- Granulated sugar, ½ cup (100g), plus 1 tablespoon for proofing the yeast.
- Large eggs, 3, at room temperature. This is important for a smooth dough. Cold eggs can seize the butter.
- Unsalted butter, ½ cup (1 stick or 113g), softened to room temperature. It should be soft enough to leave a fingerprint when pressed.
- Orange zest, from 2 large oranges. Use a microplane for the best texture. Avoid the white pith, which is bitter.
- Orange blossom water, 2 tablespoons. This is the heart of the flavor. Look for it in the international aisle or a specialty store. I love the brand Cortas for its pure, floral aroma.
- Salt, 1 teaspoon. It balances the sweetness and strengthens the gluten.
- For the Glaze: Powdered sugar, 1 ½ cups (180g); Orange blossom water, 2 tablespoons; Fresh orange juice, 2-3 tablespoons (enough to reach a drizzling consistency); Pinch of salt.
- For the Topping: Granulated sugar, ¼ cup (50g), for sprinkling. You can also add a little extra orange zest to the sugar for more flavor.
For a dairy-free option, you can substitute the whole milk with oat milk and the butter with a high-quality vegan butter block. The texture will be slightly different, but still delicious. If you can’t find orange blossom water, you can use a teaspoon of orange extract mixed with a tablespoon of water, but the floral note won’t be quite the same.
Equipment Needed
You don’t need a lot of fancy gear to make this bread, which is part of its charm. A few basic tools will get the job done beautifully.
- Stand mixer with dough hook: This makes kneading a breeze. You can knead by hand, but it will take a good 10-15 minutes of arm work.
- Large mixing bowl: For proofing the dough. A glass or ceramic bowl works best.
- Measuring cups and spoons: For accuracy. I always use the spoon-and-level method for flour.
- Microplane or zester: For getting that fine orange zest without any bitter pith.
- Baking sheet: A half-sheet pan lined with parchment paper is perfect.
- Pastry brush: For applying the glaze. A silicone one is easy to clean.
- Cooling rack: Essential for letting the bread cool evenly so the glaze sets properly.
- Plastic wrap or a clean kitchen towel: To cover the dough while it rises. A damp towel can also work to keep the dough from drying out.
- Optional but helpful: A kitchen scale for measuring flour by weight, which is more accurate than cups. I also love using a dough scraper to divide the dough cleanly.
I’ve made this bread in a cheap stand mixer and it worked fine, but a good-quality one really does make the process smoother. If you’re on a budget, kneading by hand is a great arm workout and connects you more to the process!
Preparation Method
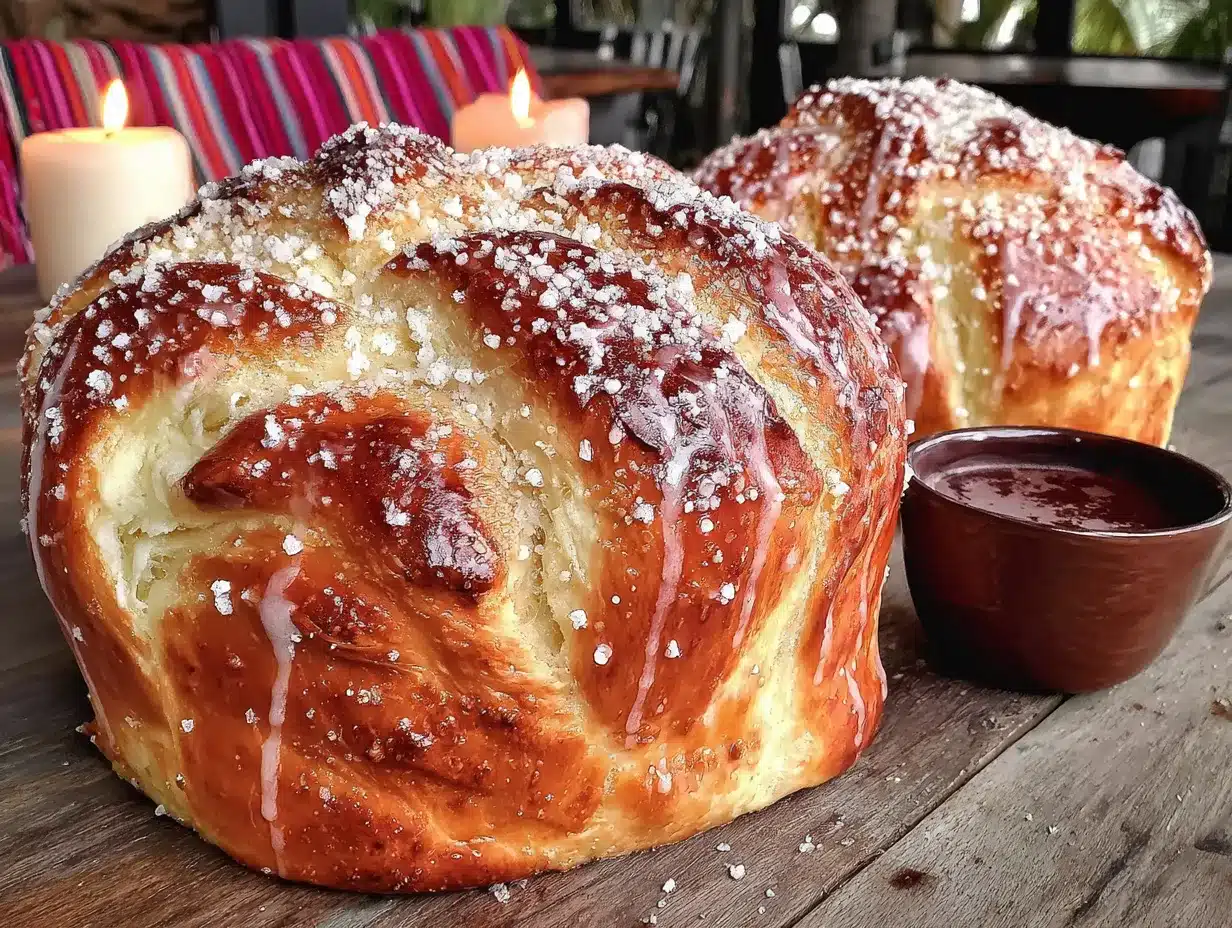
This process is a labor of love, but it’s so rewarding. Take your time and enjoy the smell of the dough as it comes together. It’s a truly cozy experience.
- Proof the yeast: In the bowl of your stand mixer (or a small bowl if kneading by hand), combine the warmed milk, 1 tablespoon of sugar, and the active dry yeast. Stir gently and let it sit for 5-10 minutes until it becomes frothy and bubbly. If it doesn’t foam, your yeast might be dead—start over with fresh yeast.
- Mix the dough: Add the remaining sugar, eggs, orange zest, orange blossom water, and salt to the yeast mixture. Stir to combine. Add 2 cups of the flour and mix on low speed with the dough hook until a shaggy dough forms. Gradually add the remaining flour, ½ cup at a time, until the dough pulls away from the sides of the bowl. It should be soft and slightly tacky, but not sticky.
- Knead in the butter: With the mixer running on low, add the softened butter one tablespoon at a time. This will feel messy at first—the dough will look like it’s falling apart. Don’t panic. Just keep mixing. After about 5-7 minutes, the butter will be fully incorporated and the dough will become smooth, elastic, and shiny. It should pass the “windowpane test” (stretch a small piece of dough thin enough to see light through without it tearing).
- First rise: Shape the dough into a ball and place it in a lightly greased large bowl, turning to coat all sides. Cover tightly with plastic wrap and let it rise in a warm, draft-free place for 1.5 to 2 hours, or until doubled in size. I like to put it in my oven with the light on (but turned off!).
- Shape the loaves: Punch down the dough to release the air. Turn it out onto a lightly floured surface. Divide the dough into two equal pieces for two medium loaves, or leave it as one large loaf. For the classic pan de muerto shape, take about a quarter of the dough and set it aside. Roll the larger piece into a smooth ball and place it on a parchment-lined baking sheet. Divide the reserved dough into smaller pieces to form the “bones” and “skull.” Roll them into ropes and arrange them on top of the ball in a cross pattern, with a small ball in the center for the “skull.”
- Second rise: Cover the shaped loaves loosely with a clean kitchen towel and let them rise for another 45-60 minutes, until puffy and almost doubled. They should look pillowy.
- Bake: Preheat your oven to 350°F (175°C). Bake the loaves for 25-30 minutes, or until they are deep golden brown and sound hollow when tapped on the bottom. If the tops are browning too quickly, tent them loosely with foil after the first 15 minutes.
- Cool and glaze: Let the loaves cool on the baking sheet for 10 minutes, then transfer them to a wire rack to cool completely. While they cool, make the glaze by whisking together the powdered sugar, orange blossom water, and orange juice until smooth. It should be thick but pourable. Once the bread is completely cool, brush the glaze generously over the tops. Immediately sprinkle with the granulated sugar. The glaze will set into a beautiful, crackly shell.
Your kitchen will smell absolutely incredible during this process. The scent of orange blossom and baking bread is one of the coziest things in the world.
Cooking Tips & Techniques
After making this recipe a dozen times, I’ve picked up a few things that make all the difference. Let me save you from my early mistakes!
- Don’t rush the butter incorporation: This is the step that gave me the most trouble. The dough will look like a greasy mess, and you’ll be tempted to add more flour. Resist! Keep mixing. The butter needs time to emulsify into the dough. If it’s still not coming together after 8 minutes, your butter might have been too cold. Next time, let it soften a little more.
- Use a thermometer for the milk: I killed my yeast on my first attempt by using milk that was too hot. 110°F (43°C) is the sweet spot. It should feel like a comfortable warm bath, not hot. I ruined two batches before I bought a simple instant-read thermometer.
- Room temperature eggs are non-negotiable: Cold eggs will make the butter seize up, leading to a dense, greasy dough. If you forgot to take them out of the fridge, place them in a bowl of warm water for 5-10 minutes. It works like a charm.
- How to tell when it’s done baking: The color is a good indicator, but the best test is the hollow sound. Tap the bottom of the loaf with your knuckles. If it sounds hollow, it’s done. If it sounds dense, give it another 5 minutes.
- Glaze when completely cool: I was impatient once and glazed a warm loaf. The glaze just melted into a sticky puddle. Wait until the bread is completely cool to the touch. The glaze will set into that beautiful, crackly, opaque shell.
One of my biggest failures was forgetting to add the salt. The bread rose beautifully but tasted incredibly flat and bland. Salt isn’t just for flavor—it strengthens the gluten structure and controls yeast activity. Don’t skip it!
Variations & Adaptations
This recipe is wonderful as is, but it’s also a great base for your own creativity. Here are a few ways I’ve adapted it for different moods and needs.
- Chocolate Orange Pan de Muerto: This is my personal favorite variation. Add ¼ cup of unsweetened cocoa powder to the flour mixture. You might need to add an extra tablespoon of milk to compensate for the dryness. The chocolate and orange blossom combination is absolutely divine and feels extra luxurious.
- Gluten-Free Version: I’ve tested this with a high-quality 1:1 gluten-free flour blend (like Bob’s Red Mill). The dough will be stickier, so be prepared to handle it with wet hands. The texture is a bit more tender and less chewy, but the flavor is still spot-on. Add an extra teaspoon of xanthan gum if your blend doesn’t include it.
- Vegan Adaptation: This was a challenge, but it works! Use a flax egg (1 tablespoon ground flaxseed + 3 tablespoons water per egg, let sit for 5 minutes) for the eggs. Substitute the butter with a good vegan butter block and the milk with oat or soy milk. The dough is a bit less rich, but the orange blossom flavor still shines through beautifully.
- Spiced Version: For a warmer flavor profile, add 1 teaspoon of ground cinnamon, ½ teaspoon of ground nutmeg, and a pinch of ground cloves to the flour. This makes it taste even more like a cozy fall or winter treat.
I tried a version with a honey glaze instead of the orange blossom one, and while it was tasty, it was a completely different bread. The floral note of the orange blossom is really what makes this pan de muerto so special. Don’t be afraid to experiment, though!
Serving & Storage Suggestions
This bread is best enjoyed the day it’s made, when it’s at its softest and the glaze is perfectly crackly. But it’s still wonderful the next day, especially if you warm it up.
- Serving Temperature: Serve at room temperature or slightly warm. To warm it up, pop a slice in a 300°F (150°C) oven for 5 minutes. It revives the soft texture beautifully.
- Perfect Pairings: This bread is begging for a warm beverage. A cup of Mexican hot chocolate is the classic pairing and absolutely heavenly. It’s also wonderful with a strong coffee or a cup of chamomile latte for a cozy evening.
- Presentation: I like to serve the whole loaf on a wooden board, letting people tear off pieces. It feels more communal and cozy. A dusting of extra powdered sugar or a few fresh orange slices on the side makes it look beautiful.
- Storage: Store any leftover bread in an airtight container at room temperature for up to 3 days. Do not refrigerate it, as this will dry it out. The glaze might soften a bit, but it will still be delicious.
- Freezing: You can freeze the unglazed bread for up to 2 months. Wrap it tightly in plastic wrap and then in foil. When you’re ready to eat it, thaw it at room temperature, then warm it in the oven, and glaze it fresh. The flavor actually develops a bit more after freezing!
- Flavor Development: Honestly, the flavor is at its peak on the first day. The orange blossom note is most vibrant. By the second day, it mellows into a more subtle, comforting sweetness. It’s not a bad thing, just different.
Nutritional Information & Benefits
While this is definitely a treat, it’s made with real, recognizable ingredients. Enjoying a slice with a good source of protein (like a hard-boiled egg) can make it part of a balanced snack.
- Estimated per serving (1/8 of a loaf): Calories: 320, Fat: 12g, Carbohydrates: 48g, Protein: 6g. This is an estimate and will vary based on specific brands and substitutions.
- Key Ingredient Benefits: The orange zest provides a small amount of vitamin C and antioxidants. The eggs offer high-quality protein and choline, which is good for brain health.
- Dietary Considerations: This recipe contains gluten, dairy, and eggs. For a gluten-free or vegan version, see the variations section above.
- Potential Allergens: Wheat, milk, eggs. Be mindful if serving to guests with allergies.
- My Personal Perspective: I believe in balance. This bread is a celebration food, meant to be enjoyed with loved ones. It’s not an everyday breakfast, but a slice on a special morning or with an afternoon coffee is a beautiful, soul-nourishing thing. It’s about the experience as much as the food itself.
Conclusion
This cozy pan de muerto with orange blossom glaze is more than just a recipe—it’s a little piece of warmth you can bake in your own kitchen. It’s the result of a long, slightly obsessive quest to recreate a memory, and I’m so happy to share the final, perfected version with you. The soft, tender crumb, the fragrant floral glaze, and the subtle sweetness come together to create something truly special.
I encourage you to make this recipe your own. Add a little more zest, try the chocolate variation, or shape it into a different form. The most important thing is to enjoy the process and the incredible smell that will fill your home. I promise, the first bite will make all the effort worth it.
I would absolutely love to hear how this turns out for you! Did you make any fun variations? Did your family love it? Please leave a comment below and let me know. And if you share a photo on Pinterest, tag me—I can’t wait to see your beautiful loaves. Happy baking, friends. You’ve got this.
Frequently Asked Questions
Can I use instant yeast instead of active dry yeast?
Yes, absolutely. You can substitute instant yeast 1:1. You don’t need to proof it in the warm milk first. Just mix it directly with the flour and other dry ingredients. You may find the dough rises a little faster, so keep an eye on it.
My dough is very sticky. Should I add more flour?
It depends on the stage. Before you add the butter, the dough should be soft but not overly sticky. If it’s sticking to everything, add flour one tablespoon at a time. After you add the butter, it will look very sticky and messy—that’s normal. Don’t add more flour at this stage. Just keep kneading; it will come together.
Where can I find orange blossom water?
You can usually find it in the international or baking aisle of well-stocked grocery stores. Middle Eastern markets almost always carry it. You can also order it online. A bottle lasts a long time and is great for other recipes like rose water cookies or lemonades.
Can I make the dough ahead of time?
Yes! After the first rise, you can punch down the dough, wrap it tightly in plastic wrap, and refrigerate it for up to 24 hours. When you’re ready to bake, let it sit at room temperature for about an hour to take the chill off, then shape it and proceed with the second rise.
Why did my glaze turn out cloudy or not set?
This usually happens if the bread was still warm when you glazed it, or if you added too much liquid. The bread needs to be completely cool. If your glaze is too thin, add a little more powdered sugar. It should be thick enough to coat the back of a spoon but still pourable.
Pin This Recipe!
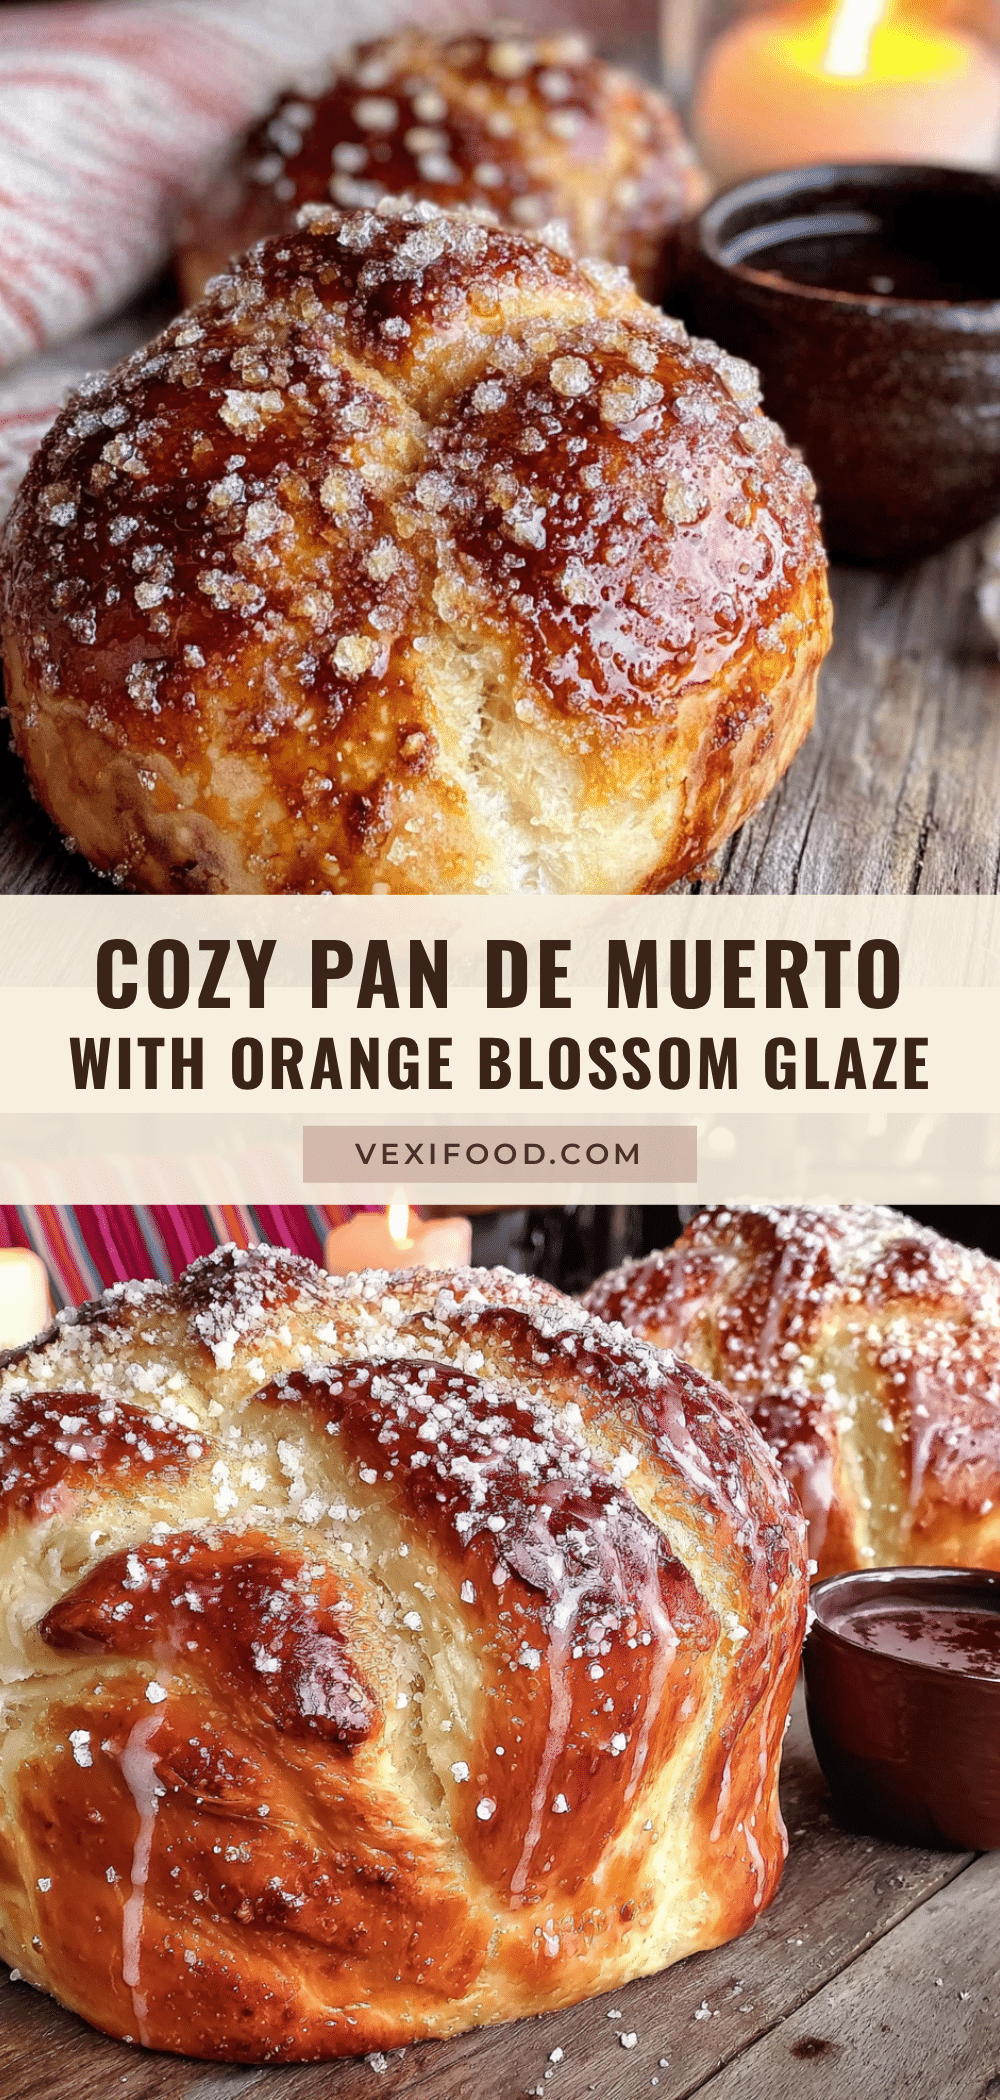
Cozy Pan de Muerto with Orange Blossom Glaze

A soft, pillowy pan de muerto with a subtle sweetness and a floral orange blossom glaze. This easy recipe brings bakery-quality comfort to your home, perfect for Día de Muertos or cozy mornings.
- Prep Time: 20 minutes
- Cook Time: 25-30 minutes
- Total Time: 2 hours 45 minutes to 3 hours 30 minutes (including rising time)
- Yield: 8 servings (1/8 of a loaf per serving) 1x
- Category: Bread
- Cuisine: Mexican
Ingredients
- 4 cups (500g) all-purpose flour, plus more for dusting
- 2 ¼ teaspoons active dry yeast (one standard packet)
- ½ cup (120ml) whole milk, warmed to about 110°F
- ½ cup (100g) granulated sugar, plus 1 tablespoon for proofing the yeast
- 3 large eggs, at room temperature
- ½ cup (1 stick or 113g) unsalted butter, softened to room temperature
- Zest from 2 large oranges
- 2 tablespoons orange blossom water
- 1 teaspoon salt
- For the Glaze: 1 ½ cups (180g) powdered sugar, 2 tablespoons orange blossom water, 2-3 tablespoons fresh orange juice, pinch of salt
- For the Topping: ¼ cup (50g) granulated sugar, for sprinkling
Instructions
- Proof the yeast: In the bowl of your stand mixer (or a small bowl if kneading by hand), combine the warmed milk, 1 tablespoon of sugar, and the active dry yeast. Stir gently and let it sit for 5-10 minutes until it becomes frothy and bubbly. If it doesn’t foam, your yeast might be dead—start over with fresh yeast.
- Mix the dough: Add the remaining sugar, eggs, orange zest, orange blossom water, and salt to the yeast mixture. Stir to combine. Add 2 cups of the flour and mix on low speed with the dough hook until a shaggy dough forms. Gradually add the remaining flour, ½ cup at a time, until the dough pulls away from the sides of the bowl. It should be soft and slightly tacky, but not sticky.
- Knead in the butter: With the mixer running on low, add the softened butter one tablespoon at a time. This will feel messy at first—the dough will look like it’s falling apart. Don’t panic. Just keep mixing. After about 5-7 minutes, the butter will be fully incorporated and the dough will become smooth, elastic, and shiny. It should pass the ‘windowpane test’ (stretch a small piece of dough thin enough to see light through without it tearing).
- First rise: Shape the dough into a ball and place it in a lightly greased large bowl, turning to coat all sides. Cover tightly with plastic wrap and let it rise in a warm, draft-free place for 1.5 to 2 hours, or until doubled in size. I like to put it in my oven with the light on (but turned off!).
- Shape the loaves: Punch down the dough to release the air. Turn it out onto a lightly floured surface. Divide the dough into two equal pieces for two medium loaves, or leave it as one large loaf. For the classic pan de muerto shape, take about a quarter of the dough and set it aside. Roll the larger piece into a smooth ball and place it on a parchment-lined baking sheet. Divide the reserved dough into smaller pieces to form the ‘bones’ and ‘skull.’ Roll them into ropes and arrange them on top of…
- Second rise: Cover the shaped loaves loosely with a clean kitchen towel and let them rise for another 45-60 minutes, until puffy and almost doubled. They should look pillowy.
- Bake: Preheat your oven to 350°F (175°C). Bake the loaves for 25-30 minutes, or until they are deep golden brown and sound hollow when tapped on the bottom. If the tops are browning too quickly, tent them loosely with foil after the first 15 minutes.
- Cool and glaze: Let the loaves cool on the baking sheet for 10 minutes, then transfer them to a wire rack to cool completely. While they cool, make the glaze by whisking together the powdered sugar, orange blossom water, and orange juice until smooth. It should be thick but pourable. Once the bread is completely cool, brush the glaze generously over the tops. Immediately sprinkle with the granulated sugar. The glaze will set into a beautiful, crackly shell.
Notes
Don’t rush the butter incorporation; the dough will look messy but will come together. Use a thermometer for the milk to ensure it’s at 110°F. Room temperature eggs are essential. Glaze only when the bread is completely cool to avoid a sticky puddle. For a dairy-free option, substitute whole milk with oat milk and butter with a high-quality vegan butter block. For a gluten-free version, use a 1:1 gluten-free flour blend and add extra xanthan gum if needed.
Nutrition
- Serving Size: 1/8 of a loaf
- Calories: 320
- Sugar: 24
- Sodium: 200
- Fat: 12
- Saturated Fat: 7
- Carbohydrates: 48
- Fiber: 1
- Protein: 6
Keywords: pan de muerto, orange blossom, day of the dead bread, mexican bread, holiday bread, easy bread recipe, orange glaze