Love this? Save it for later!
Share the inspiration with your friends
I was standing in the canned goods aisle last Tuesday, staring at a row of pumpkin puree cans, when a woman next to me said, “They’re all the same, aren’t they?” And I wanted to say no, they’re not—but what I really wanted to say was that a can of pumpkin puree isn’t the point. It never was.
The thing is, I wasn’t even shopping for pie. I was there for dish soap and maybe some yogurt. But the smell of the aisle—that slightly sweet, earthy, tin-and-spice scent—hit me, and suddenly I was seven years old at my neighbor Mrs. Kowalski’s kitchen table. She wasn’t my grandmother, not even a relative. She was just the lady next door who let me help her roll pie dough on a flour-dusted counter while her radio played oldies. I can still see the way she’d pinch the edges of the crust, quick and sure, like she’d done it a thousand times. I mean, she probably had.
I never got her recipe. She moved away when I was twelve, and I never thought to ask. So for years, I’ve been chasing that pie—not the one from a can, but the one that smelled like butter and cinnamon and something I couldn’t name. Let me tell you, it’s taken more than a few disasters to get here. I’ve had crusts so tough you could use them as frisbees. I’ve had fillings that refused to set, weeping sad little puddles onto the pan. Honestly, there was one Thanksgiving where I forgot the sugar entirely. My family was polite about it, but you know that feeling when everyone takes a bite and then goes very quiet? Yeah.
So this recipe? It’s the one I wish I’d had back then. It’s the one that finally tastes like a Tuesday afternoon in Mrs. Kowalski’s kitchen—warm, forgiving, and made completely from scratch. Maybe you’ve been there, chasing a taste you can’t quite pin down. This pie is worth the chase.
Why You’ll Love This Recipe
Let’s be real for a second. Making pumpkin pie from scratch sounds like something you do when you have a whole weekend and a lot of patience. But I’ve tested this recipe on busy Tuesday nights, after work, with a toddler tugging at my apron. It works. Here’s why you’ll actually want to make it:
- Quick & Easy: From start to table in about an hour and a half, with only 20 minutes of active prep. The rest is just baking and cooling time—perfect for a weeknight dessert or a last-minute holiday contribution.
- Simple Ingredients: No weird specialty items. You likely have flour, sugar, butter, eggs, and spices in your kitchen right now. The only thing you might need to grab is a sugar pumpkin or a can of pure pumpkin puree.
- Perfect for Weeknights & Holidays: This pie works for a regular dinner dessert just as well as it does for Thanksgiving. It’s humble enough for a Tuesday and impressive enough for company.
- Crowd-Pleaser: Every single time I’ve brought this somewhere, someone asks for the recipe. Kids love it. Adults love it. Even my picky uncle who “doesn’t do pie” had a second slice.
- Unbelievably Delicious: The filling is silky, not grainy. The crust is flaky and holds up without getting soggy. It’s the kind of pie where you close your eyes after the first bite—and I’m not exaggerating.
What makes this different from every other pumpkin pie recipe out there? It’s two things, honestly. First, I roast the pumpkin instead of using just canned puree—but I’ll also show you how to use canned if you’re short on time. Second, I add a tiny splash of maple syrup alongside the brown sugar. It doesn’t make it taste like maple. It just makes the pumpkin taste more like itself, if that makes sense. It’s a little thing, but it’s the difference between a good pie and a great one.
This isn’t just another recipe. It’s the one I’d bring to a potluck if I only had one shot. It’s comfort food that feels like a hug, made faster and easier than you’d think, with all the soul-soothing satisfaction of something baked with love.
What Ingredients You Will Need
This recipe uses simple, wholesome ingredients to deliver that classic pumpkin pie flavor without any fuss. Most of these are pantry staples, and I’ll walk you through the few that might not be.
For the Pie Crust
- All-purpose flour, 1 ¼ cups (150g) – I use King Arthur Flour for consistent results, but any brand works. Spoon and level your flour—don’t scoop directly from the bag or you’ll end up with a tough crust.
- Salt, ½ teaspoon – Just regular table salt. It balances the sweetness.
- Cold unsalted butter, ½ cup (1 stick or 113g), cut into small cubes – Keep it cold. Like, straight-from-the-fridge cold. This is the secret to a flaky crust. I’ve used Kerrygold and it’s lovely, but store-brand works fine too.
- Ice water, 3 to 4 tablespoons (45-60ml) – You want it really cold. I keep a glass of ice water nearby and use a spoon to scoop out just the water.
For the Pumpkin Filling
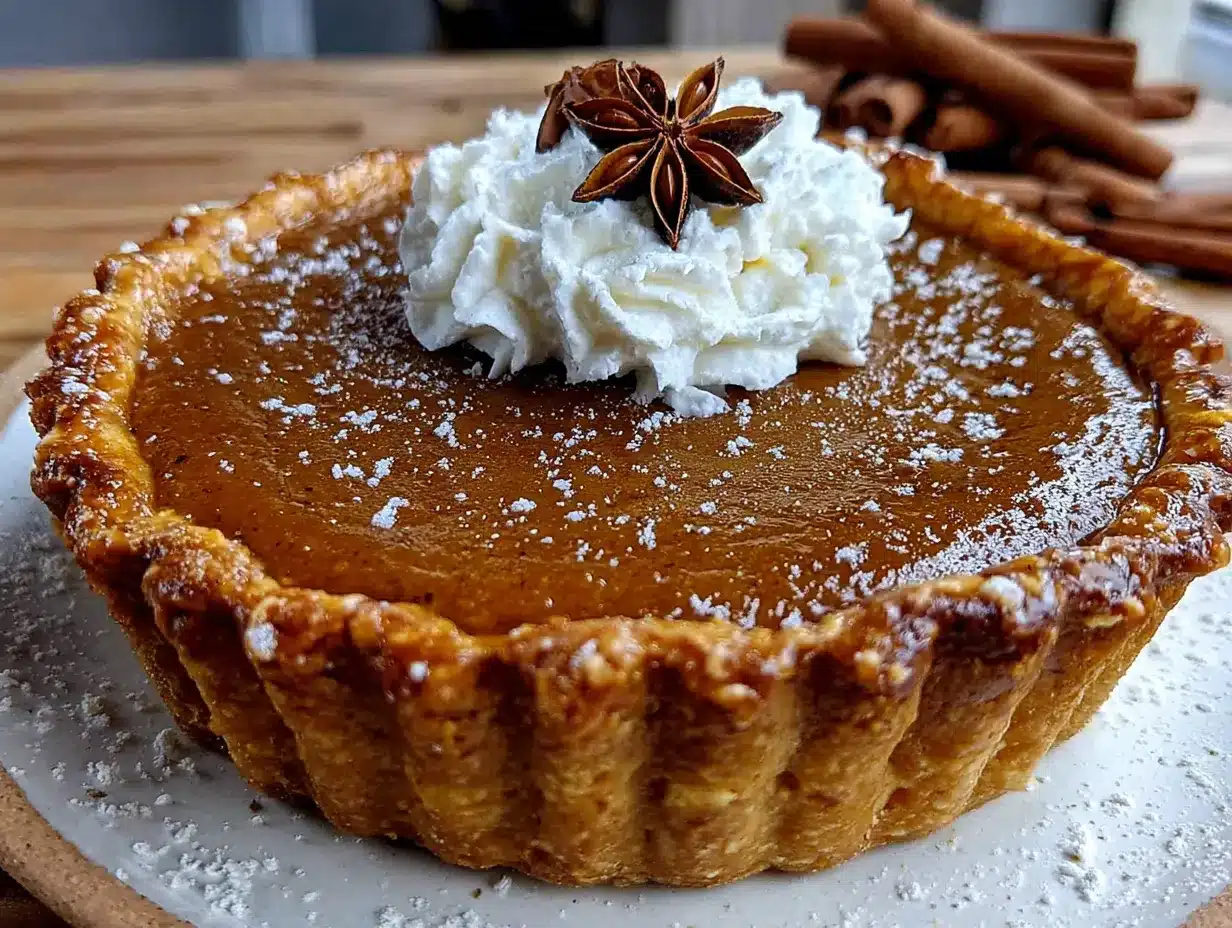
- Sugar pumpkin, 1 medium (about 2-3 lbs or 900g-1.4kg) – OR 1 can (15 oz or 425g) of pure pumpkin puree. If using canned, make sure it’s 100% pumpkin, not pumpkin pie filling. I personally love roasting a fresh pumpkin when I have the time—the flavor is deeper and less watery. But honestly? Canned works beautifully and saves time.
- Brown sugar, ¾ cup (150g), packed – Light or dark both work. Dark gives a deeper molasses flavor.
- Maple syrup, 1 tablespoon (15ml) – Pure maple syrup, not pancake syrup. This is my secret little addition. It doesn’t make the pie taste like maple; it just rounds out the pumpkin flavor.
- Large eggs, 2 – Room temperature is best. If you forgot to take them out, place them in a bowl of warm water for 5 minutes.
- Heavy cream, 1 cup (240ml) – For richness. You can substitute half-and-half if you want a lighter pie, but the texture won’t be quite as silky.
- Ground cinnamon, 1 ½ teaspoons – The backbone of pumpkin pie spice.
- Ground ginger, ½ teaspoon – Adds warmth without being spicy.
- Ground nutmeg, ¼ teaspoon – Freshly grated if you have it. It makes a noticeable difference.
- Ground cloves, ⅛ teaspoon – A little goes a long way. Be careful not to overdo it.
- Salt, ¼ teaspoon – Enhances all the flavors.
Substitution note: If you don’t have all the individual spices, you can use 2 teaspoons of pumpkin pie spice blend instead. Just skip the cinnamon, ginger, nutmeg, and cloves listed above.
Equipment Needed
You don’t need a fancy kitchen to pull this off. Here’s what you’ll actually use:
- 9-inch pie dish – Glass or ceramic works best for even baking. I’ve used a metal one before and the crust browned too fast. Pyrex is my go-to.
- Rolling pin – If you don’t have one, a wine bottle works in a pinch. Just chill the dough first.
- Large mixing bowls – One for the crust, one for the filling.
- Whisk – For the filling. A fork works too.
- Pastry cutter or two forks – For cutting butter into flour. You can also use your fingertips, but work quickly so the butter stays cold.
- Plastic wrap – For chilling the dough.
- Parchment paper and pie weights – For blind baking the crust. Dried beans or rice work perfectly as pie weights if you don’t have the real thing.
- Sharp knife or vegetable peeler – If using a fresh pumpkin, you’ll need to peel and cube it.
- Baking sheet – To place under the pie while it bakes. Catches any drips and helps the bottom crust cook evenly.
- Cooling rack – Lets air circulate so the bottom doesn’t get soggy.
That’s it. No stand mixer required—your hands and a little patience do the job beautifully.
Preparation Method
Let’s break this down step by step. I’ll give you both options for the pumpkin so you can choose your own adventure.
Step 1: If Using a Fresh Pumpkin (Optional)
Preheat your oven to 400°F (200°C). Cut the sugar pumpkin in half and scoop out the seeds and stringy bits. Place the halves cut-side down on a baking sheet lined with parchment. Roast for 35-45 minutes, until the flesh is fork-tender. Let it cool, then scoop the flesh out and mash it or puree it in a food processor. You should end up with about 1 ½ cups. Drain any excess liquid through a fine-mesh strainer or cheesecloth—fresh pumpkin can be watery, and you don’t want a soggy pie.
Time-saving tip: If you’re using canned pumpkin puree, skip this step entirely. Just open the can.
Step 2: Make the Pie Crust
In a large bowl, whisk together the flour and salt. Add the cold butter cubes. Using a pastry cutter or two forks, cut the butter into the flour until the mixture looks like coarse meal with some pea-sized butter pieces remaining. This is important—those little chunks of butter create steam pockets in the oven, which gives you those lovely flaky layers.
Sprinkle 3 tablespoons of ice water over the mixture and stir with a fork until the dough starts to come together. If it’s too dry, add the remaining tablespoon of water, one teaspoon at a time. Squeeze a bit of dough in your hand—if it holds together without crumbling, you’re good.
Turn the dough out onto a lightly floured surface and shape it into a disk about 1 inch thick. Wrap it in plastic wrap and refrigerate for at least 30 minutes. I’ve skipped this step when I was in a hurry, and let me tell you—the crust shrinks and gets tough. Don’t skip it.
Step 3: Roll Out the Dough
After the dough has chilled, preheat your oven to 375°F (190°C). On a lightly floured surface, roll the dough out into a circle about 12 inches in diameter—roughly ⅛ inch thick. Don’t stress about making it perfectly round. Mrs. Kowalski’s crusts were never perfect circles, and they were the best I’ve ever had.
Carefully transfer the dough to your 9-inch pie dish. You can fold it in half or roll it around your rolling pin to move it—whatever works. Gently press it into the dish, then trim the excess dough, leaving about a ½-inch overhang. Fold that overhang under itself and crimp the edges with your fingers or a fork. Pop it back in the fridge for 15 minutes while you make the filling.
Step 4: Blind Bake the Crust
Line the chilled crust with parchment paper and fill it with pie weights, dried beans, or rice. This prevents the crust from puffing up. Bake for 15 minutes, then carefully remove the parchment and weights. Prick the bottom of the crust a few times with a fork (this is called docking) and bake for another 5-7 minutes, until it’s lightly golden. Set it aside to cool slightly while you prepare the filling.
Warning: Don’t skip the blind baking. I did once, and the bottom crust came out pale and doughy. A sad, sad pie.
Step 5: Make the Filling
Lower the oven temperature to 350°F (175°C). In a large bowl, whisk together the pumpkin puree, brown sugar, maple syrup, eggs, and heavy cream until smooth. In a separate small bowl, mix the cinnamon, ginger, nutmeg, cloves, and salt. Add the dry spices to the wet ingredients and whisk until fully combined. The mixture should be smooth, thick, and a beautiful deep orange color.
Pour the filling into the warm pre-baked crust. It should fill the crust almost to the top—that’s normal.
Step 6: Bake the Pie
Place the pie on a baking sheet (to catch any drips) and bake for 50-60 minutes. The edges should be set, but the center will still jiggle slightly when you gently shake the pie. That jiggle is your friend—it means the filling will set to a silky, creamy texture as it cools. If you bake it until the center is completely firm, it’ll be overbaked and might crack.
If the crust edges are browning too quickly, loosely cover them with strips of foil or a pie shield after about 30 minutes of baking.
Step 7: Cool and Set
Place the pie on a cooling rack and let it cool completely at room temperature—about 2 hours. Then refrigerate it for at least 4 hours, but overnight is even better. This is the hardest part, I know. But the filling needs that time to fully set. Cutting into a warm pie will give you a runny mess. Trust me on this one.
Cooking Tips & Techniques
Over the years, I’ve made just about every mistake you can make with pumpkin pie. Here’s what I’ve learned so you don’t have to repeat my failures.
- Keep everything cold for the crust. The butter, the water, even your hands if you can manage it. Warm butter melts into the flour instead of creating those flaky layers. If your kitchen is hot, chill the bowl and flour for 10 minutes before starting.
- Don’t overwork the dough. Mix just until it comes together. Overmixing develops gluten, which makes the crust tough. You want tender, not tough. I learned this the hard way after making a crust that could double as a frisbee.
- Watch the filling consistency. If you’re using fresh pumpkin, make sure to drain it well. Excess water can make the filling runny and prevent it from setting properly. I once skipped the draining step and ended up with pumpkin soup in a crust. It was… not good.
- Use a baking sheet. Always place your pie on a baking sheet before putting it in the oven. It catches any spills (trust me, they happen) and helps the bottom crust cook more evenly.
- Let it cool completely. I know it’s tempting to slice into that warm, fragrant pie. But patience pays off here. The filling needs time to set. If you cut it too soon, you’ll have a beautiful pie with a sad, runny center. Give it at least 4 hours in the fridge.
- Multitask wisely. While the crust is chilling, make the filling. While the pie is baking, clean up the kitchen. This way, you’re not scrambling at the last minute.
Variations & Adaptations
Once you’ve mastered the basic recipe, feel free to play around. Here are some of my favorite variations:
- Dairy-Free Version: Substitute the butter in the crust with cold coconut oil or vegan butter. Use full-fat coconut milk or oat cream instead of heavy cream. The texture will be slightly different, but still delicious. I’ve made this for a friend with dairy allergies, and she said it was the best pumpkin pie she’d had in years.
- Gluten-Free Crust: Swap the all-purpose flour with a 1:1 gluten-free baking flour blend. Look for one that contains xanthan gum. The dough will be a bit more delicate, so handle it gently. I like Bob’s Red Mill for this.
- Spice It Up: Add a pinch of cardamom or allspice to the spice mix for a warmer, more complex flavor. I sometimes add ¼ teaspoon of cardamom when I’m feeling fancy.
- Maple Pecan Topping: Before baking, sprinkle ½ cup of chopped pecans over the filling and drizzle with an extra tablespoon of maple syrup. It adds a lovely crunch and nutty flavor.
- Pumpkin Pie Bars: Press the crust into a 9×13-inch baking dish instead of a pie dish. Bake the crust for 10 minutes, then pour in the filling and bake for 25-30 minutes. Cut into squares for a portable dessert that’s perfect for potlucks.
- No-Bake Version: Use a store-bought graham cracker crust and skip the blind baking. Prepare the filling as directed but add 1 tablespoon of cornstarch to help it set. Pour into the crust and refrigerate for at least 6 hours. It won’t be quite as rich, but it’s faster and still tasty.
Serving & Storage Suggestions
This pie is wonderful on its own, but a few simple additions can make it truly special.
Serving Temperature: Serve chilled or at room temperature. I prefer it cold from the fridge, but my husband likes it at room temp. Both are great.
Presentation Ideas: Top each slice with a generous dollop of lightly sweetened whipped cream. For extra flair, add a sprinkle of cinnamon or a few candied pecans. A drizzle of caramel sauce over the top is also amazing—just saying.
What to Serve With It: A cup of hot coffee or spiced chai is the perfect companion. If you’re serving it as part of a meal, it pairs beautifully with roast chicken or turkey. For a full fall spread, try it alongside my creamy butternut squash soup for a cozy dinner.
Storage Instructions: Cover the pie loosely with plastic wrap or foil and store it in the refrigerator for up to 4 days. The flavors actually deepen and meld together after a day or two, so it’s even better on day two.
Freezing Instructions: You can freeze the baked pie for up to 3 months. Let it cool completely, then wrap it tightly in plastic wrap and a layer of foil. To serve, thaw it overnight in the refrigerator. Do not freeze an unbaked pie—the crust will become soggy.
Reheating Tips: If you prefer warm pie, place individual slices in a 300°F (150°C) oven for 10-15 minutes. Microwaving works in a pinch, but it can make the crust soft. I usually just eat it cold—no judgment either way.
Nutritional Information & Benefits
Let’s be honest—pumpkin pie is a dessert, not a health food. But it does have some redeeming qualities.
Estimated Nutritional Values (per slice, based on 8 servings):
- Calories: 320
- Fat: 18g
- Carbohydrates: 38g
- Protein: 5g
- Fiber: 3g
- Sugar: 22g
Health Highlights: Pumpkin is packed with vitamin A (great for your eyes and immune system) and fiber. The spices—cinnamon, ginger, nutmeg—have anti-inflammatory properties. So while this isn’t a salad, it’s not empty calories either. It’s a dessert that brings a little something to the table.
Dietary Considerations: This recipe contains gluten, dairy, and eggs. For gluten-free and dairy-free options, check the variations section above. It’s naturally nut-free if you skip the pecan topping.
Allergen Note: If you have severe allergies, always double-check your ingredient labels, especially for spices which can sometimes be processed in facilities that handle nuts.
My personal philosophy? Enjoy the slice. Savor it. Life’s too short to feel guilty about a good piece of pie. Balance is everything.
Conclusion
So here it is—my version of that pie I’ve been chasing since I was seven. It’s not Mrs. Kowalski’s recipe, but it’s mine now, and I hope it becomes yours too. It’s simple enough for a Tuesday night, special enough for Thanksgiving, and honest enough to remind you that good food doesn’t need to be complicated.
I’d love to hear how it turns out for you. Did you use fresh pumpkin or canned? Did you add your own twist? Drop a comment below and let me know. And if you loved it, share this recipe with someone who needs a little comfort pie in their life.
Go on—preheat that oven. You’ve got this. And honestly? The smell of pumpkin and cinnamon filling your kitchen is worth every minute.
Frequently Asked Questions
Can I use canned pumpkin pie filling instead of pure pumpkin puree?
I wouldn’t recommend it. Canned pumpkin pie filling already has sugar and spices added, so it will throw off the balance of this recipe. Stick with 100% pure pumpkin puree—either canned or fresh. You’ll have more control over the sweetness and spice level.
Why is my pumpkin pie cracking on top?
Cracks usually mean the pie was overbaked. The filling expands as it bakes, and if it gets too firm, it cracks as it cools. To avoid this, pull the pie out when the center is still slightly jiggly—it will continue to set as it cools. Also, avoid overmixing the filling, which can incorporate too much air and cause cracking.
Can I make this pie ahead of time?
Absolutely! In fact, I recommend it. The pie needs at least 4 hours to set in the fridge, but it’s even better after 24 hours. You can make it up to 2 days in advance. Just cover it loosely and keep it refrigerated. Add the whipped cream right before serving.
How do I prevent a soggy bottom crust?
Blind baking is your best friend here. By pre-baking the crust before adding the filling, you give it a head start and create a barrier that keeps it crisp. Also, make sure your pumpkin puree isn’t too watery—if using fresh pumpkin, drain it well. Placing the pie on a preheated baking sheet also helps cook the bottom crust more evenly.
Can I freeze the unbaked pie dough?
Yes! You can freeze the dough disk for up to 3 months. Wrap it tightly in plastic wrap and then foil. When you’re ready to use it, thaw it overnight in the refrigerator. You can also freeze the fully baked and cooled pie for up to 3 months—just wrap it well and thaw it in the fridge before serving.
Pin This Recipe!
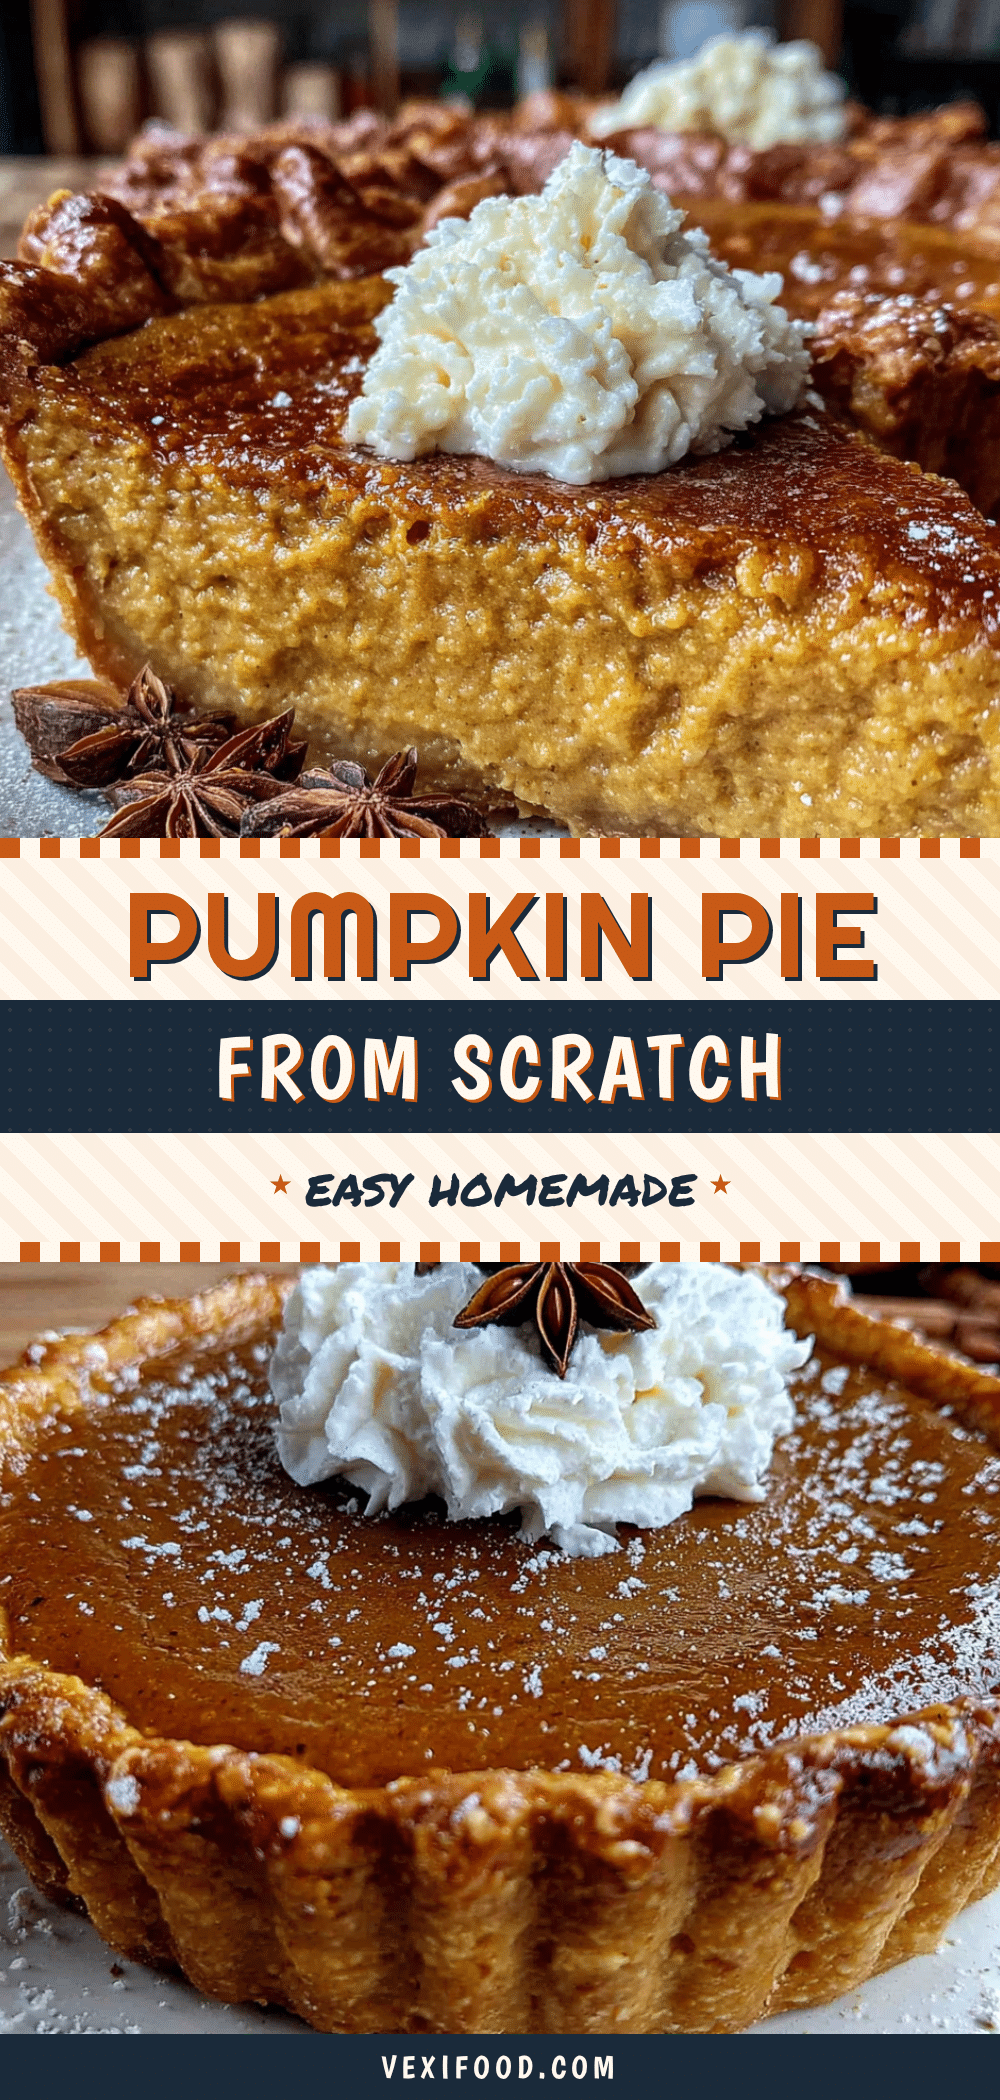
Easy Homemade Pumpkin Pie Recipe from Scratch
A silky, flaky pumpkin pie made completely from scratch with roasted pumpkin or canned puree, a secret splash of maple syrup, and a buttery crust. Perfect for weeknights or holidays.
- Prep Time: 20 minutes
- Cook Time: 50-60 minutes
- Total Time: 1 hour 30 minutes (plus cooling and chilling)
- Yield: 8 servings 1x
- Category: Dessert
- Cuisine: American
Ingredients
- 1 ¼ cups (150g) all-purpose flour
- ½ teaspoon salt
- ½ cup (1 stick or 113g) cold unsalted butter, cut into small cubes
- 3 to 4 tablespoons (45-60ml) ice water
- 1 medium sugar pumpkin (about 2–3 lbs or 900g-1.4kg) OR 1 can (15 oz or 425g) pure pumpkin puree
- ¾ cup (150g) packed brown sugar
- 1 tablespoon (15ml) pure maple syrup
- 2 large eggs, room temperature
- 1 cup (240ml) heavy cream
- 1 ½ teaspoons ground cinnamon
- ½ teaspoon ground ginger
- ¼ teaspoon ground nutmeg
- ⅛ teaspoon ground cloves
- ¼ teaspoon salt
Instructions
- If using fresh pumpkin: Preheat oven to 400°F (200°C). Cut pumpkin in half, scoop out seeds, place cut-side down on a parchment-lined baking sheet. Roast 35-45 minutes until tender. Cool, scoop flesh, mash or puree. Drain excess liquid. You need about 1 ½ cups. Skip if using canned.
- Make the crust: In a large bowl, whisk flour and salt. Add cold butter cubes. Cut in with a pastry cutter or two forks until mixture resembles coarse meal with pea-sized butter pieces.
- Sprinkle 3 tablespoons ice water over mixture, stir with a fork until dough comes together. Add more water if needed, 1 teaspoon at a time. Squeeze a bit—if it holds together, it’s ready.
- Turn dough onto a floured surface, shape into a 1-inch thick disk. Wrap in plastic wrap and refrigerate at least 30 minutes.
- Preheat oven to 375°F (190°C). On a floured surface, roll dough into a 12-inch circle, about ⅛ inch thick. Transfer to a 9-inch pie dish. Trim excess to ½-inch overhang, fold under, and crimp edges. Refrigerate 15 minutes.
- Blind bake: Line chilled crust with parchment paper and fill with pie weights or dried beans. Bake 15 minutes. Remove parchment and weights. Prick bottom with a fork. Bake 5-7 minutes more until lightly golden. Cool slightly.
- Reduce oven to 350°F (175°C). In a large bowl, whisk together pumpkin puree, brown sugar, maple syrup, eggs, and heavy cream until smooth.
- In a small bowl, mix cinnamon, ginger, nutmeg, cloves, and salt. Add to wet ingredients and whisk until fully combined.
- Pour filling into warm pre-baked crust. Place pie on a baking sheet. Bake 50-60 minutes until edges are set but center jiggles slightly. If crust browns too fast, cover edges with foil after 30 minutes.
- Cool pie on a rack at room temperature for 2 hours. Refrigerate at least 4 hours, preferably overnight, before serving.
Notes
Keep all crust ingredients cold for flakiness. Don’t overwork the dough. If using fresh pumpkin, drain excess liquid to avoid a runny filling. Let pie cool completely and refrigerate at least 4 hours for best texture. For a dairy-free version, substitute butter with coconut oil and heavy cream with full-fat coconut milk. For gluten-free, use a 1:1 gluten-free flour blend with xanthan gum.
Nutrition
- Serving Size: 1 slice
- Calories: 320
- Sugar: 22
- Sodium: 280
- Fat: 18
- Saturated Fat: 11
- Carbohydrates: 38
- Fiber: 3
- Protein: 5
Keywords: pumpkin pie, homemade pumpkin pie, from scratch, Thanksgiving dessert, fall dessert, easy pumpkin pie