Love this? Save it for later!
Share the inspiration with your friends
The school Halloween party was in twelve hours and I had completely forgotten. My son had reminded me three times that week, and I’d nodded along, thinking I had it handled. The panic hit me around 10 PM, standing in my kitchen, staring at a pantry that looked like it had been picked over by a family of hungry raccoons. Everyone else would be bringing Pinterest-perfect cupcakes with fondant ghosts and those fancy cake pops that take three days to make. I had a box of instant pudding, a pack of Oreos, and some gummy worms that were probably from last Easter. Not exactly the stuff of legend.
I almost gave up and bought a sheet cake from the grocery store. But my son had that hopeful look when he asked if I was making something “really cool.” So I grabbed a whisk, a bowl, and decided to fake it. I mean, how hard could it be to crush cookies and stir pudding? The answer, honestly, is not hard at all. I threw together these dirt pudding cups in maybe twenty minutes, tossed them in the fridge, and went to bed feeling like a fraud.
The next day, I walked into that party with my plastic cups and gummy worms, ready to be outshone by the elaborate desserts on the table. You know that feeling when you bring the “simple” dish and you’re sure everyone will judge you? Yeah, that was me. But the kids mobbed the table. They didn’t even look at the fondant ghosts. They grabbed my cups, dug in, and the room got quiet in that way that only happens when kids are truly happy. The room moms asked for the recipe. My son’s teacher told me I was “the cool mom.” I just stood there, holding an empty cup, wondering what just happened.
That’s the thing about this recipe—it’s a total underdog. It looks like you spent hours, but it’s almost embarrassingly easy. And the best part? It’s a total crowd-pleaser, especially for the spooky season. Let me tell you, if you need a last-minute win that makes everyone think you’re a kitchen genius, these graveyard dirt pudding cups are your secret weapon.
Why You’ll Love This Recipe
Let’s be real for a second. We’re all busy, and the last thing you need is a complicated dessert that requires a trip to three different stores. These dirt pudding cups are the opposite of that. They’re the hero you didn’t know you needed.
- Quick & Easy: This comes together in under 20 minutes of active time. Seriously, you can make these while the kids are doing homework or while you’re waiting for dinner to finish cooking. The hardest part is crushing the Oreos, and honestly, that’s kind of fun.
- Simple Ingredients: You probably have most of these in your pantry right now. Instant pudding, milk, Oreos, and some gummy worms. No fancy grocery trips needed. If you’re like me and forgot about the party until the last minute, this is a lifesaver.
- Perfect for Halloween Parties: These are the ultimate spooky treat. They’re fun, they’re creepy, and kids absolutely love them. They’re also great for classroom parties, potlucks, or just a fun weekend project with the family.
- Crowd-Pleaser: This isn’t just a kid thing. Adults love these too. There’s something about the creamy pudding and the crunchy cookie crumble that hits the spot for everyone. They’re the first thing to disappear from the dessert table.
- Unbelievably Delicious: The texture is perfect. You get the smooth, creamy pudding, the crunch of the Oreos, and the chewy gummy worms. It’s a textural party in your mouth, and the flavor is pure comfort food.
What makes this recipe different from every other dirt pudding recipe out there? It’s the ratio. I’ve tested this a dozen times to get the perfect cookie-to-pudding balance. You don’t want it to be too dry or too soupy. This version is just right—creamy, crunchy, and perfectly spooky. It’s comfort food reimagined for a Halloween party, and it’s the kind of dessert that makes you close your eyes after the first bite.
What Ingredients You Will Need
This recipe uses simple, everyday ingredients to create something that looks like it came from a fancy bakery. The magic is in the combination of textures and the fun presentation. Here’s what you’ll need to gather.
- 1 (3.9 oz) package instant chocolate pudding mix: This is the base of our “dirt.” I prefer the Jell-O brand for its consistent texture, but any brand works. Make sure it’s the instant kind, not the cook-and-serve, or you’ll be waiting forever.
- 2 cups cold whole milk: Whole milk gives the pudding a richer, creamier texture. You can use 2% or even skim milk, but the pudding won’t be as thick and luscious. For a dairy-free version, use unsweetened oat milk or full-fat coconut milk.
- 1 (14.3 oz) package Oreo cookies: This is the classic choice for a reason. The dark, chocolatey cookie creates the perfect “dirt” texture. You can use regular Oreos or the Double Stuf variety if you want a little extra sweetness. I’ve also used the generic chocolate sandwich cookies from the store, and they work just fine.
- 1 (4.25 oz) package gummy worms: These are for the “graveyard” effect. You can use any brand, but I find the sour gummy worms add a nice tangy contrast to the sweet pudding. If you can’t find gummy worms, you can use gummy spiders or even candy bones.
- Optional for decoration: You can add some extra spooky touches. A few Halloween candy melt cookies crumbled on top, some candy eyeballs, or even a few small plastic skeleton hands (make sure they’re food-safe) can really take these to the next level.
That’s it! Just five main ingredients, and you’re on your way to making a dessert that will make you the hero of any Halloween party. The beauty of this recipe is its flexibility. You can easily swap out the gummy worms for other spooky candies, or use a different flavor of pudding if you’re feeling adventurous.
Equipment Needed
You don’t need any fancy equipment to make these dirt pudding cups. In fact, you probably have everything you need in your kitchen right now. Here’s the list.
- Mixing bowl: A medium-sized bowl is perfect for whisking the pudding. I use a glass bowl because it’s easy to see when the pudding is smooth.
- Whisk: A good whisk is key to getting a lump-free pudding. If you don’t have a whisk, you can use a fork, but it will take a bit more elbow grease.
- Measuring cups: You’ll need a liquid measuring cup for the milk and a dry measuring cup if you’re measuring out the pudding mix.
- Ziploc bag or food processor: This is for crushing the Oreos. A Ziploc bag and a rolling pin (or even a heavy pan) works great. If you have a food processor, it’s even faster.
- Small cups or bowls: I use 6-ounce clear plastic cups because they’re perfect for parties and you can see the layers. You can also use small mason jars, ramekins, or even regular bowls.
- Spatula: A rubber spatula is great for scraping every last bit of pudding out of the bowl. Waste not, want not!
If you don’t have a food processor, don’t worry. The Ziploc bag method is actually more fun, especially if you let the kids help. Just make sure the bag is sealed tight before you start smashing!
Preparation Method
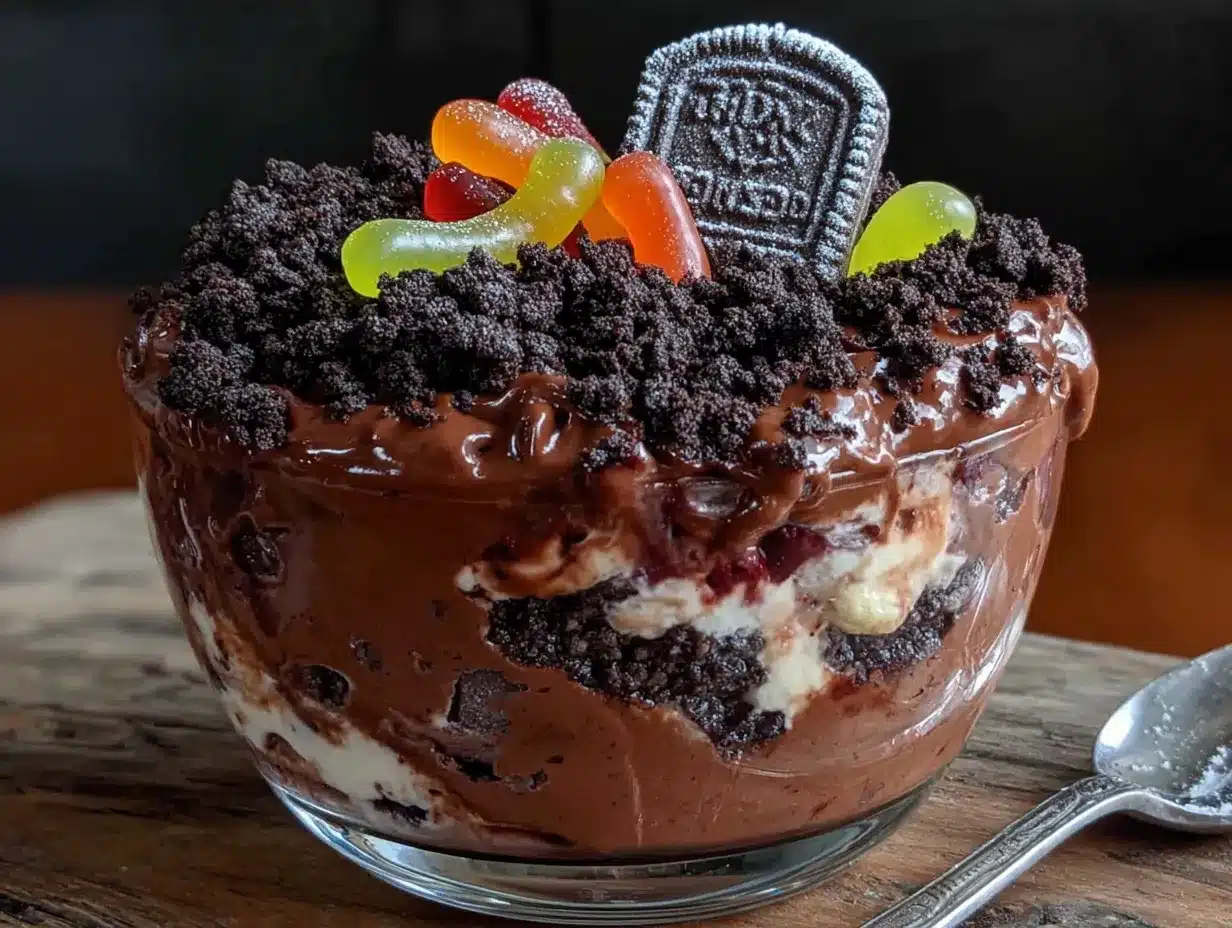
Okay, let’s get to the fun part. This is where the magic happens. Follow these steps, and you’ll have a batch of spooky, delicious dirt pudding cups in no time.
- Make the pudding: In your medium mixing bowl, pour the instant chocolate pudding mix. Add the 2 cups of cold milk. Whisk vigorously for about 2 minutes, or until the pudding starts to thicken. You’ll know it’s ready when it looks smooth and creamy, and it’s starting to hold its shape. Don’t over-whisk, or it might get a little too thick.
- Chill the pudding: This is a crucial step. Pop the bowl of pudding into the refrigerator for at least 10-15 minutes. This allows it to set up properly. If you skip this step, the pudding will be too runny, and your layers will get all mixed up. Trust me on this one—I’ve made that mistake before, and it was a muddy mess.
- Crush the Oreos: While the pudding is chilling, it’s time to make your “dirt.” Place the entire package of Oreos (cream filling and all) into a large Ziploc bag. Seal it up tight, squeezing out as much air as you can. Now, get your aggression out! Use a rolling pin, a heavy pan, or even your fists to crush the cookies into fine crumbs. You want a mix of fine crumbs and a few small chunks for texture. If you’re using a food processor, just pulse until you get the desired consistency.
- Layer the cups: Now comes the assembly. Take your chilled pudding out of the fridge. Spoon a layer of the crushed Oreos into the bottom of each cup. I use about 2 tablespoons per cup. This creates a nice, crunchy base. Next, spoon or pipe the chocolate pudding on top of the cookie layer. Fill the cup about three-quarters of the way full. Finally, top with another generous layer of crushed Oreos. This is your “dirt” layer.
- Add the gummy worms: This is where the “graveyard” comes to life. Take your gummy worms and gently poke them into the top layer of Oreo crumb. You can push them in so they look like they’re crawling out of the dirt, or just leave a few heads poking out. Don’t be shy with them—the more, the spookier!
- Chill again: Once all the cups are assembled, place them back in the refrigerator for at least 30 minutes, or up to 2 hours. This allows the flavors to meld together and the pudding to fully set. The longer they sit, the better they taste.
- Serve and enjoy: Right before serving, you can add any extra decorations. A few candy eyeballs, a sprinkle of orange sprinkles, or even a small plastic spider on top can really make them pop. Serve them cold and watch them disappear!
One thing I’ve learned the hard way: don’t skip the first chill on the pudding. I was in a rush once and tried to layer the warm pudding on top of the Oreos. The cookie crumbs got soggy, and the layers all mixed together into a brown sludge. It still tasted good, but it didn’t look nearly as impressive. Patience is key here.
Cooking Tips & Techniques
Over the years, I’ve made a lot of these dirt pudding cups, and I’ve picked up a few tricks along the way. Here are some tips to make sure yours turn out perfectly every time.
- Use cold milk: This is non-negotiable. Cold milk helps the pudding thicken up faster and creates a smoother texture. If your milk is warm, the pudding will be runny and take forever to set.
- Don’t over-mix the pudding: Once the pudding has thickened, stop whisking. Over-mixing can break down the structure and make it watery. You want it to be smooth and creamy, not soupy.
- Crush the Oreos in batches: If you’re making a huge batch, don’t try to crush all the cookies at once. Do them in smaller batches to ensure even crushing. A food processor is great for this, but a Ziploc bag and a rolling pin work just as well.
- Make it ahead of time: These cups actually taste better the next day. The Oreo crumbs soften slightly, and the flavors meld together beautifully. You can make them up to 24 hours in advance and keep them covered in the fridge.
- Use a piping bag for the pudding: If you want a really clean, professional look, use a piping bag (or a Ziploc bag with the corner snipped off) to pipe the pudding into the cups. This prevents the pudding from getting on the sides of the cup and keeps the layers distinct.
- Get creative with the “graveyard”: Don’t limit yourself to gummy worms. You can use gummy spiders, candy bones, or even small plastic skeletons. I once made a batch with little candy tombstones made from chocolate wafers and white icing. It was a hit.
I remember one time I was making these for a neighborhood block party, and I forgot to buy the gummy worms. I panicked for a minute, then raided my kids’ Halloween candy stash. I used some gummy spiders and a few leftover candy corn. They looked a little different, but they were still a huge success. The lesson? Don’t stress. Use what you have, and it’ll be fine.
Variations & Adaptations
This recipe is incredibly versatile. You can easily adapt it to fit different dietary needs, flavor preferences, or occasions. Here are a few of my favorite variations.
- Dairy-Free Version: Swap the whole milk for unsweetened oat milk or full-fat coconut milk. Use a dairy-free chocolate pudding mix. Most brands offer a vegan option. The texture will be slightly different, but it’s still delicious.
- Gluten-Free Version: Use gluten-free chocolate sandwich cookies. There are several good brands on the market now that taste just like the real thing. Make sure your pudding mix is also gluten-free, as some brands use wheat starch.
- Peanut Butter Cup Version: Add a layer of peanut butter to the bottom of the cup before adding the Oreo crumbs. You can also use peanut butter pudding instead of chocolate. Top with crushed peanut butter cups for an extra indulgent treat.
- Mint Chocolate Version: Use mint-flavored Oreos and add a few drops of peppermint extract to the pudding. Top with crushed peppermint candies. This is a great variation for Christmas or a winter party.
- Pumpkin Spice Version: For a fall twist, use vanilla pudding and stir in a tablespoon of pumpkin pie spice. Layer with crushed graham crackers instead of Oreos. Top with gummy pumpkins or candy corn.
- Birthday Party Version: Use vanilla pudding and add rainbow sprinkles to the Oreo crumb. Top with gummy bears or other colorful candies. This is a fun, non-spooky version that kids love for any celebration.
My personal favorite is the peanut butter cup version. I’m a sucker for that chocolate-peanut butter combo. I’ll sometimes use a dollop of peanut butter in the middle of the pudding layer for an extra surprise. It’s a great way to make the recipe your own.
Serving & Storage Suggestions
These dirt pudding cups are best served cold, straight from the refrigerator. The contrast between the cool, creamy pudding and the crunchy Oreo crumbs is what makes them so addictive. Here are some tips for serving and storing them.
- Serving temperature: Serve them cold. If they sit out at room temperature for too long, the pudding will start to soften, and the Oreo crumbs will get soggy. I usually take them out of the fridge right before I’m ready to serve them.
- Presentation: Clear cups are best for showing off the layers. You can also use small mason jars or even plastic shot glasses for a fun, bite-sized version. Add a spooky straw or a small plastic spider to the top for an extra touch.
- Complementary dishes: These are great on their own, but they pair well with other Halloween treats. I like to serve them alongside easy pumpkin spice cookies or a bowl of candy corn. For a grown-up party, they go great with a cup of hot coffee or a glass of cold milk.
- Storage: Store any leftover cups in the refrigerator, covered with plastic wrap or a lid. They will keep for up to 3 days. The Oreo crumbs will soften over time, but they’ll still be delicious.
- Freezing: I don’t recommend freezing these. The pudding will get icy and the texture will be ruined. They’re best made fresh or a day ahead.
- Flavor development: These actually taste better after they’ve sat in the fridge for a few hours. The flavors meld together, and the Oreo crumbs soften just a little, creating a more cohesive dessert. I often make them the night before a party.
One thing I’ve noticed is that these are a great make-ahead dessert for busy parents. You can make them the night before a school party or a Halloween get-together, and then just pull them out of the fridge when you’re ready to go. No last-minute stress.
Nutritional Information & Benefits
Let’s be honest: this is a treat, not a health food. But that doesn’t mean we can’t make some smarter choices. Here’s a rough estimate of the nutritional content per serving (based on 6 servings).
- Calories: Approximately 350-400 per cup
- Fat: 12-15 grams
- Carbohydrates: 55-60 grams
- Protein: 5-7 grams
- Sugar: 40-45 grams
While this isn’t a low-calorie dessert, there are a few ways to lighten it up. You can use sugar-free pudding mix and skim milk to reduce the sugar and fat content. You can also use low-fat Oreos or a reduced-sugar chocolate cookie. The gummy worms are mostly sugar, so you can skip them or use a sugar-free version.
From a wellness perspective, I believe in balance. These are a fun, occasional treat that brings a lot of joy, especially for kids. They’re perfect for a Halloween party or a special celebration. I’d rather serve these than a store-bought dessert full of preservatives and artificial ingredients. Plus, making them together as a family is a great way to create memories. And honestly, isn’t that worth a few extra calories?
Conclusion
These Kid-Approved Graveyard Dirt Pudding Cups with Oreo Crumble are more than just a dessert. They’re a memory in the making. They’re the last-minute win that makes you look like a hero. They’re the treat that brings a smile to a kid’s face on a spooky night. And honestly, they’re just plain delicious.
I love this recipe because it’s proof that you don’t need fancy ingredients or hours of time to create something special. All you need is a little creativity and a willingness to have fun. Whether you’re making them for a school party, a neighborhood gathering, or just a fun Friday night with the family, these dirt pudding cups are guaranteed to be a hit.
So go ahead, give them a try. Customize them with your favorite candies, get the kids involved in the crushing and layering, and don’t be afraid to make a mess. That’s half the fun! And when you do, I’d love to hear about it. Drop a comment below and let me know how your graveyard turned out. Did you add any special touches? Did the kids love them? Share your story, and don’t forget to pin this recipe for later. Happy Halloween, and happy cooking!
Frequently Asked Questions
Can I make these dirt pudding cups ahead of time?
Absolutely! In fact, they taste even better the next day. You can assemble them up to 24 hours in advance and keep them covered in the refrigerator. Just add the gummy worms right before serving to keep them from getting too soft.
Can I use a different type of cookie?
Yes, you can. While Oreos are the classic choice, you can use any chocolate sandwich cookie. You can also try graham crackers, vanilla wafers, or even crushed pretzels for a salty-sweet twist. Just keep in mind that the texture and flavor will change.
How do I make the pudding thicker?
If your pudding is too runny, make sure you’re using cold milk and whisking it for the full 2 minutes. You can also let it chill in the fridge for an extra 10-15 minutes before layering. If it’s still too thin, you can add a little more pudding mix.
Can I make this in a large dish instead of individual cups?
Yes, you can. Use a 9×13 inch baking dish or a large trifle bowl. Layer the Oreo crumbs, pudding, and more crumbs just like you would in the cups. It’s great for a party where you want everyone to serve themselves. Just make sure to chill it well before serving.
Are there any nut-free options for this recipe?
Yes, this recipe is naturally nut-free as long as you use nut-free cookies and pudding. Always check the labels on your ingredients to make sure they haven’t been processed in a facility that handles nuts. The gummy worms are usually nut-free as well, but it’s always good to double-check.
Pin This Recipe!
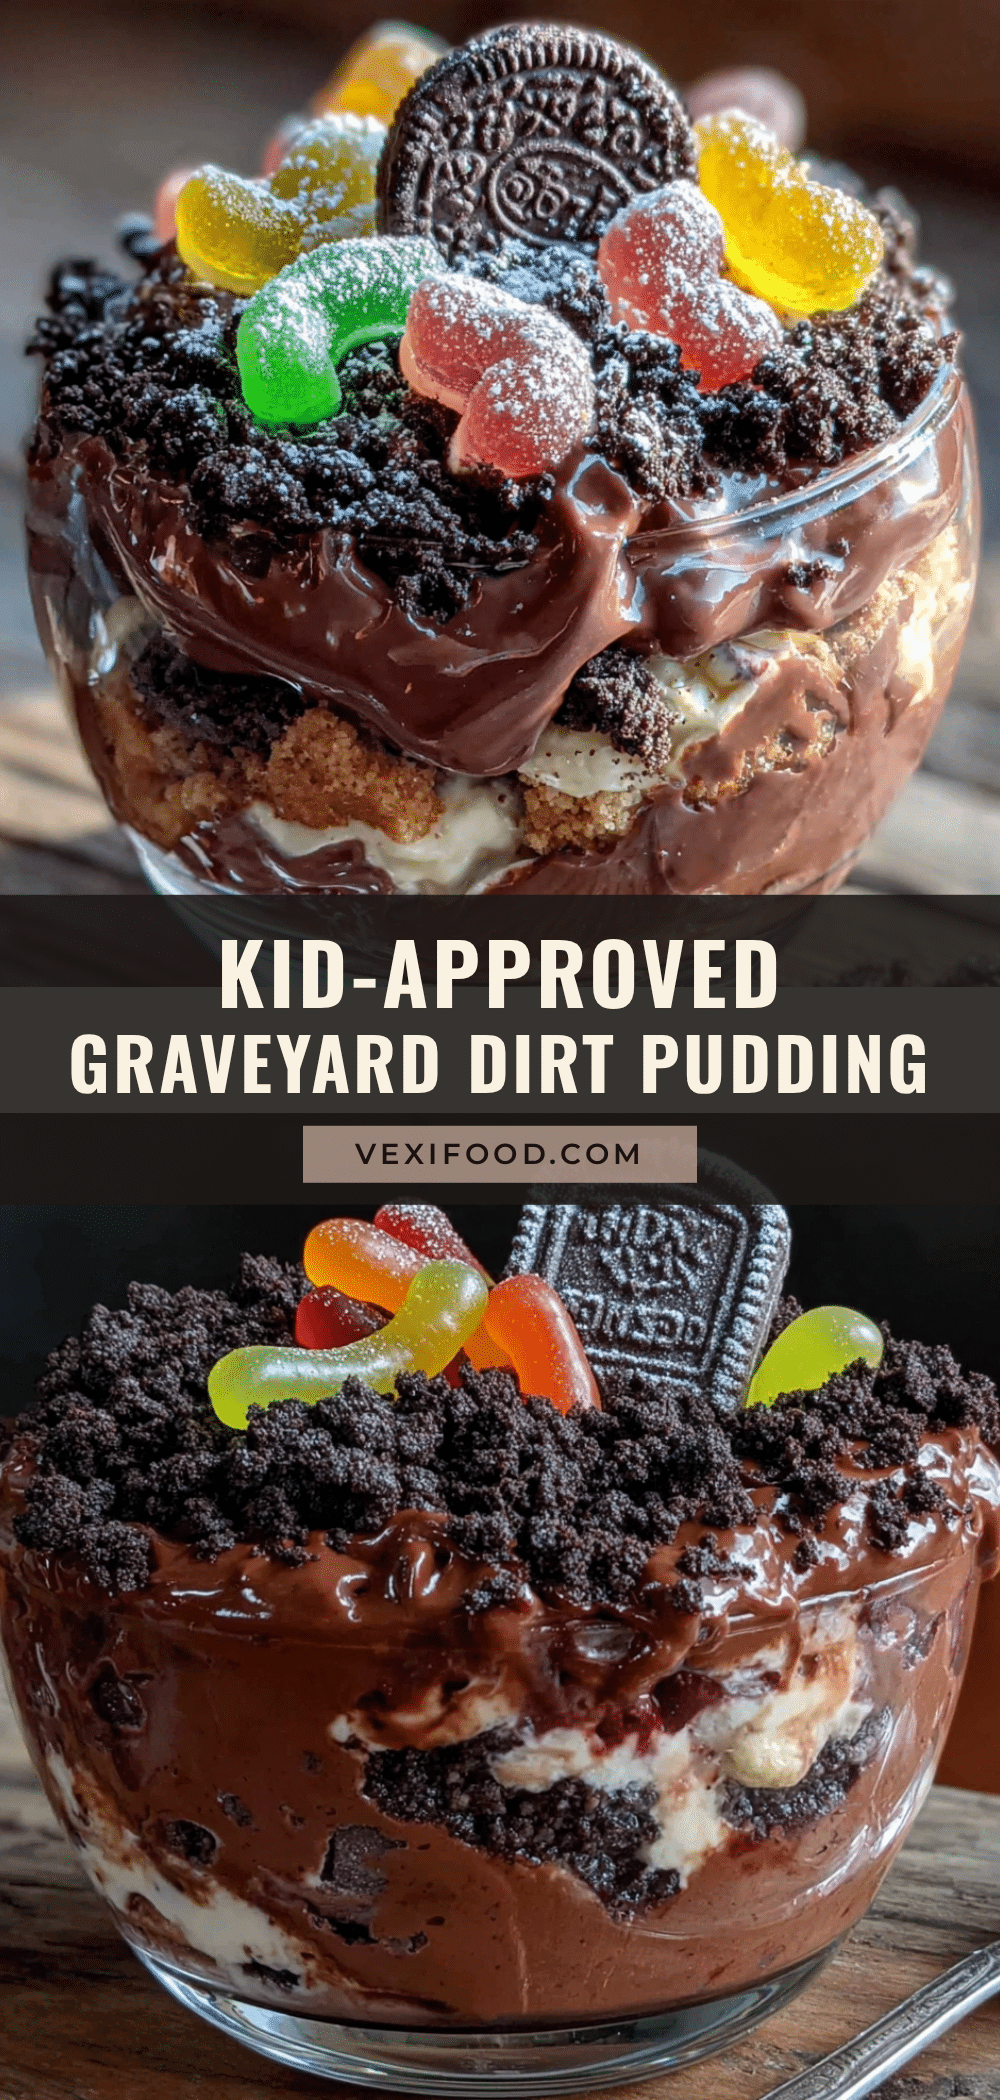
Easy Kid-Approved Graveyard Dirt Pudding Cups

These spooky dirt pudding cups are a last-minute Halloween win, made with instant chocolate pudding, crushed Oreos, and gummy worms. They come together in under 20 minutes and are a guaranteed crowd-pleaser for kids and adults alike.
- Prep Time: 20 minutes
- Cook Time: 0 minutes
- Total Time: 20 minutes (plus chilling time)
- Yield: 6 servings 1x
- Category: Dessert
- Cuisine: American
Ingredients
- 1 (3.9 oz) package instant chocolate pudding mix
- 2 cups cold whole milk
- 1 (14.3 oz) package Oreo cookies
- 1 (4.25 oz) package gummy worms
- Optional: Halloween candy melt cookies, candy eyeballs, or food-safe plastic skeleton hands for decoration
Instructions
- Make the pudding: In a medium mixing bowl, pour the instant chocolate pudding mix. Add the 2 cups of cold milk. Whisk vigorously for about 2 minutes, or until the pudding starts to thicken and is smooth and creamy.
- Chill the pudding: Place the bowl of pudding in the refrigerator for at least 10-15 minutes to allow it to set up properly.
- Crush the Oreos: Place the entire package of Oreos (cream filling and all) into a large Ziploc bag. Seal it tight, squeezing out as much air as possible. Use a rolling pin, heavy pan, or your fists to crush the cookies into fine crumbs with a few small chunks for texture. Alternatively, use a food processor and pulse until desired consistency.
- Layer the cups: Spoon a layer of crushed Oreos (about 2 tablespoons) into the bottom of each cup. Spoon or pipe the chilled chocolate pudding on top, filling the cup about three-quarters full. Top with another generous layer of crushed Oreos.
- Add the gummy worms: Gently poke gummy worms into the top layer of Oreo crumb so they look like they’re crawling out of the dirt.
- Chill again: Place the assembled cups back in the refrigerator for at least 30 minutes, or up to 2 hours, to allow the flavors to meld and the pudding to fully set.
- Serve and enjoy: Right before serving, add any extra decorations. Serve cold.
Notes
Use cold milk for best results. Don’t over-mix the pudding. Crush Oreos in batches if making a large batch. These cups taste even better the next day. For a cleaner look, pipe the pudding into the cups using a piping bag or Ziploc bag with the corner snipped off. Get creative with the ‘graveyard’ decorations.
Nutrition
- Serving Size: 1 cup
- Calories: 375
- Sugar: 42.5
- Sodium: 480
- Fat: 13.5
- Saturated Fat: 5
- Carbohydrates: 57.5
- Fiber: 2
- Protein: 6
Keywords: dirt pudding cups, Halloween dessert, easy dessert, no-bake dessert, kid-friendly, Oreo dessert, chocolate pudding, gummy worms, graveyard dessert