Love this? Save it for later!
Share the inspiration with your friends
Introduction
The power went out halfway through my usual Saturday morning coffee ritual, and honestly, I was ready to call it quits on breakfast. But then, out of nowhere, my quiet next-door neighbor—who I always pegged as someone too busy for kitchen experiments—started talking about this “foolproof” no-knead bread recipe. I wasn’t expecting baking advice from a man who spends his days fixing plumbing, but there I was, holding a cracked ceramic bowl while he described exactly how to make crispy no-knead artisan bread with a soft, airy inside. He swore it was simple, no fancy equipment, and the crust had this perfect crackle that made you forget it wasn’t from a bakery. I mean, maybe you’ve been there—stuck in an unexpected moment when something surprisingly good sneaks into your routine. That recipe stuck with me, not just because it’s easy, but because it’s the kind of bread that turns your kitchen into a warm, comforting space without any fuss. Let me tell you—it’s become my go-to for weekend breakfasts and impromptu dinners alike.
Why You’ll Love This Recipe
After testing this crispy no-knead artisan bread recipe more times than I can count, I’m confident it’s a keeper for several reasons. The simplicity of the method means no intimidating kneading or fancy mixers, just patience and a bit of magic happening overnight.
- Quick & Easy: The prep takes about 10 minutes, and the rest is hands-off. Perfect for busy mornings or lazy afternoons.
- Simple Ingredients: Flour, water, salt, and yeast—nothing fancy or hard to find, which I love when the pantry is running low.
- Perfect for Any Occasion: Whether it’s a cozy family dinner or a brunch with friends, the crusty exterior and pillowy crumb impress every time.
- Crowd-Pleaser: Kids, adults, even the picky eaters in my life can’t resist tearing into a warm slice.
- Unbelievably Delicious: The contrast between the golden, crackly crust and the soft, airy inside is the kind of texture combo that makes you close your eyes and savor every bite.
This isn’t just another bread recipe—it’s a no-fuss artisan loaf that feels like a special treat. The secret? Letting the dough rest and ferment slowly builds flavor and texture without the need for kneading, which, honestly, I’m all for. Plus, it’s the kind of bread that’s forgiving, so even if your timing’s a bit off, you still end up with something mouthwateringly good. This recipe has become my quiet kitchen hero, and I think it’ll be yours, too.
What Ingredients You Will Need
This crispy no-knead artisan bread recipe uses simple, wholesome ingredients that come together to create bold flavor and a beautifully airy texture without any fuss. Most of these are pantry staples, so you might already have everything you need.
- All-purpose flour: 3 cups (360 grams) – I prefer King Arthur for consistent results.
- Warm water: 1 ¾ cups (415 ml) – just warm to the touch, not hot, to help activate the yeast.
- Active dry yeast: ¼ teaspoon – just a small pinch to get the fermentation going.
- Salt: 1 ½ teaspoons – balances flavor and strengthens the dough.
Optional but recommended additions include:
- Olive oil: 1 tablespoon (adds a subtle richness and helps with browning)
- Semolina or cornmeal: for dusting the baking surface to prevent sticking
If you want to try something different, you can swap half the all-purpose flour with bread flour for a chewier crumb. For a gluten-free option, use a gluten-free flour blend designed for bread baking, but keep in mind the texture will vary. This recipe is forgiving and welcomes small tweaks to fit your pantry or dietary needs.
Equipment Needed
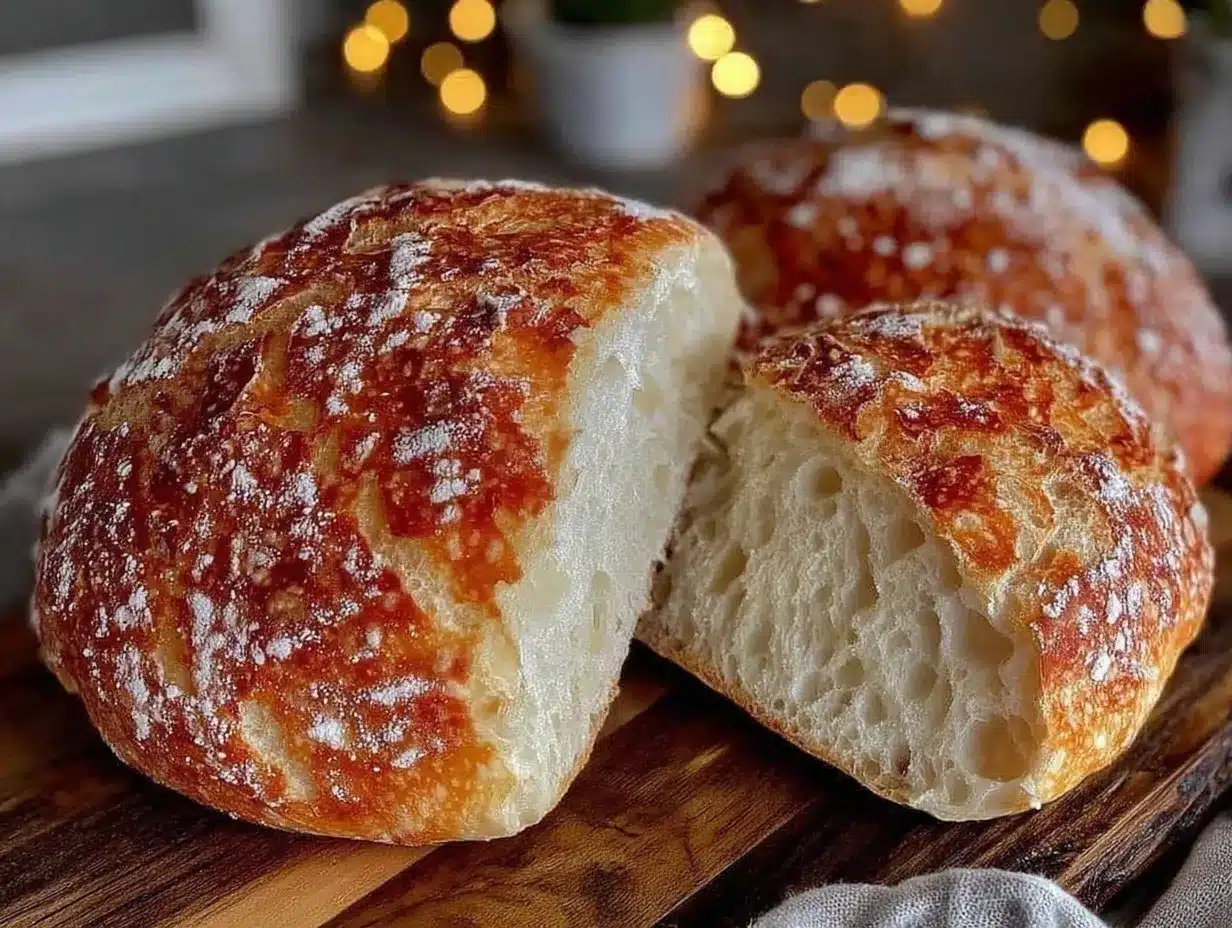
One of the best things about this recipe is how minimal the equipment needs are. Here’s what you’ll want to have on hand:
- Large mixing bowl: For combining the ingredients and letting the dough rise. A glass or ceramic bowl works best because it retains heat well.
- Dutch oven or heavy oven-safe pot with lid: This creates the perfect steamy environment to crisp up the crust. If you don’t have one, a heavy cast-iron skillet covered tightly with foil can work.
- Wooden spoon or spatula: For mixing the dough—no kneading needed, so no fancy stand mixer.
- Kitchen towel or plastic wrap: To cover the dough during its long rise.
- Cooling rack: Essential for letting the bread breathe and stay crispy on the outside.
Personally, I’ve found that a 5-quart Dutch oven is just right for this loaf size, and it’s worth investing in if you bake bread often. The heavy lid traps steam, which is key to that perfect crust. If you’re on a budget, you can find enamel-coated cast iron pots that last forever and clean up easily. Just remember to avoid non-stick pans for this because they don’t hold heat the same way.
Preparation Method
- Mix the dough: In your large mixing bowl, combine 3 cups (360 g) of all-purpose flour, ¼ teaspoon active dry yeast, and 1 ½ teaspoons salt. Stir these dry ingredients together to evenly distribute the yeast and salt.
- Add water: Pour in 1 ¾ cups (415 ml) of warm water and 1 tablespoon olive oil if using. Stir with a wooden spoon until the dough comes together in a shaggy, sticky mass. Don’t worry about perfect mixing—this wet dough is meant to be loose and sticky.
- First rise: Cover the bowl tightly with plastic wrap or a kitchen towel. Let it rest at room temperature for 12 to 18 hours (overnight works great). You’ll know it’s ready when the surface is bubbly and the dough has roughly doubled.
- Pre-shape the dough: Lightly flour your work surface. Using floured hands, scrape the dough onto the surface. It will be soft and sticky—use a bench scraper if your hands get too messy. Fold the dough over itself a couple of times to form a rough ball. Cover it with a towel and let it rest for 15 minutes.
- Final shape: After resting, shape the dough gently into a tighter ball by folding edges under. Place the dough seam-side down on a sheet of parchment paper dusted with flour or semolina. Cover with a towel and let it rise for 1 to 2 hours until it puffs up noticeably.
- Preheat the oven: At least 30 minutes before baking, place your Dutch oven with its lid in the oven and preheat to 450°F (232°C). This step is crucial for that crispy crust.
- Bake: Carefully remove the hot Dutch oven from the oven. Lift the parchment with the dough and place it inside the pot. Cover with the lid and bake for 30 minutes.
- Finish baking: Remove the lid and bake for an additional 10 to 15 minutes until the crust is deep golden and crisp.
- Cool: Transfer the bread onto a cooling rack and let it cool completely before slicing. Resist the urge to cut into it too soon—that crust needs to set!
Pro tip: If your crust isn’t as crackly as you’d like, next time try spritzing a bit of water inside the oven just before baking to create steam. Also, timing can be flexible, so if your dough rises faster or slower, trust your eyes and the dough’s feel more than the clock.
Cooking Tips & Techniques
Honestly, no-knead bread is a bit like a science experiment with personality—it’s forgiving but benefits from a few tricks I’ve learned over time.
- Use the right flour: All-purpose works well, but bread flour adds some chewiness thanks to higher protein. Mixing the two can give you the best of both worlds.
- Be patient with fermentation: The long rise creates flavor and texture. Don’t rush it, or you’ll miss that deep, tangy taste and airy crumb.
- Don’t skip preheating your Dutch oven: This step is non-negotiable for crust. A cold pot won’t give you the same oven spring or crispiness.
- Handle the dough gently: When shaping, avoid deflating the bubbles inside. Those irregular holes are what make artisan bread so special.
- Avoid too much flour: It’s tempting to add a lot to keep dough manageable, but too much flour can make the bread dense. Use just enough to keep it from sticking.
- Multitasking: While the dough is rising, prep other breakfast items or tidy the kitchen. The magic happens mostly without hands-on time.
My early attempts were dense and lacked that crispy crust, but once I nailed the preheating and slow fermentation, it became a crowd favorite. If your bread ever feels doughy inside, it probably needed a longer bake or cooler dough at shaping.
Variations & Adaptations
This crispy no-knead artisan bread is a great base for creativity, and I’ve tried quite a few variations myself over the years.
- Herb-infused: Add 1 tablespoon of fresh chopped rosemary or thyme to the dough for an aromatic twist that pairs beautifully with soups or cheeses.
- Whole wheat: Replace half the all-purpose flour with whole wheat for a nuttier flavor and denser crumb. You might need a touch more water to keep the dough hydrated.
- Gluten-free: Use a gluten-free flour blend labeled for bread baking and add 1 teaspoon xanthan gum if not included. The texture won’t be quite the same, but still delicious.
- Baking method swap: If you don’t have a Dutch oven, try baking the dough on a preheated pizza stone with a metal pan of water below to create steam.
Personally, I once tried adding roasted garlic into the dough, which gave the bread a lovely savory kick. You can experiment with seeds like sesame or sunflower sprinkled on top right before baking for extra crunch and flavor. It’s your bread—make it your own.
Serving & Storage Suggestions
This artisan bread is best enjoyed fresh, warm from the oven, but it also stores well if you want to plan ahead.
- Serving temperature: Warm or room temperature is ideal. Toasting slices the next day revives that crispy crust nicely.
- Presentation: Serve with butter, olive oil and balsamic vinegar, or alongside hearty soups and stews like a classic tomato basil or creamy chicken chowder.
- Storage: Store bread loosely wrapped in a clean kitchen towel or paper bag at room temperature for up to 2 days to keep the crust crisp.
- Freezing: Slice and freeze in an airtight bag for up to 3 months. Toast directly from frozen for best texture.
- Reheating: Warm in a 350°F (175°C) oven for 10 minutes wrapped in foil to refresh softness inside without drying out.
Trust me, the flavors mellow and deepen if you wait a day before slicing, but the tradeoff is you lose a little crust crunch. I usually slice off what I need and save the rest for sandwiches or croutons.
Nutritional Information & Benefits
This crispy no-knead artisan bread is a simple recipe with straightforward ingredients, making it a wholesome choice for everyday meals.
- Calories: Approximately 180 calories per 2-ounce (56 g) slice.
- Key nutrients: Provides carbohydrates for energy, with small amounts of protein and fiber depending on flour type.
- Health benefits: Using minimal ingredients keeps additives out. Whole wheat versions boost fiber and micronutrients.
- Dietary considerations: Naturally dairy-free and can be made gluten-free with the right flour.
- Potential allergens: Contains gluten and yeast.
From a wellness perspective, homemade bread lets you control the ingredients and skip preservatives. Plus, the slow fermentation process can make the bread easier to digest for some folks.
Conclusion
There’s something undeniably satisfying about this crispy no-knead artisan bread with its soft, airy inside that makes it a staple in my kitchen. It’s straightforward enough for beginners, yet the flavor and texture feel like a real treat. I encourage you to tweak it to your taste—maybe add herbs, try whole wheat, or bake it with a little garlic. Baking bread doesn’t have to be intimidating or time-consuming, and this recipe proves that beautifully.
If you give it a try, please share your experience or any adaptations you made—I love hearing how this bread becomes part of your story. So grab your flour and water, and let this bread bring a little warmth and wonder to your table.
FAQs
Can I use instant yeast instead of active dry yeast?
Yes, you can substitute instant yeast with active dry yeast at a 1:1 ratio. Just mix it directly into the dry ingredients without proofing.
What if my dough doesn’t rise much overnight?
If your dough hasn’t risen much, it might be due to cold temperature or inactive yeast. Try placing it in a warmer spot or increasing the rise time.
Can I make smaller loaves with this recipe?
Absolutely! Divide the dough into smaller portions and bake in smaller pots or on a baking sheet, adjusting baking time accordingly.
How do I get a crispier crust?
Preheating the Dutch oven and baking with the lid on traps steam, which is key. Also, letting the bread cool on a rack helps maintain crispness.
Is it okay to use bread flour instead of all-purpose flour?
Yes! Bread flour will give a chewier texture and better structure due to higher protein content. You can use it fully or mix it with all-purpose flour.
Pin This Recipe!
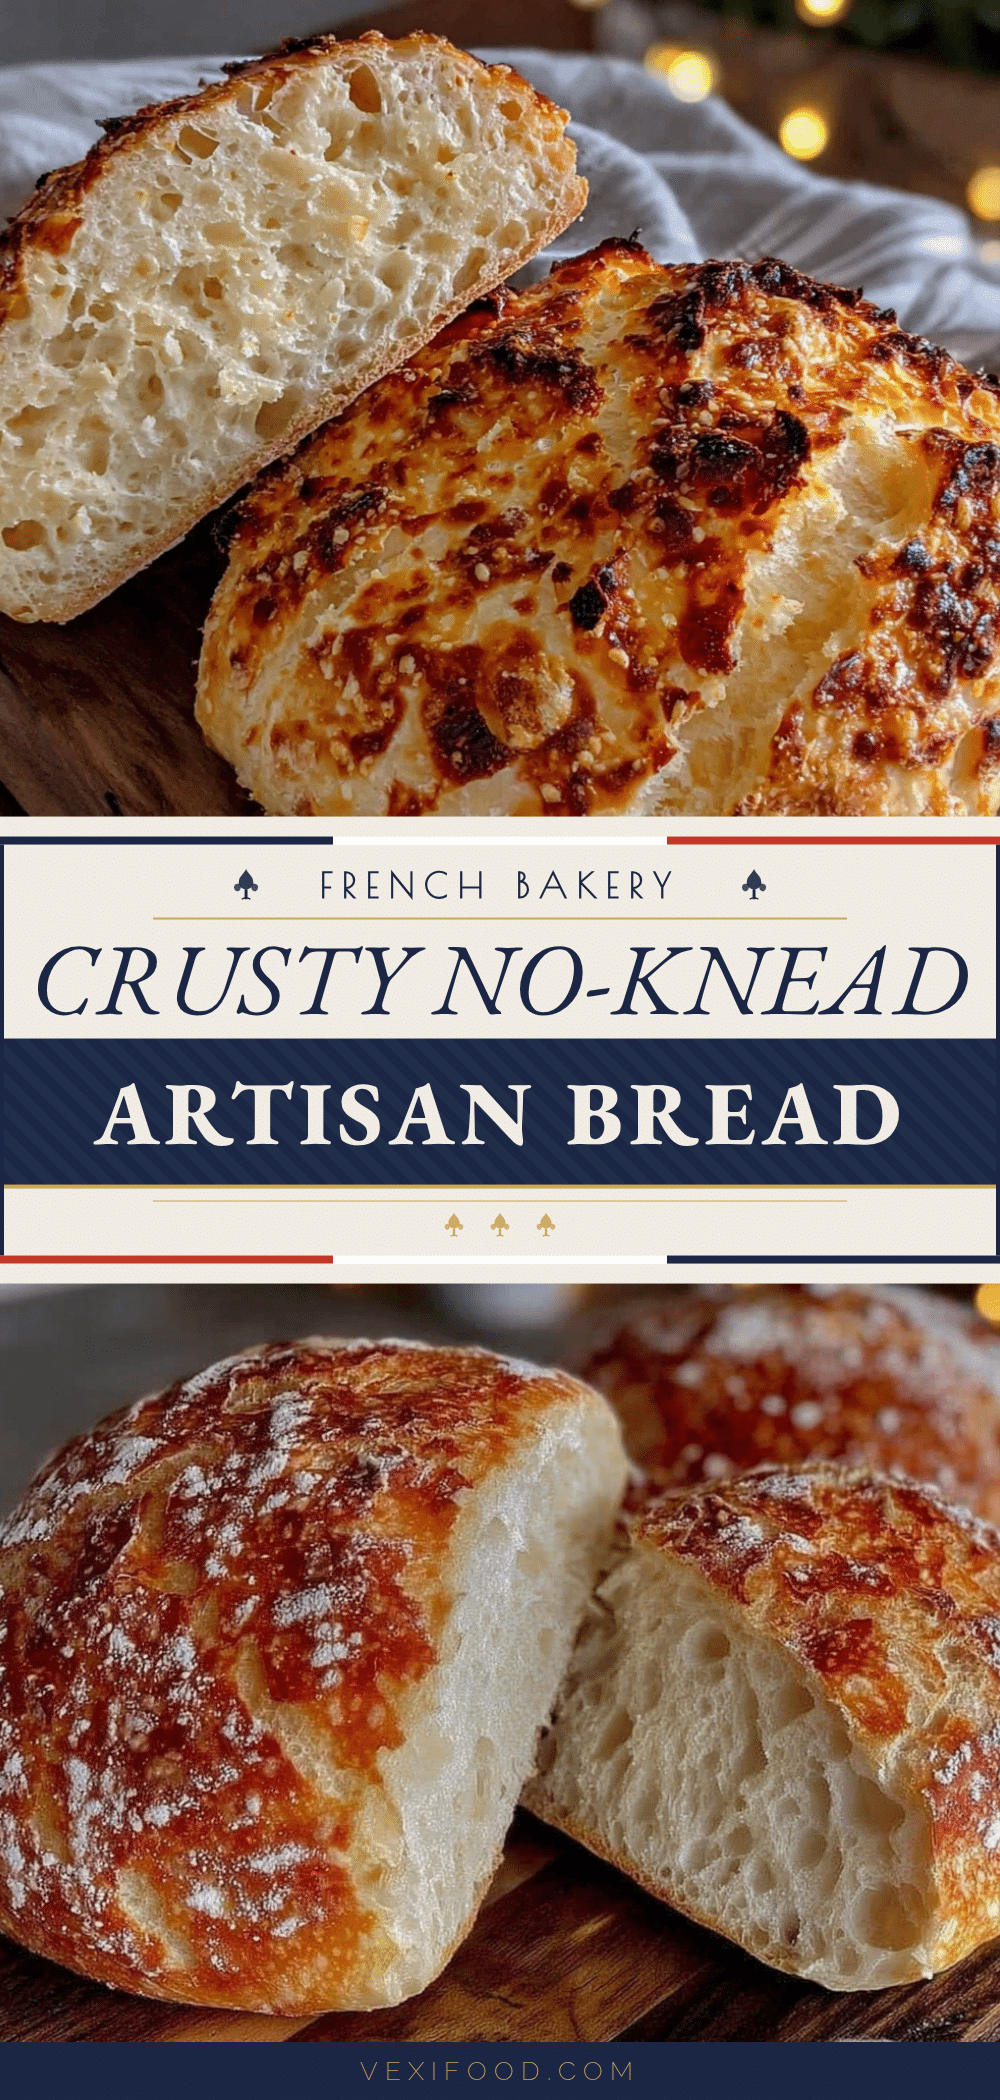
Crispy No-Knead Artisan Bread

An easy no-knead artisan bread recipe that yields a crispy crust with a soft, airy inside. Perfect for beginners and requires minimal equipment.
- Prep Time: 10 minutes
- Cook Time: 40-45 minutes
- Total Time: 13 hours (including rise time)
- Yield: 1 loaf (about 8 servings) 1x
- Category: Bread
- Cuisine: American
Ingredients
- 3 cups (360 grams) all-purpose flour
- 1 ¾ cups (415 ml) warm water
- ¼ teaspoon active dry yeast
- 1 ½ teaspoons salt
- 1 tablespoon olive oil (optional)
- Semolina or cornmeal for dusting (optional)
Instructions
- In a large mixing bowl, combine 3 cups (360 g) all-purpose flour, ¼ teaspoon active dry yeast, and 1 ½ teaspoons salt. Stir to evenly distribute yeast and salt.
- Pour in 1 ¾ cups (415 ml) warm water and 1 tablespoon olive oil if using. Stir with a wooden spoon until dough forms a shaggy, sticky mass.
- Cover the bowl tightly with plastic wrap or a kitchen towel. Let rest at room temperature for 12 to 18 hours until bubbly and doubled in size.
- Lightly flour a work surface. Scrape dough onto surface and fold over itself a couple of times to form a rough ball. Cover and rest for 15 minutes.
- Shape dough into a tighter ball by folding edges under. Place seam-side down on parchment paper dusted with flour or semolina. Cover and let rise 1 to 2 hours until puffed.
- Preheat oven to 450°F (232°C) with Dutch oven and lid inside for at least 30 minutes.
- Carefully remove hot Dutch oven. Lift parchment with dough and place inside pot. Cover with lid and bake 30 minutes.
- Remove lid and bake an additional 10 to 15 minutes until crust is deep golden and crisp.
- Transfer bread to cooling rack and cool completely before slicing.
Notes
Preheat the Dutch oven for at least 30 minutes to ensure a crispy crust. Use just enough flour to prevent sticking without making the dough dense. Let the bread cool completely before slicing to set the crust. Spritz water inside the oven before baking to increase crust crackle. Timing for rises can be flexible; trust the dough’s appearance and feel.
Nutrition
- Serving Size: 1 slice (2 ounces /
- Calories: 180
- Sugar: 0.1
- Sodium: 350
- Fat: 1.5
- Saturated Fat: 0.2
- Carbohydrates: 37
- Fiber: 1
- Protein: 5
Keywords: no-knead bread, artisan bread, crispy crust, easy bread recipe, homemade bread, no mixer bread