Love this? Save it for later!
Share the inspiration with your friends
It was 11:47 PM on a drizzly Tuesday in late October, and my youngest had just coughed for the hundredth time that day. I was lying in bed, half-asleep, when that specific, urgent thought hit me: I should have made the syrup. Not the neon-colored, corn-syrup-laden stuff from the pharmacy aisle, but the real deal. The kind that tastes like dark, floral magic and feels like a warm blanket for your throat. I didn’t have any dried elderberries in the house—I’d meant to order them a week ago—but I had a bag of frozen wild blueberries and a jar of local honey that was threatening to crystallize. That night, with a sleepy, stubborn determination, I learned that sometimes the best medicine isn’t the one you planned for. It’s the one you cobble together at 11:47 PM when you’re too tired to overthink it. This recipe for Homemade Elderberry Syrup with Honey is the result of that night and many, many batches since. It’s a little bit of kitchen science, a little bit of old-world tradition, and a whole lot of “I need this to work.” I keep making it because, honestly, it does work. And maybe you’ve been there too, staring at your spice rack at an ungodly hour, wondering if you can turn a handful of pantry staples into something that helps.
Why You’ll Love This Recipe
I’ve tested this Homemade Elderberry Syrup with Honey through three cold and flu seasons, a chaotic school year, and one particularly stressful move. It has earned its place in my fridge. This isn’t just another recipe you find online—it’s the one I turn to when I feel that first tickle in my throat or when I want to give my family a little extra support.
- Quick & Easy: From start to finish, this syrup comes together in under 45 minutes. Most of that time is hands-off simmering, so you can fold laundry or just sit down with a cup of tea.
- Simple Ingredients: You won’t need to hunt down obscure herbs. The core ingredients are dried elderberries, raw honey, ginger, cinnamon, and cloves—things you can find at most grocery stores or online with one click.
- Perfect for Cold Season: This is my go-to for fall and winter. A daily spoonful is a gentle, delicious way to support your immune system.
- Crowd-Pleaser: Even my kids, who are notoriously suspicious of anything “healthy,” ask for it. The honey and spices make it taste more like a dessert syrup than medicine.
- Unbelievably Delicious: The deep, rich berry flavor combined with the warmth of ginger and the floral sweetness of honey is next-level. It’s honestly good enough to drizzle on pancakes or stir into yogurt.
What makes this recipe different? It’s the balance. I spent a few batches figuring out the perfect ratio of elderberries to water to honey so the syrup is potent but not syrupy-thick, sweet but not cloying. It’s the kind of recipe that makes you close your eyes after the first taste—comfort food for your immune system, reimagined as something you actually look forward to taking.
What Ingredients You Will Need
This recipe uses simple, wholesome ingredients to deliver a powerful immune boost without any artificial junk. Most of these are pantry staples or easy to find at a natural foods store.
- Dried Elderberries (1 cup): These are the star of the show. Look for dried, organic elderberries from a reputable brand like Starwest Botanicals or Frontier Co-op. They should be dark purple-black and smell slightly tart. Avoid fresh elderberries, as they can be toxic when raw.
- Water (4 cups): Filtered water is best to avoid any chlorine taste that could affect the final flavor.
- Raw Honey (1 cup): This isn’t just for sweetness. Raw honey has its own antibacterial and soothing properties. Use a local, unfiltered honey if you can. Do not give honey to children under 1 year old.
- Fresh Ginger (1-inch piece, sliced): Ginger adds a warming kick and helps with inflammation and nausea. I leave the skin on for extra flavor, just give it a good scrub.
- Cinnamon Sticks (2): They add a cozy, sweet spice and are known for their anti-inflammatory benefits. Ceylon cinnamon is milder, but Cassia works just fine.
- Whole Cloves (1 teaspoon): A little goes a long way. Cloves add a deep, almost peppery warmth and are great for immune support.
- Optional: Orange Peel (from 1 orange, organic): I add this about half the time. It brightens up the flavor and adds a dose of vitamin C. Make sure to wash the orange well.
Substitution guidance: If you don’t have whole spices, you can use 1 teaspoon of ground ginger and 1/2 teaspoon of ground cinnamon. The flavor won’t be as clear, but it will still work. For a completely sugar-free version, you can skip the honey and use monk fruit sweetener to taste after the syrup has cooled, but you will lose the preservative and soothing qualities of the honey.
Equipment Needed
You don’t need a fancy kitchen setup for this. Here’s what you’ll need:
- Medium-Sized Pot: A 3-quart pot with a heavy bottom is perfect. It distributes heat evenly and prevents scorching. I use my old Le Creuset, but any stainless steel or enameled pot works.
- Fine-Mesh Strainer: This is crucial for catching all the small seeds and spice pieces. A nut milk bag or cheesecloth also works well if you want a perfectly clear syrup.
- Mason Jars or Glass Bottles: You’ll need a clean, airtight container for storage. A 16-ounce or 24-ounce glass jar is ideal. I usually sterilize mine by running them through the dishwasher on a hot cycle.
- Wooden Spoon: For stirring. A metal spoon can react with the honey and berries, so stick with wood or silicone.
- Funnel: A small funnel makes pouring the hot syrup into jars so much less messy. Trust me on this one.
Budget-friendly tip: Don’t have a fine-mesh strainer? You can use a regular colander lined with a clean, thin kitchen towel or a coffee filter. It takes a little longer to drain, but it works perfectly.
Preparation Method
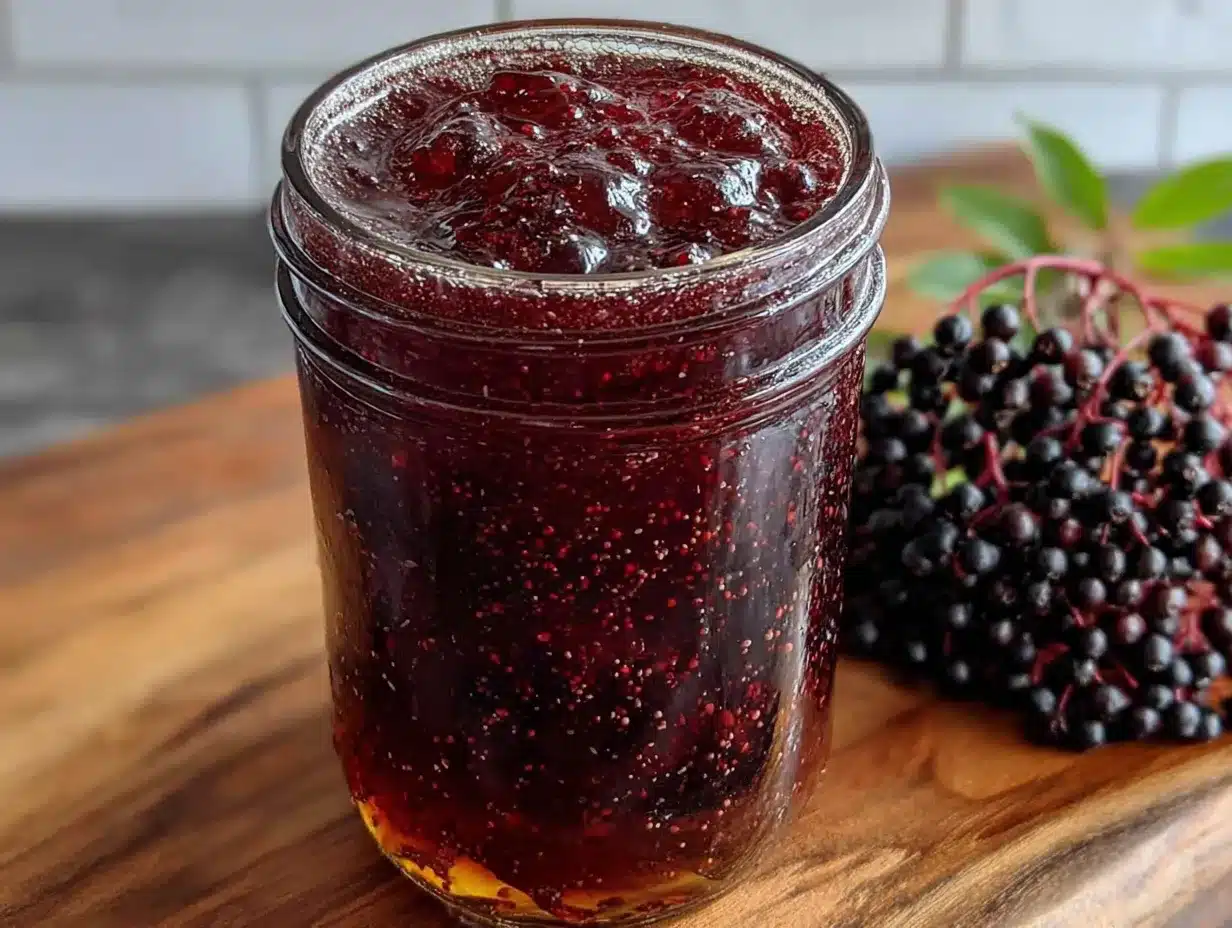
Making your own Homemade Elderberry Syrup with Honey is surprisingly simple. It’s more about patience than skill.
- Combine the berries and spices: In your medium pot, add the 1 cup of dried elderberries, 4 cups of filtered water, the sliced ginger, the 2 cinnamon sticks, and the 1 teaspoon of whole cloves. If you’re using the orange peel, add it now.
- Bring to a boil, then simmer: Turn the heat to high and bring the mixture to a boil. Once it’s boiling, reduce the heat to low, cover the pot with a lid slightly ajar, and let it simmer gently. You want a lazy bubble, not a roaring boil. Simmer for 30-40 minutes. The liquid will reduce by about half, and the kitchen will start to smell incredible—like a warm, spicy hug.
- Watch for the color change: After about 20 minutes, the water will turn a deep, dark purple. The berries will look plump and slightly shriveled. This is a good visual cue that the goodness is being extracted.
- Mash the berries (optional but recommended): After the simmering time is up, take your wooden spoon and gently mash the berries against the side of the pot. This releases even more of their beneficial compounds and deepens the color. Don’t go crazy, just a few good presses.
- Strain the liquid: Place your fine-mesh strainer over a large bowl or a big glass measuring cup. Carefully pour the hot mixture through the strainer. Let it sit and drain for a few minutes. Don’t press on the solids too hard, or you’ll push through tiny bits of sediment that will make the syrup cloudy. Let gravity do the work.
- Cool slightly: Let the strained liquid cool for about 10-15 minutes. It should be warm, not hot. This is a critical step! If you add the honey to a boiling hot liquid, you will destroy its beneficial enzymes and probiotics. You’ll just be left with sugary water.
- Stir in the honey: Once the liquid is warm (think a comfortable bath temperature, around 110-120°F), add the 1 cup of raw honey. Stir gently with your wooden spoon until the honey is completely dissolved. The mixture will become glossy and slightly thicker.
- Bottle and store: Using your funnel, pour the warm syrup into your clean glass jar or bottle. Leave about 1/2 inch of headspace at the top. Let it cool completely to room temperature before putting the lid on and placing it in the refrigerator.
Personal tip for efficiency: I like to do the straining step over a large 4-cup glass measuring cup. It has a spout, which makes pouring into the funnel much easier and less drippy. Also, don’t throw away the spent berries and spices! I compost them, but you can also add them to a pot of water and simmer for a quick, mildly immune-supportive tea.
Cooking Tips & Techniques
After making this syrup at least two dozen times, I’ve learned a few things the hard way. Here are my best tips:
- Don’t boil the honey: I cannot stress this enough. High heat kills the good stuff in raw honey. I once got distracted and added the honey while the liquid was still too hot. The resulting syrup was still tasty, but it lost that special “live” quality. Let it cool!
- The simmer is the secret: A low, gentle simmer is your friend. A rolling boil will make the liquid evaporate too quickly and can make the final syrup taste a bit bitter. Low and slow is the way to go.
- My biggest failure: I once tried to rush the straining process by pressing the berries hard with a spatula. The syrup came out cloudy and had a slightly gritty texture from the crushed seeds. It was still usable, but it wasn’t as pretty. Patience, my friend.
- Timing strategy: I usually make this on a Sunday afternoon. While the syrup simmers, I prep my jars and clean up the kitchen. It’s an easy multitasking project that feels productive without being stressful.
- Consistency check: Your syrup will be thinner than store-bought versions. That’s normal! It will thicken slightly as it chills in the fridge. If you want it thicker, you can simmer it for an extra 10 minutes before straining, but I prefer it a little runny—it’s easier to mix into tea or take by the spoonful.
Variations & Adaptations
This recipe is a great base to play with. Here are a few ways I’ve adapted it over the years:
- Spiced Chai Version: Add 2 star anise pods and a few cardamom pods along with the other spices. It gives the syrup a lovely, complex chai flavor that is amazing in tea or even drizzled over vanilla ice cream.
- Elderberry and Rose: For a floral twist, add 1 tablespoon of dried rose petals to the pot during the last 10 minutes of simmering. The rose pairs beautifully with the honey and elderberries. This is my go-to when I want something a little more elegant.
- Sugar-Free Keto Adaptation: Skip the honey entirely. After straining the liquid, let it cool completely. Then stir in 1/4 to 1/2 cup of powdered allulose or monk fruit sweetener to taste. The texture will be thinner, but the immune-boosting benefits remain.
- Extra Immune Boost: After the syrup has cooled and the honey is mixed in, stir in 1/2 teaspoon of vitamin C powder (from a supplement capsule) and 10 drops of liquid zinc. This turns it into a real powerhouse during peak cold season.
Serving & Storage Suggestions
This syrup is versatile. Here’s how I use it and how to keep it fresh.
- Serving: For daily maintenance, adults take 1 tablespoon a day. Kids can take 1 teaspoon a day. For acute symptoms, you can double that amount. I like to take mine straight from a spoon, but it’s also lovely in a cup of hot water with a squeeze of lemon for a soothing tea.
- Presentation: I pour the syrup into a small, pretty glass bottle with a swing-top lid. It looks lovely sitting on the counter (though it must be refrigerated after opening!). I sometimes tie a little tag with the date and dosage instructions around the neck.
- Storage: Keep the syrup in a sealed glass jar in the refrigerator. Because it contains raw honey and has a low water activity, it will keep for about 2-3 months in the fridge. I always label mine with the date I made it.
- Freezing: You can freeze this syrup! Pour it into an ice cube tray. Once frozen, pop the cubes out and store them in a freezer bag. A single cube is about 1 tablespoon, making it easy to grab and thaw. The texture will be slightly different after thawing, but the benefits remain.
- Flavor development: The flavors will meld and deepen after a few days in the fridge. The ginger becomes less sharp, and the cinnamon becomes more pronounced. It honestly tastes better on day three than on day one.
Nutritional Information & Benefits
This Homemade Elderberry Syrup with Honey is more than just a sweet treat. It’s a powerhouse of nutrition.
- Estimated per 1 tablespoon serving: Calories: 45, Total Carbs: 12g, Sugars: 11g (from honey). These are estimates and will vary based on your honey and berries.
- Elderberries: They are packed with antioxidants called anthocyanins, which help fight oxidative stress. They are also a good source of vitamin C and dietary fiber. Studies suggest they can help reduce the duration and severity of cold and flu symptoms.
- Raw Honey: Contains enzymes, antioxidants, and has natural antibacterial and anti-inflammatory properties. It’s a natural cough suppressant and soothes a sore throat.
- Ginger: Known for its anti-inflammatory effects and ability to help with nausea and digestive upset.
- Cinnamon: Helps regulate blood sugar and has potent antioxidant activity.
- Dietary Considerations: This recipe is gluten-free and dairy-free. It is not suitable for vegans due to the honey. It is also not suitable for infants under 1 year old.
From my perspective, this syrup is a gentle, whole-food approach to wellness. It’s not a magic bullet, but it’s a wonderful tool to have in your kit during the winter months. It’s about nourishing your body with real ingredients, not just treating symptoms.
Conclusion
Making your own Homemade Elderberry Syrup with Honey is one of those small acts of kitchen magic that makes you feel incredibly capable. It is simple, it is delicious, and it genuinely makes a difference in how I feel during cold and flu season. I love this recipe because it connects me to a slower, more intentional way of caring for my family. I encourage you to make it your own—tweak the spices, try it with different honey, or add that orange peel. Your kitchen, your rules.
I would absolutely love to hear about your experience! Did you try a variation? Did your kids actually ask for seconds? Drop a comment below and let me know how it turned out. And if you found this helpful, please share it with a friend who might need a little immune support this season. Happy simmering!
Frequently Asked Questions
Can I use fresh elderberries instead of dried?
No, you should not use fresh elderberries. Raw elderberries contain a compound that can cause nausea and digestive upset. Dried elderberries are perfectly safe because the drying process neutralizes the harmful compounds. Always use dried elderberries for this recipe.
How long does homemade elderberry syrup last?
When stored in a sealed glass jar in the refrigerator, this syrup will last for 2 to 3 months. The honey acts as a natural preservative. If you see any mold or the syrup develops an off smell, discard it immediately.
Can I give this syrup to my toddler?
This syrup is safe for children over 1 year old. Do not give honey to infants under 12 months due to the risk of botulism. For toddlers, start with a small dose of 1/2 teaspoon per day to see how they tolerate it.
Can I make this syrup without honey?
Yes! You can make a sugar-free version. Simply simmer the elderberries and spices as directed. After straining and cooling the liquid completely, stir in a powdered sweetener like allulose, monk fruit, or stevia to taste. The syrup will be thinner and won’t have the same preservative qualities, so it will only last about 2 weeks in the fridge.
Why is my syrup so thin?
Homemade elderberry syrup is naturally thinner than store-bought versions. Commercial syrups often contain thickeners like corn syrup or pectin. Your syrup should have a consistency similar to maple syrup. If you want it thicker, you can simmer the strained liquid for an additional 10-15 minutes to reduce it further before adding the honey.
Pin This Recipe!
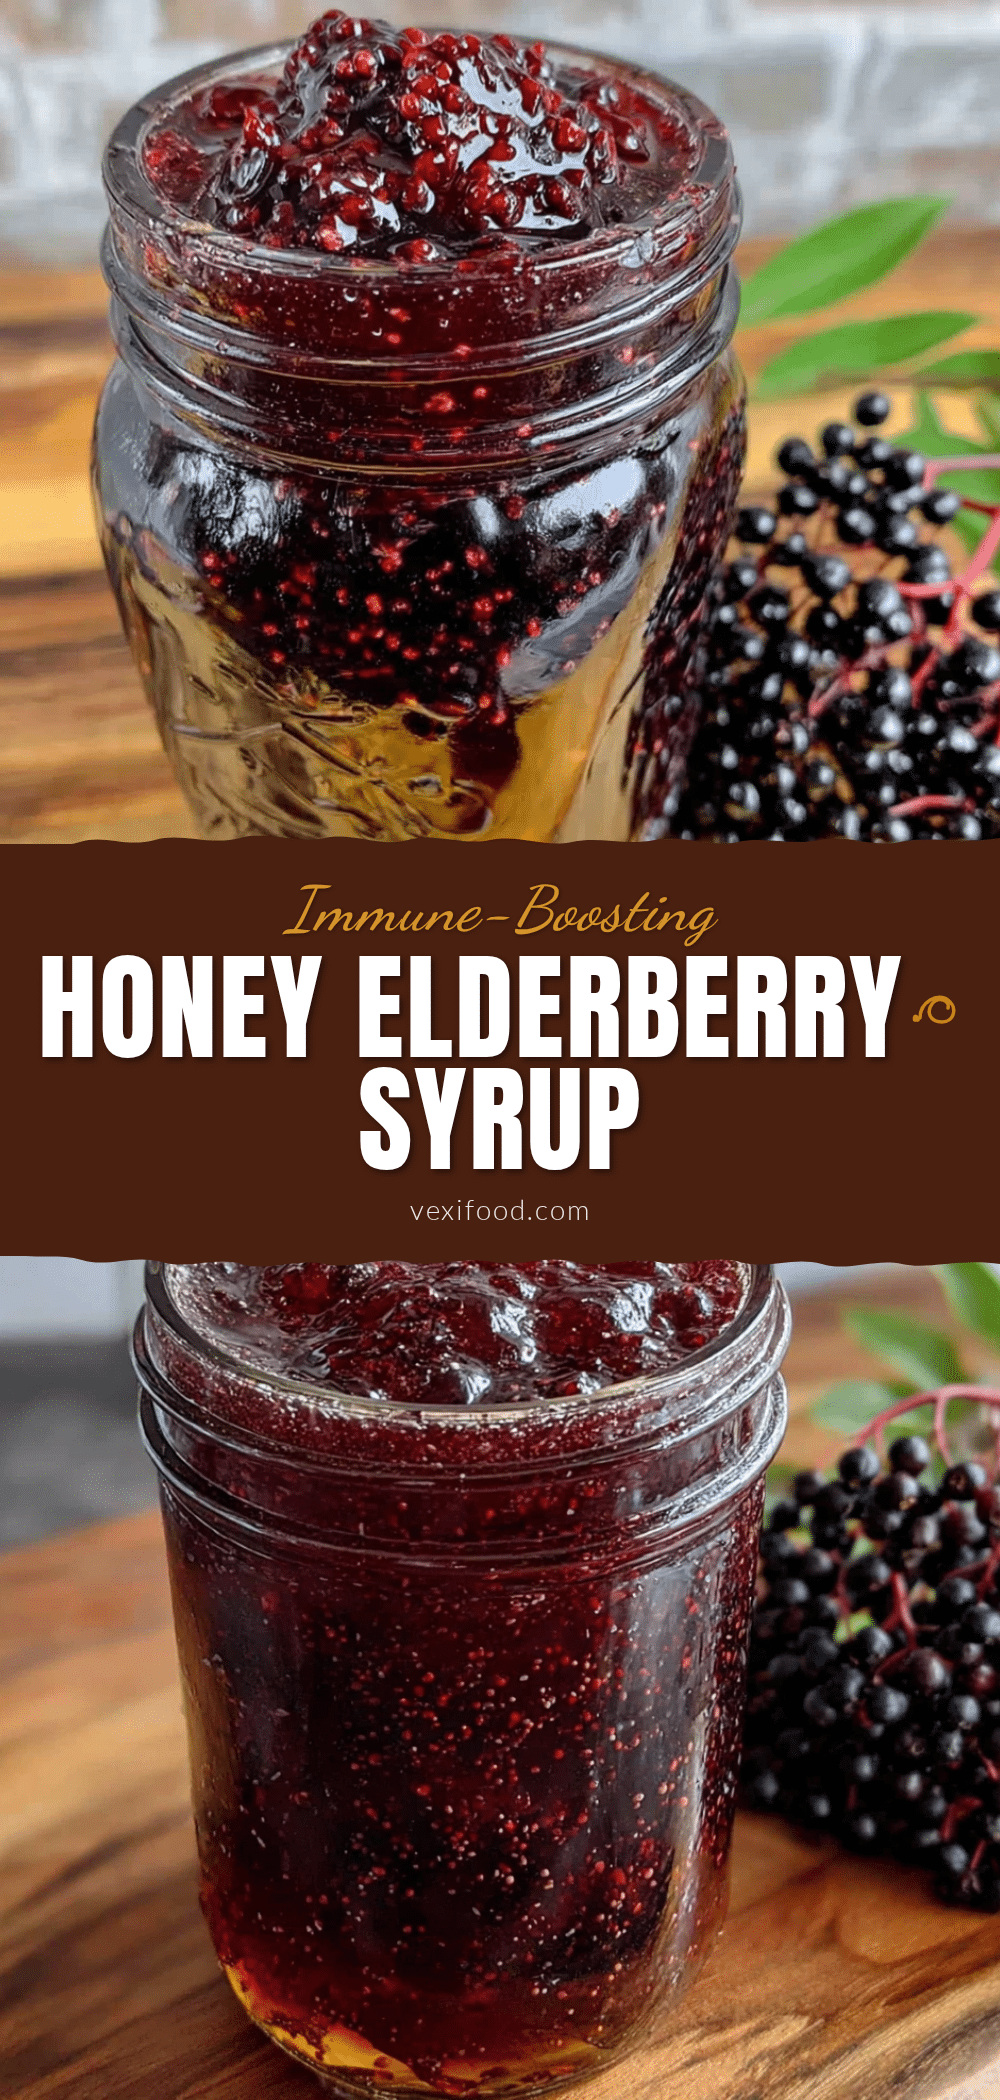
Homemade Elderberry Syrup with Honey: Easy Immune Booster
This Homemade Elderberry Syrup with Honey is a simple, delicious immune booster made with dried elderberries, raw honey, and warming spices. Perfect for cold and flu season, it comes together in under 45 minutes and tastes like a warm, spicy hug.
- Prep Time: 10 minutes
- Cook Time: 35 minutes
- Total Time: 45 minutes
- Yield: 24 servings 1x
- Category: Condiment
- Cuisine: American
Ingredients
- 1 cup dried elderberries
- 4 cups filtered water
- 1 cup raw honey
- 1-inch piece fresh ginger, sliced
- 2 cinnamon sticks
- 1 teaspoon whole cloves
- Optional: peel from 1 organic orange
Instructions
- In a medium pot, combine the dried elderberries, water, sliced ginger, cinnamon sticks, whole cloves, and orange peel (if using).
- Bring to a boil over high heat, then reduce heat to low, cover with lid slightly ajar, and simmer gently for 30-40 minutes until liquid reduces by about half.
- After simmering, gently mash the berries against the side of the pot with a wooden spoon to release more beneficial compounds.
- Place a fine-mesh strainer over a large bowl or glass measuring cup and carefully pour the hot mixture through. Let it drain for a few minutes without pressing on the solids.
- Let the strained liquid cool for 10-15 minutes until warm (about 110-120°F).
- Stir in the raw honey until completely dissolved.
- Using a funnel, pour the warm syrup into a clean glass jar or bottle, leaving about 1/2 inch headspace.
- Let cool completely to room temperature before sealing and refrigerating.
Notes
Do not add honey to boiling liquid as it destroys beneficial enzymes. For a thicker syrup, simmer an extra 10 minutes before straining. Store in refrigerator for 2-3 months. Can be frozen in ice cube trays for longer storage.
Nutrition
- Serving Size: 1 tablespoon
- Calories: 45
- Sugar: 11
- Carbohydrates: 12
Keywords: elderberry syrup, homemade elderberry syrup, immune booster, honey syrup, cold remedy, elderberry recipe, natural remedy