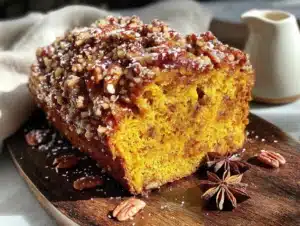
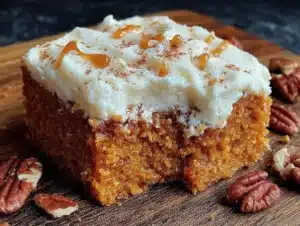
Love this? Save it for later!
Share the inspiration with your friends
The church potluck was in four hours and I’d completely spaced it. I mean, I knew it was coming — it’s the third Sunday of November, same as always — but somehow it snuck up on me like a cat on a countertop. Everyone else would be bringing their grandmother’s legendary sweet potato casserole or those perfectly layered seven-layer salads that look like edible art. I had a can of pumpkin puree, a box of yellow cake mix, and about thirty minutes before I needed to leave for the grocery store run I couldn’t afford to make. Honestly, I almost just grabbed a bag of chips and called it a day. But then I remembered this easy pumpkin dump cake recipe my friend Jessie had texted me last fall. She’d said it was “stupid simple” and “dangerously good.” I figured, what’s the worst that could happen? It’s literally just dumping ingredients in a pan. So I did. I dumped, I baked, I ran out the door with the pan still warm, and I prayed nobody would notice the lack of effort.
The funny thing? That easy pumpkin dump cake with the buttery crunch topping disappeared faster than anything else on the dessert table. People were coming up to me with forks in hand, asking for the recipe. I stood there, a little sheepish, trying to explain that I basically threw a can of pumpkin and some cake mix in a dish and called it a day. They didn’t care. They just wanted more of that warm, spiced pumpkin filling and that golden, buttery, crunchy topping. Maybe you’ve been there — you bring the “lazy” dish and it ends up being the star of the show.
That day, I learned something important. Simple doesn’t mean boring. And this easy pumpkin dump cake? It’s the recipe that proved it to me. It’s become my go-to for every fall gathering, every last-minute dessert need, and honestly, those nights when I just want something sweet without a sink full of dishes. It’s the kind of recipe that feels like cheating but tastes like you spent hours in the kitchen. Let me tell you, that’s a powerful thing.
Why You’ll Love This Recipe
I’ve tested this easy pumpkin dump cake more times than I can count — for family dinners, friend get-togethers, and even a few times just for myself on a quiet Tuesday night. And every single time, it delivers. Here’s why this one is different from every other pumpkin dessert out there.
- Quick & Easy: This comes together in about 10 minutes of active prep. No mixer required, no complicated steps. Just dump, spread, and bake. It’s perfect for those days when you need a dessert but don’t have the energy for a production.
- Simple Ingredients: You probably already have most of these in your pantry. Canned pumpkin, cake mix, butter, eggs, and a few warm spices. No fancy grocery store trips needed — I mean it.
- Perfect for Fall Gatherings: Whether it’s Thanksgiving, a Friendsgiving, a potluck, or just a cozy Sunday dinner, this cake fits right in. It’s festive without being fussy.
- Crowd-Pleaser: I’ve served this to kids, adults, picky eaters, and dessert snobs. Everyone loves it. The combination of creamy pumpkin filling and crunchy, buttery topping is just irresistible.
- Unbelievably Delicious: The texture is what gets me every time. The bottom layer is soft and almost pudding-like, while the top bakes into this golden, crunchy, buttery crust that shatters when you bite into it. It’s comfort food at its finest.
What makes this recipe stand out from the hundreds of other pumpkin dump cakes out there? It’s the topping. Most recipes just sprinkle dry cake mix on top and call it done. But I’ve found that layering the cake mix with thin slices of cold butter creates that signature buttery crunch topping that makes this cake absolutely unforgettable. The butter melts into the cake mix as it bakes, creating these pockets of crispy, buttery goodness that contrast perfectly with the soft pumpkin filling underneath. It’s not just another version — it’s the best version.
And honestly? This recipe is more than just a dessert. It’s the one you make when you want to impress without stress. It’s the one that makes people close their eyes after the first bite. It’s comfort food reimagined — simple, fast, but with the same soul-soothing satisfaction as something that took all day.
What Ingredients You Will Need
This easy pumpkin dump cake uses simple, wholesome ingredients that work together to create something truly special. The beauty of this recipe is that you probably already have most of these in your kitchen, especially if you’re a fall baking enthusiast.
For the Pumpkin Filling
- 1 can (15 oz) pumpkin puree — Not pumpkin pie filling! Make sure you grab 100% pure pumpkin. I prefer Libby’s for its consistent texture and flavor, but store brands work fine too.
- 1 can (12 oz) evaporated milk — This adds richness and creaminess to the filling. You can substitute with heavy cream for an even richer result, but evaporated milk is the classic choice.
- 3 large eggs — Room temperature eggs blend more smoothly into the filling. If you forgot to take them out ahead of time, place them in a bowl of warm water for 5 minutes.
- 1 cup granulated sugar — Adds just the right amount of sweetness to balance the earthy pumpkin flavor.
- 2 teaspoons pumpkin pie spice — I use McCormick’s pumpkin pie spice blend, but you can make your own with cinnamon, nutmeg, ginger, and cloves. (adds that warm, cozy fall flavor)
- 1 teaspoon ground cinnamon — Because you can never have too much cinnamon in a pumpkin recipe. (use Ceylon cinnamon for a milder, sweeter flavor)
- 1/2 teaspoon salt — Enhances all the other flavors and balances the sweetness.
For the Buttery Crunch Topping
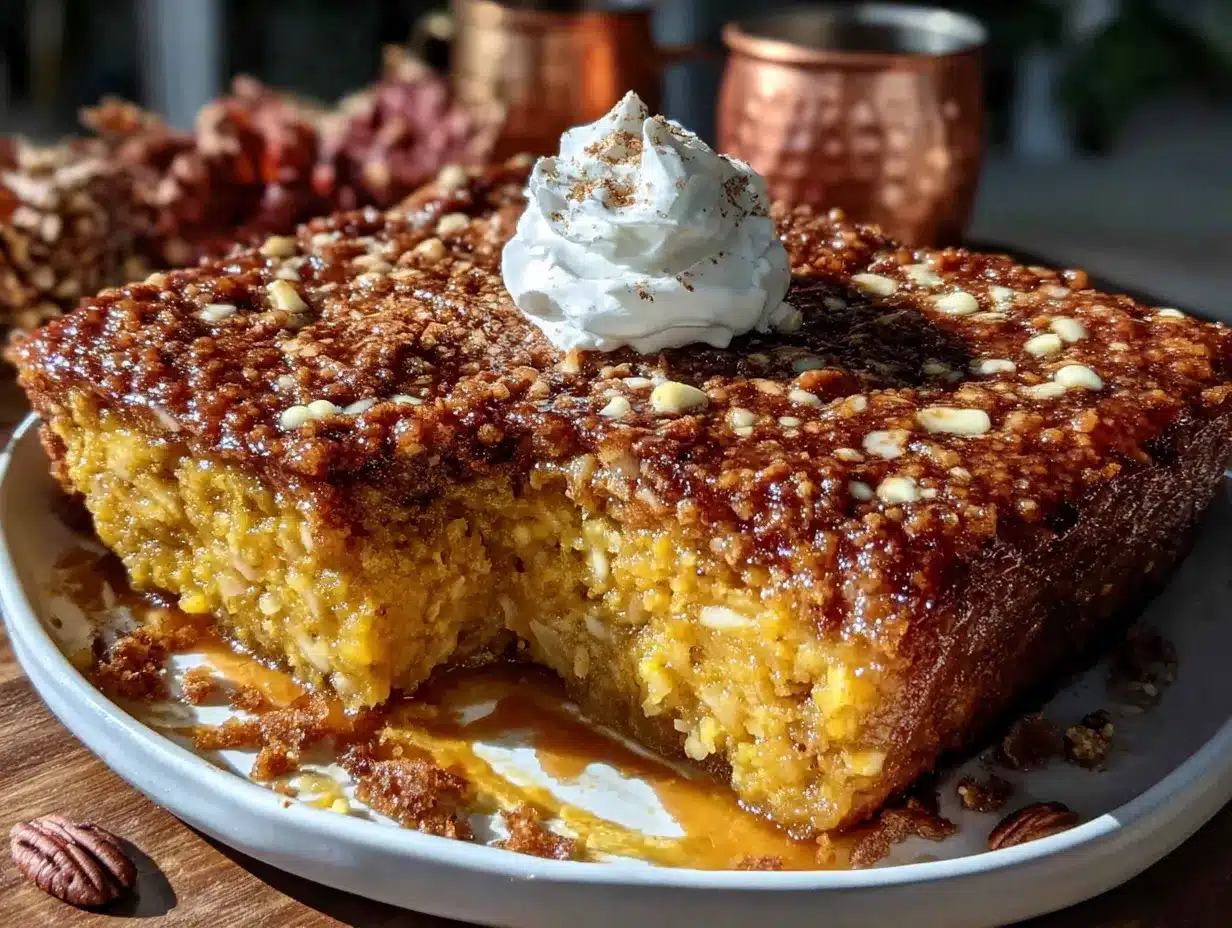
- 1 box (15.25 oz) yellow cake mix — This is the magic ingredient. The dry cake mix bakes into that signature crunchy topping. I recommend Betty Crocker or Duncan Hines for the best texture. Do not use a “butter recipe” cake mix — it changes the texture of the topping.
- 1 cup (2 sticks) unsalted butter, cold and thinly sliced — This is the secret to the buttery crunch topping. The cold butter melts slowly into the cake mix, creating those crispy, buttery pockets. I like using unsalted butter so I can control the salt level.
- 1/2 cup chopped pecans (optional) — Adds a lovely nutty crunch that complements the buttery topping. Toast them lightly before adding for extra flavor. (use walnuts if you prefer)
- 1/4 cup caramel sauce (optional for drizzling) — Because caramel and pumpkin are a match made in heaven.
For the best results, use a high-quality pumpkin puree. I’ve tried several brands, and Libby’s consistently gives the smoothest, most flavorful filling. If you’re feeling adventurous, you can even roast and puree your own pumpkin — but honestly, canned works perfectly here and saves so much time.
Equipment Needed
One of the best things about this easy pumpkin dump cake is that you don’t need a lot of fancy equipment. Here’s what you’ll need:
- 9×13-inch baking dish — This is the standard size for this recipe. Glass or ceramic works best because they distribute heat evenly. I’ve used my Pyrex dish for years and it’s never let me down.
- Large mixing bowl — For whisking together the pumpkin filling ingredients.
- Whisk — A good whisk makes blending the filling smooth and lump-free.
- Chef’s knife or butter knife — For slicing the cold butter into thin pats.
- Cutting board — For slicing the butter and chopping pecans if you’re using them.
- Measuring cups and spoons — For accurate measurements, especially for the spices.
- Cooling rack — Optional, but helps the cake cool evenly if you’re not serving it immediately.
If you don’t have a 9×13 dish, you can use a 9×9 square pan, but you’ll need to adjust the baking time and the cake will be thicker. I’ve also made this in a disposable aluminum pan for potlucks — works perfectly and means less cleanup!
Preparation Method
Let me walk you through this step by step. I promise it’s as easy as it sounds, but I’ll share a few tips I’ve picked up along the way to make sure yours turns out perfect every time.
- Preheat your oven to 350°F (175°C). Get this going first so the oven is hot and ready when you are. Lightly grease your 9×13 baking dish with butter or non-stick spray. Don’t skip this step — even with all that butter on top, the filling can stick.
- Make the pumpkin filling. In your large mixing bowl, combine the pumpkin puree, evaporated milk, eggs, granulated sugar, pumpkin pie spice, cinnamon, and salt. Whisk everything together until it’s smooth and well combined. You want a uniform, silky mixture with no streaks of pumpkin or egg. This should take about 2 minutes of vigorous whisking. The mixture will be thin — that’s normal!
- Pour the filling into the prepared dish. Pour the pumpkin mixture into your greased baking dish and spread it evenly with a spatula. Give the dish a gentle tap on the counter to release any air bubbles.
- Add the dry cake mix layer. Here’s where the magic happens. Sprinkle the entire box of dry yellow cake mix evenly over the pumpkin filling. Don’t stir it in — just let it sit on top in an even layer. I know it looks weird, but trust the process. The cake mix will absorb some of the moisture from the pumpkin filling as it bakes, creating that perfect contrast of textures.
- Top with butter slices. Take your cold, thinly sliced butter pats and arrange them evenly over the entire surface of the cake mix. Try to cover as much of the cake mix as possible. Don’t worry if there are small gaps — the butter will spread as it melts. This is the most important step for achieving that buttery crunch topping, so don’t skimp on the butter!
- Add optional toppings. If you’re using pecans, sprinkle them evenly over the butter layer. The nuts will toast as the cake bakes, adding a wonderful crunch and nutty flavor.
- Bake for 45-55 minutes. Place the dish in the preheated oven and bake until the top is golden brown and the edges are bubbly. The center should be set but still have a slight jiggle — it will continue to set as it cools. If the top is browning too quickly around the 40-minute mark, tent loosely with aluminum foil for the remaining time.
- Cool before serving. Let the cake cool on a wire rack for at least 15-20 minutes before serving. This allows the filling to set up properly. If you serve it too soon, it will be too runny. I know it’s hard to wait, but it’s worth it!
- Drizzle with caramel sauce (optional). For an extra touch of indulgence, drizzle caramel sauce over the top before serving. It adds another layer of flavor that pairs beautifully with the pumpkin and buttery crunch.
A few things to watch for: If the top isn’t golden enough after 50 minutes, you can broil it for 1-2 minutes — but watch it like a hawk because it can burn fast. Also, if you’re using a glass dish, the baking time might be on the longer end since glass retains heat differently than metal.
Cooking Tips & Techniques
Over the years, I’ve made this easy pumpkin dump cake more times than I can count. And let me tell you, I’ve made every mistake in the book so you don’t have to. Here are my best tips for getting it right every single time.
Use cold butter, not melted. I learned this one the hard way. The first time I made this, I melted the butter and poured it over the cake mix. Big mistake. The melted butter soaked right into the cake mix and turned the whole thing into a soggy mess. Cold butter slices melt slowly, creating those crispy, buttery pockets that make this cake so special. Keep the butter in the fridge until you’re ready to slice it.
Don’t stir the cake mix into the filling. I know it’s tempting to mix everything together, especially if you’re used to making regular cakes. But resist the urge! The whole point of a dump cake is that the layers stay separate. The cake mix stays on top and bakes into that signature crunchy crust while the pumpkin filling stays soft and creamy underneath.
Let it cool properly. This is probably the most common mistake I see. People are so excited to dig in that they serve it straight out of the oven. But the filling needs time to set. If you cut into it too soon, it will be soupy and the layers will run together. Give it at least 15-20 minutes of cooling time. I usually aim for 30 minutes if I can wait that long.
Check for doneness with a gentle jiggle. Unlike regular cakes, you can’t use the toothpick test here because the cake mix layer is supposed to be moist. Instead, give the dish a gentle shake. The edges should be set and bubbly, and the center should have a slight jiggle — like a cheesecake that’s almost done. It will continue to set as it cools.
Multitask strategically. While the cake is baking, use that time to clean up your kitchen or prep any toppings you want to add. The active prep time is only about 10 minutes, so the cleanup is minimal. I like to make my caramel sauce from scratch while the cake bakes — it fills the kitchen with the most amazing aroma.
Variations & Adaptations
One of the things I love most about this easy pumpkin dump cake is how versatile it is. You can change it up based on what you have on hand, what season it is, or what your family likes. Here are a few of my favorite variations.
Gluten-Free Version: Use a gluten-free yellow cake mix. I’ve tested this with King Arthur’s gluten-free yellow cake mix and it works beautifully. The texture of the topping might be slightly different — a bit more crumbly — but the flavor is just as good. Make sure your pumpkin puree and other ingredients are also certified gluten-free if that’s a concern.
Dairy-Free Version: Substitute the butter with a high-quality vegan butter. I’ve had good results with Earth Balance. The topping won’t be quite as crispy, but it’s still delicious. Use a dairy-free evaporated milk alternative or full-fat coconut milk for the filling.
Spice It Up: If you like things spicy, add 1/4 teaspoon of ground ginger and a pinch of ground cloves to the pumpkin filling. You can also use a chai spice blend instead of pumpkin pie spice for a unique flavor twist. I tried this last fall and it was a huge hit at my book club meeting.
Chocolate Lover’s Version: Use a chocolate cake mix instead of yellow. The chocolate and pumpkin combination is surprisingly good — it’s like a pumpkin brownie with a crunchy top. My kids went crazy for this version. Add chocolate chips to the topping for extra indulgence.
Apple-Pumpkin Fusion: Layer 2 cups of thinly sliced apples (I like Honeycrisp or Granny Smith) on top of the pumpkin filling before adding the cake mix. The apples add a nice tartness and texture that complements the pumpkin. This is my go-to version for Thanksgiving because it feels a little more special.
Serving & Storage Suggestions
This easy pumpkin dump cake is incredibly versatile when it comes to serving. Here’s how I like to enjoy it and how to keep it fresh if you have leftovers (which is rare in my house).
Serving Suggestions: This cake is best served warm, but it’s also delicious at room temperature. I love serving it with a big scoop of vanilla ice cream — the cold creaminess pairs perfectly with the warm, crunchy topping. A dollop of freshly whipped cream is also fantastic. For an extra special touch, drizzle caramel sauce or a sprinkle of cinnamon on top before serving.
Complementary Dishes: This cake pairs beautifully with a cup of hot coffee or spiced apple cider. If you’re serving it as part of a fall meal, it goes well after a hearty soup or roasted chicken dinner. For a dessert spread, serve it alongside other fall favorites like apple crisp or pecan pie.
Storage Instructions: Store any leftover cake in an airtight container in the refrigerator for up to 5 days. The topping will soften slightly as it sits, but it’s still delicious. To reheat, place individual servings in the microwave for 20-30 seconds, or reheat the whole dish in a 350°F oven for 10-15 minutes until warmed through.
Freezer Instructions: This cake freezes surprisingly well. Let it cool completely, then wrap the entire dish tightly in plastic wrap and then aluminum foil. Freeze for up to 3 months. To serve, thaw in the refrigerator overnight and reheat in the oven. The topping won’t be quite as crunchy as fresh, but it’s still wonderful.
Flavor Development: Interestingly, the flavors actually deepen and meld together after a day in the fridge. Some people prefer it the next day! The pumpkin spice becomes more pronounced and the filling gets even creamier. Just warm it up and add a fresh scoop of ice cream — it’s like a whole new dessert.
Nutritional Information & Benefits
While this easy pumpkin dump cake is definitely a treat, it does have some redeeming qualities thanks to the star ingredient — pumpkin!
Estimated Nutritional Values (per serving, based on 12 servings):
- Calories: 380
- Total Fat: 20g
- Saturated Fat: 12g
- Cholesterol: 85mg
- Sodium: 420mg
- Total Carbohydrates: 48g
- Dietary Fiber: 2g
- Sugars: 32g
- Protein: 5g
Health Benefits of Key Ingredients: Pumpkin is packed with vitamin A (beta-carotene), which is great for eye health and immune function. It’s also a good source of fiber, which aids digestion. The eggs provide high-quality protein, and the cinnamon has anti-inflammatory properties. Of course, this is still a dessert, so enjoy it in moderation — but it’s nice to know there’s some nutritional value hidden in that deliciousness!
Dietary Considerations: This recipe contains gluten, dairy, eggs, and nuts (if you add pecans). For gluten-free and dairy-free options, see the variations section above. It’s not suitable for a low-carb or keto diet due to the sugar and cake mix, but it can be adapted with sugar substitutes and low-carb cake mixes if you’re feeling experimental.
Conclusion
This easy pumpkin dump cake with buttery crunch topping is proof that you don’t need complicated techniques or fancy ingredients to create something truly memorable. It’s the recipe I turn to when I want to impress without stress, when I need a last-minute dessert, or when I just want to fill my kitchen with the cozy smell of fall. The combination of creamy pumpkin filling and that irresistible crunchy, buttery topping is simply unbeatable.
I hope you’ll give this recipe a try — and don’t be afraid to make it your own. Swap in different cake mixes, add your favorite nuts, or drizzle it with caramel sauce. The beauty of this recipe is that it’s forgiving and adaptable. And honestly? It’s almost impossible to mess up.
If you make this easy pumpkin dump cake, I’d love to hear about it! Leave a comment below and let me know how it turned out, what variations you tried, or just share your favorite fall dessert memory. Don’t forget to pin this recipe for later and share it with your friends — because everyone deserves a little bit of buttery, pumpkin goodness in their life. Happy baking, friends!
Frequently Asked Questions
Can I use pumpkin pie filling instead of pumpkin puree?
I wouldn’t recommend it. Pumpkin pie filling is already sweetened and spiced, so using it would throw off the balance of the recipe. The added sugar and spices would make the filling too sweet and the texture might be off. Stick with 100% pure pumpkin puree for the best results.
Why is my dump cake soupy in the middle?
This usually happens for one of two reasons: either the cake wasn’t baked long enough, or it wasn’t cooled properly before serving. Make sure you’re baking until the edges are bubbly and the center is set with just a slight jiggle. And give it at least 15-20 minutes to cool before cutting into it. The filling continues to set as it cools.
Can I make this ahead of time?
Absolutely! You can assemble the dump cake up to 24 hours in advance and keep it covered in the refrigerator. Just add about 10-15 minutes to the baking time since you’re starting from cold. You can also bake it a day ahead and reheat it in the oven before serving — the flavors actually get better after a day in the fridge.
Can I use a different flavor of cake mix?
Yes! While yellow cake mix is the classic choice, you can experiment with other flavors. Spice cake mix is a natural fit for pumpkin. White cake mix works well too, and chocolate cake mix creates a fun pumpkin brownie-like dessert. Just avoid using “butter recipe” cake mixes as they change the texture of the topping.
How do I get a crunchier topping?
For an extra crunchy topping, make sure your butter is very cold and sliced thin. You can also sprinkle a tablespoon of granulated sugar over the cake mix before adding the butter — it helps create a caramelized crust. Broiling for the last 1-2 minutes of baking (watch carefully!) can also add extra crunch.
Pin This Recipe!
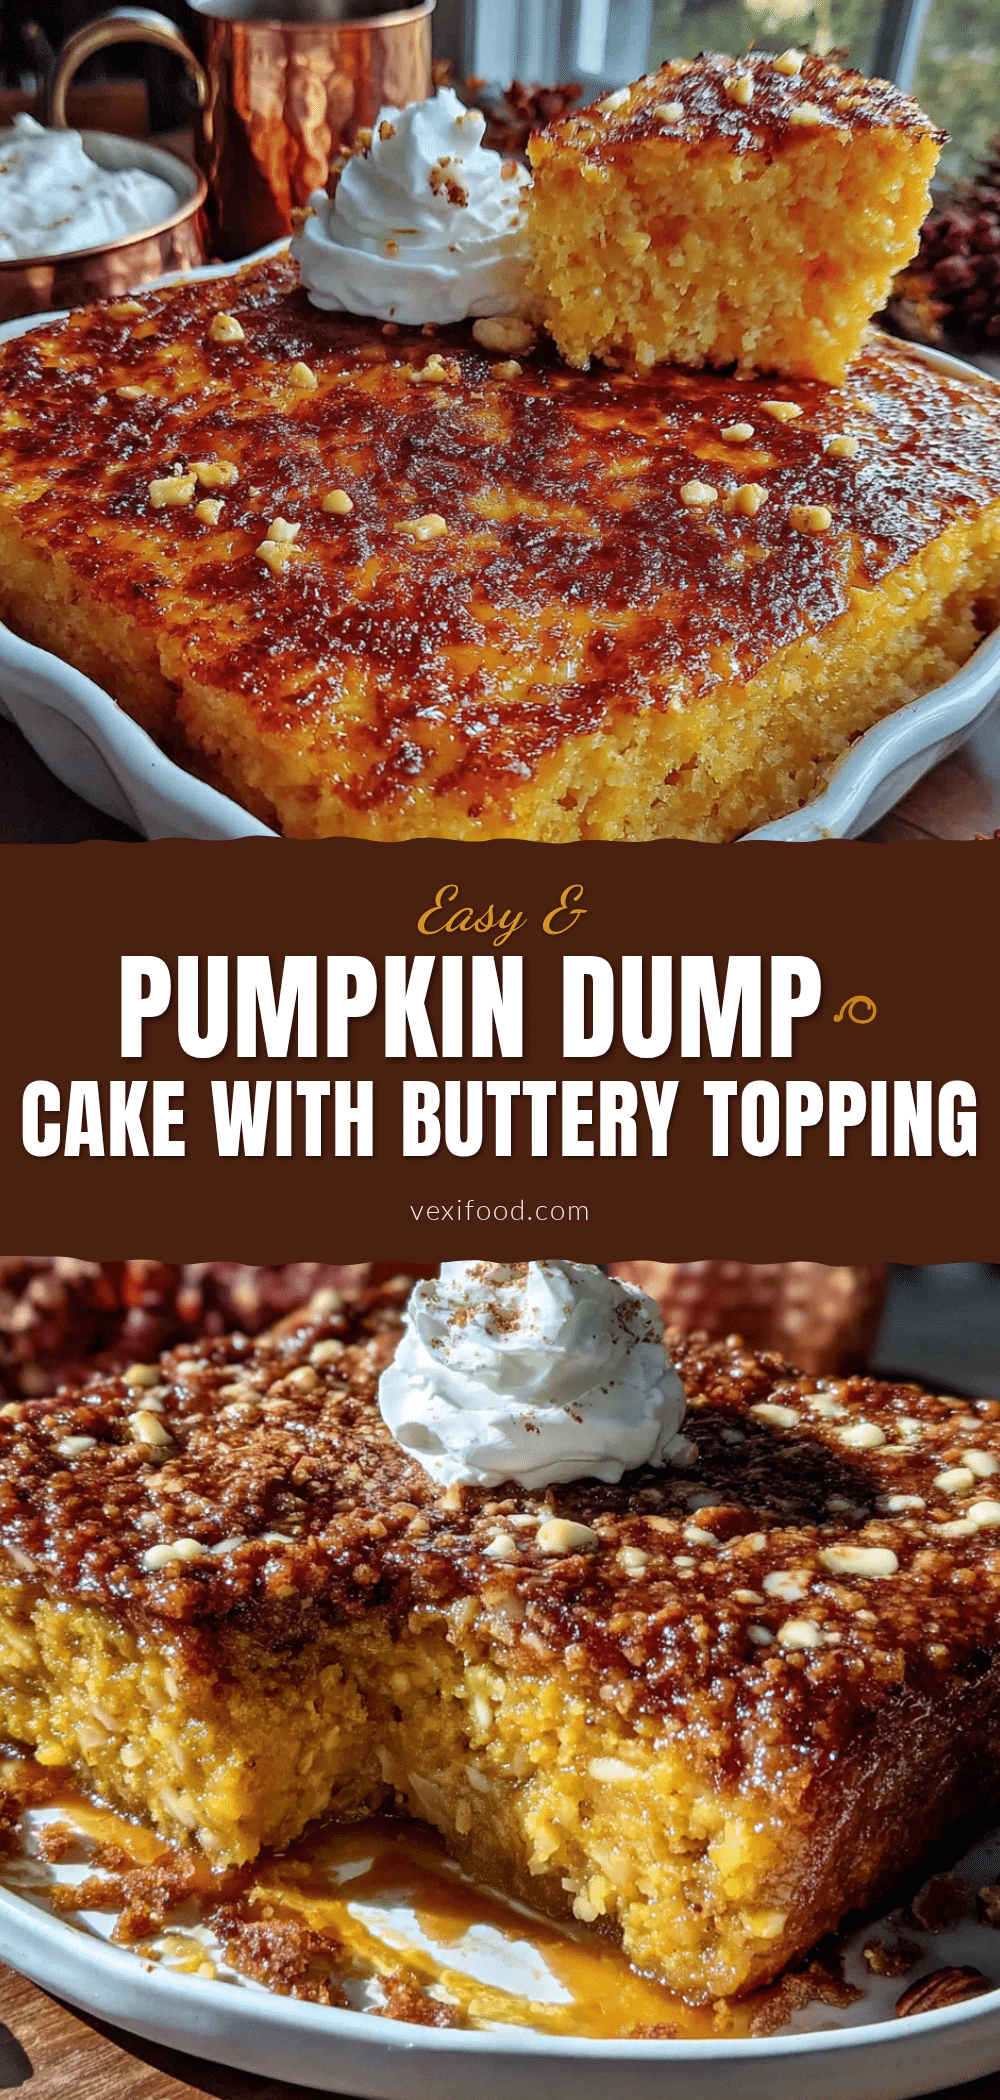
Easy Pumpkin Dump Cake: Best Buttery Crunch Topping Recipe
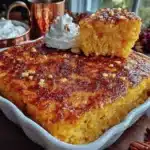
This easy pumpkin dump cake with a buttery crunch topping is the perfect last-minute dessert for fall gatherings. With a creamy pumpkin filling and a golden, crunchy crust, it’s a crowd-pleaser that comes together in just 10 minutes of prep.
- Prep Time: 10 minutes
- Cook Time: 50 minutes
- Total Time: 1 hour
- Yield: 12 servings 1x
- Category: Dessert
- Cuisine: American
Ingredients
- 1 can (15 oz) pumpkin puree
- 1 can (12 oz) evaporated milk
- 3 large eggs, room temperature
- 1 cup granulated sugar
- 2 teaspoons pumpkin pie spice
- 1 teaspoon ground cinnamon
- 1/2 teaspoon salt
- 1 box (15.25 oz) yellow cake mix
- 1 cup (2 sticks) unsalted butter, cold and thinly sliced
- 1/2 cup chopped pecans (optional)
- 1/4 cup caramel sauce (optional for drizzling)
Instructions
- Preheat your oven to 350°F (175°C). Lightly grease a 9×13-inch baking dish with butter or non-stick spray.
- In a large mixing bowl, combine the pumpkin puree, evaporated milk, eggs, granulated sugar, pumpkin pie spice, cinnamon, and salt. Whisk until smooth and well combined.
- Pour the pumpkin mixture into the prepared baking dish and spread evenly. Tap the dish gently on the counter to release air bubbles.
- Sprinkle the entire box of dry yellow cake mix evenly over the pumpkin filling. Do not stir.
- Arrange the cold, thinly sliced butter pats evenly over the cake mix layer, covering as much as possible.
- If using, sprinkle chopped pecans evenly over the butter layer.
- Bake for 45-55 minutes, until the top is golden brown and the edges are bubbly. The center should be set with a slight jiggle. If browning too quickly, tent with foil after 40 minutes.
- Let the cake cool on a wire rack for at least 15-20 minutes before serving.
- If desired, drizzle with caramel sauce before serving.
Notes
Use cold butter, not melted, for the best crunchy topping. Do not stir the cake mix into the filling. Let the cake cool properly before serving to allow the filling to set. For a crunchier topping, broil for 1-2 minutes at the end, watching carefully.
Nutrition
- Serving Size: 1 slice (1/12 of cak
- Calories: 380
- Sugar: 32
- Sodium: 420
- Fat: 20
- Saturated Fat: 12
- Carbohydrates: 48
- Fiber: 2
- Protein: 5
Keywords: pumpkin dump cake, easy pumpkin dessert, buttery crunch topping, fall dessert, potluck dessert, quick dessert