Love this? Save it for later!
Share the inspiration with your friends
I used to think themed food was a little… much. You know, the kind of thing you see on Pinterest and scroll past thinking, “That’s cute, but who has the time?” Honestly, I was that person. I’d rather spend my energy on a great main dish than a veggie tray carved to look like a pumpkin. Then, last October, my neighbor Karen knocked on my door at 5:30 PM on a Tuesday. Her kids were hyped on candy corn, and she needed a last-minute dish for the school’s “Spooky Snack Potluck” the next morning. She was panicking, holding a can of black beans and a bag of shredded cheese like they were lifelines.
I looked at her, looked at the fridge, and said, “Hand me that bowl.” I wasn’t trying to be a hero. I was just trying to help a friend. I grabbed some taco seasoning, a block of cream cheese, and started layering. The idea of wrapping it in “bandages” (aka tortilla strips) was a joke at first. “It looks like a mummy,” Karen laughed. And honestly? It did. It was goofy, messy, and the cheese was slightly burnt on the edges because I forgot to set a timer. But we took it to the potluck anyway, and I watched that dip disappear in ten minutes. I watched kids who swore they hated black beans go back for thirds. I watched Karen’s panicked face turn into pure relief.
That’s the thing about this Spooky Black Bean Mummy Taco Dip. It’s not trying to be fancy. It’s trying to be fun. It’s the recipe that proves you don’t need to be a professional chef or a crafty mom to pull off a Halloween win. You just need a little creativity and a willingness to laugh at yourself when the “bandages” fall off. Maybe you’ve been there—scrambling for a dish that looks impressive but takes zero stress. This is that dip. It stayed in my recipe box because it’s the kind of food that makes people smile before they even take a bite. And that, to me, is the whole point of Halloween.
Why You’ll Love This Recipe
I’ve tested this dip about five times now, and let me tell you—it’s foolproof. You don’t need any special equipment or culinary school tricks. This is pure, honest comfort food with a spooky twist. Here is why it works so well:
- Quick & Easy: You can have this on the table in under 25 minutes. Seriously. It’s perfect for those “I forgot about the party” moments.
- Simple Ingredients: No fancy grocery trips. You probably have taco seasoning, beans, and cheese in your kitchen right now.
- Perfect for Halloween Parties: It looks like a mummy! Kids love it, adults love it, and it fits any spooky theme without being overly complicated.
- Crowd-Pleaser: I have yet to meet a person who doesn’t like warm, cheesy taco dip. It disappears fast.
- Unbelievably Delicious: The creamy layers of seasoned black beans, cream cheese, and melty cheddar are next-level comfort food. The texture is rich and satisfying.
What makes this different from every other taco dip? It’s the presentation. Instead of just throwing everything in a bowl, you shape it into a log and wrap it in tortilla “bandages.” It’s a visual trick that makes the food taste better—I swear it’s true. This isn’t just another dip. It’s your best version of a Halloween appetizer because it balances flavor with fun. It’s the kind of recipe that makes you close your eyes after the first bite, even if you’re wearing a silly witch hat.
What Ingredients You Will Need
This recipe uses simple, wholesome ingredients to deliver bold flavor and a satisfying texture without the fuss. Most of these are pantry staples, which makes this even easier.
- For the Bean Layer:
- 1 can (15 oz) black beans, drained and rinsed (I prefer Bush’s brand for texture)
- 1/2 cup salsa (use your favorite medium heat, like Pace or a local brand)
- 1 tablespoon taco seasoning (I use McCormick; it has the perfect salt level)
- 1/2 teaspoon cumin (adds warmth and depth)
- For the Cream Cheese Layer:
- 8 oz cream cheese, softened to room temperature (full fat works best for stability)
- 1/2 cup sour cream (adds tanginess and helps the dip stay creamy)
- 1 cup shredded Mexican blend cheese (or cheddar; I like Sargento for melting)
- For the Mummy Wraps:
- 4 large flour tortillas (burrito size; you can use whole wheat if you prefer)
- 2 tablespoons melted butter or olive oil (helps the tortillas crisp up)
- 1/2 teaspoon garlic powder (optional, but adds flavor to the “bandages”)
- For the Eyes (Decorations):
- 2 slices black olives (use canned sliced olives for convenience)
- 2 small dollops of sour cream (to stick the olives on)
Ingredient Notes: Look for a block of cream cheese, not the spreadable kind in a tub. The block holds its shape better when baked. For the salsa, a chunky variety works great. If you want it spicier, use a hot salsa or add a chopped jalapeño. For the tortillas, I recommend flour over corn because they are more pliable and tear less when you wrap the mummy. You can use dairy-free cream cheese and sour cream if needed—it still works, just watch the baking time.
Equipment Needed
You don’t need a fancy kitchen for this. Here is what I use every time I make this dip:
- 9×5 inch loaf pan: This is the perfect shape for a mummy body. If you don’t have one, you can use an 8×8 square dish, but the dip will be shorter and wider.
- Mixing bowls: One medium bowl for the beans, one small bowl for the cream cheese mixture.
- Spatula: A rubber spatula helps spread the layers evenly.
- Pizza cutter or sharp knife: For cutting the tortillas into strips. A pizza cutter makes it much faster.
- Pastry brush: For brushing the butter on the tortilla strips. You can also use a paper towel.
If you don’t have a loaf pan, you can shape the dip into a log on a baking sheet lined with parchment paper. Just form it with your hands—it’s a little messy, but it works! I actually did this the first time because I forgot my loaf pan at a friend’s house. The dip still looked great. For a budget-friendly option, a disposable aluminum loaf pan from the dollar store works perfectly.
Preparation Method
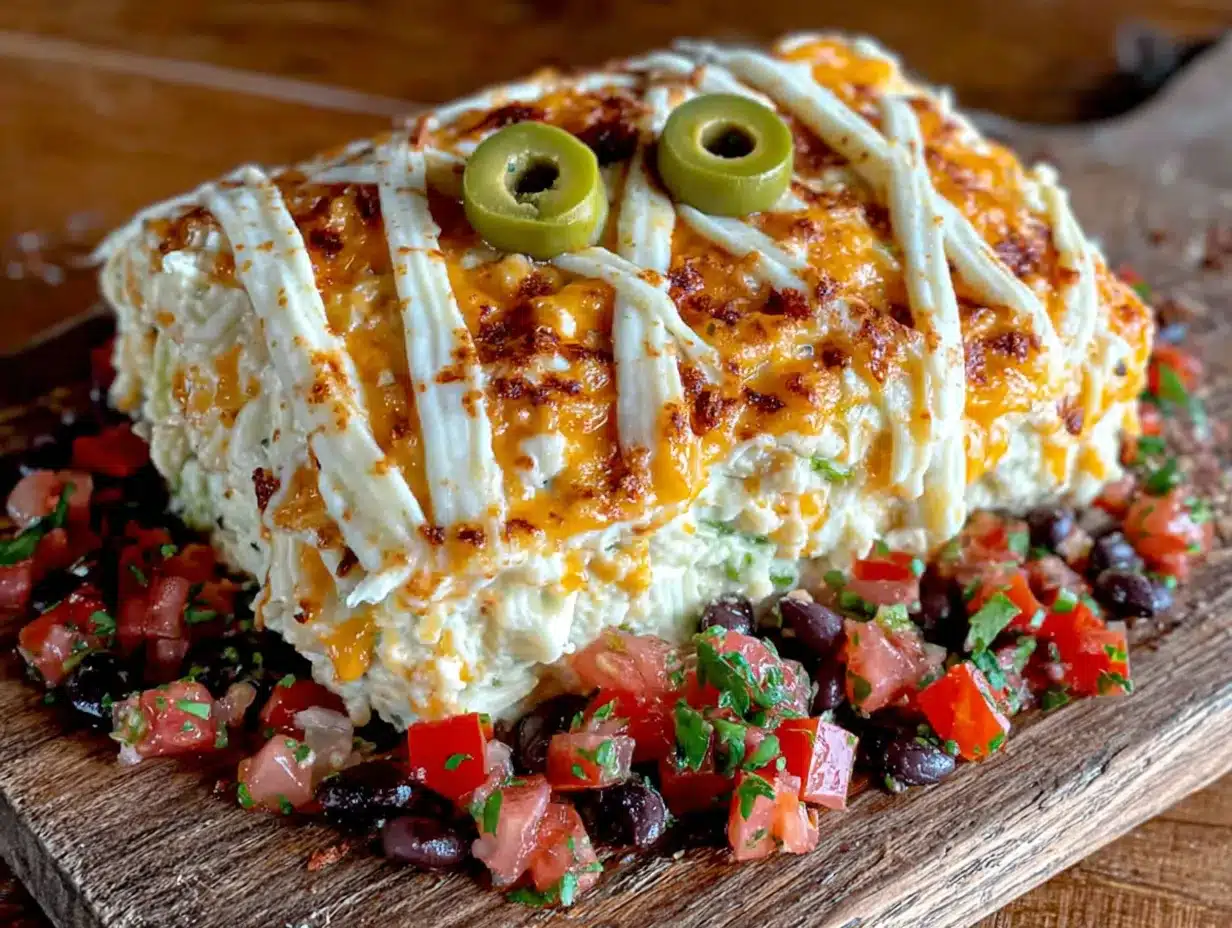
Follow these steps carefully. I’ve included some sensory cues so you know exactly what to look for.
- Preheat your oven to 375°F (190°C). This gives it time to heat up while you prep. Lightly grease your loaf pan with a little butter or non-stick spray.
- Make the bean layer. In a medium bowl, mash the drained black beans with a fork. You want them about 75% mashed—some whole beans are fine for texture. Stir in the salsa, taco seasoning, and cumin. Mix until it looks like a thick, chunky paste. Smell it—it should smell warm and spicy.
- Make the cream cheese layer. In a separate bowl, beat the softened cream cheese with the sour cream until smooth. It should be fluffy and easy to spread. Fold in half of the shredded cheese (about 1/2 cup). Save the rest for the top.
- Layer the dip. Spread the black bean mixture evenly into the bottom of the loaf pan. Use your spatula to press it down firmly. Then, spread the cream cheese mixture on top of the beans. Smooth it out so it’s even. Sprinkle the remaining shredded cheese over the top.
- Prepare the mummy bandages. Stack your flour tortillas and cut them into strips about 1 inch wide. You want them long enough to wrap around the dip. I usually cut each tortilla into 4-5 strips. In a small bowl, mix the melted butter with the garlic powder. Brush this mixture lightly onto both sides of each tortilla strip.
- Wrap the mummy. This is the fun part! Lay the tortilla strips across the top of the dip, crisscrossing them like bandages. Leave a small gap near the top for the “eyes.” Don’t worry if they overlap—it adds to the mummy look. Tuck the ends of the strips down the sides of the loaf pan. If a strip breaks, just lay it back on top. It’s very forgiving.
- Bake the dip. Place the loaf pan on a baking sheet (to catch any drips) and bake for 18-22 minutes. You want the cheese to be bubbly and the tortilla strips to be golden brown and crispy. The dip should be hot all the way through. If the strips are browning too fast, tent the pan loosely with foil for the last 5 minutes.
- Add the eyes. Let the dip cool for 5 minutes. Place two small dollops of sour cream near the top of the mummy. Press a black olive slice onto each dollop, cut side down. This gives the mummy its face.
- Serve immediately. Scoop up the dip with tortilla chips, crackers, or veggie sticks. The layers will be hot, creamy, and slightly spicy.
Troubleshooting Tip: If your dip looks watery after baking, you may have used a watery salsa. Drain the salsa slightly next time. If the tortilla strips are soggy, they didn’t get enough butter or the oven wasn’t hot enough. Make sure your strips are well-brushed.
Cooking Tips & Techniques
I’ve made this dip about a dozen times now, and I’ve learned a few things the hard way. Here are my best tips:
- Room temperature cream cheese is non-negotiable. I once tried to rush this with cold cream cheese, and it was lumpy. Let it sit out for 30 minutes. It mixes so much smoother.
- Don’t over-mash the beans. You want some texture. If you mash them into a paste, the dip becomes too dense. Leave a few whole beans for a better mouthfeel.
- Cut the tortilla strips evenly. If some are thick and some are thin, they will cook unevenly. Use a ruler if you’re feeling meticulous. I just eyeball it, but I make sure they are all roughly the same width.
- Watch the oven. My oven runs hot, so I check the dip at 15 minutes. You want the strips to be golden, not burnt. If they start to char, cover with foil.
- Let it rest. I know it’s hard, but letting the dip cool for 5 minutes helps the layers set. If you dig in immediately, it might slide apart. The wait is worth it.
I once forgot to drain the black beans and ended up with a soupy mess. It still tasted good, but it didn’t hold its shape. Learn from my mistake! Rinsing the beans is a small step that makes a big difference.
Variations & Adaptations
This recipe is super flexible. Here are some ways to change it up:
- Vegetarian & Vegan: This recipe is already vegetarian. For a vegan version, use dairy-free cream cheese, sour cream, and shredded cheese. I like the Kite Hill brand for cream cheese. The texture is slightly softer, so let it bake an extra 2-3 minutes.
- Spicy Version: Add 1/2 teaspoon of cayenne pepper to the bean mixture or use a hot salsa. You can also mix in some chopped pickled jalapeños for extra heat.
- Meat Lover’s Twist: Brown 1/2 pound of ground beef or turkey with taco seasoning and layer it between the beans and cream cheese. It makes the dip heartier.
- Gluten-Free Adaptation: Use corn tortillas instead of flour for the bandages. Corn tortillas are smaller and more brittle, so you may need to cut them into shorter strips and overlap them more. They crisp up beautifully.
- Seasonal Swap: In the summer, I sometimes add a layer of fresh corn kernels or diced bell peppers. It adds a nice crunch and freshness against the creamy dip.
My personal favorite variation is adding a layer of guacamole on top before the eyes. It makes the mummy look green and even spookier. Just make sure the guac is thick so it doesn’t slide off.
Serving & Storage Suggestions
This dip is best served warm, straight from the oven. The contrast between the hot, creamy center and the crispy tortilla bandages is everything. I like to set it on a large platter surrounded by tortilla chips, carrot sticks, and bell pepper strips. The colors look great for Halloween.
Storage: If you have leftovers (unlikely, but possible), let the dip cool completely. Cover the loaf pan tightly with plastic wrap or transfer the dip to an airtight container. It will keep in the refrigerator for up to 3 days. The tortilla strips will soften, but the flavor is still there.
Reheating: To reheat, place the dip back in a 350°F (175°C) oven for 10-15 minutes, or until warmed through. You can also microwave individual portions for 30 seconds, but the strips won’t be crispy. For best results, reheat in the oven and add fresh tortilla strips on top if you want that crunch back.
The flavors actually meld together beautifully overnight. I’ve eaten this cold straight from the fridge the next day and it was still delicious—like a creamy bean dip. Don’t judge me.
Nutritional Information & Benefits
Here is an approximate nutritional breakdown per serving (based on 8 servings):
- Calories: 320
- Fat: 18g
- Carbohydrates: 28g
- Protein: 12g
- Fiber: 6g
- Sugar: 4g
Black beans are a fantastic source of plant-based protein and fiber. They help keep you full and support digestive health. The cream cheese adds calcium, while the salsa provides a dose of vitamin C from the tomatoes. This dip is also relatively low in sugar, which is a bonus for a party appetizer. If you use low-fat cream cheese and sour cream, you can cut the fat content by about 30%. It’s not a health food, but it’s a balanced treat that fits into a well-rounded diet. Just watch your portion size—it’s easy to eat half the pan without realizing it!
Potential allergens include dairy and gluten (from the tortillas). For a dairy-free version, use the substitutions mentioned above.
Conclusion
This Spooky Black Bean Mummy Taco Dip is the Halloween recipe you didn’t know you needed. It’s fun, it’s fast, and it genuinely tastes incredible. I love it because it proves that you don’t have to be a professional chef to pull off something memorable. You just need a little creativity and a willingness to have fun with your food. The best part? Watching people’s faces light up when they see the mummy. It’s a guaranteed conversation starter.
I encourage you to make this your own. Add more spice, swap the beans, or change the decorations. Use candy eyes instead of olives if you want! The recipe is just a starting point. Your kitchen, your rules. So go ahead—get a little spooky with your dinner. You won’t regret it.
If you make this dip, I’d love to hear about it. Drop a comment below and tell me how your mummy turned out. Did the kids love it? Did you add your own twist? Share your photos and tag me on social media. Happy Halloween, and happy dipping!
Frequently Asked Questions
Can I make this dip ahead of time?
Yes! You can assemble the entire dip (without the tortilla strips) up to 24 hours in advance. Cover and refrigerate. When you’re ready to bake, add the tortilla strips and bake as directed. You may need to add 5 extra minutes since it’s starting cold.
Can I use refried beans instead of black beans?
Absolutely. Refried beans will give the dip a smoother, creamier texture. Just skip the mashing step. The flavor will be slightly different but still delicious.
How do I keep the tortilla strips from getting soggy?
The key is brushing them with butter or oil before baking. This creates a barrier that helps them crisp up. Also, make sure your bean layer isn’t too wet. Drain the salsa if it looks watery.
Can I make this in a slow cooker?
You can, but the tortilla strips won’t get crispy. Layer the dip in a small slow cooker, cook on low for 2 hours, then add the tortilla strips on top and serve immediately. It’s more of a “deconstructed” mummy look.
What can I use instead of olives for the eyes?
You can use candy eyes (the kind you find at baking stores), sliced cherry tomatoes, or even small pieces of bell pepper. For a sweeter version, use two chocolate chips or raisins. Get creative!
Pin This Recipe!
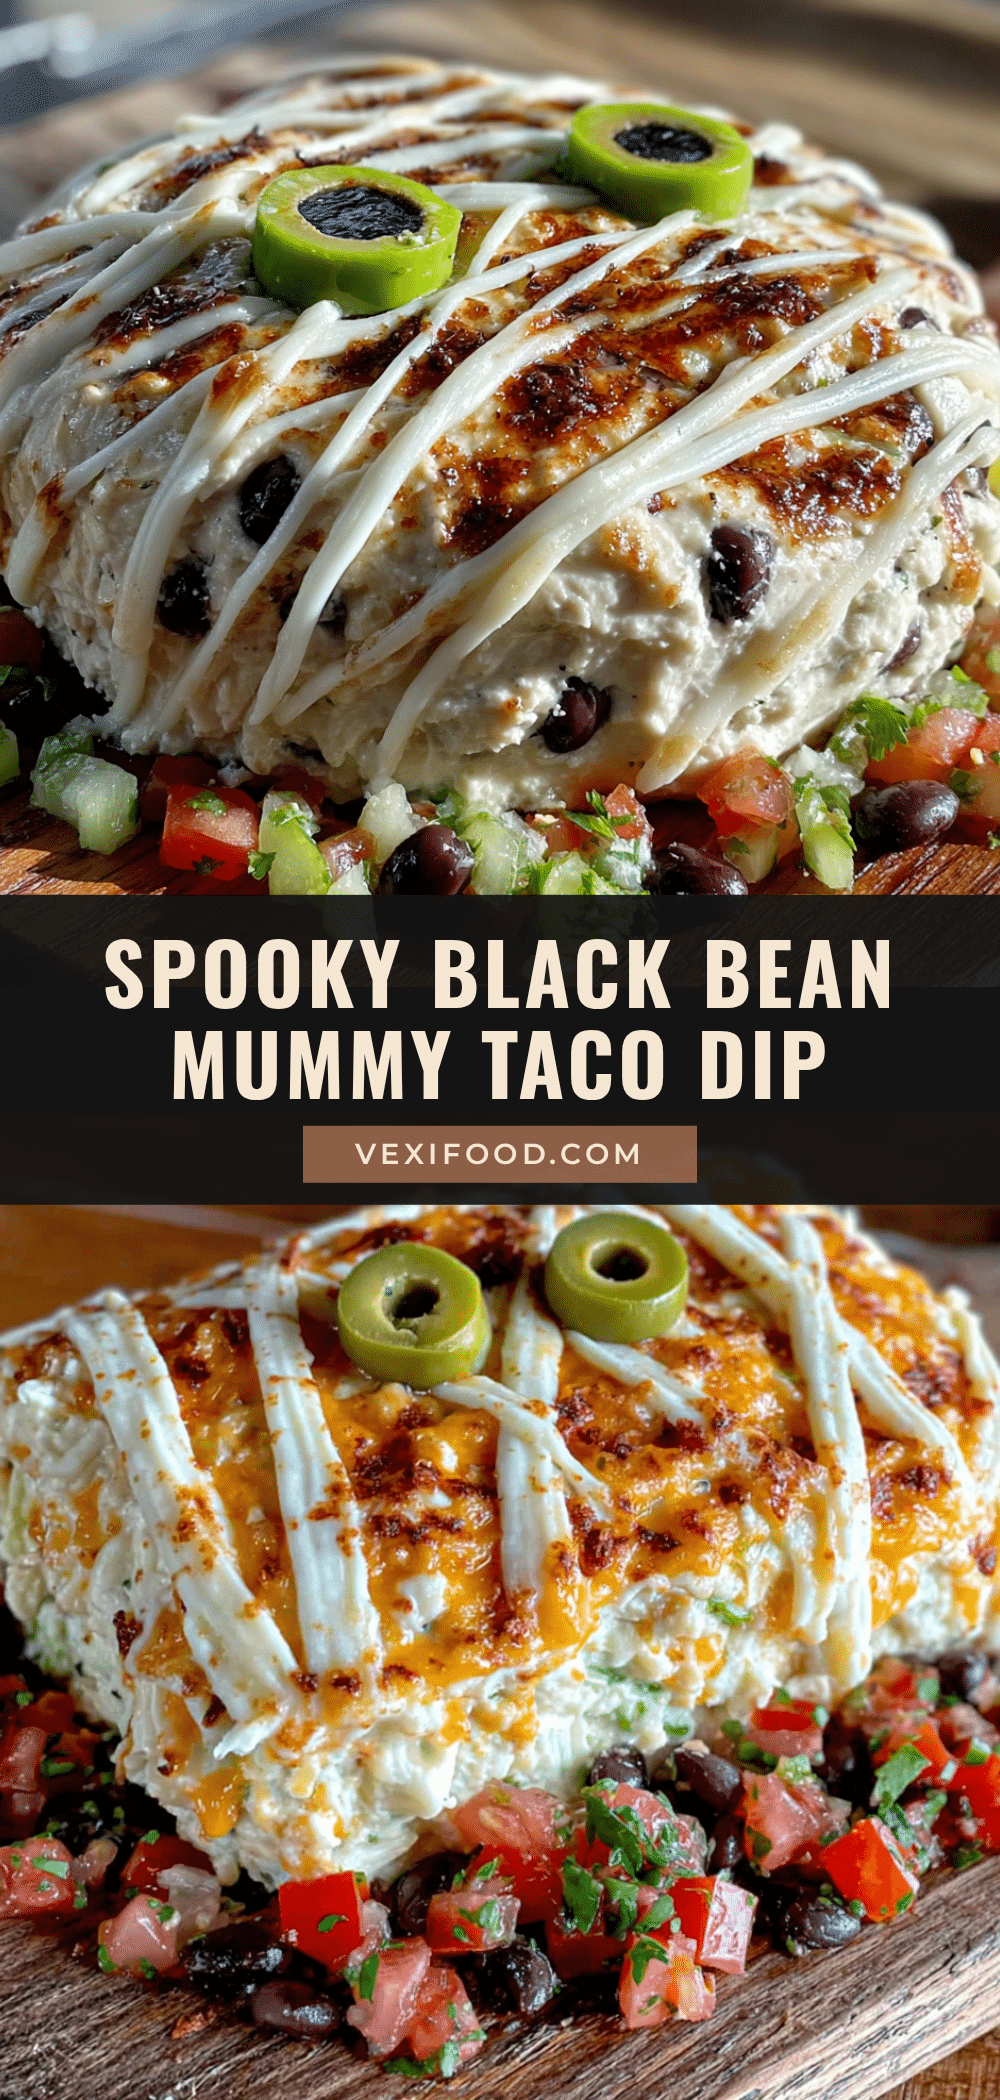
Easy Black Bean Mummy Taco Dip: Perfect Halloween Recipe

A fun and easy Halloween appetizer featuring layers of seasoned black beans, creamy cheese, and crispy tortilla ‘bandages’ shaped like a mummy. Perfect for parties and potlucks.
- Prep Time: 15 minutes
- Cook Time: 20 minutes
- Total Time: 35 minutes
- Yield: 8 servings 1x
- Category: Appetizer
- Cuisine: Mexican
Ingredients
- 1 can (15 oz) black beans, drained and rinsed
- 1/2 cup salsa
- 1 tablespoon taco seasoning
- 1/2 teaspoon cumin
- 8 oz cream cheese, softened
- 1/2 cup sour cream
- 1 cup shredded Mexican blend cheese
- 4 large flour tortillas (burrito size)
- 2 tablespoons melted butter or olive oil
- 1/2 teaspoon garlic powder (optional)
- 2 slices black olives
- 2 small dollops sour cream (for eyes)
Instructions
- Preheat oven to 375°F (190°C). Lightly grease a 9×5 inch loaf pan.
- In a medium bowl, mash the black beans with a fork until about 75% mashed. Stir in salsa, taco seasoning, and cumin until a thick paste forms.
- In a separate bowl, beat softened cream cheese with sour cream until smooth. Fold in half of the shredded cheese.
- Spread the black bean mixture evenly into the bottom of the loaf pan. Top with the cream cheese mixture and smooth it out. Sprinkle remaining shredded cheese on top.
- Stack tortillas and cut into 1-inch wide strips. Mix melted butter with garlic powder and brush onto both sides of each strip.
- Lay tortilla strips across the top of the dip, crisscrossing like bandages, leaving a small gap near the top for eyes. Tuck ends down the sides.
- Place loaf pan on a baking sheet and bake for 18-22 minutes, until cheese is bubbly and strips are golden brown. Tent with foil if browning too fast.
- Let cool for 5 minutes. Place two small dollops of sour cream near the top for eyes, then press an olive slice onto each dollop.
- Serve immediately with tortilla chips, crackers, or veggie sticks.
Notes
For best results, use room temperature cream cheese. Don’t over-mash the beans. Let dip rest 5 minutes after baking to set layers. If tortilla strips brown too fast, tent with foil.
Nutrition
- Serving Size: 1 serving
- Calories: 320
- Sugar: 4
- Sodium: 650
- Fat: 18
- Saturated Fat: 10
- Carbohydrates: 28
- Fiber: 6
- Protein: 12
Keywords: Halloween, mummy, taco dip, black bean, appetizer, party, spooky