Love this? Save it for later!
Share the inspiration with your friends
My sister’s bachelorette weekend was in about six hours and I’d completely forgotten to pack snacks. Everyone else would be bringing artisanal cheese boards, homemade lavender shortbread, and those cute little charcuterie cups that look like they belong on a magazine cover. I had a half-empty jar of peanut butter, some sad-looking oats from who-knows-when, and about fifteen minutes before I needed to leave. Honestly, I almost just grabbed a bag of chips from the gas station and called it a day.
But then I remembered these little no-bake peanut butter energy bites I’d thrown together one desperate afternoon last winter. They’re not fancy, let me tell you. They’re the kind of recipe you make when you’re hangry, running late, and refuse to spend money on overpriced granola bars. I mean, I literally made them in the time it takes to find matching socks. I threw everything in one bowl, rolled them into balls while my coffee was brewing, and tossed them in a container. No oven, no fuss, no stress.
I showed up to the weekend with my little container of lumpy peanut butter bites next to all those Pinterest-perfect snacks. And you know what happened? They disappeared first. My sister’s friend Sarah, who is a pastry chef of all things, asked for the recipe before the first glass of champagne was poured. Maybe you’ve been in that spot where you think simple isn’t good enough, only to realize that simple is exactly what everyone actually wants. These bites stayed with me because they taught me something—good food doesn’t need a production. It just needs to taste like it was made with a little love and a whole lot of peanut butter.
Why You’ll Love This Recipe
Let’s be real for a second. I’ve tested about a dozen different energy bite recipes over the years, and most of them are either too dry, too sticky, or they fall apart the second you look at them. These no-bake peanut butter energy bites? They’re the Goldilocks of the snack world. I’ve made them for hiking trips, road trips, and those 3 PM slumps where you’d eat your own arm if it had chocolate on it.
- Quick & Easy: You can make these in under 15 minutes. No joke. That’s faster than ordering takeout and way cheaper too.
- Simple Ingredients: You probably have everything in your pantry right now. Oats, peanut butter, honey, chocolate chips—that’s it. No weird health food store ingredients required.
- Perfect for Busy Days: These are my go-to for pre-workout fuel, afternoon snacks, and even breakfast when I’m running late (which is most days, honestly).
- Crowd-Pleaser: I’ve brought these to office potlucks, kid’s soccer games, and family gatherings. They get devoured every single time by both kids and adults.
- Unbelievably Delicious: The texture is this perfect mix of chewy, crunchy, and creamy. It’s like eating cookie dough but without the raw egg worry.
What makes these different from every other energy bite recipe out there? It’s the ratio. I spent way too many Sundays tweaking the oat-to-peanut butter ratio until I landed on that perfect balance where they hold together without being greasy. Plus, I add a pinch of sea salt on top. It sounds small, but that little salty crunch makes all the difference. Trust me on this one.
These aren’t just snacks. They’re the kind of thing that makes you feel like you’ve got your life together, even when you definitely don’t. And honestly? That’s exactly what we all need sometimes.
What Ingredients You Will Need
This recipe uses simple, wholesome ingredients that work together to create something way better than the sum of their parts. You don’t need to hunt down specialty stores or spend a fortune. Here’s what you’ll need:
For the Energy Bites
- 1 cup old-fashioned rolled oats (not instant—they get mushy. I prefer Bob’s Red Mill for consistent texture)
- 1/2 cup creamy peanut butter (natural peanut butter works, but stir it well first. I use Skippy Natural because it has the right consistency without separating too much)
- 1/3 cup honey (or maple syrup for a vegan option—both work great, but honey gives a slightly thicker texture)
- 1/2 cup mini chocolate chips (I like Enjoy Life brand for allergen-friendly options, but regular semi-sweet chips are perfect too)
- 1/4 cup ground flaxseed (adds fiber and helps bind everything together—totally optional but highly recommended)
- 1/2 teaspoon vanilla extract (pure vanilla extract makes a difference, but imitation works in a pinch)
- Pinch of sea salt (don’t skip this—it balances the sweetness and makes the peanut butter flavor pop)
Optional Add-Ins
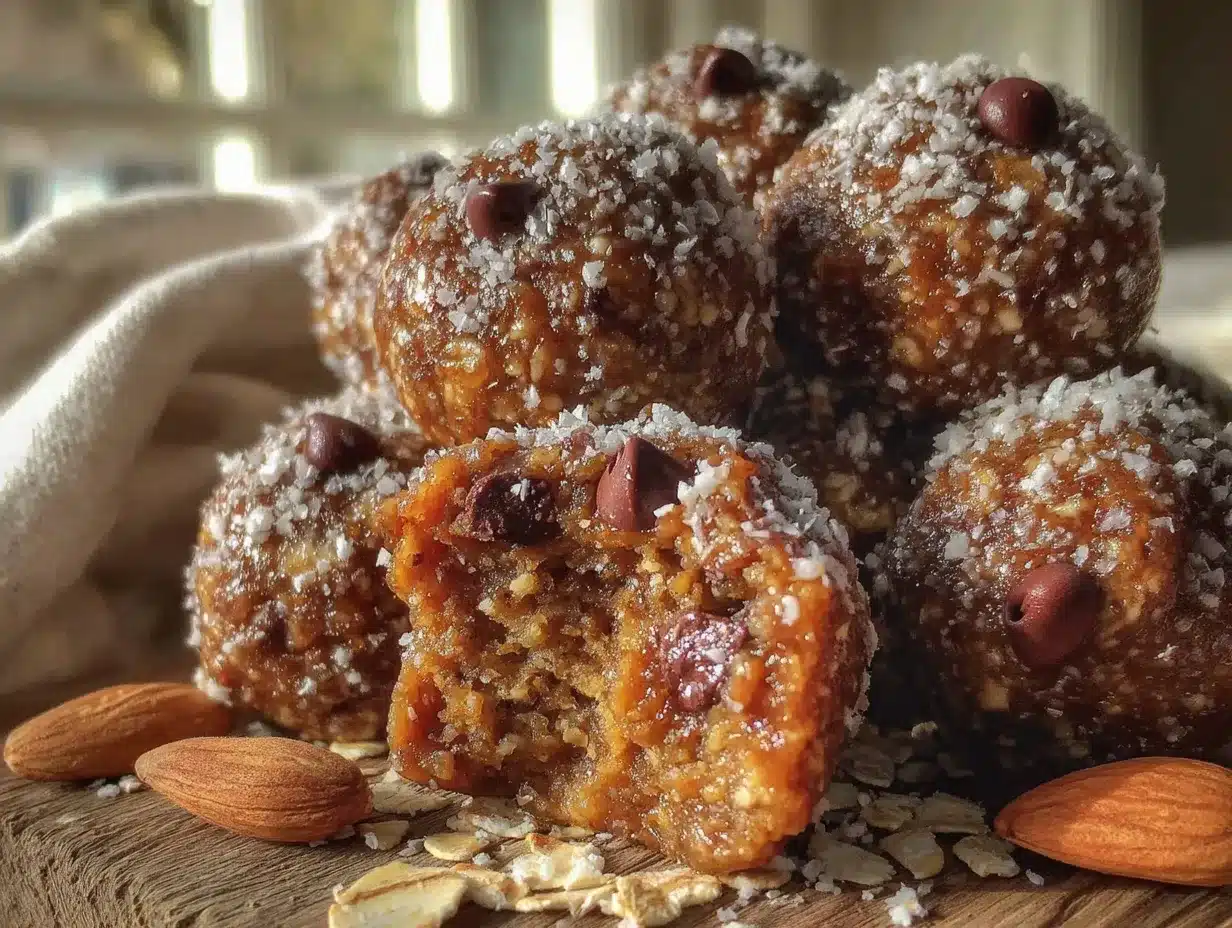
- 1/4 cup shredded coconut (adds a chewy texture and tropical vibe)
- 2 tablespoons chia seeds (extra fiber and omega-3s—they also help with binding)
- 1/4 cup chopped nuts (almonds or pecans add crunch)
- 1/4 cup dried fruit (cranberries or raisins work beautifully)
Ingredient Tips: If you’re using natural peanut butter that’s been sitting in the fridge, let it come to room temperature first. Cold peanut butter is impossible to mix and will leave you with lumpy, uneven bites. Also, if your honey is crystallized, microwave it for about 10 seconds to loosen it up. Oh, and here’s something I learned the hard way—don’t use quick oats. They turn into paste. Rolled oats give you that satisfying chewiness that makes these bites so addictive.
Equipment Needed
The beauty of this recipe is that you don’t need fancy kitchen gadgets. Here’s what you’ll actually use:
- Large mixing bowl (any bowl works—I use my grandmother’s old ceramic one, but a stainless steel one is fine)
- Measuring cups and spoons (eyeballing it works for some people, but I’ve found that precise measurements make these turn out perfectly every time)
- Rubber spatula or wooden spoon (for mixing—the dough is thick, so a sturdy spoon helps)
- Baking sheet or plate (to hold the rolled bites while they chill)
- Parchment paper (optional but helpful for easy cleanup—I’ve used wax paper in a pinch and it works too)
- Small cookie scoop (this is my secret weapon for uniform bites—mine cost like $3 at Target and it’s worth every penny)
- Refrigerator (for setting—yes, that’s equipment. The bites need at least 30 minutes to firm up)
If you don’t have a cookie scoop, just use your hands. I actually prefer rolling them by hand because you can feel when the texture is right. Just make sure your hands are slightly damp so the dough doesn’t stick to you. A friend of mine uses a melon baller, and honestly, whatever works is perfect.
Preparation Method
Alright, let’s make these no-bake peanut butter energy bites. I promise you can do this with your eyes half-closed (and I have, many times).
- Grab your largest mixing bowl. Add the rolled oats, ground flaxseed, and mini chocolate chips. Give them a quick stir with your spatula to combine the dry ingredients. This step takes about 30 seconds, but it ensures everything is evenly distributed later.
- Add the peanut butter, honey, and vanilla extract. Don’t worry if it looks messy at this point—it’s supposed to. Start mixing with your spatula, pressing down firmly to incorporate everything. The dough will be thick and sticky. This is where you’ll start to smell the peanut butter and honey coming together, and honestly, it’s one of my favorite parts.
- Keep mixing until no dry spots remain. This usually takes about 2-3 minutes of serious stirring. If the mixture seems too dry, add a teaspoon of honey or a splash of water. If it’s too wet, add a tablespoon more oats. The texture should be like a thick cookie dough that holds together when you press it between your fingers.
- Taste test time. I know, I know, it’s not technically a step. But you need to check the sweetness and saltiness. If it needs more salt, add a tiny pinch. If you want it sweeter, drizzle in a little more honey. This is your recipe—make it taste like you want it to.
- Line your baking sheet or plate with parchment paper. This makes cleanup so much easier. If you don’t have parchment, just use a clean plate. The bites won’t stick too badly once they’re chilled.
- Roll the mixture into 1-inch balls. I use my cookie scoop to portion them out, then roll each one between my palms to make them round. You should get about 18-20 bites, depending on how big you make them. My kids like them smaller, like snack-sized, while I prefer them bigger—like a two-bite situation.
- Place the rolled bites on the prepared baking sheet. They can touch each other, but leave a little space so they don’t stick together. If you’re in a hurry, you can put them in the freezer for 15 minutes instead of the fridge for 30.
- Refrigerate for at least 30 minutes. This is the hardest part, I know. But trust me, they need this time to firm up. If you eat them right away, they’ll be too soft and fall apart. Chilled, they hold their shape perfectly and have that satisfying chewy texture.
- Optional: sprinkle a tiny pinch of sea salt on top of each bite before chilling. This little extra step makes them look fancy and adds that salty-sweet contrast that’s absolutely addictive.
Pro tip from someone who’s made these at least fifty times: If the mixture starts sticking to your hands too much while rolling, dampen your palms with a little water. It makes the process so much smoother. Also, if you’re making these with kids, expect the bites to be different sizes and shapes—that’s part of the charm.
Cooking Tips & Techniques
I’ve messed up these no-bake peanut butter energy bites more times than I’d like to admit. Here’s what I’ve learned so you don’t have to make the same mistakes.
The peanut butter trap. I once used a brand of natural peanut butter that was super oily because I forgot to stir it. The bites were greasy and never set properly. Always stir your natural peanut butter well, or use a processed brand that doesn’t separate. The consistency of your peanut butter directly affects how the bites hold together.
The honey situation. If your honey is too thick or crystallized, it won’t mix evenly. Microwave it for 10-15 seconds before adding it to the bowl. This small step makes a huge difference in how evenly everything combines. I learned this after finding pockets of pure honey in my first batch—still tasted good, but the texture was weird.
Chilling is non-negotiable. I know you’re hungry. I know you want to eat them immediately. But warm energy bites are sad, crumbly energy bites. Give them the full 30 minutes in the fridge. Your patience will be rewarded with perfectly firm, chewy bites that actually hold their shape.
Multitasking strategy: Make these while you’re waiting for coffee to brew or dinner to cook. The active time is only about 10 minutes, and the rest is just chilling. I often make them while my kids are eating breakfast, and by the time we’re ready for snacks, they’re perfectly set.
Consistency check: If your mixture is too dry and crumbly, add a tablespoon of peanut butter or honey. If it’s too wet and sticky, add more oats one tablespoon at a time. The perfect texture should feel like play dough—firm but pliable, and it should hold together when squeezed.
Temperature matters. On hot summer days, these bites might get a little soft if you leave them out too long. I keep them in the fridge until I’m ready to serve them, and if I’m taking them on a picnic, I pack them in a small cooler. In winter, they hold up fine at room temperature for a few hours.
Variations & Adaptations
One of the best things about this recipe is how easy it is to change up. Here are some variations I’ve tried and loved.
Vegan Option: Swap the honey for maple syrup or agave nectar. The texture will be slightly softer, so you might need to add an extra tablespoon of oats. I’ve made this version for my vegan sister-in-law, and she couldn’t tell the difference.
Nut-Free Version: Use sunflower seed butter instead of peanut butter. I’ve tested this with SunButter, and it works beautifully. The color turns a little greenish (that’s a natural reaction with sunflower seeds and baking soda—don’t panic), but the taste is fantastic. Just be aware that sunflower seed butter can be a bit runnier, so you might need extra oats.
Chocolate Lover’s Twist: Add 2 tablespoons of cocoa powder to the dry ingredients. It turns these into chocolate peanut butter bites, which is basically the greatest invention since sliced bread. I add a few extra chocolate chips on top for presentation.
Protein-Packed Version: Add 2 tablespoons of your favorite protein powder. Vanilla or chocolate both work well. You’ll need to add a splash of milk or water to balance the texture since protein powder absorbs moisture. I use vanilla whey protein, and it makes these perfect post-workout snacks.
Seasonal Variation: In the fall, I swap the chocolate chips for dried cranberries and add a teaspoon of pumpkin pie spice. In the summer, I use white chocolate chips and dried blueberries. It’s an easy way to keep the recipe feeling fresh all year round.
Gluten-Free Adaptation: Use certified gluten-free oats. That’s literally the only change. Most oats are naturally gluten-free, but they can be cross-contaminated during processing. Bob’s Red Mill makes a great gluten-free option.
My personal favorite variation? I add a tablespoon of chia seeds and a tablespoon of hemp hearts. The extra crunch and nutrition make me feel like a super healthy person, even when I’m eating what is essentially cookie dough balls for breakfast.
Serving & Storage Suggestions
These no-bake peanut butter energy bites are versatile little things. Here’s how I serve and store them for maximum enjoyment.
Serving Temperature: I prefer them straight from the fridge—they’re firm, chewy, and incredibly satisfying. But if you like a softer texture, let them sit at room temperature for about 10 minutes before eating. My husband likes them frozen, which I thought was weird until I tried it. Frozen, they’re like little peanut butter ice cream bites. So good.
Presentation Ideas: For parties, I arrange them on a wooden board with fresh fruit and dark chocolate pieces. They look beautiful next to strawberries and grapes. For lunchboxes, I pack them in small containers or reusable snack bags. They’re sturdy enough to survive being tossed in a backpack.
What to Serve With Them: These bites pair beautifully with a glass of cold milk, a hot cup of coffee, or a smoothie. I’ve also crumbled them over yogurt for breakfast—highly recommend. If you’re serving them as dessert, a drizzle of melted chocolate on top makes them feel fancy.
Storage Instructions: Keep these in an airtight container in the refrigerator for up to 2 weeks. I use a glass container with a tight-fitting lid. They also freeze beautifully for up to 3 months. To freeze, place them in a single layer on a baking sheet until solid, then transfer to a freezer bag. This prevents them from sticking together.
Reheating: You don’t really reheat these, but if you want a softer texture, microwave one for about 10 seconds. It makes the chocolate chips melty and the texture almost like warm cookie dough. Dangerous, but delicious.
Flavor Development: Honestly, these taste even better the next day. The flavors meld together, and the texture becomes more uniform. I often make a double batch on Sunday so I have them ready for the whole week. They’re one of those rare recipes that actually improves with a day of rest.
Nutritional Information & Benefits
Let’s talk about what’s actually in these little bites of goodness. I’m not a nutritionist, but I’ve done my research and I pay attention to how food makes me feel.
| Nutrient | Per Bite (approx.) |
|---|---|
| Calories | 120-140 |
| Protein | 4-5g |
| Carbohydrates | 15-18g |
| Fiber | 2-3g |
| Sugar | 8-10g |
| Fat | 6-8g |
Health Benefits: The oats provide complex carbohydrates for sustained energy, while the peanut butter offers protein and healthy fats that keep you full. Flaxseed adds omega-3 fatty acids and extra fiber, which is great for digestion. The honey gives you a quick energy boost without the crash you get from refined sugar.
Dietary Considerations: These bites are vegetarian and can easily be made vegan, gluten-free, or nut-free with simple substitutions. They’re naturally dairy-free if you use dairy-free chocolate chips. However, they do contain common allergens including peanuts and (depending on your add-ins) tree nuts.
My Personal Take: I love that these give me real energy without the sugar crash. I eat one about 30 minutes before a workout, and it gives me just enough fuel without feeling heavy. They’re also my go-to for road trips because they don’t melt or get messy. It’s comfort food that actually does something good for your body, and that’s a win in my book.
Conclusion
Look, I’m not going to tell you these no-bake peanut butter energy bites will change your life. But they might change your afternoon snack situation, and honestly, that’s kind of the same thing. They’re simple, they’re fast, and they taste like you put way more effort into them than you actually did.
What I love most about this recipe is how forgiving it is. You can use different nut butters, swap the sweetener, throw in whatever add-ins you have lying around, and they still turn out amazing. It’s the kind of recipe that makes you feel like a kitchen genius even on your most chaotic days.
I want to hear about your versions. Did you add coconut? Use almond butter? Throw in some dried cherries? Drop a comment below and tell me how they turned out. And if you make them for a party or a road trip or just a Tuesday afternoon, tag me in your photos. Nothing makes me happier than seeing these little bites bring joy to someone else’s kitchen.
Go ahead, grab that jar of peanut butter. You’ve got nothing to lose and a whole lot of delicious snacking to gain. Happy rolling, friends!
Frequently Asked Questions
Why are my energy bites too dry and crumbly?
This usually happens when the peanut butter is too thick or the oats are too dry. Add a tablespoon of honey or a splash of milk to bring the mixture together. If you’re using natural peanut butter, make sure it’s well-stirred and at room temperature.
Can I use quick oats instead of rolled oats?
You can, but the texture will be different. Quick oats absorb more moisture and can make the bites mushy. Rolled oats give you that nice chewy texture that makes these bites so satisfying. If you only have quick oats, reduce the honey slightly to compensate.
How long do these energy bites last?
In the refrigerator, they’ll stay fresh for up to 2 weeks in an airtight container. In the freezer, they’ll last up to 3 months. I honestly can’t remember ever having them go bad because they disappear so fast in my house.
Can I make these without honey?
Absolutely! Maple syrup is the best substitute—use the same amount. Agave nectar works too, but it’s sweeter so you might want to use a little less. For a sugar-free option, try a few drops of liquid stevia and add an extra tablespoon of peanut butter for binding.
My bites are too sticky to roll. What should I do?
Chill the mixture in the refrigerator for about 15 minutes before rolling. This firms up the peanut butter and makes the dough much easier to handle. You can also dampen your hands with a little water to prevent sticking. If it’s still too sticky, add a tablespoon more oats.
Pin This Recipe!
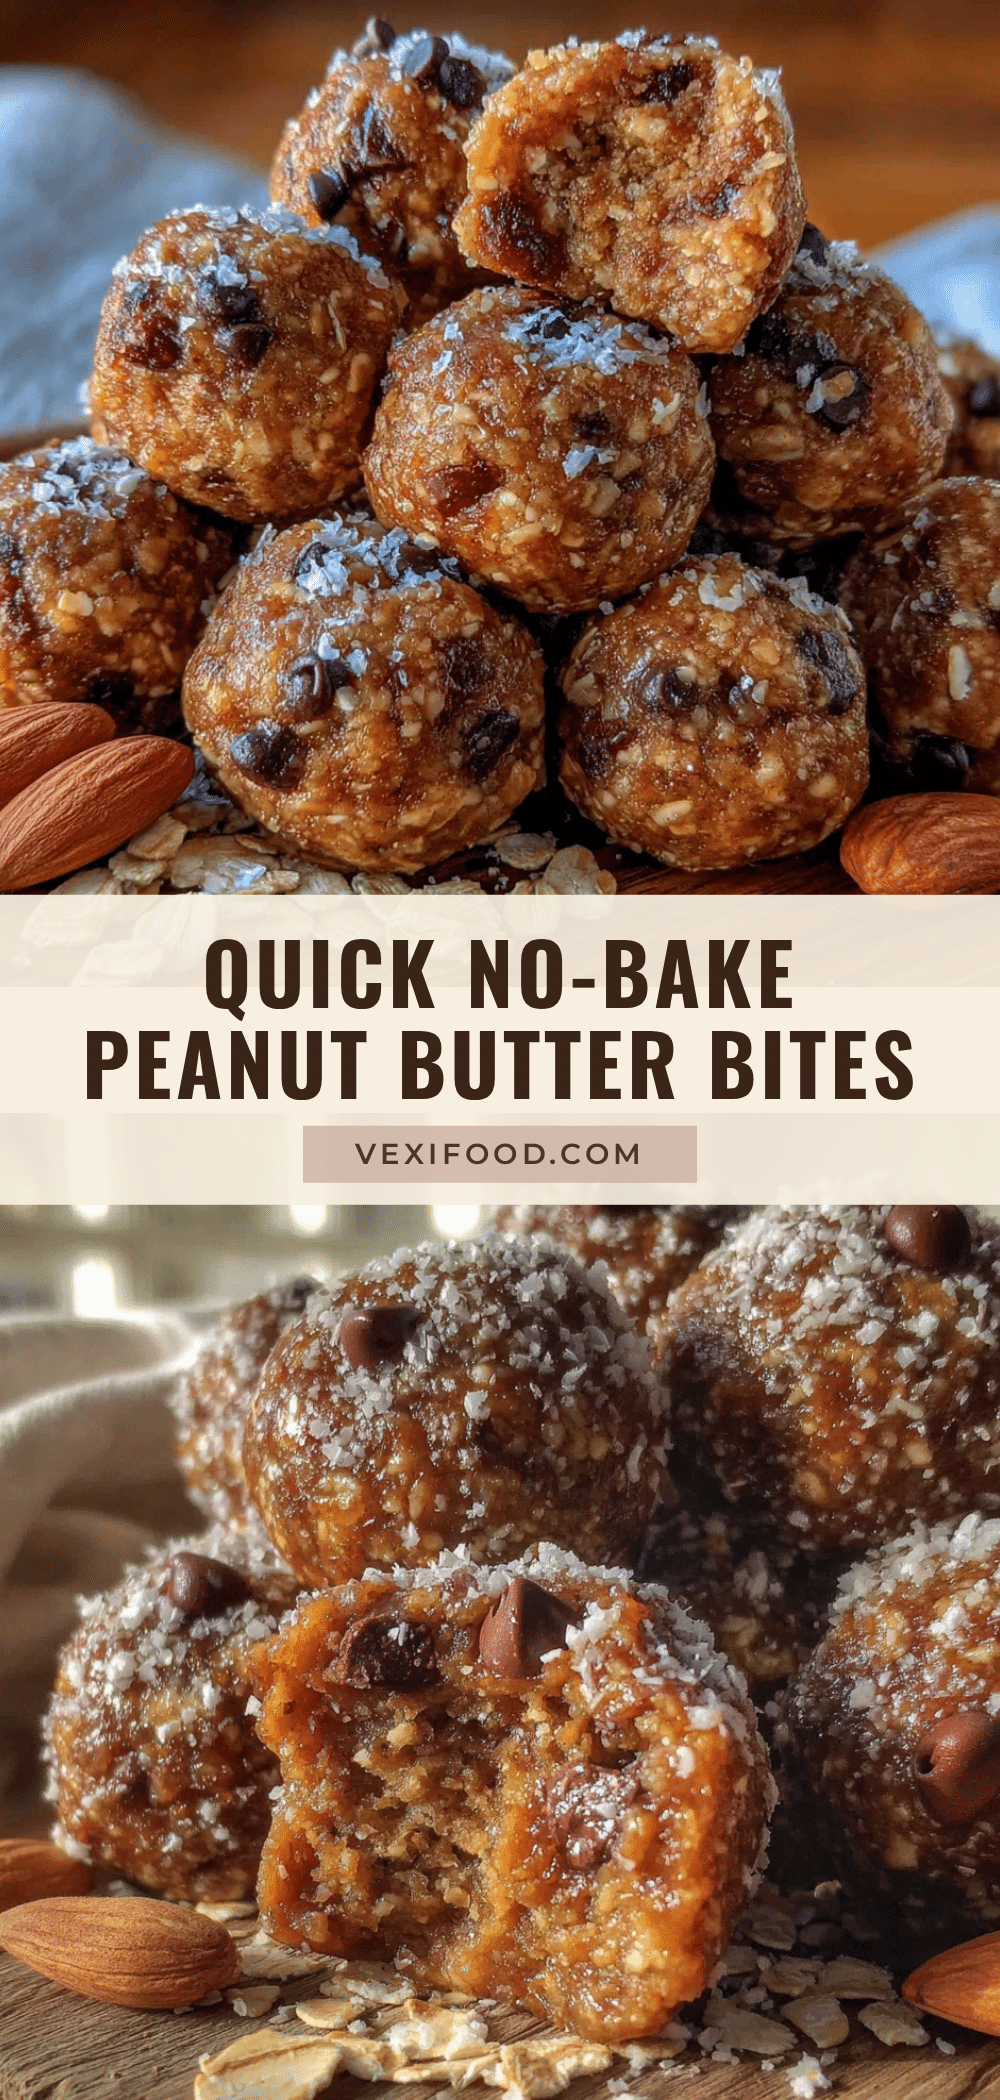
Best No-Bake Peanut Butter Energy Bites
Quick and easy no-bake peanut butter energy bites made with simple pantry ingredients. Perfect for busy days, pre-workout fuel, or a healthy snack that tastes like cookie dough.
- Prep Time: 10 minutes
- Cook Time: 0 minutes
- Total Time: 40 minutes
- Yield: 18-20 bites 1x
- Category: Snack
- Cuisine: American
Ingredients
- 1 cup old-fashioned rolled oats
- 1/2 cup creamy peanut butter
- 1/3 cup honey
- 1/2 cup mini chocolate chips
- 1/4 cup ground flaxseed
- 1/2 teaspoon vanilla extract
- Pinch of sea salt
- 1/4 cup shredded coconut (optional)
- 2 tablespoons chia seeds (optional)
- 1/4 cup chopped nuts (optional)
- 1/4 cup dried fruit (optional)
Instructions
- In a large mixing bowl, combine rolled oats, ground flaxseed, and mini chocolate chips. Stir to combine.
- Add peanut butter, honey, and vanilla extract. Mix with a spatula, pressing firmly until no dry spots remain (about 2-3 minutes). The mixture should be thick and sticky like cookie dough.
- Taste and adjust sweetness or saltiness as desired.
- Line a baking sheet or plate with parchment paper.
- Roll the mixture into 1-inch balls (about 18-20 bites) using a cookie scoop or damp hands.
- Place the rolled bites on the prepared baking sheet.
- Refrigerate for at least 30 minutes to firm up. For faster results, freeze for 15 minutes.
- Optional: Sprinkle a tiny pinch of sea salt on top of each bite before chilling.
Notes
For best results, use room temperature peanut butter and honey. If mixture is too dry, add a teaspoon of honey or water. If too wet, add more oats. Chilling is essential for the bites to hold their shape. Store in an airtight container in the refrigerator for up to 2 weeks or freeze for up to 3 months.
Nutrition
- Serving Size: 1 bite
- Calories: 120140
- Sugar: 810
- Sodium: 5080
- Fat: 68
- Saturated Fat: 23
- Carbohydrates: 1518
- Fiber: 23
- Protein: 45
Keywords: no-bake energy bites, peanut butter energy balls, healthy snacks, easy snack recipe, no-bake snacks, gluten-free snacks, vegan energy bites