Love this? Save it for later!
Share the inspiration with your friends
This was supposed to be a proper batch of chocolate chip cookies. You know, the kind you carefully scoop into perfect little rounds, chill for exactly thirty minutes, and bake in shifts so every single one comes out bakery-worthy. I had the butter softening on the counter, the good vanilla out, and my favorite cookie scoop washed and ready. Then my phone rang, the dog needed to go out, and somewhere between the chaos and a distracted glance at the timer, I realized I had pressed the entire sheet of dough into a square pan instead of scooping it. I was already late for picking up my kid, the kitchen was a mess, and I just shoved it in the oven hoping for the best. What came out was nothing like the plan — and better.
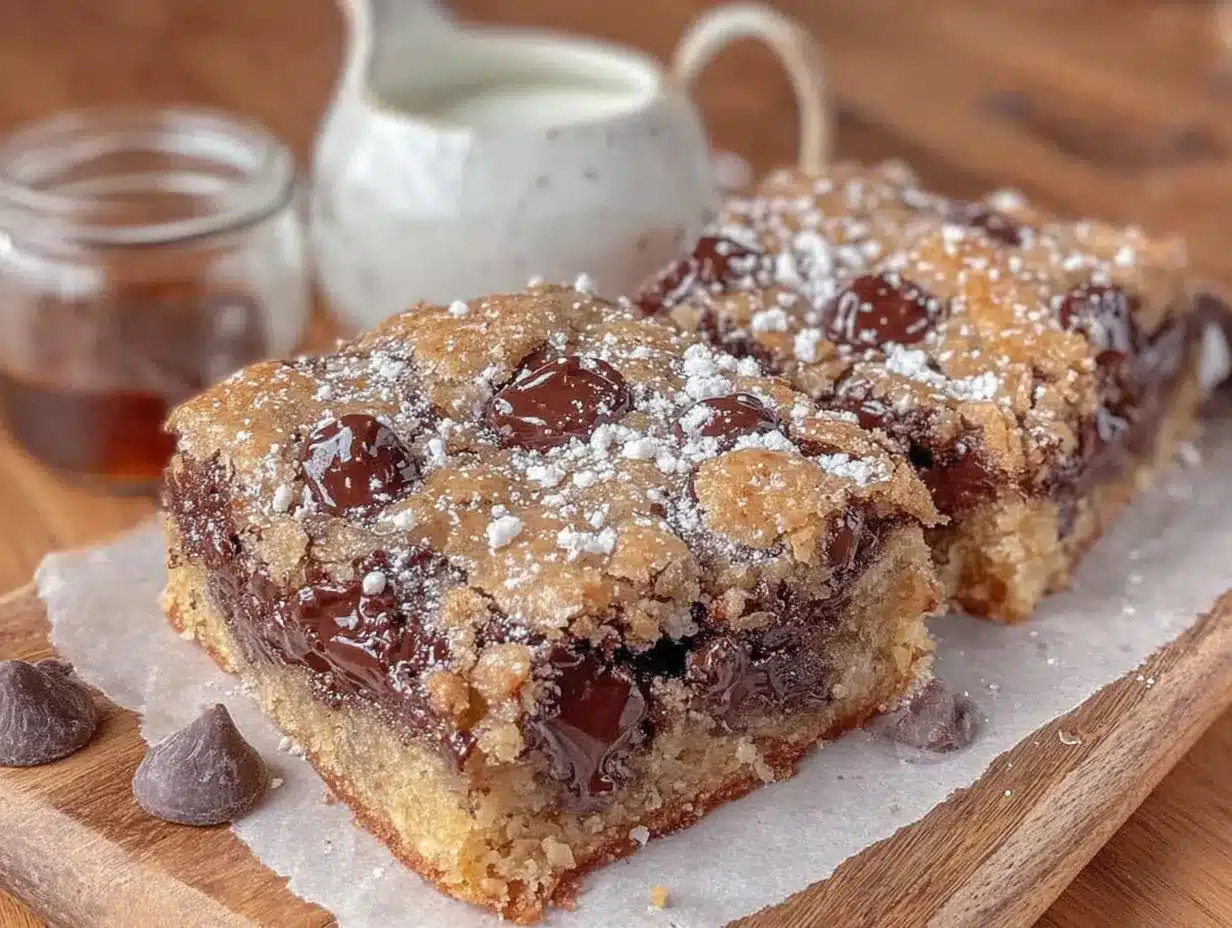
Honestly, I almost didn’t even bother with that pan. I figured I had ruined a perfectly good batch of dough and would be eating sad, flattened cookie scraps for a week. But when I pulled those cookie bars out of the oven, golden around the edges and perfectly puffed in the middle, I let them cool for exactly ten minutes before cutting into one. That first bite had this incredible texture — crisp on the outside, soft and almost fudgy in the center, with every single chocolate chip melted into little pockets of gooey goodness. I stood there at the counter, eating a warm bar with my fingers, and realized I had accidentally stumbled onto something I would make over and over again.
Maybe you have been there — you try to bake cookies, life gets in the way, and you end up with something completely different than what you intended. That is exactly how these chewy small-batch chocolate chip cookie bars came to be. They have all the flavor of a classic chocolate chip cookie but without the fuss of scooping, chilling, or baking multiple trays. One pan, one batch, and you get eight perfect bars that stay soft for days. I keep making them because they remind me that sometimes the best recipes come from the moments when you stop trying so hard and just let things happen.
Why You Will Love This Recipe
These small-batch chocolate chip cookie bars are the kind of recipe that makes you wonder why you ever bothered with individual cookies in the first place. I have tested this recipe at least a dozen times to get the texture just right — chewy edges, soft centers, and that perfect balance of buttery dough and melted chocolate in every bite. Here is why this one is different:
- Quick and Easy: From start to finish, these bars come together in under 30 minutes. No chilling the dough, no scooping individual cookies, and no waiting around for multiple batches to bake.
- Simple Ingredients: You probably have everything you need in your kitchen right now. Butter, sugar, an egg, flour, vanilla, and chocolate chips. No fancy extracts or specialty flours required.
- Perfect for Small Households: This recipe makes exactly eight bars, which means no endless cookies sitting around tempting you for days. It is the perfect amount for two people or a small family.
- Crowd-Pleaser: Every single time I bring these to a gathering, people ask for the recipe. Kids love them, adults love them, and they disappear faster than any batch of cookies I have ever made.
- Unbelievably Chewy: The texture is what sets these apart. The combination of melted butter and a slightly higher brown sugar ratio gives you that dense, chewy bite that cookie lovers dream about.
What makes this recipe my best version is the technique. I use melted butter instead of softened, which creates a denser, chewier bar without any extra effort. The bars come out perfectly every time — no spreading, no burning, and no disappointment. It is comfort food reimagined for real life: faster, simpler, but with the same soul-soothing satisfaction as a classic chocolate chip cookie.
What Ingredients You Will Need
This recipe uses simple, wholesome ingredients to deliver that perfect chewy texture and rich flavor. Most of these are pantry staples, which makes these bars perfect for those last-minute baking cravings.
- Unsalted butter – 1/2 cup (1 stick or 113g), melted and slightly cooled. I recommend using a good quality butter like Kerrygold for the richest flavor. Melting the butter is the secret to that dense, chewy texture — it creates a different structure than creaming softened butter.
- Light brown sugar – 1/2 cup (100g), packed. This is non-negotiable for chewiness. Brown sugar contains molasses, which adds moisture and that deep caramel flavor. I have tried dark brown sugar in a pinch, but light brown gives the most balanced sweetness.
- Granulated sugar – 1/4 cup (50g). Just enough to add a little crispness to the edges without making the bars too sweet. The combination of both sugars gives you the best of both worlds.
- Large egg – 1, at room temperature. Let your egg sit out for about 15 minutes before starting. A cold egg can seize the melted butter and affect the texture.
- Vanilla extract – 1 teaspoon. Use pure vanilla extract if you can — it makes a noticeable difference in flavor. I like Nielsen-Massey for its rich, floral notes.
- All-purpose flour – 1 cup plus 2 tablespoons (140g). Spoon and level your flour for the most accurate measurement. Scooping directly from the bag can pack in too much flour and make the bars dry.
- Baking soda – 1/2 teaspoon. This helps the bars rise just enough to get that soft center without puffing up too much.
- Salt – 1/2 teaspoon. I use fine sea salt. Salt balances the sweetness and enhances the chocolate flavor. Do not skip it — your bars will taste flat without it.
- Semi-sweet chocolate chips – 3/4 cup (135g). I prefer Ghirardelli or Guittard for their superior melt and flavor. If you like a more intense chocolate experience, use dark chocolate chips or chop up a good quality chocolate bar instead.
For substitutions, you can use salted butter if that is all you have — just reduce the added salt to 1/4 teaspoon. If you want a dairy-free version, substitute the butter with a high-quality vegan butter stick like Miyoko’s. The texture will be slightly different, but still delicious. And if you are out of brown sugar, you can make your own by mixing 1/2 cup granulated sugar with 1 tablespoon molasses.
Equipment Needed
You do not need anything fancy for these cookie bars, which is part of what makes them so great. Here is what you will need:
- 8×8-inch square baking pan – This is the perfect size for a small batch. I use a metal pan for the best browning, but glass works fine too. If you use glass, you may need to add a couple of minutes to the baking time.
- Parchment paper – Line your pan with parchment, leaving some overhang on two sides. This creates handles that let you lift the entire block of bars out for easy cutting. I learned this trick after struggling to get the first bar out of the pan without breaking it.
- Mixing bowls – One medium bowl for the wet ingredients and one small bowl for the dry ingredients. A glass or stainless steel bowl works best.
- Whisk – For combining the wet ingredients. A silicone spatula also works if you do not have a whisk.
- Spatula – A rubber or silicone spatula for folding in the chocolate chips and spreading the dough into the pan.
- Measuring cups and spoons – For accurate measurements. I cannot stress this enough — baking is a science, and eyeballing ingredients can lead to disappointing results.
- Kitchen scale (optional but recommended) – Weighing your flour and sugar gives you the most consistent results. I use my scale every time I make these bars.
If you do not have an 8×8 pan, you can use a 9×9 pan, but your bars will be thinner and may bake a few minutes faster. A loaf pan also works in a pinch, but the bars will be thicker and need extra baking time. I have tried both, and the 8×8 gives the best balance of chewy center and crisp edges.
Preparation Method
Follow these steps carefully, and you will have perfect chewy cookie bars every single time. The key is not to overmix the dough and to pull the bars out of the oven when they are still slightly underdone in the center.
- Preheat your oven to 350°F (175°C). Position the rack in the center of the oven. Line your 8×8 baking pan with parchment paper, leaving about 2 inches of overhang on two opposite sides. This will make it easy to lift the bars out later.
- Melt the butter. Place the 1/2 cup of butter in a microwave-safe bowl and heat in 20-second intervals until just melted. Let it cool for about 5 minutes — you want it warm, not hot. If it is too hot, it can cook the egg when you add it.
- Combine the sugars and butter. In a medium mixing bowl, whisk together the melted butter, 1/2 cup packed brown sugar, and 1/4 cup granulated sugar. Whisk until the mixture looks smooth and glossy, about 30 seconds. You will notice it starts to smell amazing at this point.
- Add the egg and vanilla. Crack the room-temperature egg into the butter-sugar mixture and add 1 teaspoon of vanilla. Whisk vigorously for about 1 minute until the mixture is pale, thick, and slightly lighter in color. This step is important — it incorporates air and helps create that chewy texture.
- Mix the dry ingredients. In a separate small bowl, whisk together 1 cup plus 2 tablespoons of all-purpose flour, 1/2 teaspoon of baking soda, and 1/2 teaspoon of salt. Make sure there are no lumps in the baking soda.
- Combine wet and dry ingredients. Pour the dry ingredients into the wet mixture. Use a rubber spatula to fold everything together gently. Stir just until you see no more streaks of flour — about 10 to 12 strokes. Overmixing at this stage will develop the gluten and make your bars tough instead of tender.
- Fold in the chocolate chips. Add 3/4 cup of semi-sweet chocolate chips to the dough. Fold them in with a few gentle strokes. Make sure they are evenly distributed, but do not overmix. The dough will be thick and slightly sticky — that is exactly what you want.
- Press the dough into the pan. Transfer the dough to your prepared 8×8 pan. Use the spatula to spread it evenly into all four corners. The dough is thick, so you may need to use slightly floured fingers to press it down into an even layer. Try to make the surface as flat as possible for even baking.
- Bake for 18 to 22 minutes. Place the pan in the preheated oven and bake until the edges are golden brown and the center looks set but still slightly soft. The top should be lightly golden, and a toothpick inserted into the center should come out with a few moist crumbs attached — not wet batter. I usually start checking at 18 minutes. The bars will continue to cook in the pan as they cool, so do not overbake them.
- Cool completely before cutting. Let the bars cool in the pan on a wire rack for at least 30 minutes. Then use the parchment overhang to lift the entire block out of the pan. Let it cool completely on the rack before slicing into 8 even bars. If you cut them while they are still warm, they will crumble. I learned this the hard way after ruining my first batch.
Cooking Tips and Techniques
After making these bars more times than I can count, I have picked up a few tricks that make a real difference in the final result. Here are the things I wish someone had told me from the start:
Do not skip the cooling time. I know it is tempting to cut into these bars while they are still warm and gooey, but trust me on this one. Letting them cool completely allows the structure to set properly. If you cut too early, you will end up with a crumbly mess instead of clean, perfect bars. Let them cool in the pan for 30 minutes, then lift them out and let them finish cooling on a rack for another 15 to 20 minutes.
Watch your baking time carefully. Every oven runs a little differently. My old oven would bake these in exactly 19 minutes, but my current one takes 21 minutes. Start checking at the 18-minute mark. Look for golden edges that have pulled away slightly from the pan, and a center that is puffed and just barely set. The top should look dry but not cracked. If the center still jiggles when you gently shake the pan, give it another minute or two.
Use a kitchen scale for the flour. This is the single biggest factor in getting consistent results. Measuring flour by volume can vary wildly depending on how you scoop it. One cup of flour can weigh anywhere from 120 to 150 grams depending on how packed it is. For these bars, you want exactly 140 grams of flour. If you do not have a scale, spoon the flour into your measuring cup and level it off with a knife — never scoop directly from the bag.
Let the butter cool properly. I made the mistake of using butter straight from the microwave once, and the egg started to cook as soon as it hit the bowl. Let your melted butter sit for at least 5 minutes before adding the other ingredients. It should feel warm to the touch but not hot. If you are unsure, touch the bottom of the bowl — if it is uncomfortably hot, wait a few more minutes.
Press the dough evenly. An uneven layer means some bars will be thicker than others, leading to uneven baking. Take the extra 30 seconds to press the dough into an even layer, making sure the corners are as thick as the center. Wet your fingers slightly with water to keep the dough from sticking to your hands.
Variations and Adaptations
One of the best things about this recipe is how easy it is to adapt. I have tried several variations over the years, and they all turned out delicious in their own way.
Double Chocolate Chip Cookie Bars: Replace 2 tablespoons of the all-purpose flour with 2 tablespoons of unsweetened cocoa powder. Use dark chocolate chips instead of semi-sweet. The result is a rich, fudgy bar that tastes like a brownie and a cookie had a baby. I made these for a friend’s birthday, and she said they were the best thing I have ever baked.
Peanut Butter Swirl Bars: After pressing the dough into the pan, drop 3 tablespoons of creamy peanut butter in small dollops across the surface. Use a knife to gently swirl the peanut butter into the dough. Bake as directed. The salty-sweet combination is absolutely addictive. Just make sure you use natural peanut butter that is well-stirred — the kind with oil on top can make the bars greasy.
Gluten-Free Version: Substitute the all-purpose flour with a 1:1 gluten-free baking flour blend that contains xanthan gum, like Bob’s Red Mill. The texture will be slightly more tender and a little less chewy, but they are still incredibly good. I tested this for a friend with celiac disease, and she could not tell the difference.
Vegan Adaptation: Use a flax egg (1 tablespoon ground flaxseed mixed with 3 tablespoons water, let sit for 5 minutes) instead of the regular egg, and substitute the butter with a high-quality vegan butter stick. The bars will be slightly less chewy and a bit more cake-like, but they still satisfy that cookie craving. I recommend using coconut sugar instead of granulated sugar for a deeper flavor.
Add-In Variations: Feel free to swap out the chocolate chips for white chocolate chips, butterscotch chips, or a mix of both. You can also fold in 1/2 cup of chopped walnuts or pecans for some crunch. My personal favorite variation is using 1/2 cup semi-sweet chips and 1/4 cup chopped toasted pecans — the nuttiness pairs beautifully with the buttery dough.
Serving and Storage Suggestions
These cookie bars are versatile enough to serve in many different ways. Here is how I recommend enjoying them and keeping them fresh.
Serving Temperature: These bars are delicious at room temperature, but I actually prefer them slightly warm. Pop a bar in the microwave for about 10 seconds, and the chocolate chips soften into melty pockets of goodness. If you want to go all out, serve them warm with a scoop of vanilla ice cream and a drizzle of caramel sauce — it is an easy dessert that looks impressive with almost no effort.
Pairing Suggestions: A cold glass of milk is the classic pairing, and for good reason. The creamy milk balances the sweetness of the bars perfectly. For a more grown-up option, these bars go beautifully with a cup of black coffee or a latte. The bitterness of the coffee cuts through the sweetness and makes each bite even more satisfying. I have also served them alongside fresh berries for a light, refreshing contrast.
Storage Instructions: Store leftover bars in an airtight container at room temperature for up to 4 days. Place a piece of bread in the container with the bars — it absorbs excess moisture and keeps the bars from drying out. Replace the bread every other day if the bars last that long. I have tested this trick, and it really works.
Freezing Instructions: These bars freeze beautifully. Wrap each bar individually in plastic wrap, then place them in a freezer-safe bag or container. They will keep for up to 3 months. To thaw, let a bar sit at room temperature for about 30 minutes, or microwave it for 15 to 20 seconds. I always keep a few bars in the freezer for those days when I need a quick treat.
Flavor Development: Interestingly, these bars taste even better the day after baking. The flavors meld together overnight, and the texture becomes even more cohesive. If you can resist eating them all on day one, you will be rewarded with an even better experience on day two.
Nutritional Information and Benefits
While these small-batch chocolate chip cookie bars are definitely a treat, there are a few redeeming qualities worth noting. Here is the estimated nutritional breakdown for one bar (based on 8 servings):
- Calories: Approximately 320
- Total Fat: 18g
- Saturated Fat: 11g
- Carbohydrates: 38g
- Sugar: 24g
- Protein: 4g
- Fiber: 1g
These bars are made with real butter and quality chocolate, which means you are getting some beneficial nutrients. Butter contains fat-soluble vitamins like A, D, E, and K2, while dark chocolate is rich in antioxidants and minerals like iron and magnesium. The brown sugar provides a small amount of molasses, which contains trace minerals like calcium and potassium.
From a wellness perspective, I believe in balance. These bars are not health food, but they are made from real ingredients with no preservatives, artificial flavors, or high-fructose corn syrup. When you bake at home, you control exactly what goes into your food. That counts for something. Enjoying a homemade treat made with love and quality ingredients is a form of self-care, and that has its own nutritional value.
For those with dietary restrictions, this recipe contains gluten, dairy, and eggs. The variations section above offers alternatives for gluten-free and vegan diets.
Conclusion
These chewy small-batch chocolate chip cookie bars have become my go-to recipe for so many reasons. They came from a happy accident in a chaotic kitchen, but they have earned a permanent place in my baking rotation through sheer deliciousness and reliability. Every time I make them, I am reminded that perfection is overrated — sometimes the best things come from letting go and seeing what happens.
I hope you give these bars a try, whether you are craving something sweet on a Tuesday night or need a last-minute dessert for a gathering. Feel free to customize them with your favorite add-ins or one of the variations I shared. That is the beauty of baking — it is meant to be adapted and made your own.
I would love to hear how yours turn out. Drop a comment below and let me know if you tried any variations or if these bars became a new favorite in your kitchen. And if you loved them as much as I do, share this recipe with a friend who needs a little sweetness in their life. Happy baking, friend!
Frequently Asked Questions
Can I make these cookie bars in a different size pan?
Yes, but the baking time will change. A 9×9 pan will give you thinner bars that bake in about 15 to 17 minutes. A loaf pan will give you thicker bars that need 25 to 28 minutes. Keep an eye on them and use the visual cues — golden edges and a set but soft center.
Why did my cookie bars turn out dry?
Dry cookie bars usually come from overbaking or using too much flour. Make sure you measure your flour correctly by spooning it into the measuring cup and leveling it off. Also, pull the bars out of the oven when the center still looks slightly underdone — they will continue to cook as they cool.
Can I use margarine instead of butter?
I do not recommend it. Margarine has a higher water content than butter, which can affect the texture and spread of the bars. Butter gives you that rich flavor and chewy texture that makes these bars so good. If you need a dairy-free option, use a high-quality vegan butter stick instead.
How do I get clean, neat cuts on my cookie bars?
Let the bars cool completely before cutting. Use a sharp chef’s knife and wipe it clean between each cut. For the cleanest edges, you can chill the bars in the refrigerator for 15 minutes before slicing. This firms up the chocolate and makes the bars easier to cut without crumbling.
Can I double this recipe?
Absolutely. To double the recipe, use a 9×13 baking pan and increase the baking time to 25 to 30 minutes. Use the same visual cues — golden edges and a set center — to determine doneness. A doubled batch makes about 16 to 20 bars, depending on how you cut them.
Pin This Recipe!
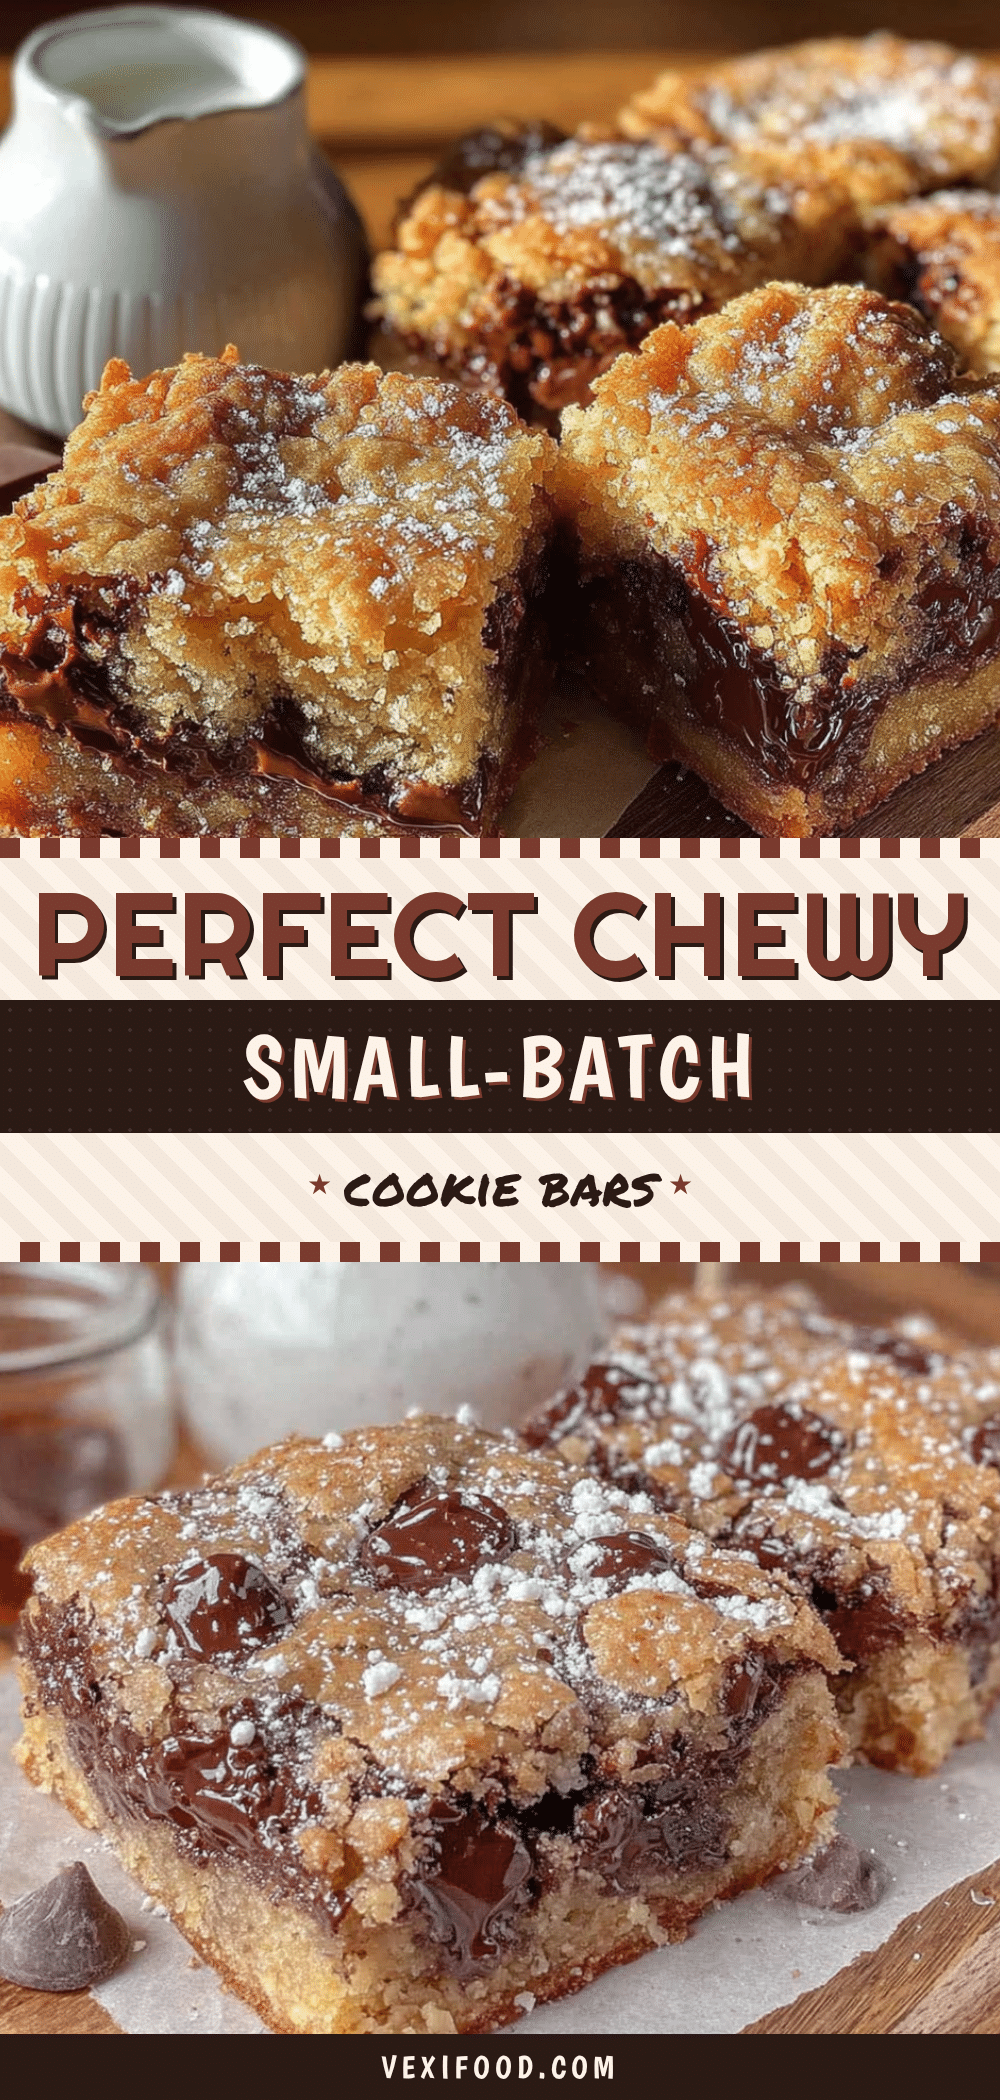
Best Small-Batch Chocolate Chip Cookie Bars Recipe
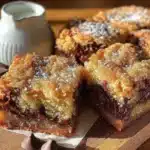
These chewy small-batch chocolate chip cookie bars are a happy accident turned go-to recipe. They have all the flavor of classic chocolate chip cookies without the fuss of scooping, chilling, or baking multiple trays. One pan, one batch, and you get eight perfect bars that stay soft for days.
- Prep Time: 10 minutes
- Cook Time: 20 minutes
- Total Time: 30 minutes
- Yield: 8 bars 1x
- Category: Dessert
- Cuisine: American
Ingredients
- 1/2 cup (1 stick or 113g) unsalted butter, melted and slightly cooled
- 1/2 cup (100g) light brown sugar, packed
- 1/4 cup (50g) granulated sugar
- 1 large egg, at room temperature
- 1 teaspoon vanilla extract
- 1 cup plus 2 tablespoons (140g) all-purpose flour
- 1/2 teaspoon baking soda
- 1/2 teaspoon fine sea salt
- 3/4 cup (135g) semi-sweet chocolate chips
Instructions
- Preheat your oven to 350°F (175°C). Position the rack in the center of the oven. Line an 8×8-inch baking pan with parchment paper, leaving about 2 inches of overhang on two opposite sides.
- Melt the butter in a microwave-safe bowl in 20-second intervals until just melted. Let it cool for about 5 minutes until warm, not hot.
- In a medium mixing bowl, whisk together the melted butter, brown sugar, and granulated sugar until smooth and glossy, about 30 seconds.
- Add the room-temperature egg and vanilla extract. Whisk vigorously for about 1 minute until the mixture is pale, thick, and slightly lighter in color.
- In a separate small bowl, whisk together the flour, baking soda, and salt.
- Pour the dry ingredients into the wet mixture. Use a rubber spatula to fold together gently just until no streaks of flour remain, about 10 to 12 strokes. Do not overmix.
- Fold in the chocolate chips with a few gentle strokes until evenly distributed.
- Transfer the dough to the prepared pan. Use the spatula or slightly floured fingers to press it into an even layer.
- Bake for 18 to 22 minutes, until the edges are golden brown and the center looks set but still slightly soft. A toothpick inserted into the center should come out with a few moist crumbs attached.
- Let the bars cool in the pan on a wire rack for at least 30 minutes. Then use the parchment overhang to lift the entire block out of the pan. Let cool completely on the rack before slicing into 8 even bars.
Notes
Do not skip the cooling time; let bars cool completely before cutting to avoid crumbling. Watch baking time carefully; start checking at 18 minutes. Use a kitchen scale for flour for consistent results. Let melted butter cool properly to avoid cooking the egg. Press dough evenly into the pan for even baking.
Nutrition
- Serving Size: 1 bar
- Calories: 320
- Sugar: 24
- Sodium: 200
- Fat: 18
- Saturated Fat: 11
- Carbohydrates: 38
- Fiber: 1
- Protein: 4
Keywords: chocolate chip cookie bars, small batch, chewy, easy, one pan, quick dessert