Love this? Save it for later!
Share the inspiration with your friends
Introduction
“The kitchen timer buzzed just as the phone rang, and honestly, it felt like the world was shaking a bit—maybe it was the earthquake cake baking away,” I joked to my friend when she asked about this recipe. This comforting Earthquake Cake with Cream Cheese Filling isn’t just a dessert; it’s a happy accident that happened on a rainy Thursday evening when I was trying to fix a broken mixer and simultaneously satisfy a sudden craving for something sweet and rich.
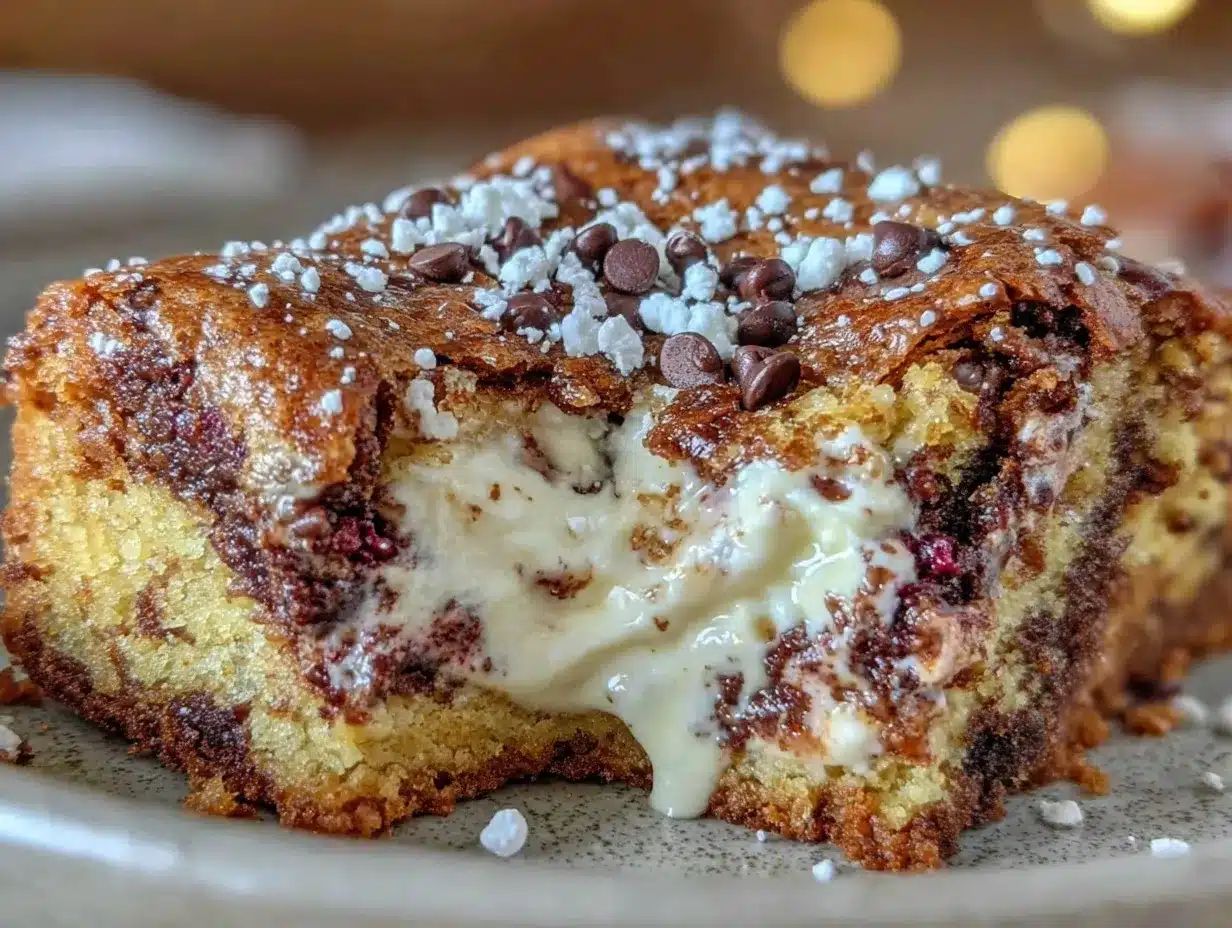
I wasn’t expecting much from this cake. In fact, I almost didn’t write down the recipe because it felt too simple to be memorable. But as it baked, the cream cheese filling melted into pockets of lusciousness, and the topping cracked and crumbled like the earth itself after a gentle tremor. The textures and flavors came together in a way that honestly surprised me. Maybe you’ve been there—those moments when a recipe you almost skipped ends up stealing the show at your next gathering.
This cake has since become my go-to comfort dessert, especially when I want something that feels both indulgent and homey. The cream cheese filling adds that creamy surprise that cuts through the sweet, buttery cake layers. Let me tell you, it’s a perfect balance that’s hard to resist. So whether you’re new to earthquake cake or looking for a version that’s a bit more special, I’m excited to share this easy and delicious recipe with you.
Why You’ll Love This Recipe
- Quick & Easy: Comes together in under 45 minutes, perfect for busy weeknights or last-minute dessert emergencies.
- Simple Ingredients: No need for fancy or hard-to-find items; most are pantry staples you probably already have.
- Perfect for Cozy Gatherings: Ideal for potlucks, family dinners, or weekend treats when you want something comforting and warm.
- Crowd-Pleaser: Always gets rave reviews from both kids and adults, thanks to the creamy filling surprise.
- Unbelievably Delicious: The combo of buttery cake, creamy filling, and crunchy topping is like a hug in dessert form.
This isn’t just another earthquake cake recipe. What sets it apart is the rich cream cheese filling that melts into the cake, creating pockets of moistness that contrast beautifully with the crisp topping. Plus, I’ve perfected the balance of spices and sweetness so it tastes just right—not too sugary, not too bland.
Honestly, this cake feels like a little slice of comfort food heaven. It’s the kind of dessert you close your eyes to savor, the kind that brings back memories of cozy kitchens and heartfelt conversations. If you’re looking for a reliable recipe that makes you feel at home—this one’s for you.
What Ingredients You Will Need
This recipe uses simple, wholesome ingredients to deliver bold flavor and satisfying texture without the fuss. The ingredients are mostly pantry staples, with a few fresh items that add richness and depth.
- For the Cake Batter:
- 2 cups all-purpose flour (I recommend King Arthur Flour for best texture)
- 1 ½ teaspoons baking powder
- ½ teaspoon salt
- 1 cup granulated sugar
- 1 cup unsalted butter, melted and slightly cooled (adds richness)
- 1 cup buttermilk, room temperature (or 1 cup milk + 1 tablespoon lemon juice)
- 2 large eggs, room temperature
- 1 teaspoon vanilla extract
- ½ teaspoon ground cinnamon (optional, but adds a warm touch)
- For the Cream Cheese Filling:
- 8 ounces cream cheese, softened (I find Philadelphia brand works best for smoothness)
- ½ cup granulated sugar
- 1 large egg
- 1 teaspoon vanilla extract
- For the Topping:
- 1 cup chopped pecans or walnuts (toasted if you want extra flavor)
- ½ cup sweetened shredded coconut (adds texture and a hint of chewiness)
- ½ cup brown sugar, packed
- ¼ cup unsalted butter, melted
Substitution tips: For a gluten-free option, you can swap the all-purpose flour with a 1-to-1 gluten-free flour blend. If dairy is an issue, try using dairy-free cream cheese and coconut milk instead of buttermilk. The coconut topping can be omitted or replaced with extra nuts if you prefer.
Equipment Needed
- 9×13 inch baking pan (glass or metal; I prefer glass because it helps the cake bake evenly)
- Mixing bowls (one large for batter, one medium for cream cheese filling)
- Electric mixer or hand whisk (an electric mixer makes cream cheese filling super smooth)
- Measuring cups and spoons (for precise ingredient amounts)
- Spatula or wooden spoon (for mixing and folding batter)
- Cooling rack (to let the cake cool properly after baking)
If you don’t have an electric mixer, a sturdy whisk and some patience will work just fine for the cream cheese filling. Also, a silicone spatula is great for scraping every bit of batter from the bowl—trust me, it makes cleanup easier!
Preparation Method
- Preheat your oven to 350°F (175°C). Grease your 9×13 inch pan with butter or non-stick spray. This helps the cake release easily once baked. (Approx. 10 minutes prep)
- Prepare the cake batter: In a large bowl, whisk together 2 cups all-purpose flour, 1 ½ teaspoons baking powder, ½ teaspoon salt, and ½ teaspoon cinnamon if using. Set aside.
- Mix wet ingredients: In another bowl, combine 1 cup melted butter, 1 cup granulated sugar until well blended. Add 2 large eggs one at a time, beating after each addition. Stir in 1 teaspoon vanilla extract.
- Combine wet and dry: Gradually add the dry ingredients to the wet mixture alternating with 1 cup buttermilk, beginning and ending with the dry ingredients. Mix just until combined—don’t overmix or the cake might turn tough. The batter should be thick but pourable. (Tip: If your batter feels too stiff, add a splash more buttermilk.)
- Spread the batter evenly in the prepared pan. Use a spatula to smooth the top.
- Make the cream cheese filling: In a medium bowl, beat 8 ounces softened cream cheese with ½ cup sugar until smooth. Add 1 egg and 1 teaspoon vanilla extract, mixing until creamy and lump-free.
- Dollop spoonfuls of the cream cheese mixture over the cake batter. Gently swirl the filling into the batter using a knife or skewer to create marbled pockets—don’t fully mix it in.
- Prepare the topping: In a small bowl, combine 1 cup chopped nuts, ½ cup shredded coconut, ½ cup brown sugar, and ¼ cup melted butter. Sprinkle this mixture evenly over the cake.
- Bake for 45-50 minutes, or until the cake is golden brown, the topping is bubbly, and a toothpick inserted near the center comes out with a few moist crumbs but no raw batter.
- Cool completely on a wire rack before cutting. This helps the cream cheese filling set and makes slicing easier.
Personally, I’ve learned that if you bake it too long, the cream cheese pockets dry out, so keep an eye from the 40-minute mark. Also, a little mess while swirling the filling is totally normal—just part of the charm of earthquake cake!
Cooking Tips & Techniques
One of the trickiest parts of this recipe is getting the cream cheese filling just right. Use softened cream cheese to avoid lumps and beat it well with sugar and egg until silky smooth. If the cream cheese is cold, it won’t mix evenly and you’ll get pockets of uneven texture.
When swirling the filling into the batter, resist the urge to mix too vigorously. You want those distinct cream cheese pockets that give the cake its signature texture. A gentle swirl with a butter knife works best.
Also, toasting your nuts beforehand really ups the flavor game. I usually toss them in a dry skillet for a few minutes until fragrant and slightly darkened.
Timing is key with the topping. Adding it too early or too thick can cause sogginess or overly crunchy patches. I like to sprinkle it evenly and not press it down, letting it melt into a crunchy layer as it bakes.
Finally, patience is your friend. Let the cake cool completely before slicing—rushing this step often leads to a messy cut and cream cheese oozing everywhere.
Variations & Adaptations
- Chocolate Twist: Add ½ cup mini chocolate chips to the batter for extra indulgence. The cream cheese filling pairs beautifully with melty chocolate.
- Seasonal Fruit: Fold in 1 cup fresh or frozen berries into the batter for a fruity surprise. Blueberries or raspberries work great, especially in spring and summer.
- Nut-Free Version: Omit nuts from the topping and increase the shredded coconut for texture. You can also use sunflower seeds if you want a crunchy alternative.
- Dairy-Free Adaptation: Use dairy-free cream cheese and plant-based milk instead of buttermilk. The texture will be slightly different but still satisfyingly creamy.
- Personal Favorite: One time, I swapped half the brown sugar topping for maple syrup and pecans—resulting in a slightly stickier, deeply flavorful crust that was a total hit at a fall gathering.
Serving & Storage Suggestions
This comforting earthquake cake is best served at room temperature to keep the cream cheese filling soft and luscious. It pairs wonderfully with a scoop of vanilla ice cream or a dollop of freshly whipped cream for an extra special treat.
For beverages, a cup of strong coffee or a lightly spiced chai tea complements the warm spices and rich flavors beautifully.
Store leftovers covered tightly in the refrigerator for up to 4 days. The flavors actually deepen overnight, making it an even better next-day treat. To reheat, microwave individual slices for about 15-20 seconds or warm in a low oven (300°F/150°C) for 10 minutes, uncovered.
If you want to freeze it, wrap tightly in plastic wrap and foil, then freeze for up to 2 months. Thaw overnight in the fridge before serving.
Nutritional Information & Benefits
Estimated per slice (based on 12 servings): 320 calories, 18g fat, 35g carbohydrates, 4g protein.
This recipe delivers a comforting dose of calcium and protein from the cream cheese and eggs, while the nuts add heart-healthy fats and a satisfying crunch. Using buttermilk or a milk-lemon juice combo adds a slight tang and tender crumb without unnecessary additives.
While it’s a treat, opting for quality ingredients like unsalted butter and real vanilla extract makes a difference in flavor and nutrition. For those watching carbs, you can try swapping flour for almond flour, but keep in mind texture will change.
Overall, it’s a dessert that feels indulgent but can fit into a balanced diet when enjoyed in moderation.
Conclusion
Comforting Earthquake Cake with Cream Cheese Filling is one of those recipes that brings a smile with every bite. It’s easy enough for a weeknight dessert but special enough for celebrations. I love how the cream cheese filling surprises you with its creamy pockets, while the crunchy topping adds just the right texture contrast.
Feel free to tweak the nuts, spices, or fillings to suit your tastes—this recipe is forgiving and welcoming to your creativity. Honestly, it’s become a staple in my kitchen, the kind of cake I reach for when I want a little comfort after a long day.
Give it a try, and let me know how it turns out in the comments. Your feedback and variations always make my day! Happy baking and even happier eating.
FAQs about Comforting Earthquake Cake with Cream Cheese Filling
What is earthquake cake?
Earthquake cake is a layered dessert with a moist cake base, cream cheese filling swirled in, and a crunchy topping that “cracks” as it bakes—hence the name.
Can I make this cake ahead of time?
Yes! It actually tastes better the next day once the flavors meld. Just store it covered in the fridge and bring it to room temperature before serving.
What can I substitute for buttermilk?
Mix 1 cup milk with 1 tablespoon lemon juice or white vinegar. Let it sit for 5 minutes before using.
Can I use a different type of nut?
Absolutely. Pecans, walnuts, almonds, or even hazelnuts work well. Toasting them enhances their flavor.
Is this recipe suitable for beginners?
Definitely! The steps are straightforward, and the recipe is forgiving if you follow the basic instructions.
For more cozy desserts, you might enjoy my classic apple crisp recipe or the creamy vanilla bean panna cotta that pairs beautifully with fresh fruit.
Pin This Recipe!
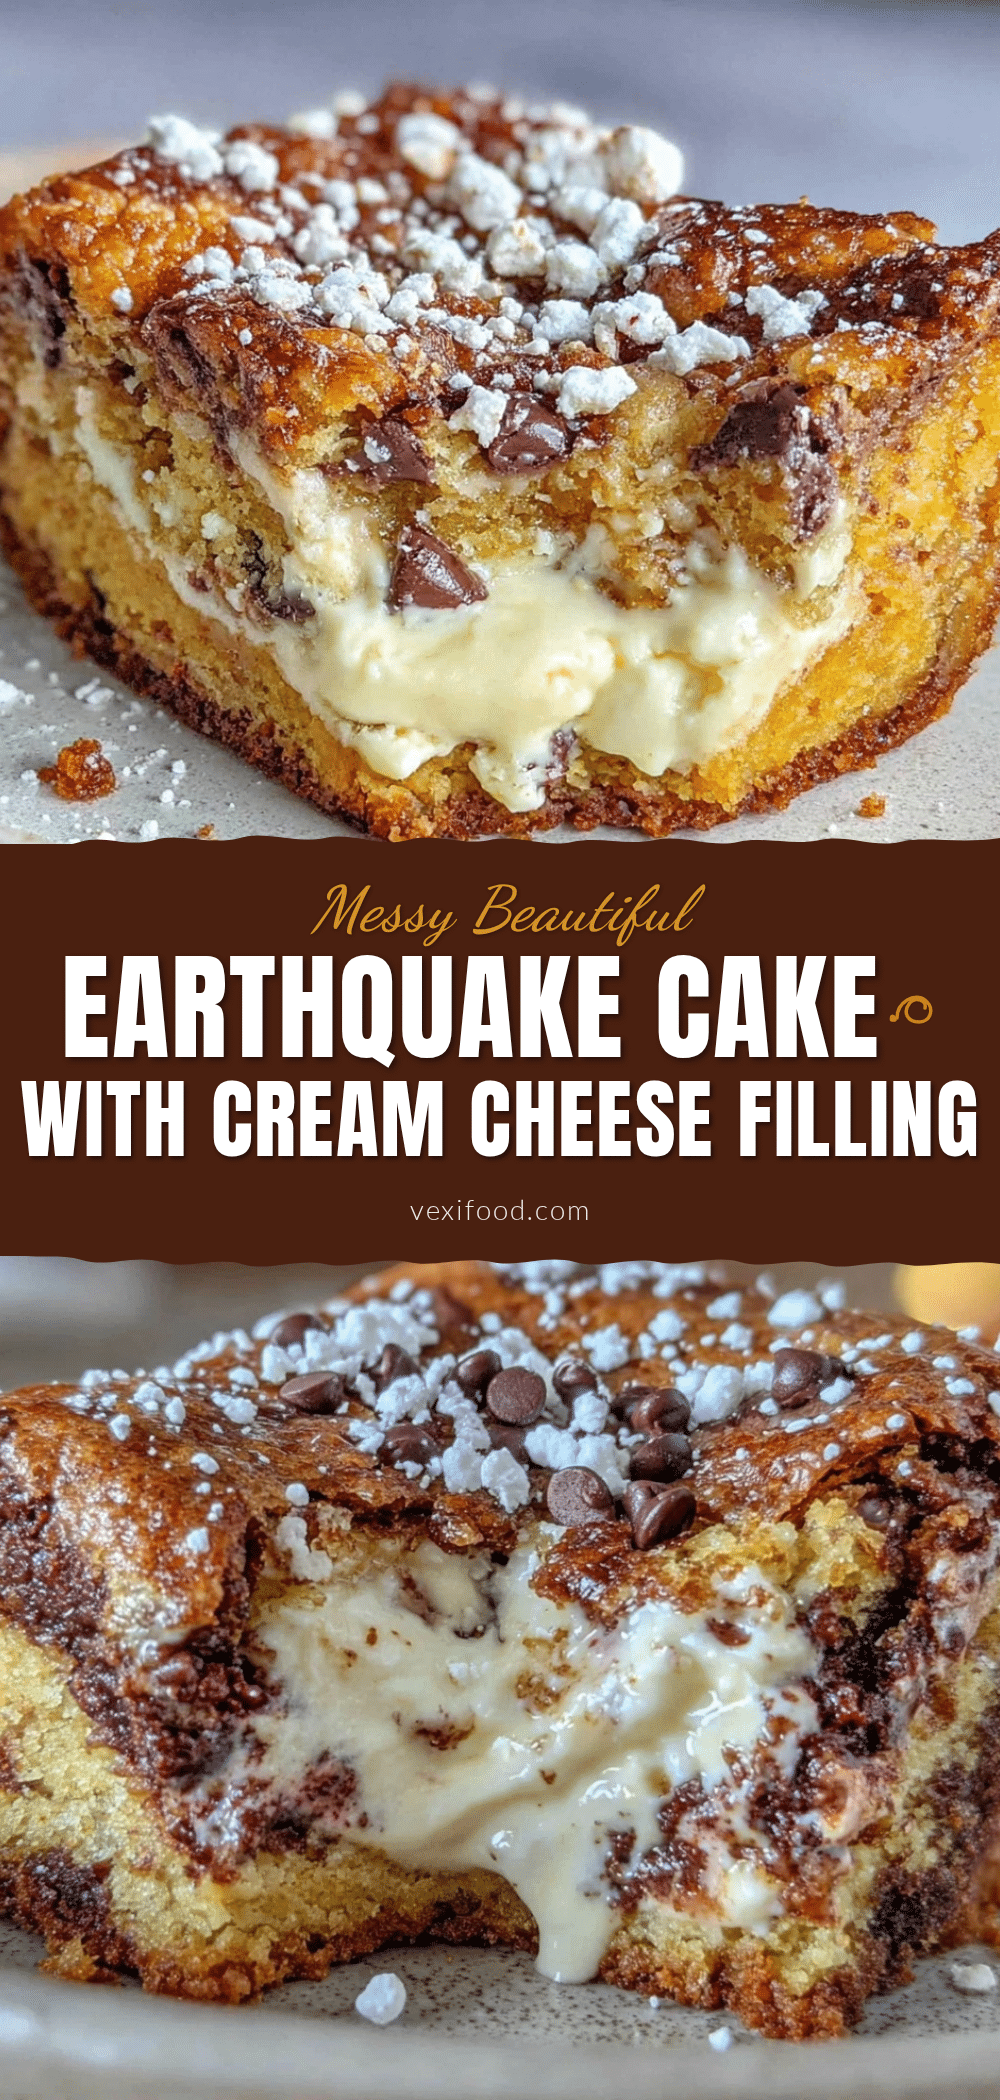
Comforting Earthquake Cake Recipe with Cream Cheese Filling Easy and Delicious

A comforting earthquake cake featuring a rich cream cheese filling that melts into pockets of lusciousness, topped with a crunchy nut and coconut layer. This easy and delicious dessert is perfect for cozy gatherings and quick weeknight treats.
- Prep Time: 10 minutes
- Cook Time: 45-50 minutes
- Total Time: 55-60 minutes
- Yield: 12 servings 1x
- Category: Dessert
- Cuisine: American
Ingredients
- 2 cups all-purpose flour
- 1 ½ teaspoons baking powder
- ½ teaspoon salt
- 1 cup granulated sugar
- 1 cup unsalted butter, melted and slightly cooled
- 1 cup buttermilk, room temperature (or 1 cup milk + 1 tablespoon lemon juice)
- 2 large eggs, room temperature
- 1 teaspoon vanilla extract
- ½ teaspoon ground cinnamon (optional)
- 8 ounces cream cheese, softened
- ½ cup granulated sugar
- 1 large egg
- 1 teaspoon vanilla extract
- 1 cup chopped pecans or walnuts (toasted if desired)
- ½ cup sweetened shredded coconut
- ½ cup brown sugar, packed
- ¼ cup unsalted butter, melted
Instructions
- Preheat your oven to 350°F (175°C). Grease a 9×13 inch baking pan with butter or non-stick spray.
- In a large bowl, whisk together flour, baking powder, salt, and cinnamon if using. Set aside.
- In another bowl, combine melted butter and granulated sugar until well blended. Add eggs one at a time, beating after each addition. Stir in vanilla extract.
- Gradually add the dry ingredients to the wet mixture alternating with buttermilk, beginning and ending with the dry ingredients. Mix just until combined; batter should be thick but pourable.
- Spread the batter evenly in the prepared pan using a spatula.
- In a medium bowl, beat softened cream cheese with sugar until smooth. Add egg and vanilla extract, mixing until creamy and lump-free.
- Dollop spoonfuls of the cream cheese mixture over the cake batter. Gently swirl the filling into the batter using a knife or skewer to create marbled pockets without fully mixing.
- In a small bowl, combine chopped nuts, shredded coconut, brown sugar, and melted butter. Sprinkle this mixture evenly over the cake.
- Bake for 45-50 minutes or until the cake is golden brown, topping is bubbly, and a toothpick inserted near the center comes out with a few moist crumbs but no raw batter.
- Cool completely on a wire rack before cutting to allow the cream cheese filling to set.
Notes
Use softened cream cheese for a smooth filling. Gently swirl the cream cheese filling to create marbled pockets without fully mixing. Toast nuts beforehand for enhanced flavor. Let the cake cool completely before slicing to avoid messy cuts. For gluten-free, substitute flour with a 1-to-1 gluten-free blend. For dairy-free, use dairy-free cream cheese and plant-based milk.
Nutrition
- Serving Size: 1 slice (1/12th of c
- Calories: 320
- Fat: 18
- Carbohydrates: 35
- Protein: 4
Keywords: earthquake cake, cream cheese filling, easy dessert, comforting cake, nut topping, coconut, quick cake recipe, crowd-pleaser