Love this? Save it for later!
Share the inspiration with your friends
It was just past midnight on a random Thursday when that unmistakable craving hit me—something tangy, creamy, and utterly refreshing. I didn’t have a full pantry of dessert ingredients, honestly, just the basics and a couple of limes that had been sitting on the counter for a week. I figured, why not try to whip up a quick treat? The kitchen was dim, the clock ticking, and with a few unexpected swaps and a dash of improvisation, these Creamy Key Lime Pie Bars with Zesty Fresh Lime came to life. I remember almost dropping the measuring cup (classic me!) but the payoff was worth every little kitchen mishap.
Maybe you’ve been there too—hungry, tired, and hoping for a simple dessert that feels like a mini vacation in every bite. The bars turned out so creamy and zingy, with just the right balance of sweet and tart, that they quickly became a staple whenever I needed a quick pick-me-up or a casual treat to share. Let me tell you, this recipe isn’t just about dessert; it’s a slice of sunshine you can make anytime, no stress, no fancy tools, just pure joy.
This recipe stuck with me not only because it’s foolproof and fast but because it captures that perfect summertime vibe—bright, fresh, and soothing all at once. Whether you’re a longtime lime lover or just curious about trying something new, these bars promise a deliciously creamy experience with a zesty twist that’s hard to forget.
Why You’ll Love This Recipe
- Quick & Easy: Ready in under 45 minutes, perfect for busy evenings or last-minute dessert cravings.
- Simple Ingredients: Uses pantry staples and fresh limes you can find year-round without hunting specialty stores.
- Perfect for Summer Gatherings: Ideal for picnics, barbecues, or casual weekend treats that everyone will rave about.
- Crowd-Pleaser: Kids and adults alike adore the sweet-tart combo and creamy texture.
- Unbelievably Delicious: The smooth, tangy filling balances perfectly with a buttery crust for that classic Key lime pie feel in bar form.
What makes these Creamy Key Lime Pie Bars stand out? It’s the little things—like using fresh squeezed lime juice (not bottled) for that sharp, zesty flavor burst, and blending the filling until ultra-smooth for a melt-in-your-mouth texture. Plus, the crust has just enough crunch without overpowering the softness of the lime layer. Honestly, this recipe is my go-to when I want something that feels both indulgent and refreshingly light. It’s like comfort food with a citrusy personality.
What Ingredients You Will Need
This recipe uses simple, wholesome ingredients to deliver bold flavor and satisfying texture without the fuss. Most of these items are probably already sitting in your kitchen, and the fresh limes add that unmistakable zing that truly makes these bars sing.
- For the crust:
- 1 ½ cups graham cracker crumbs (about 10 full sheets, finely crushed)
- 6 tablespoons unsalted butter, melted (I prefer Kerrygold for creaminess)
- 2 tablespoons granulated sugar
- For the filling:
- 4 large eggs, room temperature (helps the filling set nicely)
- 1 can (14 oz / 396 g) sweetened condensed milk (Nestlé’s is a classic choice)
- ½ cup fresh key lime juice (or regular lime juice if key limes are unavailable)
- Zest of 2 limes (adds extra zing and aroma)
- Pinch of salt (balances the sweetness)
- For garnish (optional):
- Whipped cream or coconut whipped cream
- Thin lime slices or extra lime zest
If you want a gluten-free version, swap the graham cracker crumbs for almond flour or gluten-free cookie crumbs. For a dairy-free option, try using coconut condensed milk alternatives and coconut oil instead of butter. Just remember, fresh lime juice is non-negotiable here—it’s the soul of the recipe.
Equipment Needed
- 8×8-inch (20×20 cm) baking pan—glass or metal works fine; I prefer glass for even baking
- Mixing bowls (one large for crust, one medium for filling)
- Electric mixer or whisk (an electric hand mixer speeds things up, but a sturdy whisk works too)
- Citrus juicer or reamer (makes extracting fresh lime juice easier and less messy)
- Microplane or fine grater (for zesting the limes)
- Rubber spatula (for scraping down the bowl)
- Measuring cups and spoons
If you don’t have a citrus juicer, a fork can do the job—just press and twist inside the halved lime. For zesting without a microplane, use the smallest holes on a box grater carefully. These small tools make a big difference but don’t stress if you’re improvising. I once made these bars with a blunt knife for zesting—definitely messier but still tasty!
Preparation Method
- Preheat your oven to 350°F (175°C). Line your 8×8-inch baking pan with parchment paper, leaving an overhang on two sides for easy removal later.
- Make the crust: In a large bowl, combine the graham cracker crumbs, melted butter, and sugar. Stir until the mixture looks like wet sand and holds together when pressed.
- Press the crust evenly into the bottom of your prepared pan using the back of a spoon or your fingers. Don’t press too hard—just firm enough to hold shape.
- Bake the crust for 8 to 10 minutes, until it’s lightly golden and fragrant. Set aside to cool slightly while preparing the filling.
- Prepare the filling: In a medium bowl, whisk the eggs until smooth. Add the sweetened condensed milk, fresh lime juice, lime zest, and a pinch of salt. Mix well until everything is fully combined and glossy.
- Pour the filling over the warm crust, spreading it out evenly with a spatula.
- Bake for 15 to 18 minutes or until the filling is just set but still slightly jiggly in the center (it will continue to firm up as it cools).
- Cool completely at room temperature, then refrigerate for at least 2 hours (overnight is even better for firm, sliceable bars).
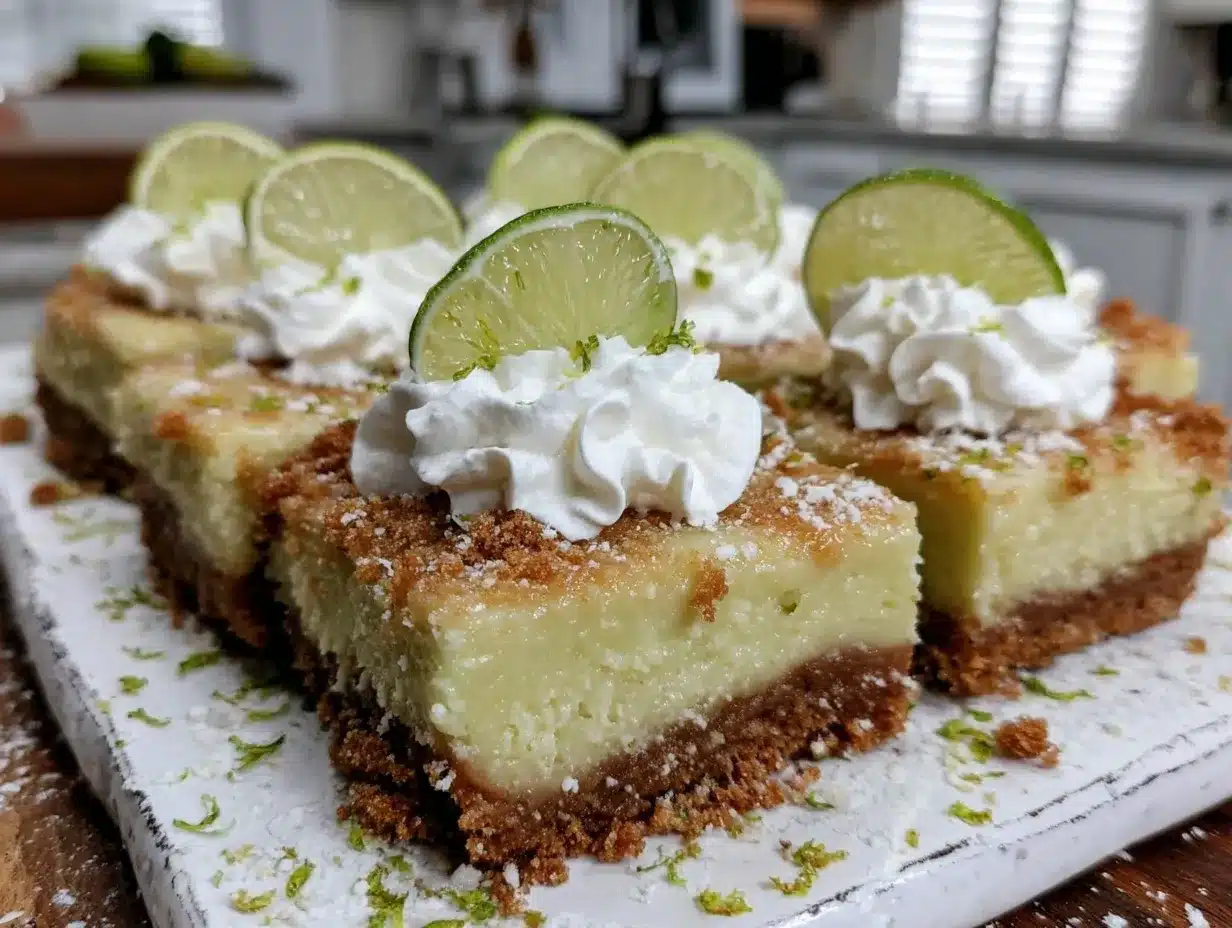
- Once chilled, lift bars out using the parchment overhang. Cut into 12 squares with a sharp knife (warm the knife under hot water and dry it for smooth cuts).
- Garnish as desired with whipped cream and lime slices before serving.
Watch out—if you overbake, the filling will crack or dry out, so keep an eye on it in that last few minutes. The smell of fresh lime and baked crust is such a tease, trust me. Also, don’t skip the chilling step; it really helps those bars hold their shape and intensifies the flavor.
Cooking Tips & Techniques
Whisk the eggs gently to avoid incorporating too much air, which can cause cracks in the filling. When mixing the filling ingredients, make sure everything is well combined but don’t overbeat.
The secret to the perfect crust texture is melting the butter completely and mixing thoroughly with the crumbs. If you notice the crust is crumbly after baking, try pressing it down more firmly before baking next time.
When zesting, only grate the green outer skin to avoid the bitter white pith underneath. Fresh zest adds a fragrant citrus punch that bottled extracts can’t match.
Timing is everything—bake the filling until it’s just set to keep it creamy. Let it cool gradually; sudden temperature changes can cause cracks or separation.
If multitasking, prepare the crust and pop it in the oven first, then mix the filling while it bakes. This way, everything flows smoothly without waiting around.
For consistent bars, use a ruler to score the top gently before chilling, then cut along the lines after chilling fully. This keeps edges neat and uniform.
Variations & Adaptations
- Dairy-Free Version: Use coconut condensed milk and swap butter for coconut oil in the crust. The coconut flavor pairs surprisingly well with lime.
- Key Lime and Coconut Bars: Add ½ cup shredded unsweetened coconut to the crust or sprinkle some on top for texture and tropical flair.
- Low-Sugar Option: Substitute the sweetened condensed milk with a homemade blend using evaporated milk and your favorite sugar substitute, adjusting sweetness to taste.
- Chocolate Twist: Mix 2 tablespoons cocoa powder into the crust for a subtle chocolate-lime contrast.
- Seasonal Berry Garnish: Top bars with fresh raspberries or blueberries during summer for added color and freshness.
I once made these bars with Meyer lemons instead of limes—different but delightful, a little sweeter and floral. Feel free to experiment based on what’s freshest or what suits your taste buds best.
Serving & Storage Suggestions
Serve chilled for the creamiest texture and brightest flavor. These bars pair beautifully with a light cup of coffee or an iced green tea. For parties, arrange them on a pretty platter with extra lime zest sprinkled on top—it makes a simple presentation feel special.
Store leftovers in an airtight container in the refrigerator for up to 4 days. You can freeze the bars for up to one month by wrapping them tightly—just thaw in the fridge overnight before serving.
Reheat? Honestly, these are best cold, but if you prefer, let them sit at room temperature for 10-15 minutes to soften slightly before eating. Over time, the flavors meld and deepen, so leftovers might even taste better the next day.
Nutritional Information & Benefits
Each serving offers approximately 220 calories, with 9g fat, 28g carbohydrates, and 4g protein. The fresh lime juice provides a good dose of vitamin C, supporting immunity and skin health.
This dessert is gluten-containing unless you swap the crust as mentioned, and contains dairy and eggs, so keep that in mind for allergies.
From my wellness perspective, this recipe balances indulgence and freshness nicely—satisfying your sweet tooth without feeling heavy or overly processed.
Conclusion
These Creamy Key Lime Pie Bars with Zesty Fresh Lime are a perfect example of how a few simple ingredients can come together into something truly memorable. Whether you’re whipping them up for a casual snack or impressing friends at a summer get-together, they’re bound to delight.
Don’t be afraid to put your personal spin on the recipe—swap crusts, add zest, or try different citrus fruits. I love making these bars because they remind me that sometimes the best desserts come from a spontaneous craving and a little bit of kitchen messiness.
If you give this recipe a try, I’d love to hear how you made it your own! Drop a comment or share your zesty moments below—let’s keep the lime love going!
Frequently Asked Questions
Can I use regular limes instead of key limes?
Absolutely! Regular limes work just fine and are more widely available. You’ll still get that fresh, tangy flavor that makes these bars special.
How do I store leftover key lime pie bars?
Keep them in an airtight container in the fridge for up to 4 days. For longer storage, freeze them wrapped tightly and thaw overnight in the fridge before serving.
Can I make these bars ahead of time?
Yes! They taste even better after chilling overnight when the flavors have time to meld and the filling firms up nicely.
What can I substitute for graham cracker crumbs?
You can use crushed digestive biscuits, gluten-free cookie crumbs, or even almond flour for a gluten-free option.
Is it necessary to use sweetened condensed milk?
Yes, it’s key to the creamy texture and sweetness. If dairy-free, try canned coconut condensed milk alternatives found in specialty stores.
Pin This Recipe!
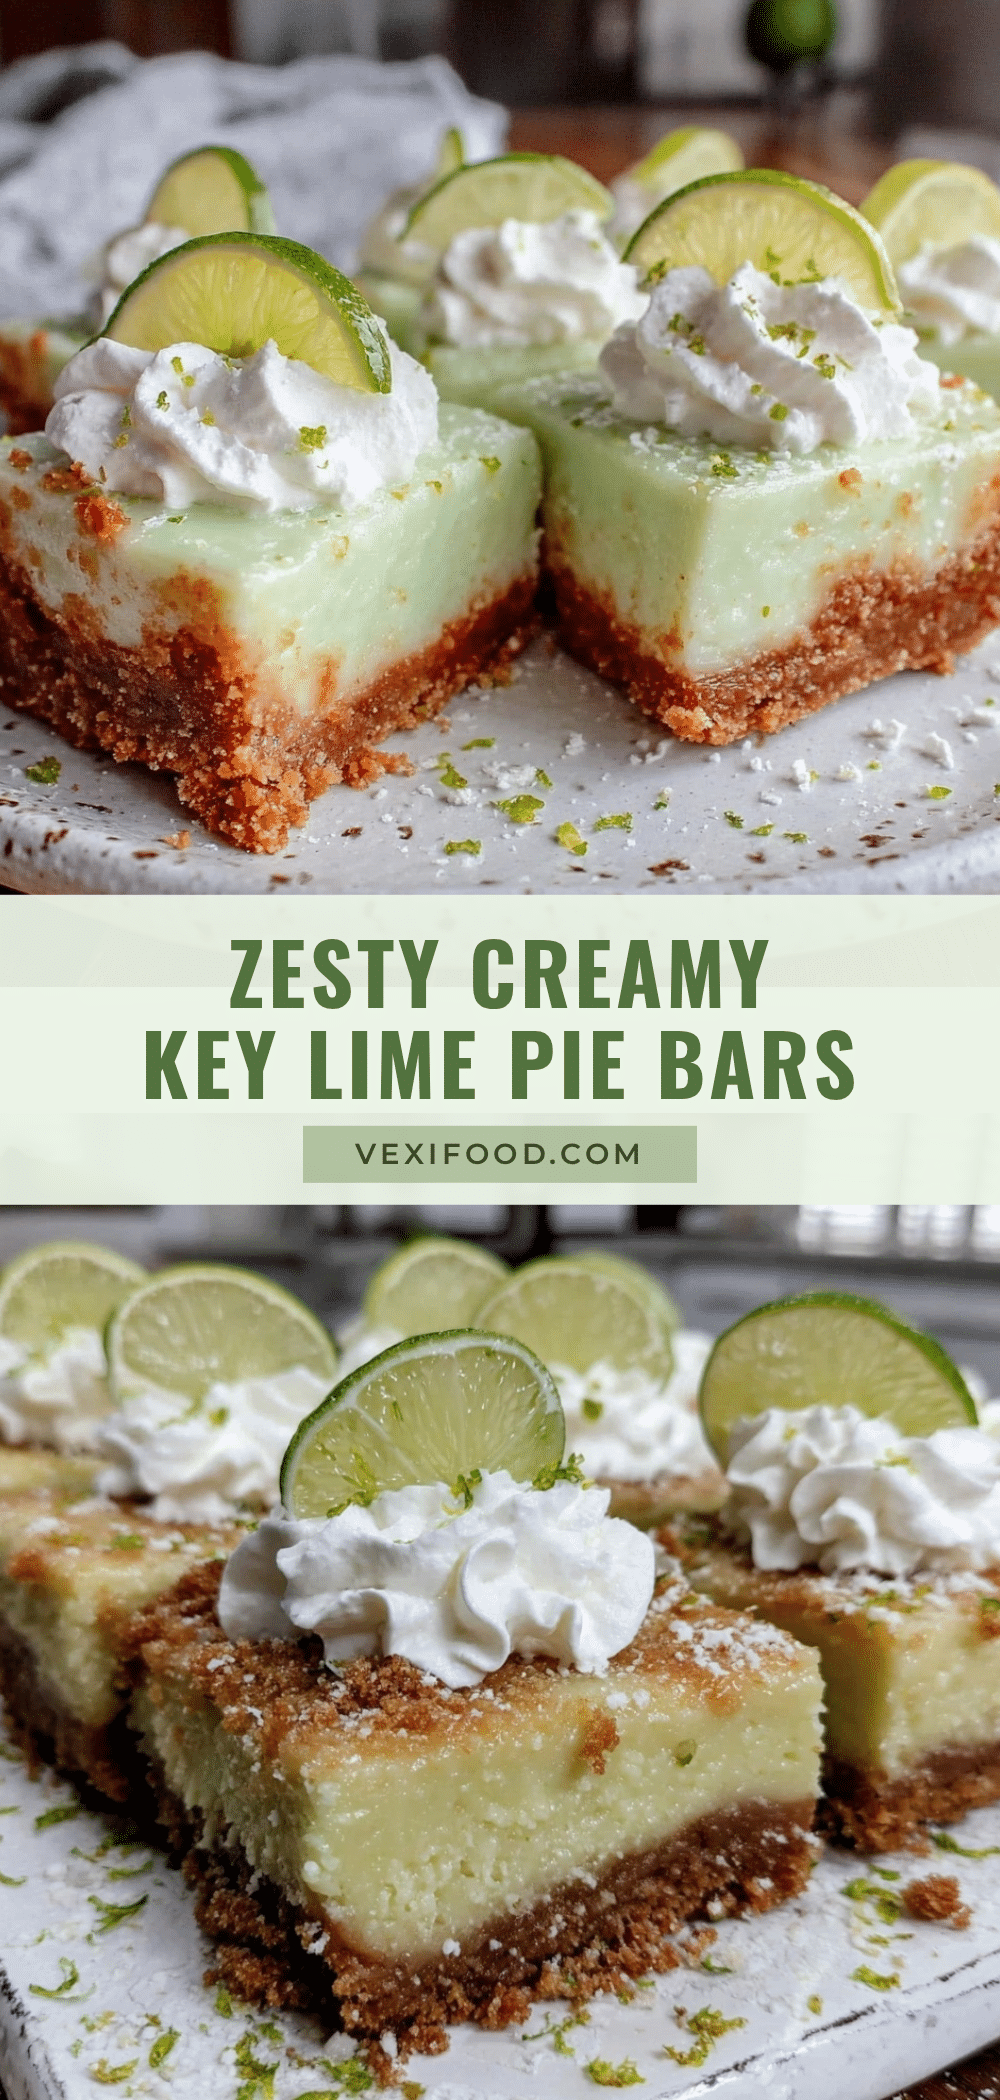
Creamy Key Lime Pie Bars
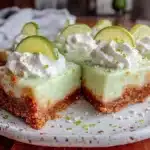
These creamy and zesty Key Lime Pie Bars offer a perfect balance of sweet and tart with a buttery graham cracker crust, ideal for a quick and refreshing dessert.
- Prep Time: 15 minutes
- Cook Time: 25 minutes
- Total Time: 2 hours 40 minutes
- Yield: 12 servings 1x
- Category: Dessert
- Cuisine: American
Ingredients
- 1 ½ cups graham cracker crumbs (about 10 full sheets, finely crushed)
- 6 tablespoons unsalted butter, melted
- 2 tablespoons granulated sugar
- 4 large eggs, room temperature
- 1 can (14 oz / 396 g) sweetened condensed milk
- ½ cup fresh key lime juice (or regular lime juice)
- Zest of 2 limes
- Pinch of salt
- Whipped cream or coconut whipped cream (optional, for garnish)
- Thin lime slices or extra lime zest (optional, for garnish)
Instructions
- Preheat your oven to 350°F (175°C). Line an 8×8-inch baking pan with parchment paper, leaving an overhang on two sides for easy removal.
- In a large bowl, combine graham cracker crumbs, melted butter, and sugar. Stir until the mixture looks like wet sand and holds together when pressed.
- Press the crust evenly into the bottom of the prepared pan using the back of a spoon or your fingers. Press just firm enough to hold shape.
- Bake the crust for 8 to 10 minutes until lightly golden and fragrant. Set aside to cool slightly.
- In a medium bowl, whisk the eggs until smooth. Add sweetened condensed milk, fresh lime juice, lime zest, and a pinch of salt. Mix well until fully combined and glossy.
- Pour the filling over the warm crust, spreading evenly with a spatula.
- Bake for 15 to 18 minutes or until the filling is just set but still slightly jiggly in the center.
- Cool completely at room temperature, then refrigerate for at least 2 hours (overnight preferred) to firm up.
- Once chilled, lift bars out using the parchment overhang. Cut into 12 squares with a sharp knife (warm the knife under hot water and dry for smooth cuts).
- Garnish with whipped cream and lime slices if desired before serving.
Notes
Use fresh squeezed lime juice for best flavor. Do not overbake the filling to avoid cracks or dryness. Chill bars thoroughly for firm slices. For gluten-free, substitute graham cracker crumbs with almond flour or gluten-free cookie crumbs. For dairy-free, use coconut condensed milk and coconut oil instead of butter.
Nutrition
- Serving Size: 1 bar (1/12th of rec
- Calories: 220
- Fat: 9
- Carbohydrates: 28
- Protein: 4
Keywords: key lime pie bars, creamy lime dessert, easy lime bars, summer dessert, quick dessert, lime bars recipe