Love this? Save it for later!
Share the inspiration with your friends
Introduction
It was 11:17 PM on a random Thursday, and a sudden craving for something sweet and tangy hit me hard. I didn’t have fresh huckleberries, which would’ve been the obvious go-to for a dessert like this, but I did have a jar of preserved huckleberries and a half-used block of cream cheese that was begging for attention. Honestly, the kitchen was a mess from earlier experiments, and the idea of firing up the oven felt like a bad joke. So, I decided to throw together a no-bake huckleberry cheesecake bar that would satisfy that late-night craving without the fuss.
The sizzle of the butter melting for the crust was replaced by the quiet clink of a spoon stirring the berry filling. Somewhere between the tiredness and the quiet kitchen hum, the recipe took shape — creamy, tangy, and just sweet enough to feel like a tiny victory. Maybe you’ve been there, staring at your fridge at midnight, wondering if you can make something magical out of what’s left. For me, these bars stuck around because they’re effortless but taste like I spent hours in the kitchen. I mean, who wouldn’t want that?
So here’s my creamy no-bake huckleberry cheesecake bars recipe, perfect for those summer days when you want dessert without heating up the house or fussing with complicated steps. It’s a little weird, a little impulsive, and completely delicious.
Why You’ll Love This Recipe
After testing this recipe multiple times (yes, sometimes at odd hours), I can say with confidence that these no-bake huckleberry cheesecake bars are a keeper. What makes them truly special isn’t just the fresh berry flavor—it’s how simple and quick they come together, making summer dessert dreams come true without breaking a sweat.
- Quick & Easy: Ready in under 30 minutes, no oven required—perfect for those last-minute summer gatherings or when you’re just craving something sweet and creamy.
- Simple Ingredients: No obscure pantry items here; most ingredients are staples you probably already have. The huckleberries add a unique twist, but frozen or preserved berries work just as well.
- Perfect for Summer: Light, refreshing, and served chilled, these bars are ideal for warm weather without feeling too heavy.
- Crowd-Pleaser: Kids, adults, and your picky eaters will all ask for seconds. The balance of creamy cheesecake and tart berries is just right.
- Unbelievably Delicious: The creamy texture combined with the buttery crust and tangy huckleberry topping makes for a mouthwatering bite every time.
This isn’t just another cheesecake bar recipe. What sets it apart is the no-bake method paired with a subtly sweet huckleberry topping that feels homemade and fresh. I’ve tweaked the sweetness and texture until it hit that spot where you want to close your eyes and savor every bite. It’s a recipe that’s as comforting as it is impressive, without the stress.
What Ingredients You Will Need
This recipe uses simple, wholesome ingredients to deliver bold flavor and satisfying texture without the fuss. Most items are pantry staples, with fresh or preserved huckleberries providing that summery flair. If huckleberries aren’t available, frozen berries or blueberries work well too.
- For the crust:
- 1 1/2 cups (150g) graham cracker crumbs (I prefer the honey-flavored ones for extra depth)
- 6 tablespoons (85g) unsalted butter, melted (use salted for a slight twist)
- 2 tablespoons granulated sugar
- For the cheesecake filling:
- 16 ounces (450g) cream cheese, softened (room temperature for smooth mixing)
- 1 cup (240ml) heavy cream (can substitute with full-fat coconut cream for dairy-free)
- 3/4 cup (90g) powdered sugar
- 1 teaspoon pure vanilla extract (I recommend Nielsen-Massey for the best aroma)
- 1 tablespoon lemon juice (adds a nice tang)
- For the huckleberry topping:
- 1 cup (150g) fresh or frozen huckleberries (or blueberries if unavailable)
- 1/4 cup (50g) granulated sugar
- 1 tablespoon fresh lemon juice
- 1 teaspoon cornstarch mixed with 1 tablespoon water (for thickening)
Feel free to swap graham crackers with gluten-free digestives if needed. If you want to make it vegan, use plant-based cream cheese and coconut cream. Remember, the key is balancing the creamy filling with the tart berry topping, so don’t skip the lemon juice!
Equipment Needed
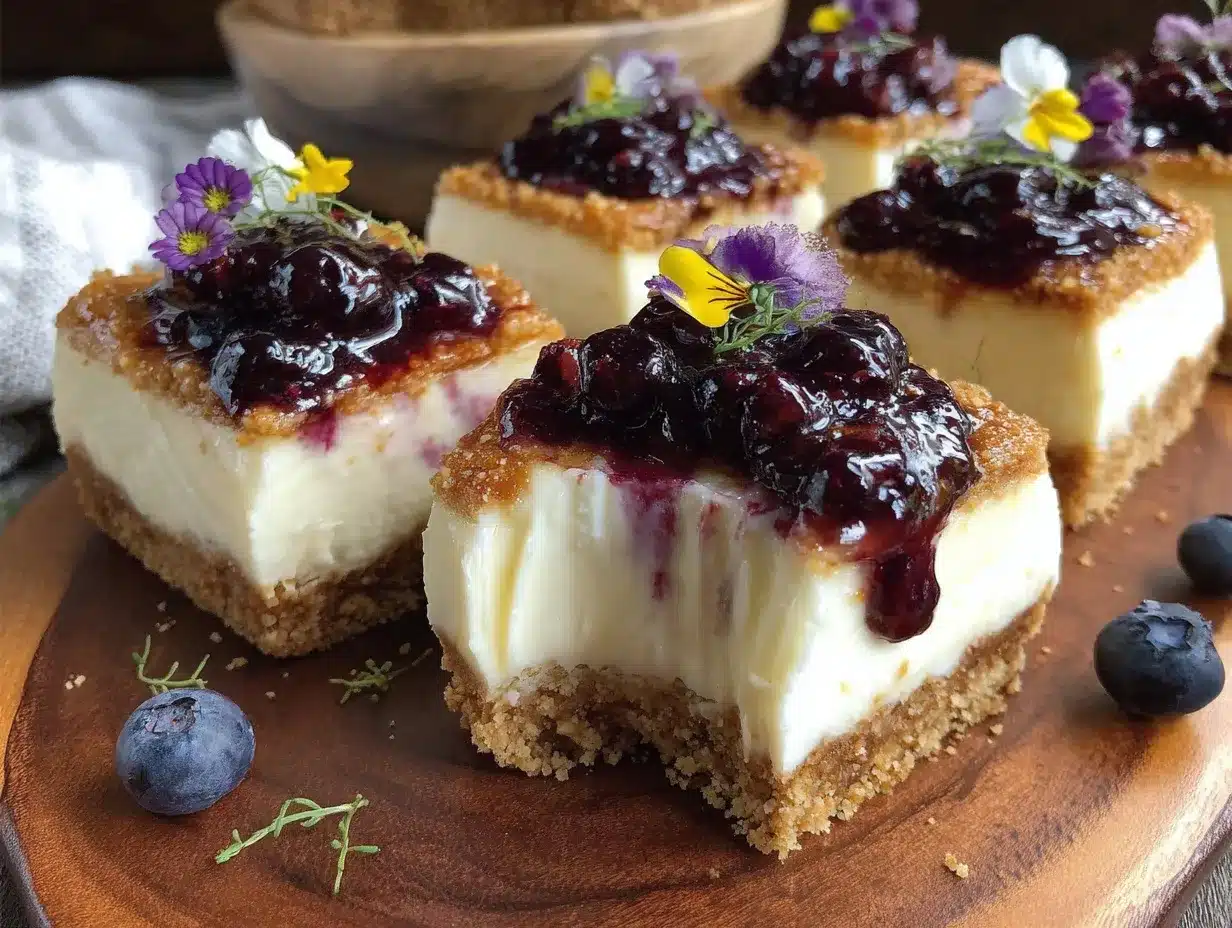
For this recipe, you’ll need a few basic kitchen tools. Nothing fancy, but some things make the process smoother.
- 8×8-inch (20×20 cm) square baking pan – lined with parchment paper for easy removal
- Mixing bowls – at least two, one for crust and one for filling
- Electric mixer or stand mixer – helps whip the cream and smooth the cream cheese quickly (a strong whisk works if you’re patient)
- Saucepan – for cooking the huckleberry topping
- Spatula – for folding and spreading
- Measuring cups and spoons – precise measurements help keep the texture right
If you don’t have an electric mixer, a hand whisk will do, but be ready for a little workout! For the baking pan, a springform pan is an option, but bars are easier to handle in a square pan. I’ve found that parchment paper makes cleanup way less stressful, especially when the filling is so creamy.
Preparation Method
- Prepare the crust: In a medium bowl, mix the graham cracker crumbs, melted butter, and sugar until the crumbs are evenly coated and look like wet sand. Press the mixture firmly into the bottom of your lined 8×8-inch pan, creating an even layer. Chill in the fridge while preparing the filling to let it set. (About 10 minutes)
- Make the cheesecake filling: Beat the softened cream cheese in a large bowl with an electric mixer until creamy and smooth, about 2-3 minutes. Add powdered sugar, vanilla extract, and lemon juice, and mix until fully combined.
- Whip the heavy cream: In a separate bowl, whip the heavy cream until stiff peaks form. This usually takes 3-5 minutes with an electric mixer. Be careful not to overwhip or it will turn grainy.
- Combine filling and whipped cream: Gently fold the whipped cream into the cream cheese mixture using a spatula. Fold slowly to keep the mixture light and airy. The texture should be smooth and fluffy without lumps.
- Spread filling onto crust: Remove the crust from the fridge and evenly spread the cheesecake filling over it, smoothing the top with a spatula. Place the pan back in the fridge while you prepare the topping. (Chill for at least 20-30 minutes)
- Prepare the huckleberry topping: In a small saucepan, combine huckleberries, sugar, and lemon juice. Cook over medium heat, stirring occasionally until the berries release their juice and the sugar dissolves, about 5-7 minutes. Stir in the cornstarch slurry and cook for another 1-2 minutes until the sauce thickens. Remove from heat and let cool slightly.
- Top the cheesecake bars: Spoon the warm (not hot) huckleberry topping evenly over the chilled cheesecake filling, spreading gently. Return to the fridge and chill for at least 2 hours, or until fully set.
- Serve: Once set, lift the cheesecake bars out of the pan using the parchment paper edges. Cut into squares using a sharp knife dipped in hot water for clean slices. Serve chilled and enjoy!
Pro tip: If your cream cheese feels lumpy, warming it a few seconds in the microwave helps, but don’t let it melt. Also, chilling the bars overnight intensifies the flavors and makes cutting easier.
Cooking Tips & Techniques
Making no-bake cheesecake bars sounds easy, but a few tricks make all the difference between a dreamy texture and a disappointing flop.
- Softened cream cheese is your best friend: Cold cream cheese will cause lumps. Let it sit at room temperature for at least 30 minutes before mixing.
- Whip the cream just right: When whipping heavy cream, stop just as stiff peaks form. Overwhipping leads to butter-like clumps, ruining the texture.
- Folding vs. mixing: Folding the whipped cream into the cream cheese filling keeps it airy. Stirring aggressively will deflate your mixture and make it dense.
- Chilling time matters: No-bake cheesecakes need time to set properly. Rushing this step will cause the bars to fall apart.
- Clean cuts every time: Dip your knife in hot water and wipe it clean between cuts to get perfect bars without smearing.
- Berry topping consistency: If your huckleberry sauce is too runny, add a bit more cornstarch slurry and cook longer. Too thick? Stir in a splash of water or lemon juice.
Honestly, I’ve learned the hard way that patience is key here. Rushing the chilling or skipping the folding step made my first batch a bit meh. But once I got the hang of it, these bars became my go-to summer treat.
Variations & Adaptations
This recipe is wonderfully flexible, so you can tweak it to your taste or dietary needs.
- Flavor twists: Swap huckleberries with raspberries, blackberries, or a mixed berry medley for different flavor profiles.
- Crust options: Use crushed digestive biscuits, gingersnaps, or even pretzels for a salty-sweet combo. Gluten-free graham crackers work well, too.
- Dairy-free adaptation: Use vegan cream cheese and coconut cream in place of dairy products. The texture is slightly different but still yummy.
- Added texture: Sprinkle toasted almonds or crushed pistachios on top of the berry layer for a little crunch.
- Mini cheesecakes: Make individual servings in mason jars or silicone molds for portable, cute treats.
My favorite variation was trying lavender-infused crust with fresh huckleberries—sounds fancy, but it’s just a pinch of dried lavender mixed into the crumbs. It gives a subtle floral note that pairs surprisingly well with the tart berries.
Serving & Storage Suggestions
These creamy no-bake huckleberry cheesecake bars are best served chilled straight from the fridge. The cool temperature keeps them firm and refreshing on a hot day.
- Serve with a dollop of whipped cream or a sprinkle of fresh mint for a pretty presentation.
- Pair with a cup of iced tea, lemon water, or a light dessert wine for a perfect summer dessert spread.
- Store leftover bars in an airtight container in the refrigerator for up to 4 days.
- For longer storage, freeze the bars (without topping) wrapped tightly in plastic wrap and foil. Thaw overnight in the fridge before adding the berry topping.
- Reheat topping gently in the microwave or on the stove if cooled too much before serving.
Flavors develop beautifully after a day in the fridge, so if you can wait, the bars taste even better the next day. Just remember to bring them out 10 minutes before serving to soften slightly for the perfect bite.
Nutritional Information & Benefits
Each serving of these cheesecake bars (assuming 12 bars per pan) contains roughly:
| Calories | 280 kcal |
|---|---|
| Fat | 20g (mostly from cream cheese and butter) |
| Carbohydrates | 20g |
| Protein | 4g |
| Sugar | 14g (natural sugars from berries and added sugar) |
Huckleberries are rich in antioxidants and vitamins C and K, making them a smart choice for a summer dessert topping. The cream cheese provides calcium and protein, while the graham cracker crust adds a comforting crunch.
This dessert fits well within a gluten-free diet if you use gluten-free crust options and can be made dairy-free with simple swaps. Just keep in mind the sugar content if you’re watching intake.
From a wellness perspective, I appreciate that this recipe uses real ingredients without artificial additives or preservatives, so it feels like a treat rather than a cheat.
Conclusion
These creamy no-bake huckleberry cheesecake bars are a summer staple for a reason. They combine the perfect balance of creamy, sweet, and tart while being incredibly easy to make. Whether you’re new to no-bake desserts or a seasoned pro, this recipe offers a delicious, fuss-free way to impress yourself and others.
Feel free to tweak the berries, crust, or toppings to suit your tastes—this recipe is a fantastic starting point for your own creative spins. Honestly, I keep coming back to it not just because it’s delicious, but because it’s the kind of dessert that feels like a little celebration after a long day.
If you try it out, I’d love to hear about your variations or favorite serving ideas. Drop a comment below, share your photos, or let me know how it turned out. Happy no-baking!
FAQs
Can I use blueberries instead of huckleberries?
Yes! Blueberries make a great substitute if you can’t find huckleberries. The flavor is slightly different but still delicious.
Do I have to chill the bars overnight?
Overnight chilling helps the bars set firmly and deepens the flavor, but a minimum of 2 hours in the fridge will work if you’re short on time.
Can I make these bars gluten-free?
Absolutely. Use gluten-free graham crackers or any gluten-free cookie crumbs for the crust.
How long do the cheesecake bars last in the fridge?
Stored in an airtight container, they keep well for up to 4 days. After that, the texture might start to change.
Is it possible to make these bars vegan?
Yes, by swapping cream cheese with vegan cream cheese and using coconut cream instead of heavy cream, you can make a dairy-free version. The texture will be slightly different but still tasty.
Pin This Recipe!
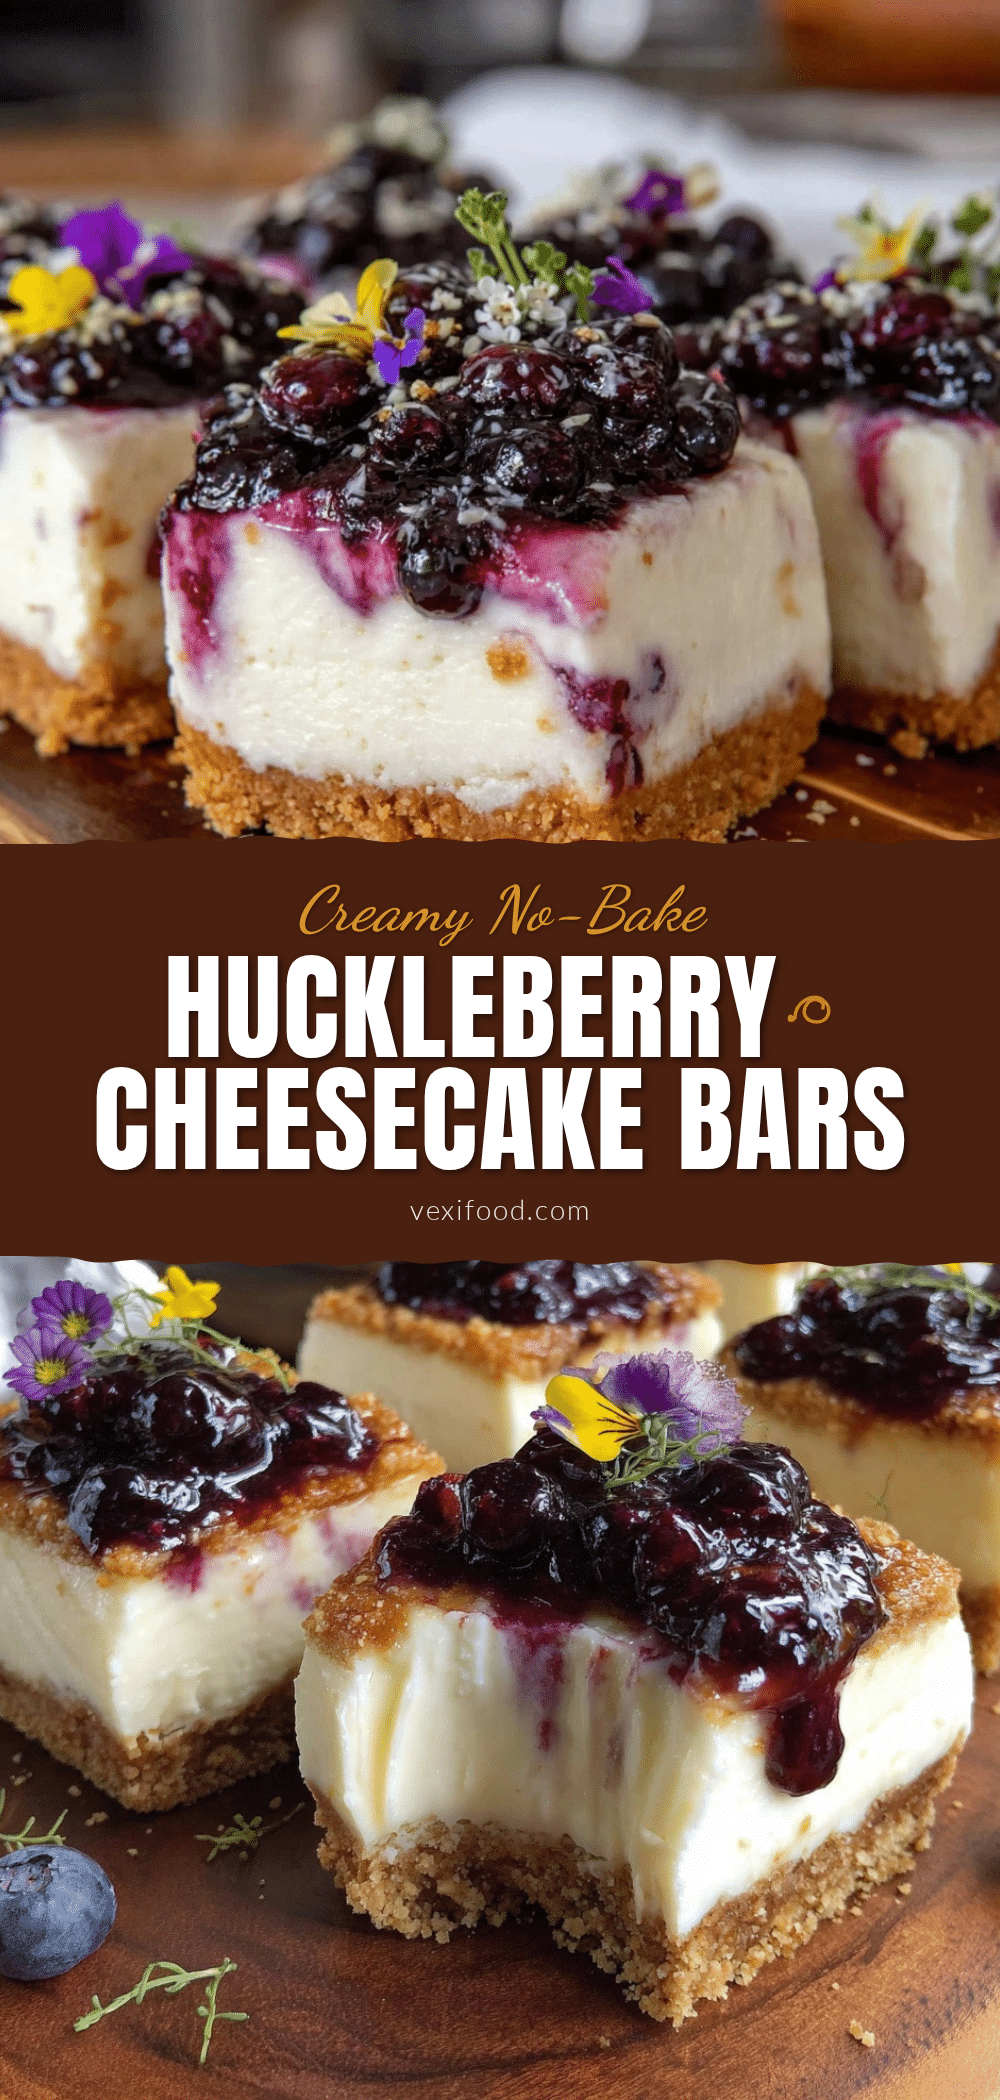
Creamy No-Bake Huckleberry Cheesecake Bars
A quick and easy no-bake cheesecake bar recipe featuring a buttery graham cracker crust, creamy cheesecake filling, and a tangy huckleberry topping. Perfect for summer dessert without heating up the kitchen.
- Prep Time: 15 minutes
- Cook Time: 10 minutes
- Total Time: 2 hours 25 minutes
- Yield: 12 servings 1x
- Category: Dessert
- Cuisine: American
Ingredients
- 1 1/2 cups (150g) graham cracker crumbs
- 6 tablespoons (85g) unsalted butter, melted
- 2 tablespoons granulated sugar
- 16 ounces (450g) cream cheese, softened
- 1 cup (240ml) heavy cream
- 3/4 cup (90g) powdered sugar
- 1 teaspoon pure vanilla extract
- 1 tablespoon lemon juice
- 1 cup (150g) fresh or frozen huckleberries (or blueberries)
- 1/4 cup (50g) granulated sugar
- 1 tablespoon fresh lemon juice
- 1 teaspoon cornstarch mixed with 1 tablespoon water
Instructions
- Prepare the crust: In a medium bowl, mix the graham cracker crumbs, melted butter, and sugar until the crumbs are evenly coated and look like wet sand. Press the mixture firmly into the bottom of your lined 8×8-inch pan, creating an even layer. Chill in the fridge while preparing the filling (about 10 minutes).
- Make the cheesecake filling: Beat the softened cream cheese in a large bowl with an electric mixer until creamy and smooth, about 2-3 minutes. Add powdered sugar, vanilla extract, and lemon juice, and mix until fully combined.
- Whip the heavy cream: In a separate bowl, whip the heavy cream until stiff peaks form, about 3-5 minutes. Be careful not to overwhip.
- Combine filling and whipped cream: Gently fold the whipped cream into the cream cheese mixture using a spatula, keeping the mixture light and airy.
- Spread filling onto crust: Remove the crust from the fridge and evenly spread the cheesecake filling over it, smoothing the top with a spatula. Chill for at least 20-30 minutes.
- Prepare the huckleberry topping: In a small saucepan, combine huckleberries, sugar, and lemon juice. Cook over medium heat, stirring occasionally until the berries release their juice and sugar dissolves, about 5-7 minutes. Stir in the cornstarch slurry and cook for another 1-2 minutes until thickened. Remove from heat and let cool slightly.
- Top the cheesecake bars: Spoon the warm (not hot) huckleberry topping evenly over the chilled cheesecake filling. Return to the fridge and chill for at least 2 hours or until fully set.
- Serve: Lift the cheesecake bars out of the pan using parchment paper edges. Cut into squares with a sharp knife dipped in hot water for clean slices. Serve chilled.
Notes
Use softened cream cheese at room temperature to avoid lumps. Whip heavy cream to stiff peaks but do not overwhip. Fold whipped cream gently into cream cheese mixture to keep it airy. Chill bars for at least 2 hours or overnight for best results. Dip knife in hot water before slicing for clean cuts. If huckleberry sauce is too runny, add more cornstarch slurry and cook longer; if too thick, add water or lemon juice.
Nutrition
- Serving Size: 1 bar (1/12th of rec
- Calories: 280
- Sugar: 14
- Fat: 20
- Carbohydrates: 20
- Protein: 4
Keywords: no-bake cheesecake, huckleberry cheesecake bars, summer dessert, easy cheesecake bars, no oven dessert, creamy cheesecake, berry topping