Love this? Save it for later!
Share the inspiration with your friends
Hand me that cream cheese, my sister-in-law said, not even looking up from the counter. I’d stopped by to drop off a book on a random Tuesday afternoon, and the scent of something savory and fresh hit me before I’d even made it past her front door. She wasn’t trying to impress anyone. There was flour on her jeans and a toddler wrapped around her leg, and she was just… making lunch. Honestly, I stood there in the doorway for a second, inhaling. It smelled like a deli, but better. Like the kind of effortless, handheld food that solves every problem you didn’t know you had.
I watched her for a few minutes, trying to look casual. She grabbed flour tortillas from the fridge, a block of cream cheese that had been sitting out long enough to soften, and a stack of turkey from the deli drawer. She didn’t measure anything. She just spread, layered, rolled, and sliced like it was the most obvious thing in the world. Maybe you’ve been there—watching someone make something so simple, yet so perfectly practical, that you feel a little silly for not thinking of it yourself. That was me, standing in her kitchen, holding the book I’d come to deliver.
I asked her what she was making, and she just shrugged. “Just turkey roll-ups. The kids inhale them.” She called them a snack, but let me tell you, I ate four of them standing at her counter before I even sat down. They were creamy, slightly tangy, and had that perfect ratio of filling to tortilla. I immediately asked for the specifics, and she laughed. “There’s no recipe. It’s just stuff you have.” That’s the thing about the best recipes—they don’t feel like recipes at all. They feel like common sense, perfected through repetition. These Easy 5-Ingredient Turkey Pinwheel Lunchbox Roll-Ups are that recipe for me now, and I’ve been making them every single week since that Tuesday afternoon.
Why You’ll Love This Recipe
These turkey pinwheel roll-ups aren’t just another snack idea. They are the snack idea. I’ve made them for school lunches, road trips, and even the occasional “I’m too tired to cook dinner” night, and they’ve never let me down. Here’s why they’ve earned a permanent spot in my weekly rotation:
- Quick & Easy: From start to finish, these take about 10 minutes of active work. No cooking, no complicated steps—just spread, roll, and slice.
- Simple Ingredients: You only need five things, and I bet you already have at least three of them in your kitchen right now. No fancy grocery store runs required.
- Perfect for Lunchboxes: These are the ultimate packed lunch hero. They hold up beautifully, don’t get soggy, and kids actually get excited to see them.
- Crowd-Pleaser: I’ve served these at playdates, potlucks, and even a casual book club meeting. Adults and kids alike go back for seconds (and thirds).
- Unbelievably Delicious: The combination of cool, creamy filling with tender turkey and soft tortilla is just… right. It’s comfort food in a bite-sized package.
What makes these different from every other roll-up you’ve seen? It’s the little things. Using a flavored cream cheese spread (I’m partial to chive and onion) adds a savory punch without any extra work. And the way I roll them—tight, but not too tight—keeps everything intact without squeezing the filling out the ends. I’ve tested this method about a dozen times, tweaking the spread ratio and the chilling time, and this version is the one that finally clicked. It’s not just another recipe; it’s the one I’d make for a friend who says they can’t cook.
What Ingredients You Will Need
This recipe uses simple, wholesome ingredients to deliver big flavor without the fuss. Everything is easy to find and likely already in your fridge or pantry. The beauty of these Easy 5-Ingredient Turkey Pinwheel Lunchbox Roll-Ups is that each component plays a specific role, and you can swap things out without losing the magic.
- Large Flour Tortillas (10-inch): You want the burrito-sized ones here. The smaller taco-sized tortillas won’t give you enough room to roll properly. I prefer Mission or Guerrero brand for their pliability. If you’re gluten-free, look for large gluten-free tortillas—they work, but handle them gently as they can crack.
- 8 oz Cream Cheese, Softened: This is the glue that holds everything together. Let it sit on the counter for 20-30 minutes before you start. Cold cream cheese will tear your tortillas. I use full-fat for the creamiest texture, but Neufchâtel (reduced-fat) works well too.
- 1/2 cup Shredded Cheddar Cheese: Adds a sharp, salty bite that balances the creaminess. You can use Colby Jack, Monterey Jack, or even pepper jack for a little heat. Pre-shredded is fine, but freshly shredded melts into the cream cheese better.
- 8-10 slices Deli Turkey: Go for oven-roasted or smoked turkey—whatever you like best. I recommend Boar’s Head or Applegate for clean ingredients. The slices should be thin but not paper-thin, or they’ll tear when you spread the filling.
- 1/4 cup Ranch Dressing (or Plain Greek Yogurt): This adds moisture and tang. I use a thick ranch dressing (like Hidden Valley) for flavor, but plain Greek yogurt is a fantastic lighter option that also adds protein. If you use yogurt, stir in a pinch of garlic powder and dried dill to mimic ranch seasoning.
Optional Add-Ins: Thinly sliced cucumber, shredded lettuce, or a few pickle spears add crunch. Just don’t overfill, or your roll-ups will be impossible to slice cleanly.
Equipment Needed
You don’t need a fancy kitchen to make these turkey pinwheel roll-ups. In fact, you probably already own everything on this list. I’ve made these in a tiny apartment kitchen and in a fully stocked test kitchen, and the results were identical both times.
- Cutting Board: A large, stable surface for rolling and slicing. Wood or plastic—doesn’t matter.
- Sharp Knife: A serrated bread knife works best for slicing the roll-ups cleanly without squishing them. A chef’s knife is a good second choice. Dull knives will crush the tortilla and push the filling out.
- Offset Spatula or Butter Knife: For spreading the cream cheese mixture evenly. An offset spatula gives you more control, but a regular butter knife does the job just fine.
- Plastic Wrap: This is non-negotiable for me. Wrapping the rolled tortillas tightly before chilling helps them hold their shape and makes slicing much easier.
- Large Plate or Baking Sheet: To hold the wrapped rolls in the fridge. A baking sheet is great if you’re making multiple rolls at once.
Budget-Friendly Tip: You don’t need a fancy rolling mat. A clean kitchen towel works in a pinch, though I find plastic wrap is actually easier for a tight roll.
Preparation Method
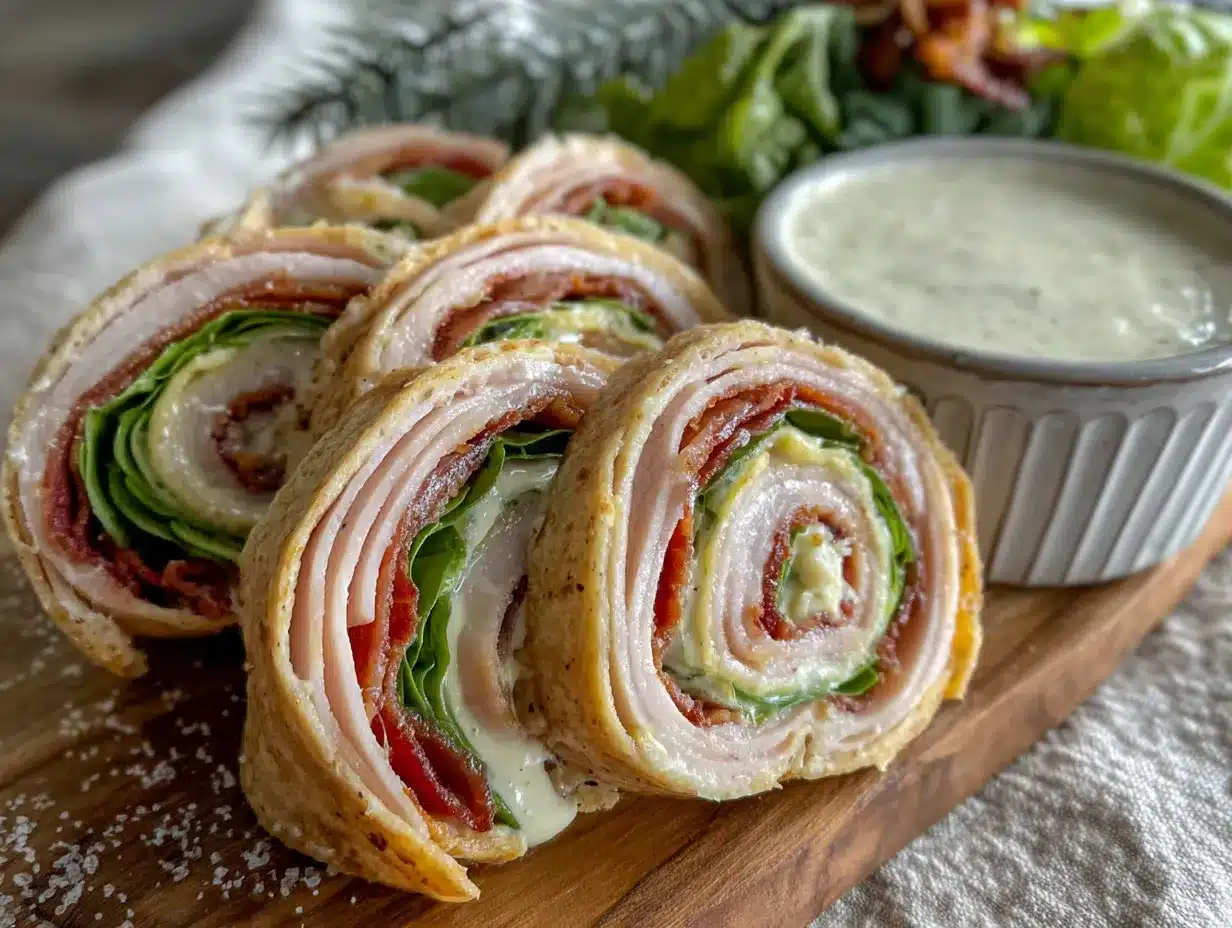
Let’s get rolling. I’ve broken this down step-by-step so you can nail it on your first try. Trust me—once you make these Easy 5-Ingredient Turkey Pinwheel Lunchbox Roll-Ups a few times, you’ll be able to do it with your eyes closed.
- Soften the Cream Cheese: Take your cream cheese out of the fridge about 30 minutes before you start. If you forgot (I do this all the time), microwave it in a bowl for 10-15 seconds. Be careful—you want it soft, not melted. Melted cream cheese will make a mess.
- Mix the Filling: In a small bowl, combine the softened cream cheese, shredded cheddar, and ranch dressing (or Greek yogurt). Stir until everything is well combined and smooth. Taste it. Add a pinch of salt or black pepper if you like. The mixture should be spreadable but not runny.
- Prepare Your Workspace: Lay a flour tortilla flat on your cutting board. If your tortillas are cold, warm them in the microwave for 10 seconds to make them more pliable. This prevents cracking when you roll.
- Spread the Filling: Using your offset spatula or butter knife, spread an even layer of the cream cheese mixture over the entire tortilla. Go all the way to the edges—this acts as the glue. If you leave bare spots, the roll-ups will fall apart.
- Layer the Turkey: Place 2-3 slices of deli turkey on top of the cream cheese mixture, overlapping them slightly. Cover the whole tortilla, but don’t stack the turkey too thick, or it will be hard to roll. You want a single, even layer.
- Add Optional Fillings: If you’re using cucumber, lettuce, or pickles, lay them in a thin line down the center of the tortilla. Don’t overload it—less is more here.
- Roll It Tight: Starting from one edge, begin rolling the tortilla tightly. Use your fingers to tuck in the filling as you go. Roll like you mean it, but don’t squeeze so hard that the filling squirts out the ends. Aim for a firm, even log.
- Wrap in Plastic: Place the rolled tortilla seam-side down on a piece of plastic wrap. Wrap it tightly, twisting the ends like a candy wrapper. This keeps the roll compact and helps it hold its shape while chilling.
- Chill for at Least 30 Minutes: Place the wrapped rolls on a plate or baking sheet and refrigerate for at least 30 minutes. This is the hardest part—waiting. But I promise, it’s worth it. Chilling firms up the cream cheese, making the slices clean and neat. If you skip this step, you’ll get messy, squished pinwheels.
- Slice and Serve: Unwrap the chilled roll and place it on your cutting board. Using a sharp serrated knife, slice the roll into 1-inch thick pieces. Use a gentle sawing motion—don’t press down hard. Wipe the knife clean between cuts for the prettiest pinwheels.
- Arrange and Enjoy: Arrange the pinwheels on a platter or pack them directly into lunchboxes. They’re best served cold or at room temperature.
Cooking Tips & Techniques
Over the years, I’ve made every mistake you can imagine with these turkey pinwheel roll-ups. I’ve had them fall apart, turn into a soggy mess, and once, I forgot the cream cheese entirely (don’t ask). Here’s what I’ve learned so you don’t have to repeat my failures.
The Chilling Step is Sacred: I know it’s tempting to skip the 30-minute chill when you’re hungry, but don’t. The first time I made these, I sliced them immediately, and the filling oozed out everywhere. The pinwheels looked like a crime scene. Chilling firms the cream cheese and makes the tortilla slightly less springy, giving you those clean, Instagram-worthy spirals.
Spread Evenly, Always: Uneven spreading is the number one cause of blowouts. If you have a thick glob of cream cheese in the middle and thin edges, the roll will bulge in the center and the ends will be dry. Use the back of a spoon or an offset spatula to get an even, thin layer from edge to edge.
Don’t Overfill: I get excited about add-ins too, but too many veggies or too much turkey will make your roll impossible to close. Stick to the 5-ingredient base for the most reliable results. If you want to add veggies, use just a few thin strips.
Knife Technique Matters: Use a serrated knife and a gentle sawing motion. A straight-edged chef’s knife can squish the roll. And for goodness’ sake, wipe the blade between cuts. The cream cheese builds up and makes the next slice messy. I keep a damp paper towel next to my cutting board just for this.
Make-Ahead Magic: These pinwheels actually taste better after a few hours in the fridge. The flavors meld together, and the tortilla softens slightly. I often make them the night before a busy day. Just keep them wrapped in plastic until you’re ready to slice and serve.
Variations & Adaptations
One of the best things about this recipe is how easy it is to change up. I’ve tried countless variations over the years, and here are my absolute favorites.
- Veggie Cream Cheese Roll-Ups: Swap the turkey for thin slices of cucumber, bell pepper, and shredded carrots. Use a veggie-flavored cream cheese (like garden vegetable) for extra flavor. This version is perfect for Meatless Mondays or vegetarian friends.
- Spicy Southwest Roll-Ups: Replace the cheddar with pepper jack cheese, add a few slices of jalapeño (pickled or fresh), and swap the ranch for a chipotle-lime dressing. The smoky heat is incredible with the cool cream cheese.
- Ham and Swiss Roll-Ups: Use deli ham instead of turkey and swap the cheddar for Swiss cheese. Add a thin smear of Dijon mustard to the cream cheese mixture for a tangy twist. This tastes like a fancy deli sandwich in pinwheel form.
- Low-Carb/High-Protein Version: Use large low-carb tortillas (like the ones from La Tortilla Factory) and replace the cream cheese with a blend of Greek yogurt and cottage cheese (blended smooth). The texture is slightly different, but the protein boost is fantastic.
- Gluten-Free Option: Large gluten-free tortillas work, but they can be brittle. Warm them in a dry skillet for 15 seconds per side to make them pliable. Handle them gently during rolling.
My personal favorite variation? The Spicy Southwest version. I made it for a game day gathering, and they disappeared faster than the buffalo wings. The pepper jack adds just enough heat to keep things interesting.
Serving & Storage Suggestions
These turkey pinwheel roll-ups are incredibly versatile when it comes to serving. Here’s how I like to enjoy them.
Serving Temperature: Serve them cold, straight from the fridge, or at room temperature. I actually prefer them after they’ve sat out for 10 minutes—the cream cheese softens slightly, and the flavors become more pronounced. If you’re packing them for lunch, they’ll be perfect by the time lunch rolls around.
Presentation Ideas: Arrange the pinwheels on a platter in a circular pattern, cut-side up, so the spirals are visible. Garnish with a few fresh herb sprigs (parsley or dill) for color. For lunchboxes, pack them in a single layer in a container with a tight-fitting lid. If you stack them, place a piece of parchment paper between layers to prevent sticking.
What to Serve With Them: These pinwheels are a meal on their own, but they pair beautifully with a simple side salad, a cup of tomato soup, or a handful of baby carrots and hummus. For a party spread, serve them alongside a veggie tray and some fruit skewers.
Storage Instructions: Store leftover pinwheels in an airtight container in the refrigerator for up to 3 days. I do not recommend freezing them—the cream cheese becomes grainy and the tortilla gets mushy upon thawing. If you’re meal-prepping for the week, keep the rolls whole and wrapped in plastic, then slice them fresh each morning. The slices will stay fresh for about 2 days, but the whole rolls keep for 3-4 days.
Flavor Development: Honestly, these taste even better on day two. The cream cheese soaks into the tortilla just slightly, and all the flavors meld together. It’s like the pinwheel version of a leftover sandwich—somehow better than the original.
Nutritional Information & Benefits
While these turkey pinwheel roll-ups are certainly a treat, they also offer some surprising nutritional benefits. I’ve crunched the numbers for a standard serving (about 4-5 pinwheels, depending on size).
- Calories: Approximately 280-320 calories per serving
- Protein: 18-22 grams (thanks to the turkey and cheese)
- Fat: 16-20 grams (mostly from the cream cheese and cheddar)
- Carbohydrates: 18-22 grams (varies by tortilla brand)
- Fiber: 1-2 grams
Health Benefits: Turkey is a lean protein source that helps keep you full and satisfied. Cream cheese provides calcium and vitamin A, while the cheddar adds a bit more protein and bone-building calcium. If you use Greek yogurt instead of ranch dressing, you’ll boost the protein content and reduce the fat. This recipe is also naturally low in sugar, making it a smart choice for balanced lunches.
Dietary Considerations: This recipe is not gluten-free unless you use gluten-free tortillas. It contains dairy from the cream cheese and cheddar. For a dairy-free version, use a plant-based cream cheese and vegan cheddar shreds. The flavor will be different, but still tasty.
Personal Note: I love that these roll-ups feel indulgent but actually have a decent nutritional profile. They’re the kind of food that makes you feel good about feeding your family—or yourself—without overthinking it.
Frequently Asked Questions
Can I make these turkey pinwheel roll-ups ahead of time?
Absolutely! In fact, I recommend it. Make the rolls, wrap them tightly in plastic wrap, and refrigerate for up to 3 days. Slice them just before serving for the freshest look. The flavors actually get better after a day in the fridge.
Why did my pinwheels fall apart when I sliced them?
This usually happens for one of three reasons: the cream cheese wasn’t softened enough, the roll wasn’t chilled long enough, or your knife was dull. Make sure your cream cheese is at room temperature, chill the rolls for at least 30 minutes, and use a sharp serrated knife with a gentle sawing motion.
Can I use flavored tortillas for these roll-ups?
Yes! Spinach, tomato basil, or sun-dried tomato tortillas add color and a subtle flavor boost. Just make sure they’re large enough (10-inch) to roll properly. Flavored tortillas can sometimes be a bit drier, so warm them slightly before spreading the filling.
How do I keep the pinwheels from getting soggy in a lunchbox?
The cream cheese layer actually acts as a barrier, preventing the tortilla from absorbing moisture from the turkey. However, if you add wet ingredients like cucumber or tomato, pat them dry with a paper towel first. Also, pack the pinwheels in a container with a tight seal to keep out excess moisture.
Can I use a different type of cheese?
Absolutely. Cream cheese is the base, but you can swap the cheddar for any shredded cheese that melts well. Provolone, mozzarella, Gouda, or even crumbled feta work beautifully. Just keep in mind that harder cheeses like Parmesan might not blend as smoothly into the cream cheese mixture.
Conclusion
These Easy 5-Ingredient Turkey Pinwheel Lunchbox Roll-Ups are the kind of recipe that makes you look like a kitchen hero with almost zero effort. They’re quick, customizable, and endlessly satisfying. Whether you’re packing school lunches, prepping for a road trip, or just need a no-cook snack that feels special, this is the recipe you’ll come back to again and again.
I love that this recipe came from a completely ordinary Tuesday afternoon—a reminder that the best ideas don’t come from fancy cookbooks or complicated techniques. They come from watching someone who’s just making lunch, doing something simple, and doing it perfectly. That’s what these roll-ups are: simple perfection.
Now it’s your turn. Try this recipe and make it your own. Add your favorite veggies, swap the cheese, or keep it exactly as written. However you make them, I’d love to hear about it. Drop a comment below and tell me how your pinwheels turned out, or share a photo and tag me on social media. Happy rolling!
Pin This Recipe!
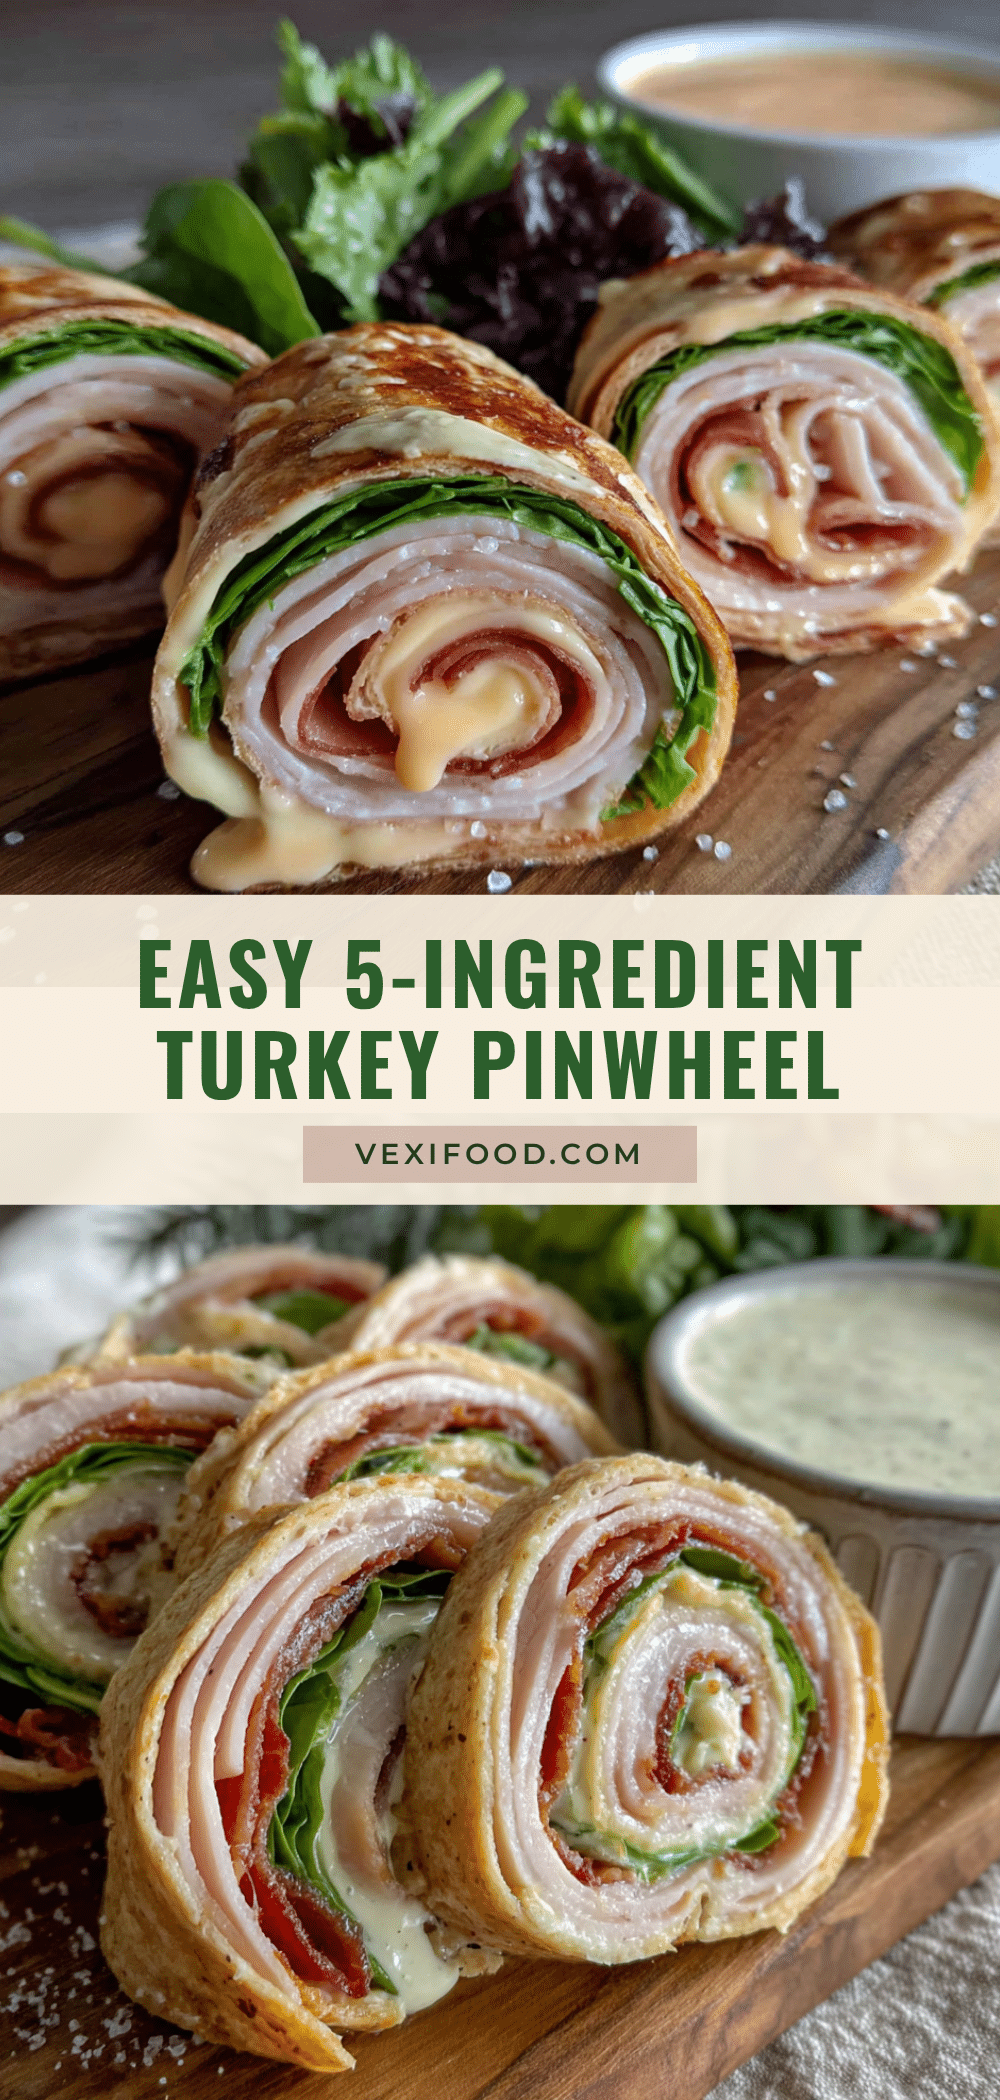
Easy 5-Ingredient Turkey Pinwheel Lunchbox Roll-Ups

These Easy 5-Ingredient Turkey Pinwheel Lunchbox Roll-Ups are the ultimate no-cook snack or lunch. Creamy, tangy, and perfectly portable, they come together in minutes with simple ingredients and are a guaranteed crowd-pleaser for kids and adults alike.
- Prep Time: 10 minutes
- Cook Time: 0 minutes
- Total Time: 40 minutes (includes 30 minutes chilling)
- Yield: 4 servings 1x
- Category: Snack, Lunch
- Cuisine: American
Ingredients
- 4 large flour tortillas (10-inch)
- 8 oz cream cheese, softened
- 1/2 cup shredded cheddar cheese
- 8–10 slices deli turkey
- 1/4 cup ranch dressing (or plain Greek yogurt)
Instructions
- Soften the cream cheese: Take your cream cheese out of the fridge about 30 minutes before you start. If you forgot, microwave it in a bowl for 10-15 seconds. Be careful—you want it soft, not melted.
- Mix the filling: In a small bowl, combine the softened cream cheese, shredded cheddar, and ranch dressing (or Greek yogurt). Stir until everything is well combined and smooth. Taste it. Add a pinch of salt or black pepper if you like.
- Prepare your workspace: Lay a flour tortilla flat on your cutting board. If your tortillas are cold, warm them in the microwave for 10 seconds to make them more pliable.
- Spread the filling: Using your offset spatula or butter knife, spread an even layer of the cream cheese mixture over the entire tortilla. Go all the way to the edges.
- Layer the turkey: Place 2-3 slices of deli turkey on top of the cream cheese mixture, overlapping them slightly. Cover the whole tortilla, but don’t stack the turkey too thick.
- Add optional fillings: If you’re using cucumber, lettuce, or pickles, lay them in a thin line down the center of the tortilla. Don’t overload it.
- Roll it tight: Starting from one edge, begin rolling the tortilla tightly. Use your fingers to tuck in the filling as you go. Aim for a firm, even log.
- Wrap in plastic: Place the rolled tortilla seam-side down on a piece of plastic wrap. Wrap it tightly, twisting the ends like a candy wrapper.
- Chill for at least 30 minutes: Place the wrapped rolls on a plate or baking sheet and refrigerate for at least 30 minutes.
- Slice and serve: Unwrap the chilled roll and place it on your cutting board. Using a sharp serrated knife, slice the roll into 1-inch thick pieces. Use a gentle sawing motion. Wipe the knife clean between cuts.
- Arrange and enjoy: Arrange the pinwheels on a platter or pack them directly into lunchboxes. They’re best served cold or at room temperature.
Notes
Chilling is essential for clean slices. Use a serrated knife and wipe it between cuts for best results. These can be made ahead and stored in the fridge for up to 3 days. For a lighter option, use Greek yogurt instead of ranch dressing. Add optional fillings like cucumber, lettuce, or pickles sparingly to avoid overfilling.
Nutrition
- Serving Size: 4-5 pinwheels
- Calories: 300
- Sugar: 2
- Sodium: 600
- Fat: 18
- Saturated Fat: 10
- Carbohydrates: 20
- Fiber: 1
- Protein: 20
Keywords: turkey pinwheels, lunchbox roll-ups, easy snack, no-cook recipe, 5-ingredient, kid-friendly lunch, party appetizer