Love this? Save it for later!
Share the inspiration with your friends
The woman at the community garden plot next to mine watched me struggle with a stubborn squash vine for a full minute before she said anything. Then she just laughed, reached over, and gently turned the stem the other way. “You’re fighting it,” she said, like I was missing something obvious. Her name was Rosa, and she’d been gardening that same plot for thirty years. We got to talking that afternoon about everything and nothing—grandkids, the ridiculous price of bell peppers at the grocery store, and how her daughter-in-law always brought this “crazy good” layered dip to Halloween parties. Rosa didn’t give me a written recipe. She just described it while we pulled weeds, her hands moving through the air like she was layering it right there. “Black beans, then the spiced meat, then all the cheese,” she said. “And you make it look like a mummy because Halloween, you know?” I laughed, honestly, because the idea seemed so simple and so perfect. I scribbled it on a scrap of paper bag when I got home, and I’ve been making it every October since. The first time I tried it, I forgot the cream cheese layer—just completely spaced on it—and it was still a hit. That’s when I knew this recipe was special. It’s forgiving, it’s fun, and it’s exactly what you need when you’re scrambling to get something on the table before the trick-or-treaters start knocking. Maybe you’ve been there, right? Standing in your kitchen at 5 PM with a bag of tortilla chips and no plan. This dip is the answer.
Why You’ll Love This Recipe
Let me tell you why this Easy Black Bean Mummy Taco Dip has become my go-to Halloween appetizer. I’ve tested it on picky kids, skeptical adults, and a neighbor who “doesn’t do themed food.” Everyone went back for seconds. Honestly, I think that’s the best test of a recipe.
- Quick & Easy: This comes together in under 20 minutes. No complicated steps, no fancy techniques. You can make it while answering the door for the first wave of trick-or-treaters.
- Simple Ingredients: Everything is probably in your pantry or fridge right now. Canned beans, taco seasoning, shredded cheese, cream cheese—the usual suspects. No special grocery trips needed.
- Perfect for Halloween Parties: The mummy design is adorable without being fussy. Kids love it, adults think it’s clever, and it fits any spooky-themed gathering.
- Crowd-Pleaser: I’ve brought this to potlucks, game nights, and family dinners. It’s always the first dish to disappear. The combination of creamy, spicy, and crunchy is just irresistible.
- Unbelievably Delicious: The texture is what gets me. You’ve got the smooth cream cheese layer, the hearty black beans, the seasoned ground meat, and then all that gooey melted cheese on top. It’s comfort food in every bite.
What makes this recipe different from the dozens of other taco dips out there? It’s the presentation, sure, but it’s also the balance. I’ve adjusted the seasoning so it’s flavorful without being overwhelming. The cream cheese layer adds richness that ties everything together. And the black beans? They bring this earthy depth that makes the dip feel substantial, not just like melted cheese with stuff in it. This isn’t just another version of taco dip. It’s the one you’ll actually want to make again.
This recipe is the kind that makes you close your eyes after the first bite. It’s comfort food reimagined for Halloween—faster, easier, but with the same soul-soothing satisfaction. Perfect for impressing guests without stress, or turning a simple weeknight into something memorable.
What Ingredients You Will Need
This recipe uses simple, wholesome ingredients to deliver bold flavor and satisfying texture without the fuss. Most of these are pantry staples you likely already have on hand.
- 1 can (15 oz) black beans, drained and rinsed (I prefer Bush’s or Goya for consistent texture)
- 1 lb ground beef (80/20 works well; you can also use ground turkey or chicken)
- 1 packet (1 oz) taco seasoning (I use Old El Paso or make my own blend)
- 8 oz cream cheese, softened (full-fat gives the best creamy texture)
- 1/2 cup sour cream (adds tanginess and helps the cream cheese layer spread smoothly)
- 2 cups shredded Mexican blend cheese (or cheddar, Monterey Jack, or pepper jack for heat)
- 1/4 cup water (for the taco meat)
- Olive oil or cooking spray (for the skillet)
- For the mummy design:
- 1 can (2.25 oz) sliced black olives (for the eyes)
- 1/4 cup sour cream (for the mummy bandages, optional but recommended)
- Tortilla chips (for serving; I like scoop-shaped chips for easy dipping)
Ingredient Tips: Look for black beans that are firm, not mushy. Rinsing them removes the canned liquid and excess sodium. For the cream cheese, let it sit at room temperature for 20 minutes before mixing—it makes a huge difference in spreadability. I’ve tried using Neufchâtel cheese (lower fat) and it works, but the texture is slightly less creamy. If you’re making this dairy-free, use vegan cream cheese and shredded vegan cheese. Just note the melt factor won’t be quite the same.
Substitution Guidance: Use ground turkey or chicken for a leaner option. For a vegetarian version, skip the meat and double the black beans or add seasoned lentils. You can also swap the taco seasoning with a homemade blend of chili powder, cumin, garlic powder, onion powder, paprika, and a pinch of cayenne. If you’re avoiding canned foods, cook 1/2 cup of dried black beans and use those instead.
Equipment Needed
- 9-inch pie plate or oven-safe baking dish (a round dish works best for the mummy shape)
- Large skillet (for cooking the ground beef)
- Mixing bowl (for the cream cheese layer)
- Spatula or wooden spoon (for spreading layers)
- Measuring cups and spoons
- Can opener
- Colander (for rinsing beans)
If you don’t have a pie plate, use an 8×8 square baking dish or even a cast iron skillet. The presentation will be slightly different, but it’ll taste the same. I’ve also made this in a disposable aluminum pan for parties—works perfectly and means no dishes to bring home. For the mummy eyes, you can use a small piping bag or just a zip-top bag with the corner snipped off. Honestly, I’ve used a spoon to dollop the sour cream for the bandages and it looked fine. This recipe doesn’t require any special equipment.
Preparation Method
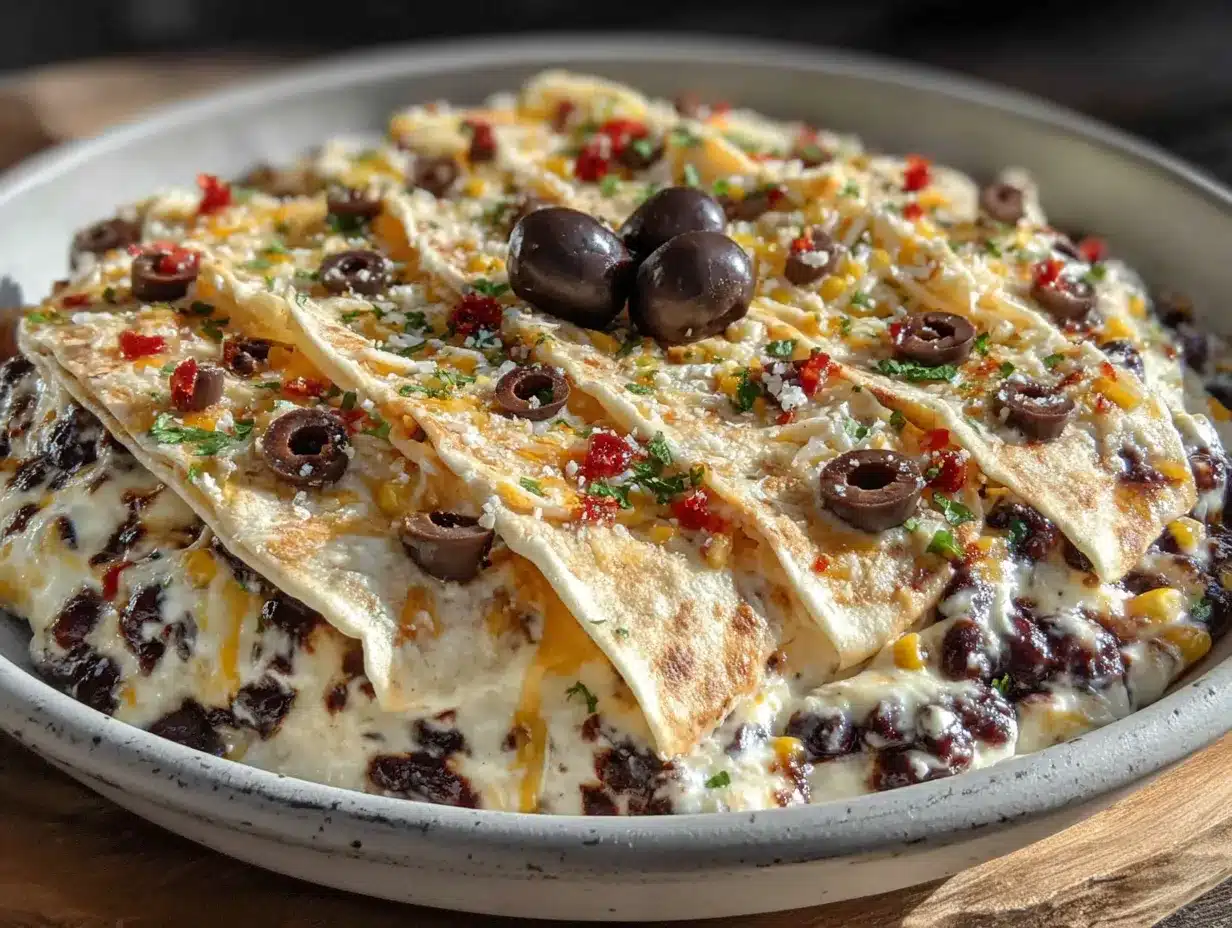
- Preheat your oven to 375°F (190°C). While it’s heating, take your cream cheese out of the fridge if you haven’t already. You want it soft for the next step.
- Cook the ground beef. Heat a drizzle of olive oil in a large skillet over medium-high heat. Add the ground beef and break it apart with a spatula. Cook for 5-7 minutes until browned, stirring occasionally. Drain off any excess fat—I usually tilt the pan and spoon it out.
- Season the meat. Add the taco seasoning and 1/4 cup of water to the skillet. Stir everything together and let it simmer for 2-3 minutes until the liquid thickens slightly. The meat should be coated and fragrant. Set it aside to cool slightly while you work on the next layer.
- Make the cream cheese layer. In a mixing bowl, combine the softened cream cheese and 1/2 cup sour cream. Mix until smooth and well combined. I use a fork for this, but a hand mixer works if you want it extra fluffy. Spread this mixture evenly across the bottom of your pie plate. It should be about 1/4 inch thick.
- Add the black beans. Sprinkle the drained and rinsed black beans evenly over the cream cheese layer. Press them down gently so they stick. Don’t worry about covering every inch—some cream cheese showing through is fine.
- Layer the seasoned meat. Spoon the cooked taco meat over the black beans. Spread it out evenly with the back of your spoon. This creates the “filling” of your mummy.
- Top with shredded cheese. Sprinkle the shredded Mexican blend cheese over the entire dish. Make sure it covers the meat completely—this is what melts into that gooey, delicious top layer.
- Bake the dip. Place the pie plate in the preheated oven and bake for 12-15 minutes, until the cheese is melted and bubbly. You’ll see it start to brown slightly around the edges. That’s perfect.
- Create the mummy design. Remove the dip from the oven and let it cool for 2-3 minutes. For the bandages, transfer the remaining 1/4 cup sour cream to a small zip-top bag. Snip a tiny corner off the bag and pipe horizontal lines across the dip, leaving space for the eyes. Don’t make the lines too perfect—mummies look better a little messy. For the eyes, place two sliced black olives where the mummy’s eyes would be. You can add a tiny dot of sour cream on each olive for a spooky “glow” effect if you want.
- Serve immediately. Place the hot dip on a serving platter surrounded by tortilla chips. The chips should be sturdy enough to scoop up all the layers. I like scoop-shaped chips for this reason.
Prep Note: The dip will be very hot when it comes out of the oven. Let it sit for 5 minutes before serving to avoid burned tongues. The sour cream bandages will warm up slightly but stay cool enough to contrast with the hot cheese. It’s a lovely temperature effect.
Cooking Tips & Techniques
I’ve made this dip at least a dozen times, and I’ve learned a few things the hard way. Let me save you the trouble.
Don’t overcook the meat. I once let the ground beef go too long and it turned dry and crumbly. You want it just browned and then seasoned. The simmering step with the taco seasoning and water keeps it moist. If you’re using ground turkey, be especially careful—it dries out faster than beef.
Soft cream cheese is non-negotiable. I know, I know, you’re in a hurry. But cold cream cheese will tear up your cream cheese layer and leave lumps. Set it out 20 minutes before you start, or microwave it in 10-second bursts until soft. Trust me on this.
Layer order matters. The cream cheese goes on the bottom so it stays creamy and doesn’t get lost in the other ingredients. The beans go next so they have something to stick to. The meat goes on top of the beans, and the cheese goes on top of everything. This order ensures every scoop gets a little bit of everything.
Make the mummy design your own. The first time I tried piping the sour cream bandages, I made them too thick and they slid off the cheese. Use a thin line, about 1/4 inch wide. And don’t stress about perfection. Mummies are supposed to look a little ragged. I’ve had guests compliment the “authentic” mummy look, and I just smile and nod.
Multitask smartly. While the ground beef is browning, you can soften the cream cheese and rinse the beans. While the dip is baking, set out the chips and arrange the serving platter. This recipe is all about efficiency.
Variations & Adaptations
One of the things I love about this recipe is how flexible it is. Here are a few ways to switch it up:
- Vegetarian Version: Skip the ground beef and use two cans of black beans instead. Mash half of them with a fork before layering to give it a meatier texture. Add a can of corn for extra sweetness and color.
- Spicy Mummy: Use pepper jack cheese instead of Mexican blend. Add a diced jalapeño to the ground beef while it cooks. For extra heat, drizzle hot sauce over the finished dip before serving.
- Slow Cooker Method: Layer everything in a slow cooker instead of baking. Cook on low for 2 hours or high for 1 hour. Add the sour cream bandages and olive eyes just before serving. This is great for parties where you want to keep the dip warm.
- Gluten-Free Option: Most taco seasonings are gluten-free, but double-check the label. Serve with gluten-free tortilla chips or veggie sticks. The recipe itself is naturally gluten-free as written.
- Dairy-Free Adaptation: Use vegan cream cheese, vegan sour cream, and dairy-free shredded cheese. The texture will be slightly different, but the flavor is still fantastic. I’ve tested this with Violife cheese and it melted beautifully.
I once made a “breakfast mummy” version for a brunch party. I used seasoned breakfast sausage instead of taco meat, added scrambled eggs, and topped it with cheddar. It was weird and wonderful. Sometimes the best variations come from happy accidents.
Serving & Storage Suggestions
Serve this dip hot, straight from the oven. The contrast between the warm, melted cheese and the cool sour cream bandages is part of the magic. Arrange tortilla chips around the dish on a large platter. I like to add a few extra chips in a bowl on the side for refills.
For a Halloween party spread: Pair this with other spooky-themed snacks like “witch finger” veggie sticks with ranch dip, “spider” deviled eggs (olives on top), or a bowl of popcorn tossed with orange and black sprinkles. It makes a fun, cohesive table.
Storage: Leftover dip keeps in the refrigerator for up to 3 days. Store it in an airtight container. The sour cream bandages will sink into the dip overnight, so don’t expect the mummy design to survive. It’ll still taste great.
Reheating: Microwave individual portions for 30-60 seconds, or reheat the whole dish in a 350°F oven for 10 minutes. The cheese will get bubbly again. I actually think the flavors meld together even better the next day.
Freezing: You can freeze the unbaked dip (without the sour cream bandages and olives) for up to 2 months. Thaw overnight in the fridge, then bake as directed. Add the decorations after baking.
The flavors develop over time, so leftovers often taste even better. I’ve been known to eat this cold straight from the fridge with a spoon. Don’t judge me.
Nutritional Information & Benefits
Here’s the approximate nutritional breakdown per serving (based on 8 servings):
- Calories: 380
- Protein: 22g
- Fat: 24g
- Carbohydrates: 18g
- Fiber: 5g
- Sugar: 3g
- Sodium: 720mg
Health Benefits: Black beans are packed with fiber and plant-based protein, which help keep you full and support digestive health. They’re also rich in iron, magnesium, and folate. The cream cheese and sour cream add calcium, while the ground beef provides B vitamins and zinc. This isn’t health food, but it’s not junk either. It’s a balanced appetizer that offers real nutritional value.
Dietary Considerations: This recipe is naturally gluten-free. For a lower-carb option, serve with cucumber slices or bell pepper strips instead of tortilla chips. To reduce sodium, use low-sodium taco seasoning and rinse the black beans thoroughly. Potential allergens include dairy (cream cheese, sour cream, shredded cheese) and possible traces of gluten in taco seasoning.
I like to think of this dip as a way to get some protein and fiber into a fun, festive dish. It’s not about deprivation—it’s about balance. Enjoy the chips, savor the cheese, and know that those black beans are doing some good work in the background.
Conclusion
This Easy Black Bean Mummy Taco Dip is the Halloween appetizer you didn’t know you needed. It’s quick, it’s fun, and it’s genuinely delicious. The mummy design is cute without being complicated, and the layers of flavor will have everyone coming back for more. I’ve made this for costume parties, family dinners, and lazy October evenings when I just wanted something cozy and festive.
What I love most about this recipe is how customizable it is. Make it spicier, make it vegetarian, make it ahead of time—it works however you want it to. Don’t be afraid to experiment. Maybe add some corn, swap the beef for chorizo, or use different colored olives for the eyes. The mummy design is a canvas for your creativity.
I’d love to hear how yours turns out. Did you add a twist? Did your kids love the mummy eyes? Did you forget the cream cheese layer like I did that first time? Drop a comment below and share your version. And if you’re looking for more easy weeknight recipes, try my crispy garlic chicken or one-pot taco skillet. Happy Halloween, and happy dipping!
Frequently Asked Questions
Can I make this dip ahead of time?
Absolutely! Assemble the dip (minus the sour cream bandages and olive eyes) up to 24 hours in advance. Cover and refrigerate. When you’re ready to serve, bake as directed, then add the decorations. You may need to add 5 extra minutes to the baking time since it’s starting cold.
Can I use ground turkey instead of beef?
Yes, ground turkey works great. Just be careful not to overcook it—turkey dries out faster than beef. Add an extra tablespoon of water when you add the taco seasoning to keep it moist. I’ve also used ground chicken and it was delicious.
How do I make the mummy design look good?
The key is thin lines of sour cream. Use a piping bag or zip-top bag with a tiny corner snipped off. Pipe horizontal lines across the dip, leaving gaps for the eyes. Don’t worry about perfection—mummies are supposed to look a little messy. Place two olive slices for eyes, and add a tiny dot of sour cream on each for a spooky effect.
Can I make this in a slow cooker?
Yes! Layer everything in a slow cooker in the same order. Cook on low for 2 hours or high for 1 hour. Add the sour cream bandages and olive eyes just before serving. This is perfect for parties where you want to keep the dip warm throughout the evening.
What can I serve with this dip besides tortilla chips?
You’ve got options! Try cucumber slices, bell pepper strips, carrot sticks, or celery for a low-carb option. Pita chips, pretzel chips, or even toasted baguette slices work well. For a fun twist, serve with mini bell peppers cut into strips—they’re perfect for scooping.
Pin This Recipe!
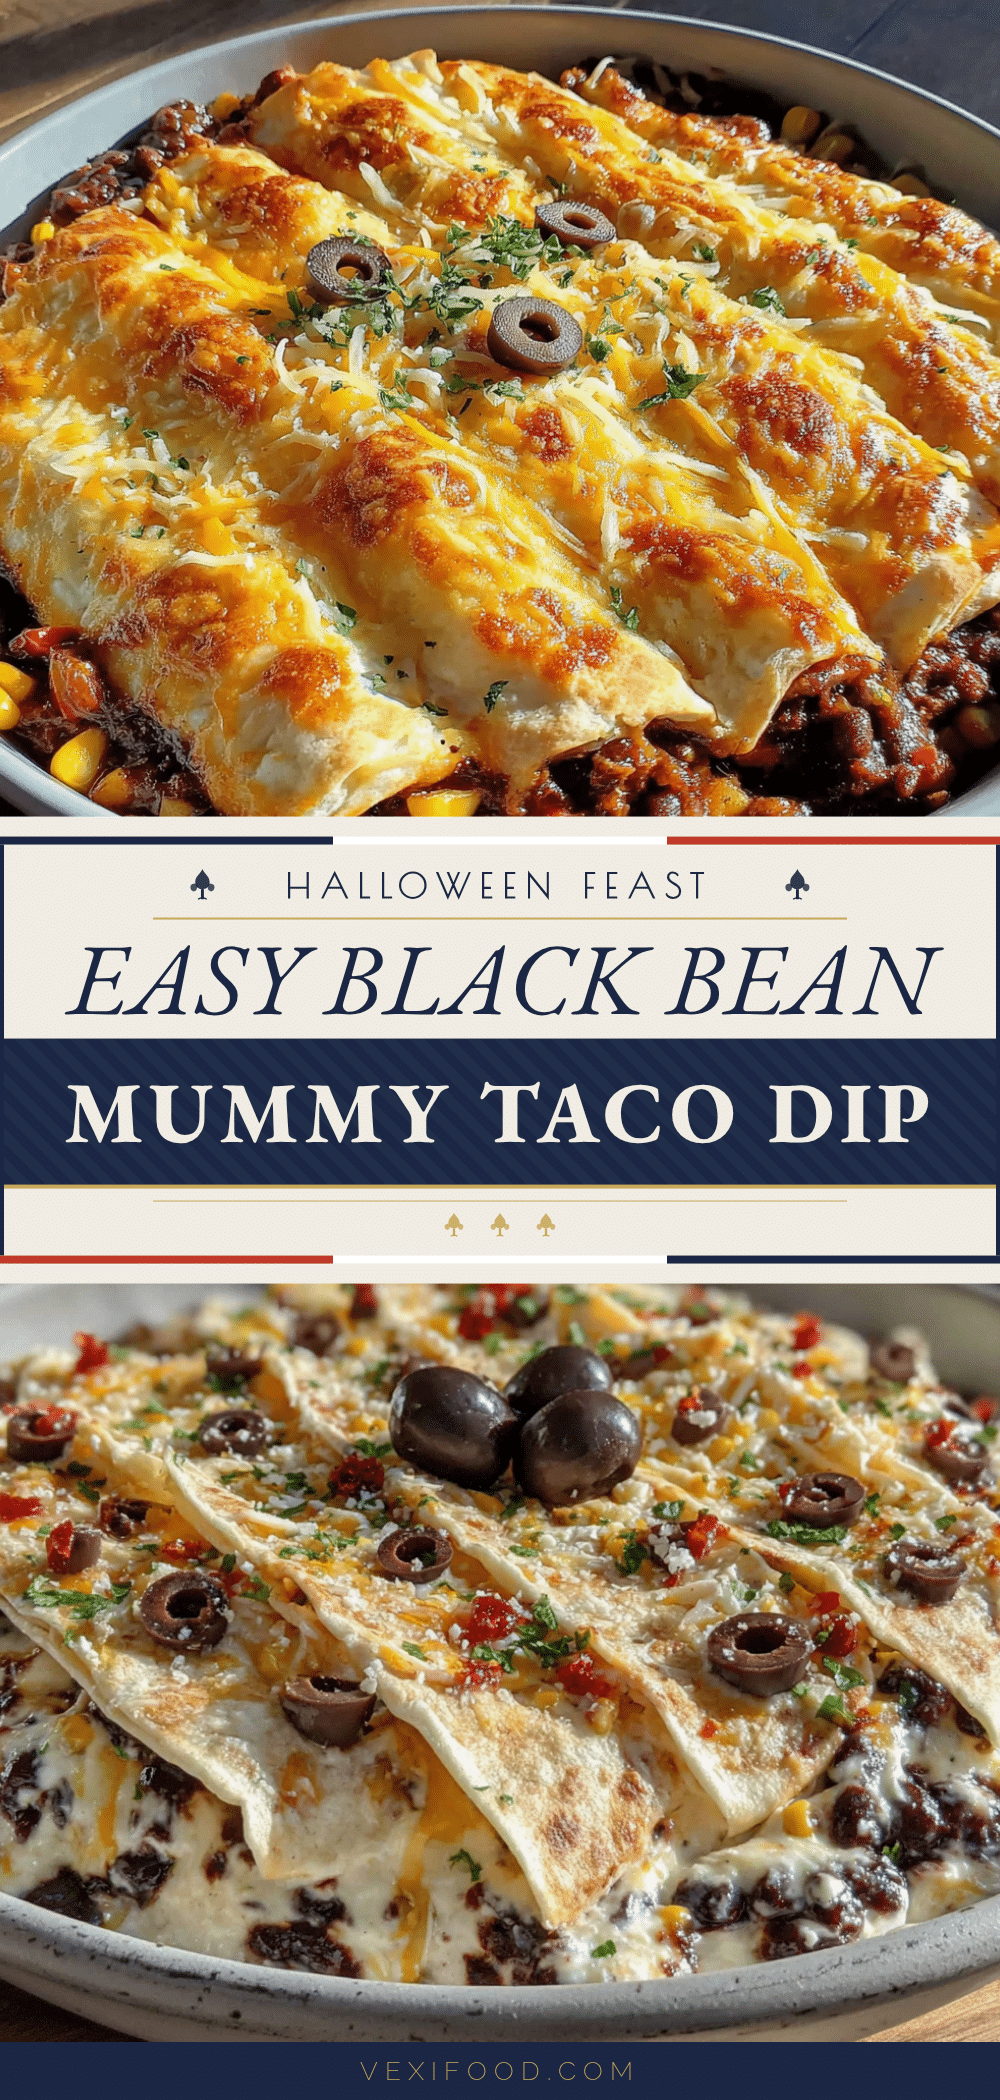
Easy Black Bean Mummy Taco Dip: Best Halloween Appetizer

This Easy Black Bean Mummy Taco Dip is the perfect Halloween appetizer—quick, fun, and delicious. Layers of creamy cheese, seasoned ground beef, black beans, and gooey melted cheese come together in a mummy design that’s adorable without being fussy.
- Prep Time: 10 minutes
- Cook Time: 15 minutes
- Total Time: 25 minutes
- Yield: 8 servings 1x
- Category: Appetizer
- Cuisine: Mexican-American
Ingredients
- 1 can (15 oz) black beans, drained and rinsed
- 1 lb ground beef (80/20 works well; you can also use ground turkey or chicken)
- 1 packet (1 oz) taco seasoning (I use Old El Paso or make my own blend)
- 8 oz cream cheese, softened (full-fat gives the best creamy texture)
- 1/2 cup sour cream (adds tanginess and helps the cream cheese layer spread smoothly)
- 2 cups shredded Mexican blend cheese (or cheddar, Monterey Jack, or pepper jack for heat)
- 1/4 cup water (for the taco meat)
- Olive oil or cooking spray (for the skillet)
- 1 can (2.25 oz) sliced black olives (for the eyes)
- 1/4 cup sour cream (for the mummy bandages, optional but recommended)
- Tortilla chips (for serving; I like scoop-shaped chips for easy dipping)
Instructions
- Preheat your oven to 375°F (190°C). While it’s heating, take your cream cheese out of the fridge if you haven’t already. You want it soft for the next step.
- Cook the ground beef. Heat a drizzle of olive oil in a large skillet over medium-high heat. Add the ground beef and break it apart with a spatula. Cook for 5-7 minutes until browned, stirring occasionally. Drain off any excess fat—I usually tilt the pan and spoon it out.
- Season the meat. Add the taco seasoning and 1/4 cup of water to the skillet. Stir everything together and let it simmer for 2-3 minutes until the liquid thickens slightly. The meat should be coated and fragrant. Set it aside to cool slightly while you work on the next layer.
- Make the cream cheese layer. In a mixing bowl, combine the softened cream cheese and 1/2 cup sour cream. Mix until smooth and well combined. I use a fork for this, but a hand mixer works if you want it extra fluffy. Spread this mixture evenly across the bottom of your pie plate. It should be about 1/4 inch thick.
- Add the black beans. Sprinkle the drained and rinsed black beans evenly over the cream cheese layer. Press them down gently so they stick. Don’t worry about covering every inch—some cream cheese showing through is fine.
- Layer the seasoned meat. Spoon the cooked taco meat over the black beans. Spread it out evenly with the back of your spoon. This creates the ‘filling’ of your mummy.
- Top with shredded cheese. Sprinkle the shredded Mexican blend cheese over the entire dish. Make sure it covers the meat completely—this is what melts into that gooey, delicious top layer.
- Bake the dip. Place the pie plate in the preheated oven and bake for 12-15 minutes, until the cheese is melted and bubbly. You’ll see it start to brown slightly around the edges. That’s perfect.
- Create the mummy design. Remove the dip from the oven and let it cool for 2-3 minutes. For the bandages, transfer the remaining 1/4 cup sour cream to a small zip-top bag. Snip a tiny corner off the bag and pipe horizontal lines across the dip, leaving space for the eyes. Don’t make the lines too perfect—mummies look better a little messy. For the eyes, place two sliced black olives where the mummy’s eyes would be. You can add a tiny dot of sour cream on each olive for a spooky ‘glow’ effect if y…
- Serve immediately. Place the hot dip on a serving platter surrounded by tortilla chips. The chips should be sturdy enough to scoop up all the layers. I like scoop-shaped chips for this reason.
Notes
Don’t overcook the meat—it should be just browned and then seasoned. Soft cream cheese is non-negotiable; let it sit at room temperature for 20 minutes before mixing. Layer order matters: cream cheese on bottom, then beans, then meat, then cheese. For the mummy design, use thin lines of sour cream (about 1/4 inch wide) and don’t stress about perfection. The dip will be very hot when it comes out of the oven; let it sit for 5 minutes before serving. Leftover dip keeps in the refrigerator for up to 3 days. You can freeze the unbaked dip (without the sour cream bandages and olives) for up to 2 months.
Nutrition
- Serving Size: 1 serving (approxima
- Calories: 380
- Sugar: 3
- Sodium: 720
- Fat: 24
- Saturated Fat: 12
- Carbohydrates: 18
- Fiber: 5
- Protein: 22
Keywords: Halloween appetizer, taco dip, mummy dip, black bean dip, easy appetizer, party dip, spooky snack