Love this? Save it for later!
Share the inspiration with your friends
My roommate asked why I couldn’t just skip the food processor and mix everything in one bowl with a wooden spoon. I started to explain why that wouldn’t work — then stopped. Honestly, I had no good reason. I’d been making energy bites for years, always dragging out the food processor, always washing extra parts, always telling myself it was necessary for the right texture. But watching her dump oats and peanut butter into a single bowl, I realized I’d been overcomplicating things for no reason. She was done mixing in under two minutes. I’d been spending ten.
That night, I ate one of her hastily rolled bites and had to admit it — they were better than mine. The texture was chunkier, sure, but in a way that felt more satisfying. More like actual food and less like a processed snack bar. I felt a little sheepish, honestly. Here I was, the self-appointed kitchen expert, getting schooled by someone who barely cooked.
These Easy No-Bake Peanut Butter Energy Bites became our thing after that. We’d make a batch every Sunday night while catching up on shows. She’d mix, I’d roll, and we’d both snack on them all week. Maybe you’ve been there — that moment when you realize a simpler way was right in front of you the whole time. That’s exactly what this recipe is: the simplest, fastest version of a snack that actually keeps you full. No food processor, no melting, no fuss. Just one bowl, a spoon, and five minutes of your time.
Why You’ll Love This Recipe
Let me tell you why these energy bites have earned a permanent spot in my weekly rotation. I’ve tested this recipe at least a dozen times, tweaking ratios and swapping ingredients, and this version is the one I keep coming back to. It’s the kind of recipe that makes you feel like you’ve hacked the system.
- Quick & Easy: Comes together in under 5 minutes, perfect for busy weeknights or last-minute cravings. I mean it — set a timer and you’ll be done before it goes off.
- Simple Ingredients: No fancy grocery trips needed. You likely already have everything in your kitchen right now. Oats, peanut butter, honey, chocolate chips — that’s it.
- Perfect for Meal Prep: Great for grabbing on your way out the door, tossing in lunchboxes, or keeping at your desk for that 3 PM slump.
- Crowd-Pleaser: Always gets rave reviews from kids and adults alike. I’ve brought these to potlucks and watched them disappear before the main dishes.
- Unbelievably Delicious: The texture and flavor combo is next-level comfort food. Chewy oats, creamy peanut butter, and little bursts of chocolate — it’s hard to stop at one.
What makes this recipe different from the rest? It’s the ratio. I spent weeks getting the peanut butter-to-honey balance just right so the bites hold together without being sticky or dry. Plus, the no-food-processor method means you get those satisfying oat chunks instead of a uniform paste. It’s not just another version — it’s my best version.
This recipe isn’t just good — it’s the kind that makes you close your eyes after the first bite. It’s comfort food reimagined: faster, simpler, but with the same soul-soothing satisfaction. Perfect for impressing guests without stress, or turning a simple snack into something memorable.
What Ingredients You Will Need
This recipe uses simple, wholesome ingredients to deliver bold flavor and satisfying texture without the fuss. Everything here is a pantry staple, which means you can probably make these right now without a trip to the store.
- Old-Fashioned Rolled Oats – 1 cup (90g). I recommend Quaker Old-Fashioned Oats for best texture. Don’t use instant oats — they turn to mush and the bites won’t hold together well. The rolled oats give that perfect chewy texture.
- Creamy Peanut Butter – ½ cup (130g). Use a natural, no-stir peanut butter like Jif or Skippy for the best consistency. If you use the natural kind with oil on top, stir it really well first. The oil separation can make your bites too greasy to hold shape.
- Honey – ⅓ cup (110g). Local honey is lovely here, but any liquid honey works. If your honey is crystallized, microwave it for 10 seconds to loosen it up.
- Mini Chocolate Chips – ¼ cup (45g). I prefer Ghirardelli mini chocolate chips because they distribute evenly without overwhelming the bites. Regular-sized chips work too, but you’ll get bigger chocolate pockets.
- Ground Flaxseed – 2 tablespoons (14g). This is the secret binder that helps everything stick together. It also adds a nice dose of omega-3s. You can skip it, but your bites will be crumbly.
- Vanilla Extract – ½ teaspoon. Pure vanilla extract adds warmth and depth. Imitation vanilla works in a pinch, but the flavor won’t be as rich.
- Pinch of Salt – Just a tiny pinch. If your peanut butter is already salted, you can skip this. But if you’re using unsalted, don’t leave it out — salt makes the sweetness pop.
Substitution guidance: Use almond butter or sunflower seed butter instead of peanut butter for a nut-free version. Maple syrup works in place of honey for a vegan option — just note the bites will be slightly softer. For a gluten-free version, make sure your oats are certified gluten-free.
Equipment Needed
You don’t need much for this recipe, which is honestly my favorite part. Here’s what you’ll need:
- Large Mixing Bowl — Any medium-to-large bowl works. I use my favorite ceramic mixing bowl, but glass or stainless steel is fine.
- Wooden Spoon or Silicone Spatula — Something sturdy to mix everything together. The mixture gets thick, so a flimsy spoon will struggle.
- Measuring Cups and Spoons — Standard set for dry and wet ingredients. A ⅓ cup measure is essential for the honey.
- Small Cookie Scoop (optional) — Not required, but it makes portioning the bites incredibly fast and keeps them uniform. I use a 1-tablespoon scoop. If you don’t have one, just use your hands.
- Baking Sheet or Plate — To hold the rolled bites while they chill. Line it with parchment paper for easy cleanup.
- Refrigerator — The bites need at least 30 minutes to set. Make sure you have room in your fridge.
That’s it. No food processor, no mixer, no special gadgets. I’ve made these in a tiny apartment kitchen with exactly two bowls and a spoon. The simplicity is the whole point.
Preparation Method
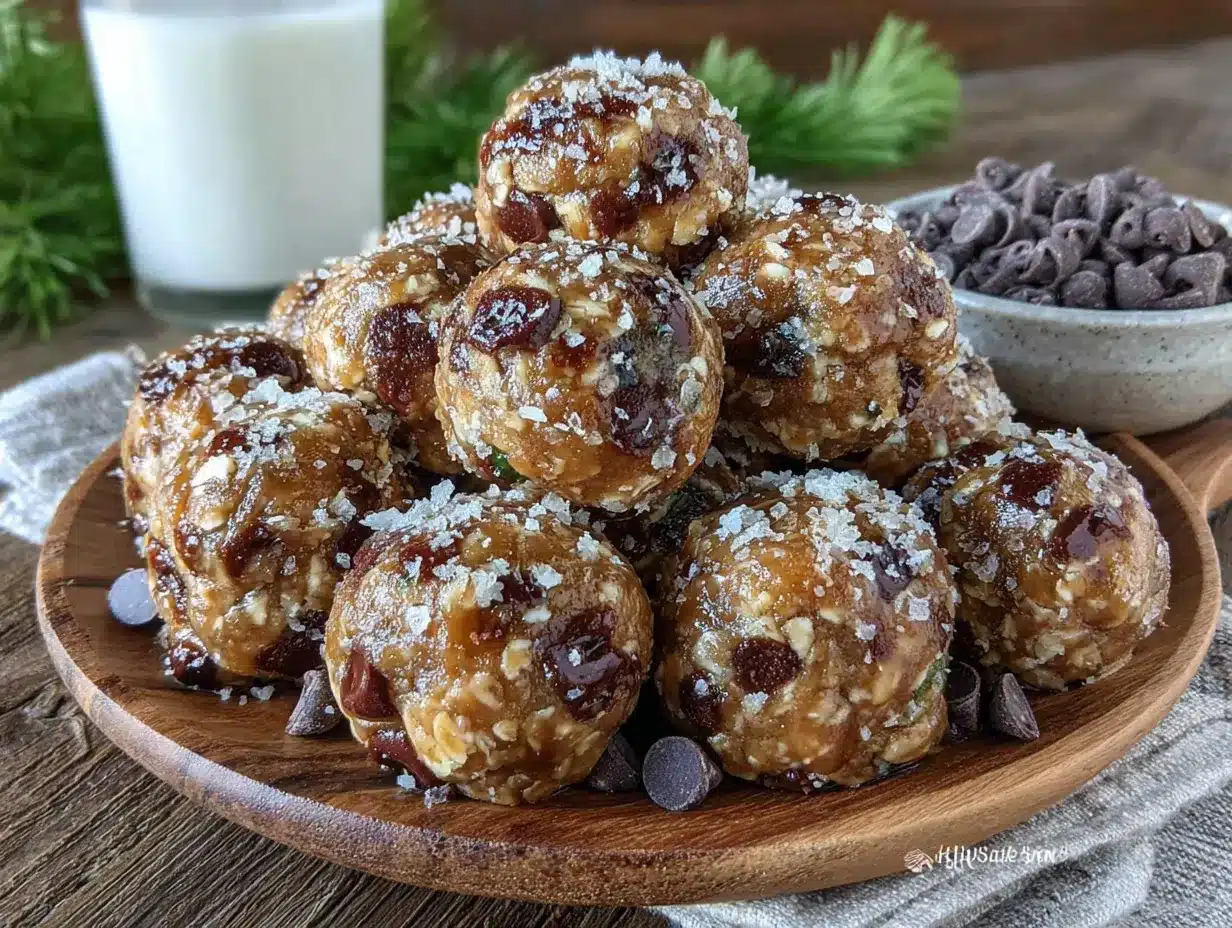
Here’s how to make these Easy No-Bake Peanut Butter Energy Bites. I’ve included every little detail I’ve learned from making these dozens of times.
-
Combine the dry ingredients. In your large mixing bowl, add 1 cup (90g) old-fashioned rolled oats, 2 tablespoons (14g) ground flaxseed, and a tiny pinch of salt. Give it a quick stir with your spoon just to mix everything together. You’ll see the flaxseed coat the oats — that’s exactly what you want.
-
Add the wet ingredients. Spoon ½ cup (130g) creamy peanut butter into the center of the oats. Pour ⅓ cup (110g) honey over the peanut butter. Add ½ teaspoon vanilla extract. Don’t stir yet — just let everything sit together for a moment.
-
Mix until combined. Start stirring with your wooden spoon or spatula. At first, it’ll look like a sticky mess. Keep going. The peanut butter and honey will slowly incorporate into the oats. This takes about 1-2 minutes of steady stirring. The mixture should be thick and uniform, with no dry oat patches. If it seems too dry, add another tablespoon of honey. If it seems too wet, add a tablespoon of oats.
-
Fold in the chocolate chips. Add ¼ cup (45g) mini chocolate chips. Fold them in gently with your spatula until they’re evenly distributed. Don’t overmix at this stage or the chocolate chips might start melting from the heat of your hands.
-
Chill the mixture (optional but helpful). Pop the bowl in the fridge for 10-15 minutes. This makes the mixture firmer and easier to roll. If you’re in a hurry, you can skip this step — just expect slightly stickier hands.
-
Roll into bites. Using your hands or a small cookie scoop, portion the mixture into 1-tablespoon-sized balls. Roll each one between your palms until smooth. You should get about 18-20 bites. If the mixture sticks to your hands, lightly wet your palms with water.
-
Place on a lined baking sheet. Arrange the rolled bites on a parchment-lined baking sheet or plate. They shouldn’t touch each other, but they don’t need much space.
-
Chill to set. Refrigerate for at least 30 minutes. This allows the bites to firm up and hold their shape. After they’re set, transfer them to an airtight container.
Sensory cues: The mixture should feel like thick cookie dough — tacky but not wet. When you roll a bite, it should hold its shape without cracking. If it cracks, add a tiny bit more honey. If it feels greasy, add a tablespoon of oats.
Cooking Tips & Techniques
I’ve made plenty of mistakes with these energy bites, and I’m sharing them so you don’t have to repeat them.
Don’t skip the chilling step. The first time I made these, I was impatient and skipped the fridge time. The bites were delicious but fell apart in my lunch bag. That 30-minute chill is what turns a pile of ingredients into a portable snack.
Wet your hands. This is the single best tip I can give you. Keep a small bowl of water nearby and dip your fingers before rolling each bite. The mixture won’t stick to your palms, and your bites will be perfectly smooth. I learned this after making a sticky mess of my hands for three batches in a row.
Use room temperature peanut butter. Cold peanut butter is impossible to mix evenly. If your peanut butter lives in the fridge, let it sit out for 15 minutes before starting. Or microwave it for 10 seconds — just don’t overdo it or it’ll get runny.
Toast the oats for extra flavor. This is optional but worth it. Spread the oats on a baking sheet and toast at 350°F for 5-7 minutes until fragrant. Let them cool completely before mixing. The nutty flavor takes these bites to another level.
Measure honey the easy way. Spray your measuring cup with nonstick spray before adding honey. It slides right out without sticking. I use this trick for maple syrup too — it saves so much frustration.
Make them uniform. Use a cookie scoop for consistent sizes. This isn’t just about looks — uniform bites chill at the same rate and are easier to pack. My first batch had bites ranging from marble-sized to golf ball-sized, and the big ones never set properly.
Variations & Adaptations
These energy bites are incredibly forgiving. Here are some variations I’ve tried and loved:
Chocolate Peanut Butter Dream: Swap 2 tablespoons of oats for 2 tablespoons of cocoa powder. You’ll get a rich, brownie-like flavor that pairs perfectly with the peanut butter. My niece calls these “healthy brownie bites” and asks for them every visit.
Coconut Lime Zing: Add ¼ cup shredded unsweetened coconut and the zest of one lime. The citrus cuts through the richness beautifully. I made these for a summer picnic and they were gone in minutes.
Crunchy Nut Version: Use crunchy peanut butter instead of creamy, and add 2 tablespoons of chopped peanuts. The extra crunch makes these feel more substantial. Perfect for when you want something to really sink your teeth into.
Vegan-Friendly: Replace honey with maple syrup or agave nectar. The texture will be slightly softer, so add an extra tablespoon of oats to compensate. I’ve made these for vegan friends and they couldn’t tell the difference.
Protein-Packed: Replace 2 tablespoons of oats with vanilla or chocolate protein powder. You’ll need to add an extra tablespoon of honey to balance the dryness. These are my go-to post-workout snack.
Nut-Free School Safe: Use sunflower seed butter instead of peanut butter. The color will turn slightly green from a natural reaction between sunflower seeds and baking soda — don’t worry, it’s harmless and tastes fine. I discovered this the hard way when I thought I’d made a mistake, but they were delicious.
Serving & Storage Suggestions
These Easy No-Bake Peanut Butter Energy Bites are best served cold straight from the fridge. The texture is firm but chewy, and the chocolate chips stay snappy. At room temperature, they soften but still hold their shape — just don’t leave them in a hot car or direct sunlight.
How to serve: I like to arrange them on a small plate for snacking, or pack 2-3 in a small container for an on-the-go breakfast. They pair beautifully with a glass of cold milk, a cup of coffee, or even a smoothie. For a fun presentation, roll them in shredded coconut or crushed nuts before serving.
Storage: Keep them in an airtight container in the refrigerator for up to 2 weeks. I use a glass meal prep container with a tight lid. Layer them between sheets of parchment paper if stacking to prevent sticking. They also freeze beautifully — place them in a freezer-safe bag or container and they’ll keep for up to 3 months.
Reheating: No reheating needed — eat them straight from the fridge or let them sit at room temperature for 5 minutes if you prefer them softer. If frozen, let them thaw in the fridge overnight or at room temperature for 15 minutes.
Flavor development: Honestly, these taste even better after a day or two in the fridge. The flavors meld together, the oats soften slightly, and everything becomes more cohesive. I always make a double batch specifically because the second-day bites are superior.
Nutritional Information & Benefits
Here’s the approximate nutritional breakdown for one energy bite (based on 20 bites per batch):
| Nutrient | Amount Per Bite |
|---|---|
| Calories | 115 |
| Total Fat | 6g |
| Saturated Fat | 1.5g |
| Carbohydrates | 14g |
| Fiber | 2g |
| Sugar | 8g |
| Protein | 4g |
These bites pack a surprising nutritional punch. The oats provide slow-release energy and fiber that keeps you full. Peanut butter offers healthy fats and plant-based protein. Flaxseed adds omega-3 fatty acids and extra fiber. The honey gives you quick energy without the crash of refined sugar.
This recipe is naturally vegetarian and can easily be made vegan or gluten-free with simple substitutions. It’s free from refined sugars and artificial ingredients. The main allergen to note is peanuts — but as mentioned, sunflower seed butter works beautifully as a substitute.
From a wellness perspective, I love that these bites give me sustained energy without the sugar spike and crash of processed snack bars. They’re my go-to for long workdays, hiking trips, and after-school hunger attacks.
Conclusion
These Easy No-Bake Peanut Butter Energy Bites are proof that the best recipes are often the simplest. One bowl, five minutes, and a handful of pantry staples — that’s all it takes to have a week’s worth of healthy, satisfying snacks ready to go. I still think about that night my roommate showed me a better way. It taught me that sometimes the expert needs to step back and let the beginner lead.
I hope you’ll give these a try and make them your own. Add your favorite mix-ins, adjust the sweetness, roll them in whatever sounds good. That’s the beauty of a forgiving recipe — it works with you, not against you. Let me know in the comments how yours turn out. Did you try a variation I haven’t thought of? I’m always looking for new ideas.
Happy snacking, friends. You’ve got this.
Frequently Asked Questions
Can I use quick oats instead of rolled oats?
I don’t recommend it. Quick oats are more finely processed and will absorb moisture differently, resulting in a mushy texture. Rolled oats give the bites their signature chewy texture. If quick oats are all you have, reduce the honey by a tablespoon to compensate for the extra absorption.
How long do these energy bites last at room temperature?
They’re safe at room temperature for about 2 hours, but they’ll soften significantly. For best texture and food safety, keep them refrigerated. If you’re packing them for lunch, use an ice pack in your lunch bag.
Can I make these without honey?
Absolutely. Maple syrup, agave nectar, or brown rice syrup all work as substitutes. Keep in mind that different liquid sweeteners have different thickness levels — maple syrup is thinner than honey, so you may need to add an extra tablespoon of oats to firm up the mixture.
Why are my energy bites too dry?
This usually happens when the peanut butter is too thick or the oats are over-measured. Make sure you’re using creamy peanut butter at room temperature. When measuring oats, spoon them into your measuring cup rather than scooping — scooping packs them down and gives you too much. Add a tablespoon of honey or peanut butter to fix a dry batch.
Can I double this recipe?
Yes, and I actually recommend it. These freeze beautifully, so a double batch means snacks for a month. Just make sure you have a large enough mixing bowl — the mixture gets quite thick with doubled ingredients. You might need to use your hands to fully incorporate everything toward the end.
Pin This Recipe!
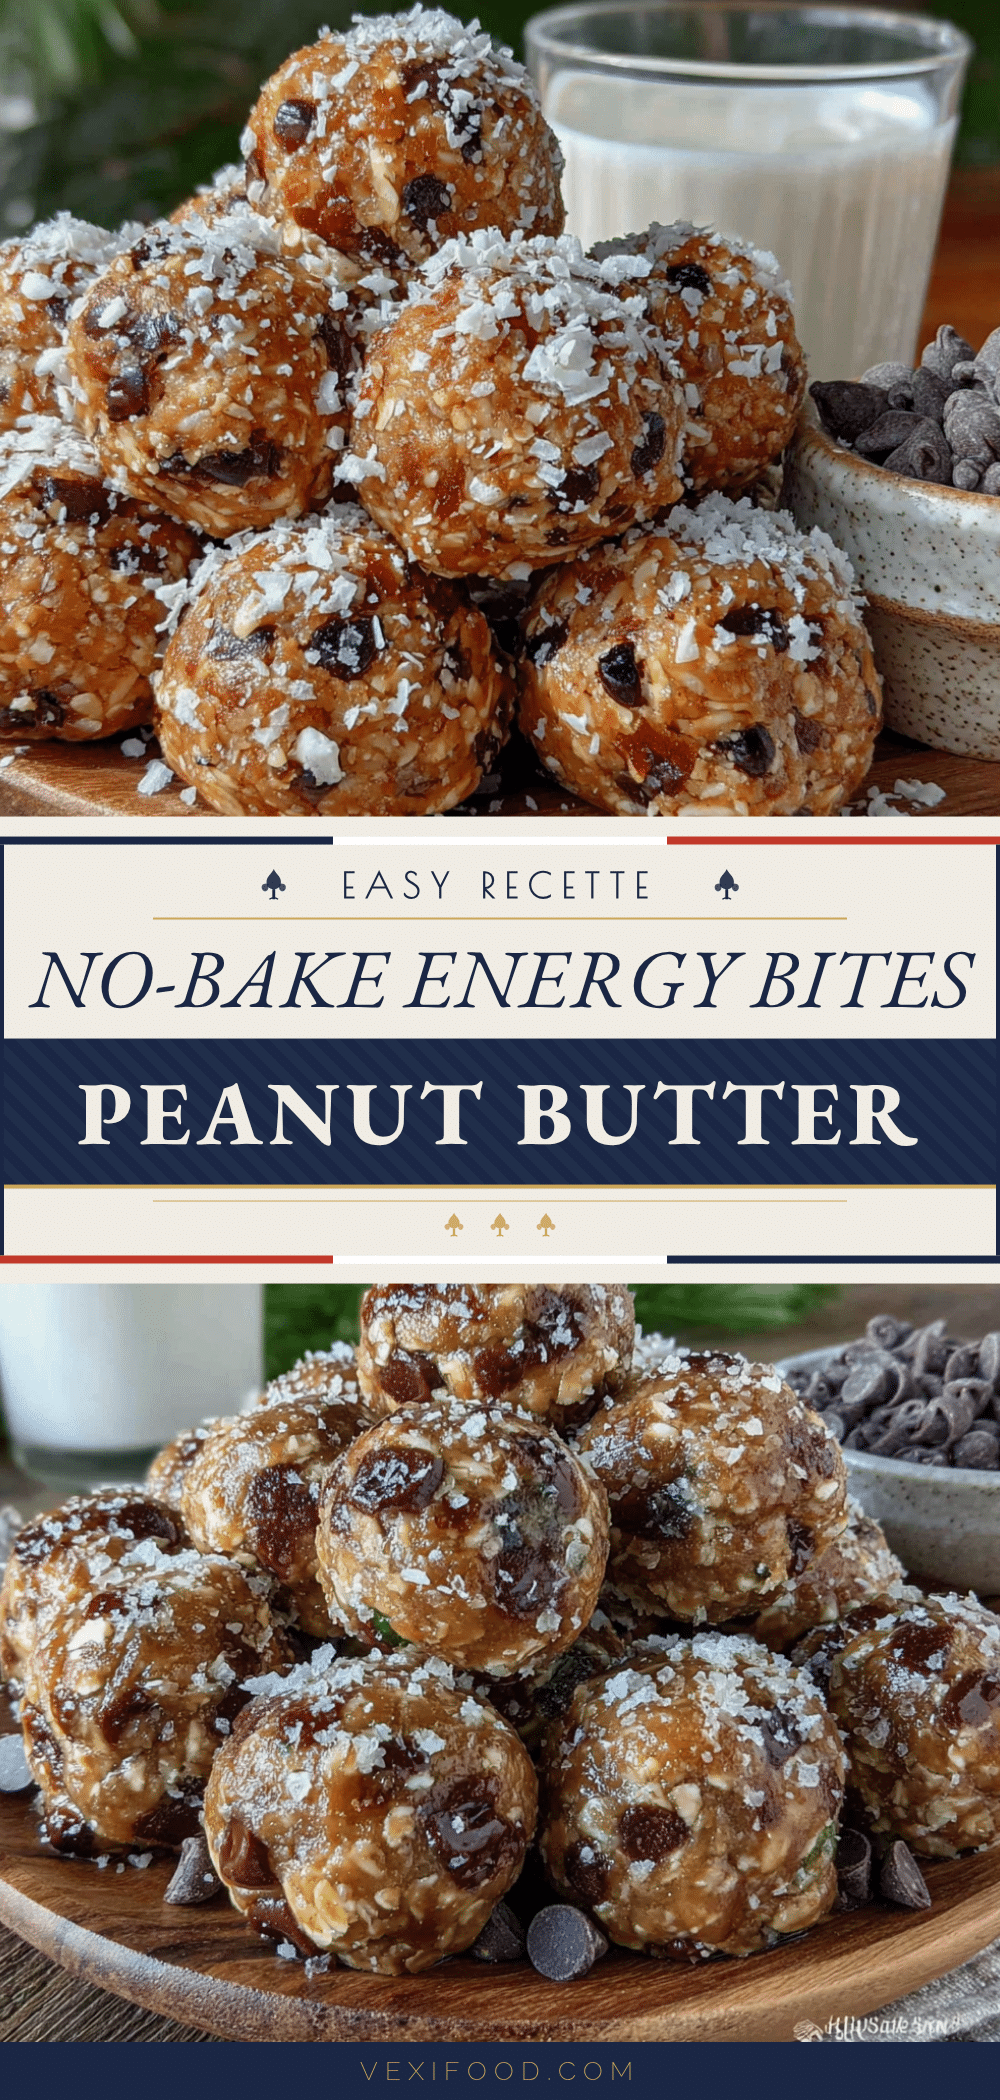
Easy No-Bake Peanut Butter Energy Bites (5-Minute Recipe)

These Easy No-Bake Peanut Butter Energy Bites come together in under 5 minutes with just one bowl and a spoon. Made with simple pantry staples like oats, peanut butter, honey, and chocolate chips, they’re the perfect healthy snack for meal prep, lunchboxes, or a quick energy boost.
- Prep Time: 5 minutes
- Cook Time: 0 minutes
- Total Time: 35 minutes (including 30 minutes chilling)
- Yield: 18-20 bites 1x
- Category: Snack
- Cuisine: American
Ingredients
- 1 cup (90g) old-fashioned rolled oats
- ½ cup (130g) creamy peanut butter (no-stir, like Jif or Skippy)
- ⅓ cup (110g) honey
- ¼ cup (45g) mini chocolate chips
- 2 tablespoons (14g) ground flaxseed
- ½ teaspoon vanilla extract
- Pinch of salt
Instructions
- Combine the dry ingredients: In a large mixing bowl, add 1 cup (90g) old-fashioned rolled oats, 2 tablespoons (14g) ground flaxseed, and a tiny pinch of salt. Give it a quick stir with your spoon to mix.
- Add the wet ingredients: Spoon ½ cup (130g) creamy peanut butter into the center of the oats. Pour ⅓ cup (110g) honey over the peanut butter. Add ½ teaspoon vanilla extract. Don’t stir yet.
- Mix until combined: Start stirring with a wooden spoon or spatula. Continue for 1-2 minutes until the mixture is thick and uniform with no dry oat patches. If too dry, add another tablespoon of honey; if too wet, add a tablespoon of oats.
- Fold in the chocolate chips: Add ¼ cup (45g) mini chocolate chips and fold gently until evenly distributed. Avoid overmixing to prevent melting.
- Chill the mixture (optional but helpful): Refrigerate the bowl for 10-15 minutes to make rolling easier. If in a hurry, skip this step.
- Roll into bites: Using your hands or a small cookie scoop, portion the mixture into 1-tablespoon-sized balls (about 18-20 bites). Roll each between your palms until smooth. If sticky, lightly wet your palms with water.
- Place on a lined baking sheet: Arrange the rolled bites on a parchment-lined baking sheet or plate, ensuring they don’t touch.
- Chill to set: Refrigerate for at least 30 minutes to firm up. Transfer to an airtight container for storage.
Notes
For best texture, use room temperature peanut butter. Wet your hands with water to prevent sticking when rolling. Chilling for at least 30 minutes is essential for the bites to hold their shape. These taste even better after a day in the fridge. For a nut-free version, use sunflower seed butter. For vegan, replace honey with maple syrup and add an extra tablespoon of oats.
Nutrition
- Serving Size: 1 energy bite
- Calories: 115
- Sugar: 8
- Fat: 6
- Saturated Fat: 1.5
- Carbohydrates: 14
- Fiber: 2
- Protein: 4
Keywords: no-bake energy bites, peanut butter energy bites, healthy snack, 5-minute recipe, meal prep snack, no-bake snack, gluten-free option, vegan option



