Love this? Save it for later!
Share the inspiration with your friends
I was trying to fix a leaky faucet last summer—honestly, I had no idea what I was doing—when my neighbor, an accountant named Gary who I’d only ever seen mowing his lawn in pressed khakis, knocked on my back door. He wasn’t there to help with the plumbing. Instead, he was holding a slightly dented ice cream container and looking almost embarrassed. “My wife made this last night,” he said, “and I can’t stop eating it. You’ve got kids, right?” That was my introduction to the recipe that would become our family’s summer obsession: Easy No-Churn Salted Caramel Ice Cream.
I wasn’t expecting cooking advice from a man whose idea of a big weekend was organizing his garage, but there I was, wrench in one hand, tasting a spoonful of the creamiest, most perfectly balanced ice cream I’d ever had. The salt hit first, then the deep, buttery caramel, and then that impossibly smooth texture. I asked for the recipe, expecting a list of complicated steps and a French culinary degree. Gary just shrugged. “Two cans of sweetened condensed milk, some cream, and a bag of soft caramels. You don’t even need a machine.”
I made a batch that very night, and let me tell you, the kitchen was a mess. I forgot to chill the bowl, the kids were running circles around me, and I may have “tested” a few too many caramel pieces. But when I pulled that container out of the freezer the next afternoon and scooped out the first perfect spoonful, I knew we had something special. This is that recipe—the one you don’t need any fancy equipment for, the one that makes you look like a hero, and the one your kids will beg for every single day.
Why You’ll Love This Recipe
This isn’t just another ice cream recipe. After making it more times than I can count (and tweaking it to absolute perfection), I can tell you exactly why this one sticks.
- No Ice Cream Machine Needed: Seriously. You don’t need a fancy churn or a freezer bowl. If you have a hand mixer or a strong arm, you’re in business. This is the kind of recipe that makes you feel like a kitchen genius with almost zero effort.
- Kid-Approved & Parent-Approved: My kids practically inhale this stuff, and I love that I know every single ingredient that went into it. No weird stabilizers or corn syrup you can’t pronounce—just real cream, real caramel, and a sprinkle of salt.
- Budget-Friendly Ingredients: You likely have most of this in your pantry right now. A can of sweetened condensed milk is still one of the cheapest ways to make something that tastes like it came from a fancy parlor. This is smart, resourceful cooking that feeds a family without breaking the bank.
- Completely Customizable: I’ll show you the base recipe, but the variations are endless. Add chocolate chips, swirl in peanut butter, or toss in some crushed cookies. It’s a blank canvas for your family’s favorite flavors.
- Perfect for Picky Eaters: That sweet-salty combo is a universal win. Even my friend’s kid who “doesn’t like anything” ate two bowls of this. It’s a crowd-pleaser that makes everyone at the table happy.
What makes this recipe different from all the other no-churn recipes out there? It’s the texture. Most no-churn ice creams freeze into a solid block of ice. Not this one. The secret is in how you handle the caramel and the cream—a little trick I learned after my first batch came out more like a popsicle than a scoopable treat. This version stays soft, creamy, and perfectly scoopable straight from the freezer. It’s comfort food reimagined: faster, easier, and with the same soul-soothing satisfaction.
What Ingredients You Will Need
This recipe uses simple, wholesome ingredients to deliver that rich, indulgent flavor without the fuss. I’ve tested this with different brands and substitutions, so I’ll share what works best.
- 2 cups (480 ml) heavy whipping cream: This is the backbone of your ice cream. Don’t skimp on the fat content—you need the full 36% for that creamy texture. I’ve found that Horizon Organic or Land O’Lakes whips up beautifully. If you use a lower-fat cream, the ice cream will be icy and hard.
- 1 can (14 oz / 397 g) sweetened condensed milk: This is your sweetener and your texture helper. It keeps the ice cream soft and scoopable. I prefer Eagle Brand for its consistent thickness. Do not use evaporated milk—they are not the same thing.
- 1/2 cup (120 ml) caramel sauce: You can use store-bought to save time, and I won’t judge you one bit. I like Smucker’s or Hershey’s for a reliable flavor. If you want to be extra fancy, make your own using this homemade caramel sauce recipe—it takes about 10 minutes.
- 1/2 teaspoon flaky sea salt (like Maldon): This is non-negotiable. The flaky salt gives you those little bursts of salty goodness that make salted caramel so addictive. Table salt is too fine and will just dissolve. If you only have kosher salt, use 1/4 teaspoon.
- 1 teaspoon vanilla extract: Pure vanilla extract is best. It rounds out the caramel flavor. Imitation vanilla works in a pinch, but the real stuff makes a difference.
- 1/2 cup (75 g) soft caramel candies (optional but recommended): I use Kraft Caramels or the store-brand version. You want the soft, chewy kind, not the hard ones. Chop them into small pieces before folding them in. They stay soft in the freezer and give you those little chewy caramel bites.
Equipment Needed
You don’t need a lot of gear for this one. Here’s what you’ll need:
- Large mixing bowl: Make sure it’s clean and completely dry. Any grease will prevent your cream from whipping properly.
- Hand mixer or stand mixer: A hand mixer is perfect. If you’re feeling strong, you can whisk by hand, but your arm will get a workout. I’ve done it both ways, and the mixer is just easier.
- Rubber spatula: For folding the cream into the caramel mixture. A gentle hand here keeps the air in the cream.
- 9×5-inch loaf pan or 2-quart freezer-safe container: A standard loaf pan works great. You can also use a metal cake pan—metal freezes faster than glass, which helps with texture.
- Plastic wrap or parchment paper: To press directly onto the surface of the ice cream. This prevents ice crystals from forming on top.
- Parchment paper (optional): Lining your pan with parchment makes it super easy to lift the whole block of ice cream out for slicing.
I’ve made this with a cheap hand mixer I got for $15, and it worked perfectly. Don’t feel like you need to invest in anything special.
Preparation Method
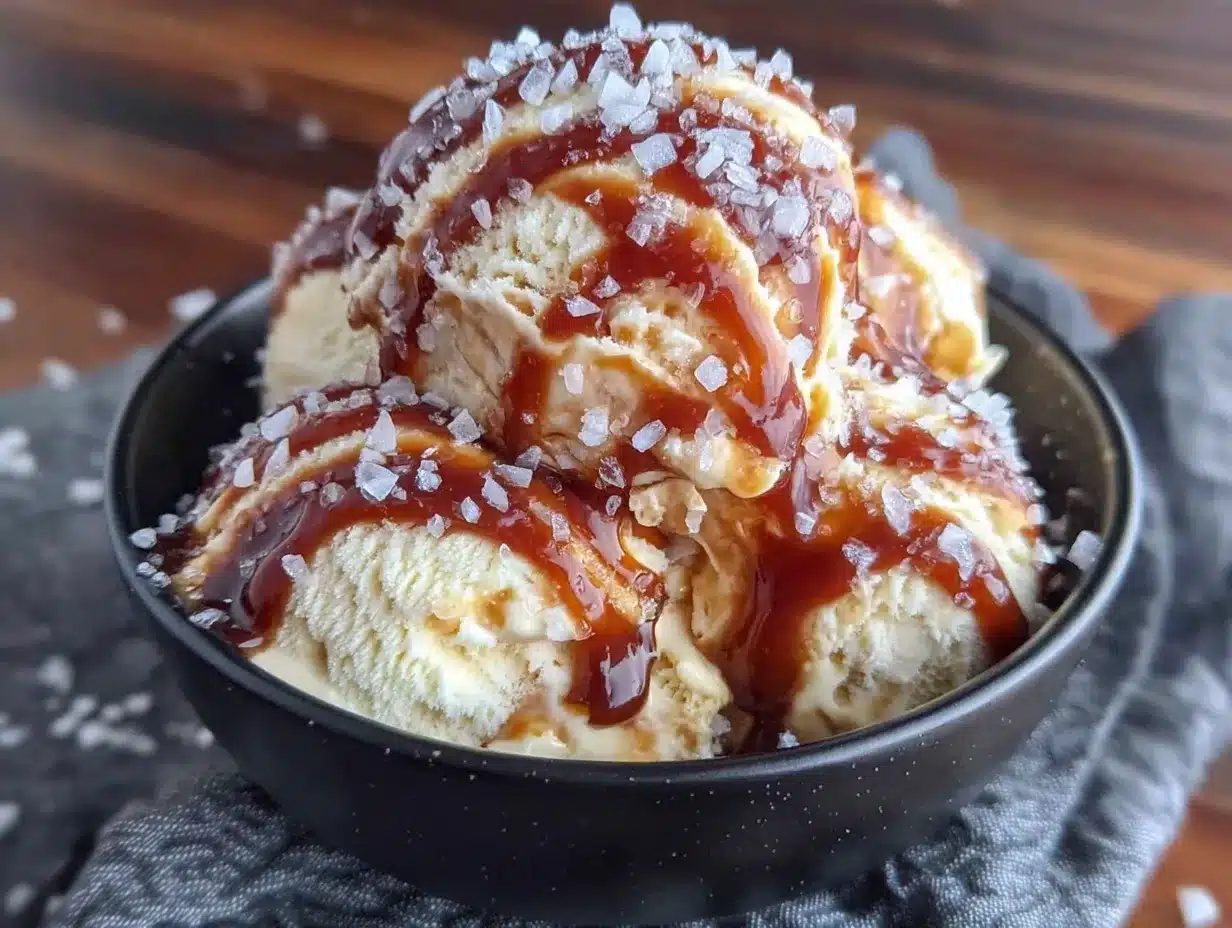
Let’s get to the fun part. This is easier than you think, I promise.
- Chill your bowl and cream. Place your large mixing bowl and the beaters from your hand mixer in the freezer for at least 15 minutes. Cold equipment helps the cream whip up faster and fluffier. While you’re at it, set your loaf pan in the freezer too.
- Make the caramel base. In a separate medium bowl, whisk together the can of sweetened condensed milk, 1/2 cup of caramel sauce, and the vanilla extract until smooth. Don’t worry if it’s a little thick—that’s perfect. Set this aside.
- Whip the cream. Pour the cold heavy cream into your chilled bowl. Using your hand mixer on medium-high speed, whip the cream until stiff peaks form. This takes about 3-4 minutes. You’ll know it’s ready when you lift the beaters and the cream holds its shape without drooping. Be careful not to over-whip—if it looks grainy or starts to separate, you’ve gone too far and you’ll need to start over. I’ve done that once, and it’s a bummer.
- Fold the caramel into the cream. This is where patience pays off. Take about a third of the whipped cream and gently fold it into the caramel mixture with your rubber spatula. This lightens up the caramel base so it’s easier to combine. Then, pour the entire caramel mixture back into the bowl with the remaining whipped cream. Fold gently, cutting through the center and lifting the mixture from the bottom. Stop as soon as you don’t see any white streaks. Over-mixing will deflate the air and make your ice cream dense.
- Add the caramel candies and salt. Sprinkle the chopped soft caramel candies and the flaky sea salt over the top of the mixture. Give it two or three gentle folds to distribute them evenly. Don’t overdo it—you want little pockets of caramel and salt throughout.
- Transfer to the pan. Spoon the mixture into your chilled loaf pan. Smooth the top with the spatula. It should look light and fluffy, like a cloud of caramel.
- Swirl in extra caramel (optional). If you want that bakery-style look, drizzle another tablespoon of caramel sauce over the top and use a knife to make a few gentle swirls. Don’t stir it in completely—you want ribbons of caramel.
- Cover and freeze. Press a piece of plastic wrap directly onto the surface of the ice cream. This is the most important step for preventing ice crystals. Then cover the pan with another layer of foil or a lid. Freeze for at least 6 hours, but overnight is best. The longer it freezes, the firmer and more scoopable it gets.
- Serve. When you’re ready to eat, let the ice cream sit at room temperature for about 5-10 minutes before scooping. This softens it just enough for perfect, creamy scoops. Sprinkle a tiny pinch of flaky salt on top of each serving for that final pop of flavor.
Cooking Tips & Techniques
I’ve made this recipe about a dozen times now, and I’ve learned a few things the hard way so you don’t have to.
Don’t skip chilling the equipment. The first time I made this, I was impatient and skipped this step. My cream took forever to whip, and the final texture wasn’t as light. Cold bowl, cold cream, cold beaters—it makes a real difference.
Watch your whipping. Under-whipped cream won’t hold air, and your ice cream will be dense and icy. Over-whipped cream will turn into butter. You want that sweet spot where the cream is thick, glossy, and holds a peak. If you’re unsure, stop a little early—it’s better to be slightly under than over.
The texture trick. If you want an even creamier texture, you can transfer the mixture to a shallow metal pan instead of a deep loaf pan. The mixture freezes faster in a shallow pan, which means smaller ice crystals and a smoother final product. I use a 9×13 metal cake pan when I’m in a hurry.
My biggest failure. I once tried to speed things up by putting the loaf pan in the freezer without plastic wrap directly on the surface. The next day, the top was covered in a layer of crunchy ice crystals. It was still edible, but the texture was off. Always, always press that wrap down onto the ice cream.
Timing is everything. Make this the day before you need it. The flavor actually gets better after 24 hours as the caramel and salt meld together. It’s the perfect make-ahead dessert for a busy weeknight or a weekend cookout.
Variations & Adaptations
This base recipe is so forgiving. Here are a few ways to make it your own.
- Chocolate-Covered Pretzel: Fold in 1/2 cup of crushed pretzels and 1/2 cup of mini chocolate chips along with the caramel. The salty, crunchy pretzels with the creamy caramel and chocolate chips are absolutely incredible. My kids call this the “sweet and salty dream.”
- Peanut Butter Swirl: Warm 1/4 cup of creamy peanut butter in the microwave for about 20 seconds until it’s runny. Drizzle it over the top of the ice cream mixture before freezing and swirl it in with a knife. It’s like a Reese’s ice cream bar in a bowl.
- Dairy-Free Version: Substitute the heavy cream with two cans of full-fat coconut cream (chilled overnight) and use a dairy-free sweetened condensed milk. The coconut flavor pairs beautifully with the caramel. Whip the coconut cream just like you would heavy cream. It’s a little softer, but still delicious.
- Kid-Friendly No-Nut: If you’re making this for a school event or a nut-free home, skip the peanut butter and add 1/2 cup of crushed vanilla wafer cookies or graham crackers instead. The texture is still fun, and there’s no worry about allergies.
- Spicy Mexican Chocolate: Add 1/2 teaspoon of cinnamon and a pinch of cayenne pepper to the caramel base. Fold in 1/2 cup of dark chocolate chunks. The warmth of the spice with the cold, creamy caramel is a grown-up treat that’s still totally kid-friendly if you go light on the cayenne.
Serving & Storage Suggestions
This ice cream is best served straight from the freezer, but with a little patience. Let it sit on the counter for 5 to 10 minutes before scooping. This softens it just enough to get those perfect, round scoops that look like they came from an ice cream shop.
For a fun family dessert bar, set out small bowls of toppings: crushed cookies, chocolate syrup, sprinkles, more caramel, and of course, a little extra flaky salt. Let everyone build their own sundae. It’s a great way to make a simple dessert feel like an event, especially on a Friday night.
Storage: Keep the ice cream in the freezer, tightly covered with plastic wrap pressed onto the surface and a lid or foil on top. It will stay good for up to three weeks. After that, the texture starts to get a little icy, though the flavor is still fine.
Leftovers that reheat well? Well, this is ice cream, so it doesn’t really reheat. But if you somehow have leftovers (unlikely in my house), you can scrape any ice crystals off the top before serving. The flavor actually improves after a day or two as the caramel and salt mingle.
Flavor development: I honestly think this ice cream tastes even better on day two. The caramel gets a little deeper, and the salt disperses more evenly. If you can wait, make it a day ahead.
Nutritional Information & Benefits
Let’s be real—this is a treat. But it’s a treat made with real ingredients, and there’s something to be said for that. Here’s an approximate breakdown per 1/2 cup serving:
- Calories: ~380
- Fat: 24g
- Carbohydrates: 38g
- Protein: 5g
- Sugar: 34g
Health benefits: The heavy cream provides some vitamin A and healthy fats that help keep you full. The caramel, while sweet, is made from milk and sugar, so you’re getting a little calcium. The sea salt adds electrolytes. I’m not saying this is health food, but if you’re going to have a dessert, this is one where you recognize every ingredient.
Dietary considerations: This recipe contains dairy and gluten (from the caramel candies, which may contain wheat). For a gluten-free version, use certified gluten-free caramel candies or make your own caramel sauce. It is not suitable for vegans unless you use the coconut cream version mentioned above.
I always tell my friends: life is about balance. We eat salads during the week, and we have this glorious, creamy, salty-sweet ice cream on the weekends. It’s all good.
Conclusion
This Easy No-Churn Salted Caramel Ice Cream is the kind of recipe that makes you feel like you’ve discovered a secret. It’s ridiculously simple, uses ingredients you probably already have, and tastes like something you’d pay a lot of money for at a fancy ice cream parlor. Whether you’re making it for a family movie night, a summer barbecue, or just because it’s Tuesday, this ice cream delivers every single time.
I love that I can make it with my kids—they help me fold the cream and sprinkle the salt, and they feel so proud when they get to eat the results. It’s become our go-to summer tradition, and I hope it becomes one for your family too.
Now, go dig that can of sweetened condensed milk out of your pantry. You’re about to make the best ice cream of your life. And when you do, come back and tell me about it! Leave a comment below, share a photo of your creation, or let me know what fun mix-ins you tried. I can’t wait to hear how it turns out for you.
Frequently Asked Questions
Can I use half-and-half instead of heavy cream?
I wouldn’t recommend it. Half-and-half has too much water and not enough fat, so it will freeze into a hard, icy block. Heavy cream is essential for that soft, scoopable texture. Stick with the full-fat stuff.
How long does this ice cream need to freeze?
At least 6 hours, but overnight is best. The longer it freezes, the firmer and more scoopable it gets. If you’re in a rush, pour the mixture into a shallow metal pan to speed up freezing.
Can I use homemade caramel sauce instead of store-bought?
Absolutely! Homemade caramel sauce works beautifully. Just make sure it’s cooled to room temperature before mixing it in. A warm sauce will melt the whipped cream and ruin the texture.
Why is my ice cream icy instead of creamy?
This usually happens for one of two reasons: either you didn’t whip the cream to stiff peaks (it needs to hold a lot of air), or you didn’t press plastic wrap directly onto the surface before freezing. Both steps are crucial for a smooth, creamy texture.
Can I double this recipe?
Yes! It doubles perfectly. Just use a larger container for freezing, like a 9×13 metal cake pan. The freezing time will be about the same if the mixture is spread out in a thinner layer.
Pin This Recipe!
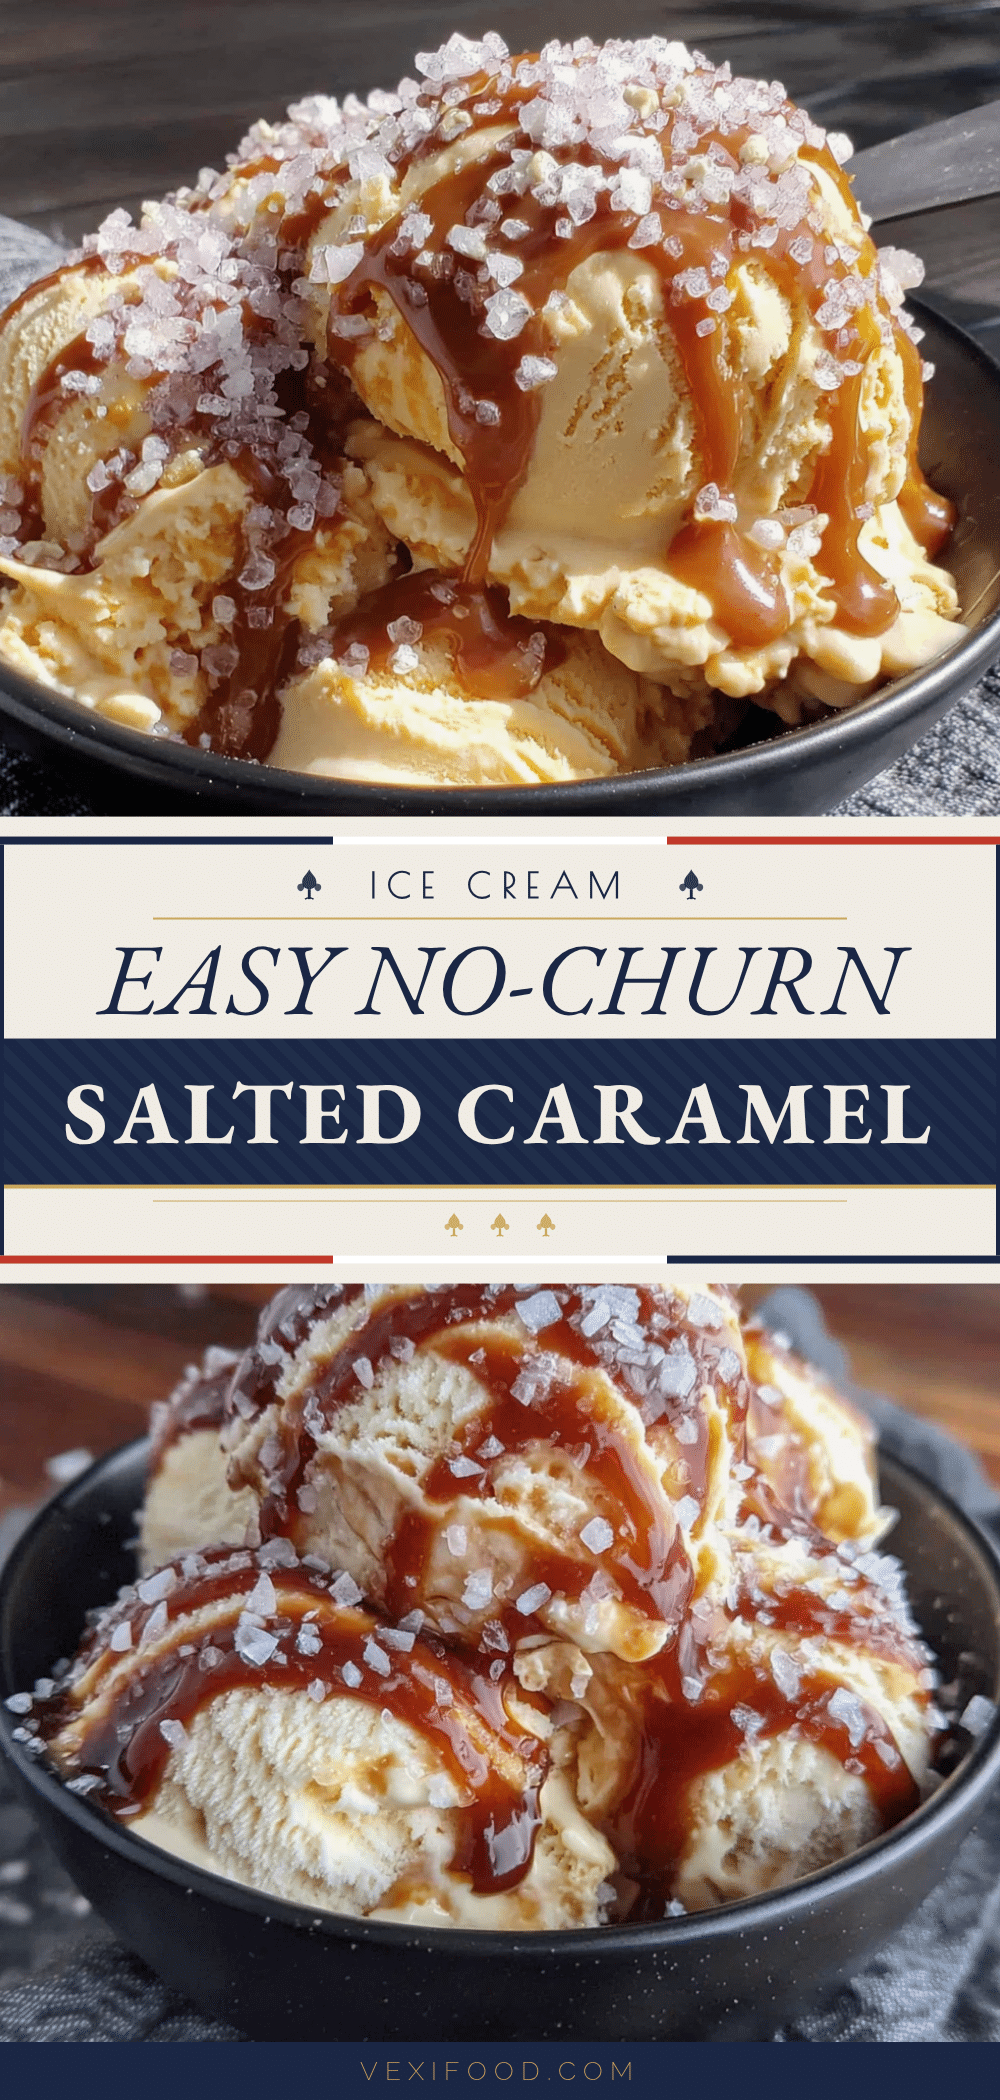
Easy No-Churn Salted Caramel Ice Cream: Best Homemade Recipe

This easy no-churn salted caramel ice cream is incredibly creamy and perfectly balanced with sweet and salty flavors. Made without an ice cream machine, it’s a simple, budget-friendly dessert that the whole family will love.
- Prep Time: 15 minutes
- Cook Time: 0 minutes
- Total Time: 6 hours 15 minutes (includes freezing time)
- Yield: 8 servings 1x
- Category: Dessert
- Cuisine: American
Ingredients
- 2 cups (480 ml) heavy whipping cream
- 1 can (14 oz / 397 g) sweetened condensed milk
- 1/2 cup (120 ml) caramel sauce
- 1/2 teaspoon flaky sea salt (like Maldon)
- 1 teaspoon vanilla extract
- 1/2 cup (75 g) soft caramel candies (optional but recommended)
Instructions
- Chill your bowl and cream. Place your large mixing bowl and the beaters from your hand mixer in the freezer for at least 15 minutes. While you’re at it, set your loaf pan in the freezer too.
- Make the caramel base. In a separate medium bowl, whisk together the can of sweetened condensed milk, 1/2 cup of caramel sauce, and the vanilla extract until smooth. Set aside.
- Whip the cream. Pour the cold heavy cream into your chilled bowl. Using your hand mixer on medium-high speed, whip the cream until stiff peaks form, about 3-4 minutes.
- Fold the caramel into the cream. Take about a third of the whipped cream and gently fold it into the caramel mixture with your rubber spatula. Then, pour the entire caramel mixture back into the bowl with the remaining whipped cream. Fold gently until no white streaks remain.
- Add the caramel candies and salt. Sprinkle the chopped soft caramel candies and the flaky sea salt over the top of the mixture. Give it two or three gentle folds to distribute them evenly.
- Transfer to the pan. Spoon the mixture into your chilled loaf pan. Smooth the top with the spatula.
- Swirl in extra caramel (optional). If you want that bakery-style look, drizzle another tablespoon of caramel sauce over the top and use a knife to make a few gentle swirls.
- Cover and freeze. Press a piece of plastic wrap directly onto the surface of the ice cream. Then cover the pan with another layer of foil or a lid. Freeze for at least 6 hours, but overnight is best.
- Serve. When you’re ready to eat, let the ice cream sit at room temperature for about 5-10 minutes before scooping. Sprinkle a tiny pinch of flaky salt on top of each serving.
Notes
For best texture, chill the bowl and cream before whipping. Press plastic wrap directly onto the surface of the ice cream to prevent ice crystals. Let the ice cream sit at room temperature for 5-10 minutes before scooping. The flavor improves after 24 hours.
Nutrition
- Serving Size: 1/2 cup
- Calories: 380
- Sugar: 34
- Sodium: 250
- Fat: 24
- Saturated Fat: 15
- Carbohydrates: 38
- Protein: 5
Keywords: no-churn ice cream, salted caramel ice cream, easy ice cream, homemade ice cream, no machine ice cream