Love this? Save it for later!
Share the inspiration with your friends
There used to be this tiny bakery tucked behind a laundromat on Grand Avenue that made a brown butter banana bread that ruined me for all others. When they closed suddenly—just a handwritten sign taped to the window one Tuesday morning—I genuinely mourned. I mean, I stood there reading that sign three times, hoping I’d misunderstood. After eleven tries—eleven, including one that somehow tasted like burnt popcorn and sadness—I finally got it. That first bite of my version, with the walnut crumb crackling against the tender, brown butter-scented crumb, I actually closed my eyes. It was like finding a song you thought you’d never hear again.
Let me tell you, that bakery’s banana bread was the kind of thing you’d drive across town for, even in rush hour traffic. It had this nutty, almost caramelized flavor that regular banana bread just doesn’t have. And the topping—oh, that walnut crumb was like a buttery, crunchy crown that made every bite interesting. I spent weeks trying to figure out how they got that texture. I called the old landlord, left a note for the former baker at the coffee shop next door. Nothing. So I just started baking. A lot. My counter was covered in banana skins and butter wrappers for a solid month.
Honestly, the breakthrough came when I stopped trying to copy them and started thinking like a baker who knows brown butter. That’s when everything clicked. The nuttiness of the browned butter, the sweetness of overripe bananas, the crunch of walnut—it all makes sense together. Maybe you’ve been there, chasing a flavor from a place that’s gone. This one-bowl version brings it all back, and it’s actually easier than the original. No stand mixer needed. No fancy techniques. Just good ingredients and a little patience while that butter turns golden. And honestly? I think my version might be even better than the one I’ve been chasing all these years.
Why You’ll Love This Recipe
This isn’t just another banana bread recipe you’ll bookmark and forget. This is the one you’ll make again and again, and here’s why.
- One Bowl, No Fuss: Everything comes together in a single mixing bowl. Less dishes means more time enjoying that warm slice with your coffee.
- Brown Butter Magic: That nutty, toasty flavor from browned butter transforms simple banana bread into something that tastes bakery-made. It’s a small step that makes a huge difference.
- Simple Pantry Ingredients: You probably have everything already—bananas, butter, flour, sugar, eggs, walnuts. No special trips to the store for exotic extracts or hard-to-find flours.
- Family-Approved and Budget-Friendly: This bread uses up those spotty bananas nobody wants to eat, and feeds a crowd without breaking the bank. Leftovers reheat beautifully for school lunches or afternoon snacks.
- Crowd-Pleasing Crumb Topping: That walnut crumb topping isn’t just decoration—it adds texture, crunch, and a little extra flavor that makes every slice special. Kids and adults both fight over the corner pieces with the most topping.
What makes this recipe different from all the other banana breads out there? It’s the brown butter. That one extra step—browning the butter until it smells like toasted nuts and honey—adds a depth of flavor you just can’t get any other way. And by using a one-bowl method, I’ve stripped away all the unnecessary complexity. No creaming butter and sugar separately. No sifting dry ingredients into a separate bowl. Just mix, pour, top, and bake. It’s comfort food that feels special without being fussy. The kind of bread that makes you close your eyes after the first bite, because it tastes like something you’d pay twelve dollars for at a fancy cafe.
What Ingredients You Will Need
This recipe uses simple, wholesome ingredients to deliver that bakery-quality flavor without the fuss. Most of these are probably already in your kitchen, which makes this perfect for those mornings when you realize you’ve got three sad bananas on the counter.
- Unsalted butter, ½ cup (1 stick / 113g) — I recommend using a good quality butter like Kerrygold or Plugrà for the best brown butter flavor. The fat content matters here; higher fat butter browns more evenly and tastes richer.
- Ripe bananas, 3 medium (about 1 cup mashed / 240g) — The riper, the better. Look for bananas with lots of brown spots, almost black. They’re sweeter and mash more easily. If your bananas aren’t ripe enough, you can roast them in a 300°F oven for 15-20 minutes until soft.
- Granulated sugar, ¾ cup (150g) — Regular white sugar works perfectly. You can reduce this to ½ cup if your bananas are very ripe and sweet.
- Large egg, 1, at room temperature — Room temperature egg incorporates more evenly into the batter. If you’re in a hurry, place the egg in a bowl of warm water for 5 minutes.
- Vanilla extract, 1 teaspoon (5ml) — Pure vanilla extract adds warmth, but imitation vanilla works fine in a pinch.
- Plain yogurt or buttermilk, ¼ cup (60g) — This adds moisture and tenderness. Greek yogurt works great, or you can use sour cream. For a dairy-free option, use coconut yogurt.
- All-purpose flour, 1½ cups (180g) — Spoon and level your flour for the most accurate measurement. Scooping directly from the bag can pack in too much flour and make your bread dry.
- Baking soda, 1 teaspoon (5g) — Make sure your baking soda is fresh. Test it by dropping a pinch into vinegar—it should bubble vigorously.
- Salt, ½ teaspoon (3g) — Fine sea salt or table salt both work. Salt balances the sweetness and enhances the banana flavor.
- Ground cinnamon, 1 teaspoon (2g) — Cinnamon and banana are a classic pairing. You can substitute pumpkin pie spice for a warmer flavor profile.
For the Walnut Crumb Topping:
- All-purpose flour, ¼ cup (30g)
- Light brown sugar, ¼ cup (50g), packed — Brown sugar adds molasses notes that complement the brown butter beautifully.
- Ground cinnamon, ½ teaspoon (1g)
- Cold unsalted butter, 2 tablespoons (28g), cut into small cubes — Cold butter is key for a crumbly texture. If the butter softens, pop the mixture in the fridge for 10 minutes.
- Chopped walnuts, ½ cup (60g) — Toast them lightly in a dry pan for 3-4 minutes for extra flavor. Pecans work great too, or omit for a nut-free version.
Equipment Needed
You don’t need a professional bakery setup for this recipe. Here’s what you’ll actually use:
- One large mixing bowl — Any bowl works, but a wide, shallow one makes mixing easier. I use a ceramic bowl I got at a thrift store for three dollars.
- 9×5-inch loaf pan — Standard size for banana bread. If you only have an 8×4-inch pan, increase baking time by 5-10 minutes. Glass or metal both work, but metal gives a nicer golden crust.
- Parchment paper — Lining the pan makes removal effortless. You can also grease the pan well with butter and flour.
- Light-colored saucepan — A light-colored pan helps you see the butter change color as it browns. Dark pans make it hard to judge.
- Whisk or wooden spoon — A whisk works best for smoothing the batter, but a sturdy wooden spoon does the job too.
- Measuring cups and spoons — For accuracy, especially with the flour and sugar.
- Cooling rack — Essential for even cooling and preventing a soggy bottom. If you don’t have one, you can use the inverted loaf pan to prop the bread up slightly.
- Small bowl for crumb topping — For mixing the crumb ingredients. A fork or pastry cutter works well to cut the butter into the flour.
That’s it. No stand mixer, no food processor, no special gadgets. This recipe was designed for the home cook who wants great results without the cleanup.
Preparation Method
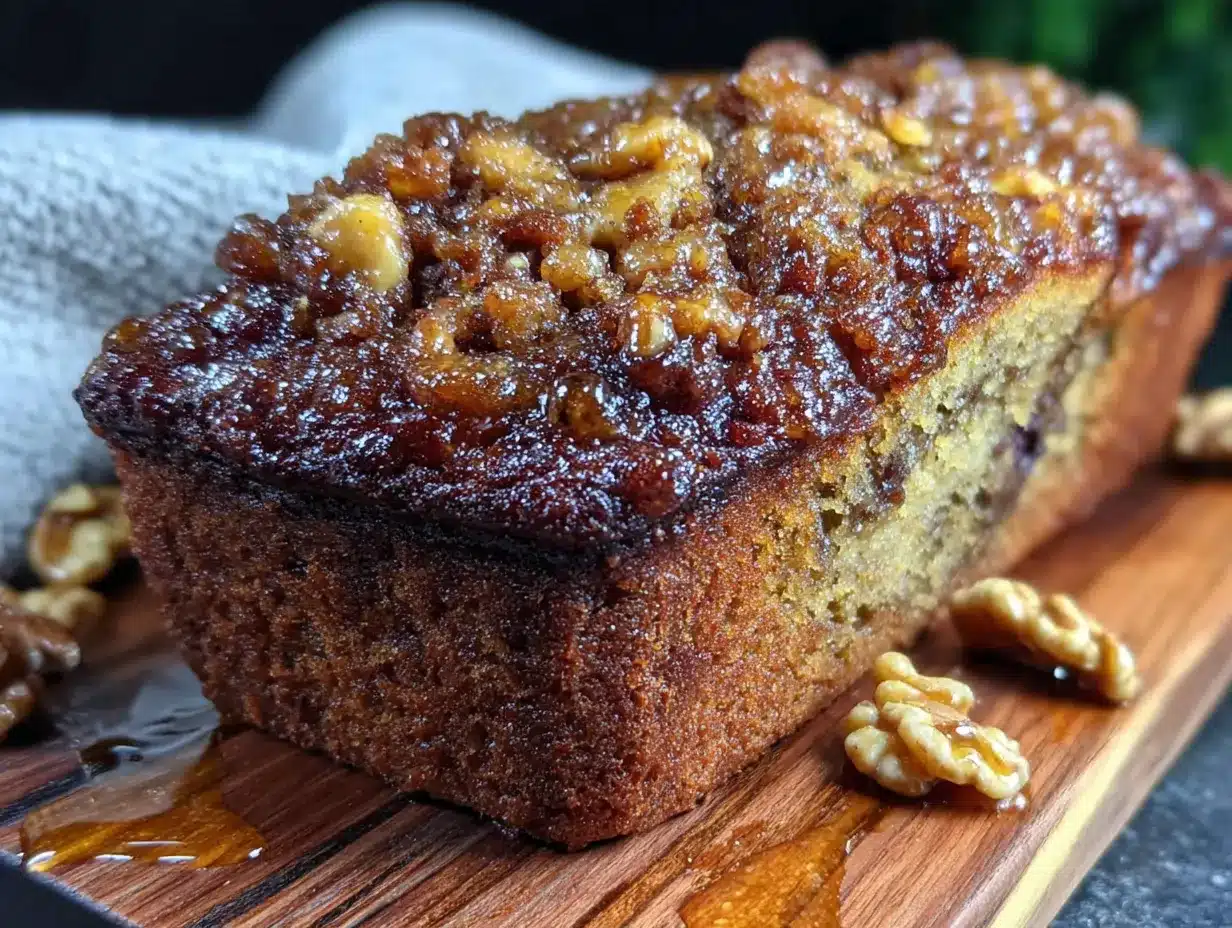
Let’s get baking. This comes together faster than you think, especially once you get the hang of browning butter.
- Preheat your oven to 350°F (175°C). Position the rack in the center of the oven. Line your 9×5-inch loaf pan with parchment paper, leaving overhang on the long sides for easy lifting. If you don’t have parchment, grease the pan well with butter and dust with flour.
- Brown the butter. Place the ½ cup (1 stick) of unsalted butter in a light-colored saucepan over medium heat. Let it melt completely, then continue cooking, swirling the pan occasionally. The butter will foam up, then settle down. Watch closely—you’re looking for the milk solids to turn a golden-amber color and smell nutty and toasty. This takes about 5-7 minutes. Once it reaches that deep golden color, immediately remove the pan from the heat and pour the butter into a heatproof bowl to stop the cooking. Don’t walk away during this step—burnt butter happens fast and tastes bitter. Let the browned butter cool for 10 minutes while you prepare the other ingredients.
- Mash the bananas. In your large mixing bowl, mash the ripe bananas with a fork until mostly smooth. A few small lumps are fine—they add texture. You should have about 1 cup of mashed banana.
- Combine wet ingredients. To the mashed bananas, add the cooled browned butter (make sure it’s not hot, just warm), ¾ cup granulated sugar, 1 large egg, 1 teaspoon vanilla extract, and ¼ cup yogurt or buttermilk. Whisk everything together until smooth and well combined. The mixture should look glossy and smell amazing already.
- Add dry ingredients. Add 1½ cups all-purpose flour, 1 teaspoon baking soda, ½ teaspoon salt, and 1 teaspoon ground cinnamon directly to the wet mixture. Stir with a spatula or wooden spoon until just combined. Do not overmix—a few streaks of flour are okay. Overmixing develops gluten and makes the bread tough. The batter should be thick but scoopable.
- Make the walnut crumb topping. In a small bowl, combine ¼ cup all-purpose flour, ¼ cup packed light brown sugar, ½ teaspoon cinnamon, and ½ cup chopped walnuts. Add 2 tablespoons cold cubed butter. Use your fingers or a fork to work the butter into the dry ingredients until the mixture resembles coarse crumbs with some pea-sized pieces of butter remaining. Don’t overwork it—you want clumps, not paste.
- Assemble the loaf. Pour the batter into your prepared loaf pan and spread it evenly. Sprinkle the walnut crumb topping evenly over the top, gently pressing it into the batter so it sticks during baking. Don’t worry if some falls off—it’s all flavor.
- Bake. Place the pan in the preheated oven and bake for 50-60 minutes, or until a toothpick inserted into the center comes out clean or with just a few moist crumbs. The top should be deep golden brown and the crumb topping should look crunchy and set. If the top is browning too quickly after 40 minutes, tent loosely with aluminum foil.
- Cool properly. Let the bread cool in the pan on a wire rack for 15 minutes. Then use the parchment overhang to lift the bread out and transfer it to the rack to cool completely. Resist the urge to slice it while it’s warm—it needs time to set. Waiting at least 30 minutes makes for cleaner slices, but honestly, I’ve cut into it after 20 minutes and it was still delicious, just a bit crumbly.
Cooking Tips & Techniques
I’ve made this recipe more times than I care to admit, and I’ve learned a few things along the way. Here’s what I wish someone had told me.
Don’t rush the brown butter. This is the most important step. Use medium heat, not high, and watch it like a hawk. The butter goes from perfectly browned to burnt in about 30 seconds. When you see the milk solids turn golden and smell that nutty aroma, pull it off the heat immediately. I once got distracted by a phone call and ended up with butter that looked like coffee grounds. That batch went straight in the trash.
Room temperature ingredients matter. Cold eggs and cold yogurt can seize the warm brown butter, leaving you with a lumpy batter. Take the egg and yogurt out of the fridge 30 minutes before you start. If you forget, place the egg in a bowl of warm water for 5 minutes and microwave the yogurt for 10 seconds on low power.
Measure your flour correctly. The number one mistake home bakers make is scooping flour directly from the bag with the measuring cup. This packs in too much flour and results in dry, dense bread. Instead, spoon the flour into the cup and level it off with a knife. If you have a kitchen scale, even better—180 grams is your target.
Check for doneness with a thermometer. If you have an instant-read thermometer, the internal temperature of a perfectly baked banana bread should be around 200-205°F (93-96°C). This takes the guesswork out of the toothpick test, especially if you’re baking in a glass pan which can throw off timing.
Let it cool completely for clean slices. I know it’s hard to wait, but slicing warm banana bread is like trying to cut through a cloud. The bread needs time for the structure to set. If you’re impatient like me, at least let it cool for 30 minutes before cutting. For the cleanest slices, wrap it tightly and refrigerate for an hour before slicing.
Toast your walnuts first. This is a small step that makes a big difference. Spread the chopped walnuts on a baking sheet and toast at 350°F for 5-7 minutes until fragrant. Let them cool before adding to the crumb topping. Toasted walnuts have a deeper, richer flavor that complements the brown butter perfectly.
Variations & Adaptations
This recipe is wonderfully flexible. Here are some ways to make it your own:
Chocolate Chip Banana Bread: Fold ½ cup of chocolate chips (semi-sweet or dark) into the batter after adding the dry ingredients. The chocolate melts into little pockets of richness that pair beautifully with the brown butter. My kids prefer this version and honestly, I do too on a bad day.
Gluten-Free Version: Substitute the all-purpose flour with a 1:1 gluten-free baking flour blend (I like Bob’s Red Mill or King Arthur Measure for Measure). Add 1 teaspoon of xanthan gum if your blend doesn’t already include it. The texture will be slightly more tender, but the flavor is still spot-on.
Vegan Adaptation: Replace the egg with a flax egg (1 tablespoon ground flaxseed mixed with 3 tablespoons water, let sit for 5 minutes). Use coconut yogurt or a plant-based buttermilk (1 tablespoon lemon juice + plant milk to make ¼ cup). Use vegan butter for browning—I’ve found that Miyoko’s European Style Cultured Vegan Butter browns beautifully. The texture is slightly denser but still delicious.
Nut-Free Option: Omit the walnuts entirely from the crumb topping. Replace with ¼ cup of rolled oats or sunflower seeds for crunch. You can also just make a plain crumb topping with flour, sugar, and butter—it’s still amazing.
Spiced Variation: Add ½ teaspoon of ground nutmeg, ¼ teaspoon of ground ginger, and a pinch of ground cloves along with the cinnamon. This gives the bread a warm, chai-like flavor that’s perfect for fall. I made this version for Thanksgiving one year and it disappeared before the turkey even hit the table.
Mini Loaves or Muffins: Divide the batter among 3-4 mini loaf pans or a 12-cup muffin tin. Reduce baking time to 25-30 minutes for muffins, 30-35 minutes for mini loaves. Check for doneness with a toothpick. This is great for gift-giving or portion control.
Serving & Storage Suggestions
This banana bread is wonderful warm, but it gets even better after a day or two when the flavors have had time to meld.
Serving Temperature: Serve at room temperature for the best texture. If you want a warm slice, microwave it for 10-15 seconds. Toasted slices with a little butter are absolutely divine—just pop them in a toaster oven or under the broiler for a minute.
Perfect Pairings: A slice of this bread alongside a hot cup of coffee or tea is my favorite way to start a weekend morning. For dessert, serve it with a scoop of vanilla ice cream or a drizzle of caramel sauce. It’s also fantastic with a smear of cream cheese or a dollop of Greek yogurt for a more balanced snack.
Storage Instructions: Wrap the cooled bread tightly in plastic wrap or aluminum foil and store at room temperature for up to 4 days. The crumb topping will soften slightly over time, but that’s not a bad thing—it becomes almost like a streusel. For longer storage, wrap the bread in plastic wrap, then foil, and freeze for up to 3 months. Thaw overnight in the refrigerator or at room temperature for a few hours.
Reheating Tips: To revive day-old banana bread, slice it and toast it in a toaster or toaster oven. The heat crisps up the edges and makes the crumb topping crunchy again. You can also warm individual slices in the microwave for 15 seconds, but the texture won’t be as nice.
How Flavors Develop: Honestly, this bread tastes even better on day two. The brown butter flavor deepens and the banana sweetness becomes more pronounced. If you can resist eating it all on day one, wrap it up and save it for the next day. You’ll thank me.
Nutritional Information & Benefits
Here’s an approximate nutritional breakdown per slice (based on 10 slices):
- Calories: 310
- Total Fat: 16g
- Saturated Fat: 8g
- Cholesterol: 55mg
- Sodium: 280mg
- Total Carbohydrates: 39g
- Dietary Fiber: 2g
- Sugars: 21g
- Protein: 5g
This banana bread offers some real nutritional perks. Bananas are packed with potassium, vitamin B6, and fiber, which supports heart health and digestion. Walnuts provide omega-3 fatty acids and antioxidants that are great for brain health. The brown butter adds a small amount of vitamin A and healthy fats that help you feel satisfied.
Dietary Considerations: This recipe contains dairy (butter, yogurt), eggs, gluten (flour), and tree nuts (walnuts). For gluten-free, dairy-free, or nut-free adaptations, see the variations section above. If you’re watching your sugar intake, you can reduce the granulated sugar to ½ cup without significantly affecting the texture.
From a wellness perspective, I see this bread as a treat, not a health food. It’s meant to be enjoyed in moderation, shared with people you love, and savored slowly. That’s the kind of balance that makes cooking from scratch so rewarding.
Conclusion
This one-bowl brown butter banana bread with walnut crumb is more than just a recipe—it’s the kind of thing that becomes a family staple. It uses up those sad, spotty bananas on your counter, comes together with minimal cleanup, and tastes like something from a fancy bakery. What’s not to love?
I’ve made this bread for potlucks, for breakfast, for after-school snacks, and for late-night cravings. Every single time, it disappears. The brown butter adds a nutty depth that regular banana bread just doesn’t have, and that walnut crumb topping is the kind of crunchy, buttery finish that makes you go back for another slice. Honestly, I don’t think I’ll ever make banana bread any other way.
Now I want to hear from you. Have you tried browning butter before? What’s your favorite add-in for banana bread? Drop a comment below and let me know how this recipe turned out for you. And if you made any fun variations, share those too—I’m always looking for new ideas to try. Happy baking, friend. Your kitchen is about to smell incredible.
Frequently Asked Questions
Can I use frozen bananas for this recipe?
Absolutely! Frozen bananas actually work great because they break down and become extra sweet as they thaw. Just thaw them completely, drain off any excess liquid (too much water can make the bread dense), and mash them well. The flavor will be even more concentrated than fresh bananas.
Why did my banana bread turn out dry?
Dry banana bread usually comes from one of three things: too much flour (scooping instead of spooning), overmixing the batter (which develops gluten), or baking it too long. Make sure you’re measuring flour correctly and stop mixing as soon as the flour disappears. Also, check for doneness a few minutes early—ovens vary, and your bread might be done at 50 minutes instead of 60.
Can I make this without a mixer?
Yes, and I actually prefer it that way. This recipe is designed to be made entirely by hand with a whisk and a spatula. No electric mixer needed. The one-bowl method means less cleanup and less risk of overmixing. Just whisk the wet ingredients, fold in the dry, and you’re done.
How do I know when the brown butter is ready?
Watch for three signs: the butter will turn a deep golden-amber color, it will smell nutty and toasty (like toasted hazelnuts), and you’ll see tiny brown specks (the milk solids) settling at the bottom of the pan. The whole process takes about 5-7 minutes over medium heat. Remove it from the heat immediately once it reaches that color—it continues cooking from the residual heat.
Can I double this recipe?
Yes, this recipe doubles beautifully. Simply double all ingredients and bake in two separate loaf pans. You can also bake it in a 9×13-inch pan for a sheet cake version—just reduce the baking time to 30-35 minutes and keep an eye on it. The crumb topping might need to be increased by half for a thicker layer.
Pin This Recipe!
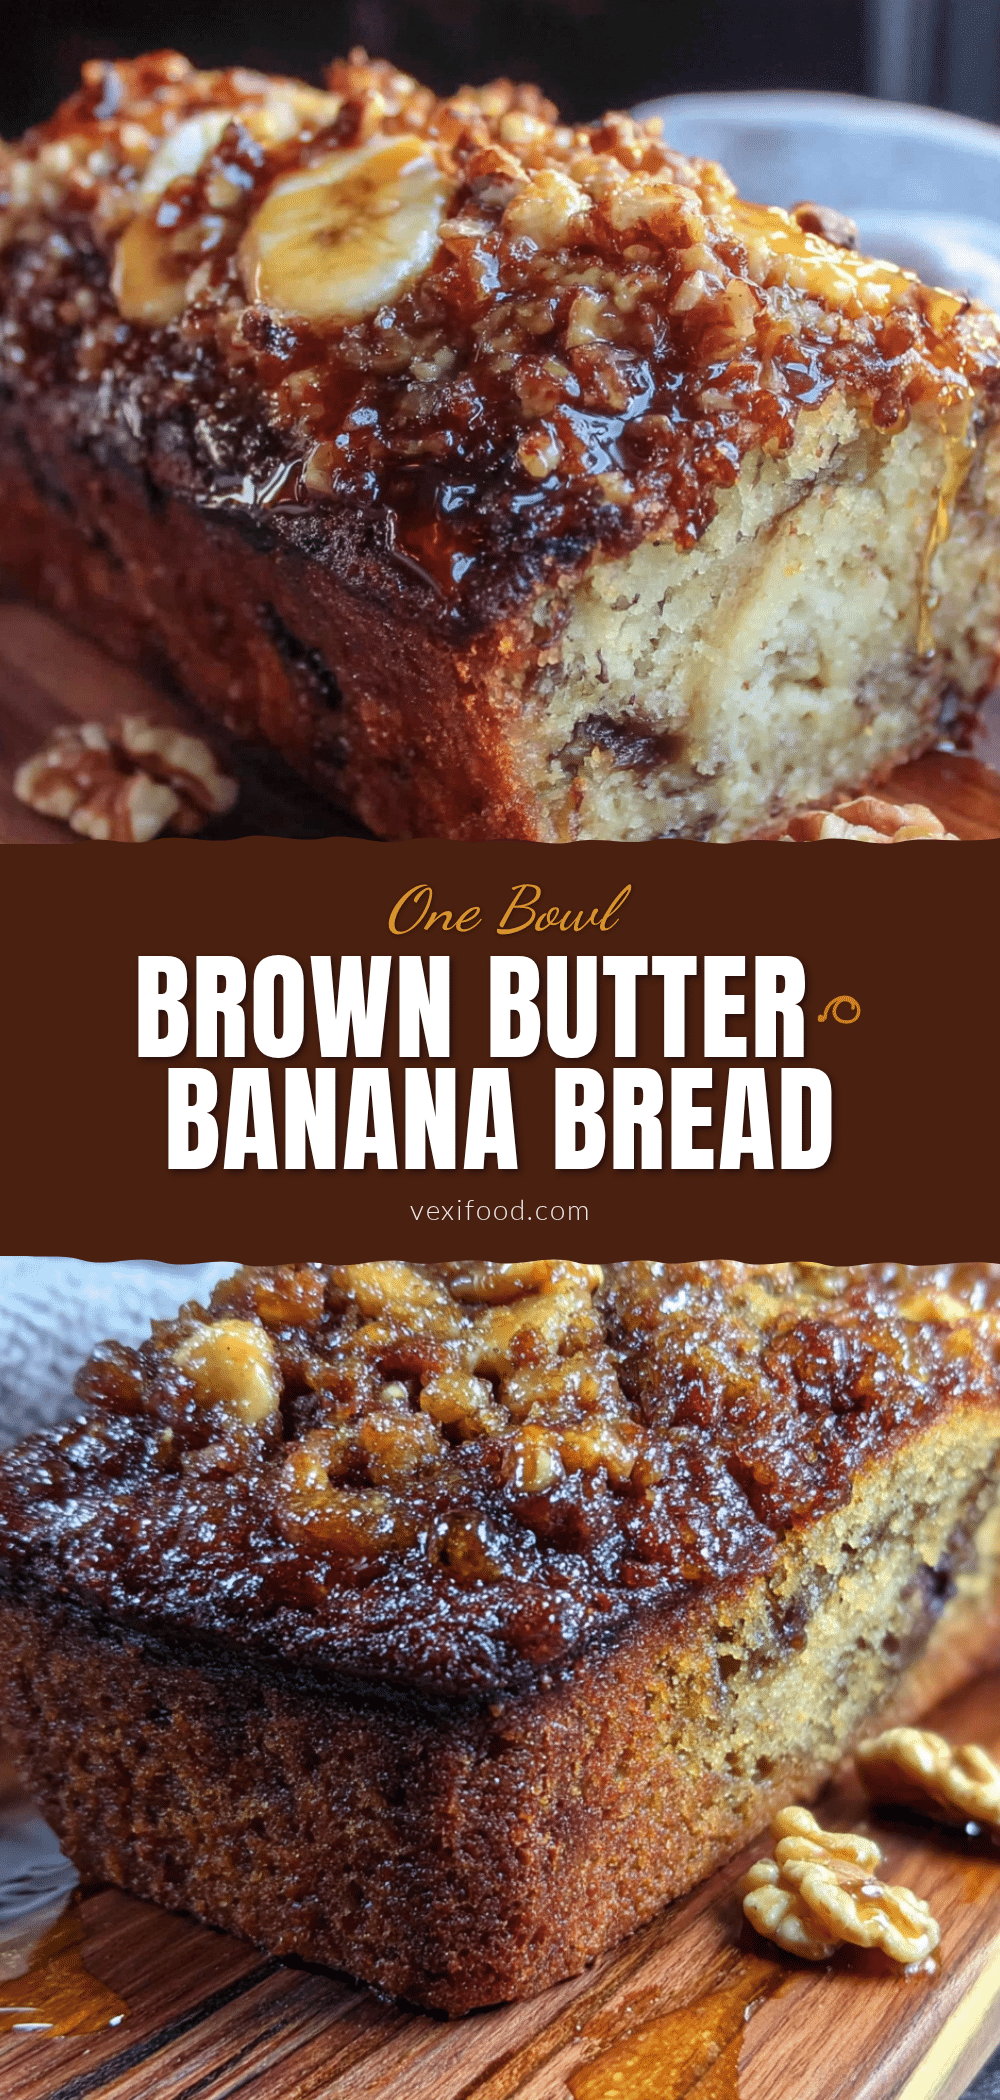
Easy One-Bowl Brown Butter Banana Bread with Walnut Crumb
This one-bowl banana bread features nutty brown butter and a crunchy walnut crumb topping for a bakery-quality treat that’s simple to make. It uses up ripe bananas and comes together with minimal cleanup.
- Prep Time: 15 minutes
- Cook Time: 55 minutes
- Total Time: 1 hour 10 minutes
- Yield: 10 servings 1x
- Category: Dessert
- Cuisine: American
Ingredients
- ½ cup (1 stick / 113g) unsalted butter
- 3 medium ripe bananas (about 1 cup mashed / 240g)
- ¾ cup (150g) granulated sugar
- 1 large egg, at room temperature
- 1 teaspoon (5ml) vanilla extract
- ¼ cup (60g) plain yogurt or buttermilk
- 1½ cups (180g) all-purpose flour
- 1 teaspoon (5g) baking soda
- ½ teaspoon (3g) salt
- 1 teaspoon (2g) ground cinnamon
- For the Walnut Crumb Topping:
- ¼ cup (30g) all-purpose flour
- ¼ cup (50g) packed light brown sugar
- ½ teaspoon (1g) ground cinnamon
- 2 tablespoons (28g) cold unsalted butter, cut into small cubes
- ½ cup (60g) chopped walnuts
Instructions
- Preheat your oven to 350°F (175°C). Position the rack in the center of the oven. Line a 9×5-inch loaf pan with parchment paper, leaving overhang on the long sides for easy lifting. If you don’t have parchment, grease the pan well with butter and dust with flour.
- Brown the butter: Place ½ cup (1 stick) unsalted butter in a light-colored saucepan over medium heat. Let it melt completely, then continue cooking, swirling the pan occasionally. The butter will foam up, then settle down. Watch closely until the milk solids turn a golden-amber color and smell nutty and toasty, about 5-7 minutes. Immediately remove from heat and pour into a heatproof bowl to stop cooking. Let cool for 10 minutes.
- Mash the bananas: In a large mixing bowl, mash the ripe bananas with a fork until mostly smooth. A few small lumps are fine. You should have about 1 cup of mashed banana.
- Combine wet ingredients: To the mashed bananas, add the cooled browned butter, ¾ cup granulated sugar, 1 large egg, 1 teaspoon vanilla extract, and ¼ cup yogurt or buttermilk. Whisk until smooth and well combined.
- Add dry ingredients: Add 1½ cups all-purpose flour, 1 teaspoon baking soda, ½ teaspoon salt, and 1 teaspoon ground cinnamon directly to the wet mixture. Stir with a spatula or wooden spoon until just combined. Do not overmix—a few streaks of flour are okay.
- Make the walnut crumb topping: In a small bowl, combine ¼ cup all-purpose flour, ¼ cup packed light brown sugar, ½ teaspoon cinnamon, and ½ cup chopped walnuts. Add 2 tablespoons cold cubed butter. Use your fingers or a fork to work the butter into the dry ingredients until the mixture resembles coarse crumbs with some pea-sized pieces of butter remaining.
- Assemble the loaf: Pour the batter into the prepared loaf pan and spread it evenly. Sprinkle the walnut crumb topping evenly over the top, gently pressing it into the batter so it sticks during baking.
- Bake: Place the pan in the preheated oven and bake for 50-60 minutes, or until a toothpick inserted into the center comes out clean or with just a few moist crumbs. The top should be deep golden brown. If the top is browning too quickly after 40 minutes, tent loosely with aluminum foil.
- Cool properly: Let the bread cool in the pan on a wire rack for 15 minutes. Then use the parchment overhang to lift the bread out and transfer it to the rack to cool completely. Wait at least 30 minutes before slicing for cleaner slices.
Notes
Don’t rush the brown butter; watch it closely as it can burn quickly. Room temperature ingredients help the batter come together smoothly. Measure flour by spooning and leveling for accuracy. For clean slices, let the bread cool completely or refrigerate for an hour before slicing. Toast walnuts for extra flavor.
Nutrition
- Serving Size: 1 slice
- Calories: 310
- Sugar: 21
- Sodium: 280
- Fat: 16
- Saturated Fat: 8
- Carbohydrates: 39
- Fiber: 2
- Protein: 5
Keywords: banana bread, brown butter, walnut crumb, one-bowl, easy banana bread, bakery-style banana bread