Love this? Save it for later!
Share the inspiration with your friends
Introduction
My friend once asked why I couldn’t just toss cucumbers, vinegar, and dill into a jar and call it pickles. I started to explain why that wouldn’t work — then stopped. Honestly, she was onto something. That afternoon, I let go of my usual lengthy pickling rituals and gave her quick method a shot. The result? These easy quick refrigerator dill pickles turned out tangy, crisp, and ready to snack on in less than 24 hours. I mean, I was expecting a soggy mess, but nope — they were perfect.
It was a little chaotic, too. I forgot to sterilize the jar properly and almost dumped the brine before tasting it. But that messy kitchen moment didn’t matter because those pickles stuck with me. Maybe you’ve been there — underestimating the simplest ideas only to find they work beautifully. Since then, this recipe has become my go-to when I crave that fresh, tangy homemade pickle flavor without the fuss.
Let me tell you, these pickles are a game changer. Whether you’re a seasoned pro or a newbie, this quick refrigerator pickle recipe fits right into your kitchen routine (and your busy weeknight). So, ready to make some tangy homemade pickles that actually taste like they’ve been fermenting for days? Let’s get into it.
Why You’ll Love This Recipe
I’ve tried dozens of pickle recipes, and here’s why this one keeps winning:
- Quick & Easy: Ready in under 24 hours, perfect for those last-minute pickle cravings or quick side dishes.
- Simple Ingredients: Uses common pantry staples — no weird additives or complicated steps.
- Perfect for Snacking & Meals: Great with sandwiches, burgers, or straight from the jar.
- Crowd-Pleaser: Family and friends always ask for the recipe after tasting these crisp delights.
- Unbelievably Delicious: The balance of fresh dill, garlic, and tangy brine hits just right every time.
What sets this recipe apart is the no-fuss approach. Instead of waiting weeks or dealing with hot water baths, you get that classic dill pickle flavor fast. The brine is perfectly seasoned — not too salty or sour — and the cucumbers stay crunchy thanks to a quick ice water soak before pickling. Honestly, it’s kind of magic how something so simple can taste so good.
This isn’t your average jar of pickles from the store. It’s the kind that makes you pause mid-snack, close your eyes, and appreciate the tang. Plus, it’s forgiving — if you want it spicier, just add a pinch more chili flakes. Want it less garlicky? Easy to adjust. That flexibility means you can tweak it to your taste, making it a recipe that feels truly yours.
What Ingredients You Will Need
This recipe relies on fresh and straightforward ingredients that work together to create that perfect tangy homemade pickle flavor. Most of these are pantry staples or easy to find at any grocery store.
- Fresh cucumbers: About 4-5 small to medium pickling cucumbers (around 1 pound or 450 g). Look for firm, crisp cucumbers with no soft spots. Persian or Kirby cucumbers work great.
- Fresh dill: 3-4 sprigs of fresh dill (or 1 tablespoon dried dill if fresh isn’t available). Dill is the star herb for that classic flavor.
- Garlic cloves: 2-3 cloves, peeled and lightly smashed (adds punch and aroma).
- White vinegar: 1 cup (240 ml). I prefer distilled white vinegar for its clear color and clean acidity.
- Water: 1 cup (240 ml), filtered or tap water works fine.
- Salt: 1 tablespoon kosher salt or pickling salt (avoid iodized table salt as it can cloud the brine).
- Granulated sugar: 1 teaspoon (balances the acidity, but optional if you prefer tarter pickles).
- Black peppercorns: 1 teaspoon whole peppercorns for subtle heat.
- Red chili flakes: 1/4 teaspoon optional, if you like a bit of spice.
- Optional bay leaf: 1 small bay leaf for extra aroma.
Substitution tips: You can swap white vinegar with apple cider vinegar if you want a fruitier tang, though it changes the color a bit. For salt, pickling or kosher salt is best to keep the brine clear and crisp. If you’re out of fresh dill, dried dill works well — just use less since it’s more concentrated.
Seasonal tip: In summer, fresh cucumbers are at their peak, making the pickles extra crisp and refreshing. If you want a quick twist, adding a few slices of fresh radish or a pinch of mustard seeds can add new flavor layers.
Equipment Needed
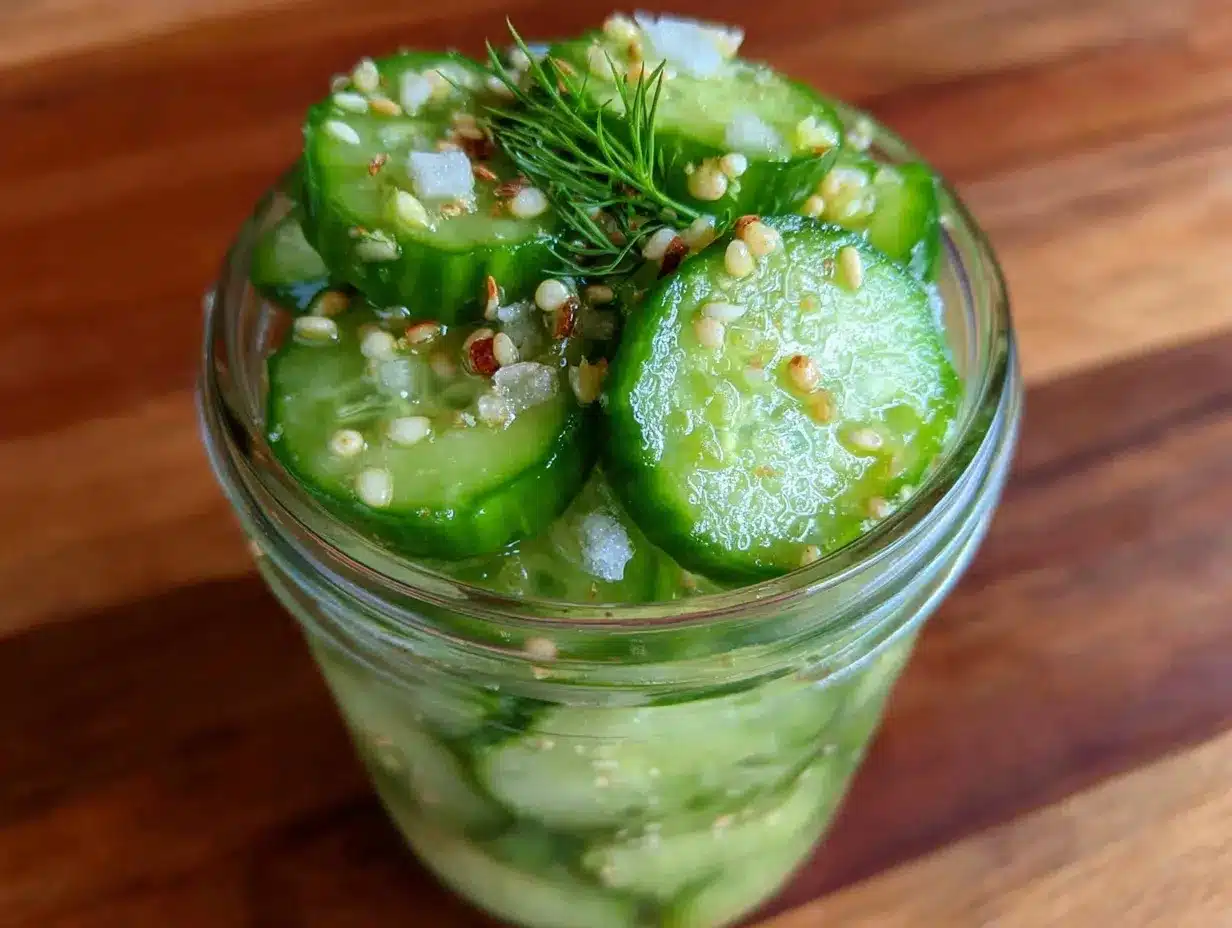
- Glass jar with lid: A quart-sized (1-liter) mason jar or any clean glass jar with a tight-fitting lid works perfectly. I prefer mason jars for their durability and sealing ability.
- Measuring cups and spoons: For accuracy with brine ingredients.
- Medium bowl: To soak cucumbers in ice water before pickling.
- Sharp knife and cutting board: For slicing cucumbers evenly to ensure consistent pickling.
- Small saucepan: To warm the brine ingredients just enough to dissolve salt and sugar.
If you don’t have a mason jar, a clean, food-grade plastic container with a lid can work, but glass is best to avoid any off flavors. Also, a funnel helps when pouring brine into the jar without spills, though it’s not essential.
Personally, I learned that using a sharp knife to slice cucumbers thinly speeds up pickling, but chunkier slices give a better crunch. So I keep both options in mind depending on mood and time.
Preparation Method
- Slice the cucumbers: Wash and dry the cucumbers. Slice them into 1/4-inch (6 mm) thick rounds or spears, depending on your preference. This takes about 5 minutes.
- Prepare the brine: In a small saucepan, combine 1 cup (240 ml) white vinegar, 1 cup (240 ml) water, 1 tablespoon kosher salt, and 1 teaspoon sugar. Warm gently over medium heat, stirring until salt and sugar dissolve. Remove from heat and let cool slightly for 5 minutes.
- Soak cucumbers: Place sliced cucumbers in a medium bowl filled with ice water. Let them soak for 15 minutes to boost crunchiness. Drain and pat dry with a clean towel.
- Pack the jar: Tightly pack the cucumbers into your clean glass jar. Add 3-4 sprigs fresh dill, 2-3 smashed garlic cloves, 1 teaspoon black peppercorns, optional 1/4 tsp red chili flakes, and 1 small bay leaf if using.
- Pour the brine: Carefully pour the warm brine over the cucumbers, covering them completely. Leave about 1/2 inch (1.3 cm) of space at the top. Tap the jar gently to remove any air bubbles.
- Seal and refrigerate: Close the jar with a lid and refrigerate. Allow pickles to develop flavor for at least 12 hours, though the best tang and crunch happen around 24 hours. They keep well in the fridge for up to 2 weeks.
Pro tip: If you find your pickles too salty or tangy, add a splash of fresh water to the jar and stir gently before serving. Also, remember to keep the cucumbers fully submerged in brine to avoid any off flavors.
This method is straightforward, but every step matters — from soaking cucumbers to warming the brine just enough. It’s a quick process, but don’t rush the resting time in the fridge. That’s when the magic happens.
Cooking Tips & Techniques
Getting the perfect tangy crunch with refrigerator dill pickles is all about technique and timing. Here’s what I’ve picked up over the years:
- Use fresh cucumbers: The crunchiest pickles come from fresh, firm cucumbers. Avoid those that look wrinkled or soft.
- Ice water soak: This step is key for crispness. It helps cucumbers stay firm instead of turning mushy.
- Don’t skip the salt and sugar: Salt brings out the flavor and preserves texture, while a little sugar balances acidity.
- Warm the brine: Dissolving salt and sugar in warm liquid ensures even seasoning throughout.
- Keep everything submerged: If cucumbers poke out of the brine, they can go soft or mold. Use a small weight or extra dill sprigs to keep them down.
- Adjust resting time: If you prefer less tang, 12 hours is fine. For deeper flavor, 24-48 hours is best.
- Watch out for cloudy brine: It’s usually harmless but indicates too much salt or impurities. Using pickling salt and clean jars helps.
- Experiment with slicing: Thin slices pickle faster; thick spears stay crunchier longer. I like a mix for variety.
One time, I left the pickles overnight but forgot to add garlic. The flavor was completely different — less pungent but still good. Lesson learned: don’t skip the aromatics unless you want a milder pickle.
Variations & Adaptations
This easy quick refrigerator dill pickles recipe is a versatile base you can customize in many ways:
- Spicy Pickles: Add extra red chili flakes or a sliced jalapeño for heat. I often toss in a few mustard seeds for a spicy kick.
- Garlic-Free: Skip the garlic for a milder flavor, or replace it with shallots sliced thinly.
- Vegan & Allergy-Friendly: This recipe is naturally vegan and gluten-free. For a soy allergy, avoid any soy-based condiments when serving.
- Different Vinegars: Try apple cider vinegar for a fruitier note or rice vinegar for a subtler tang.
- Seasonal Twist: Add fresh herbs like thyme or rosemary for a unique aroma, especially in cooler months.
Personally, I once added fresh sliced radishes along with cucumbers for a colorful crunch that impressed guests. It’s a simple way to change the texture and flavor profile without extra hassle.
Serving & Storage Suggestions
These refrigerator dill pickles are best served chilled straight from the fridge. They make a fantastic side for sandwiches, burgers, or as a crunchy snack on their own. I like to plate them alongside a creamy dip or a sharp cheddar cheese board.
Store pickles in the sealed jar in the refrigerator for up to two weeks. Over time, the flavor deepens and the cucumbers soften a bit — not necessarily bad, but earlier is crisper. When reheating isn’t typical here, but if you want warm pickles, try gently simmering them in the brine for a minute or two for a different experience.
Flavors meld wonderfully after a day or two, so if you have the patience, wait before serving. Also, the leftover brine can be reused once or twice to quick-pickle other veggies like carrots or green beans.
Nutritional Information & Benefits
One serving (about 1/4 cup or 60 g) of these refrigerator dill pickles roughly contains:
| Calories | 10 |
|---|---|
| Fat | 0 g |
| Carbohydrates | 2 g |
| Fiber | 1 g |
| Sodium | 500 mg (varies by salt amount) |
These pickles offer hydration from cucumbers, some antioxidants from dill, and digestive benefits from vinegar. They’re naturally low in calories and carbs, making them a great snack for those watching intake. Just watch the sodium if you’re on a low-salt diet.
I appreciate that these pickles bring that satisfying crunch without added sugars or preservatives found in store-bought versions. Plus, the vinegar supports gut health in a gentle way.
Conclusion
This easy quick refrigerator dill pickles recipe is proof that sometimes, the simplest idea is the best one. I love how it requires minimal effort but delivers maximum tang and crunch. You can tweak it endlessly to suit your taste, which makes it a kitchen staple for me.
Give it a try when you want that homemade pickle flavor fast — no canning skills needed. And honestly, I hope it becomes one of your favorites too. If you make it, I’d love to hear how you personalized your pickles or any surprises you ran into along the way. Happy pickling!
FAQs About Easy Quick Refrigerator Dill Pickles
How long do refrigerator dill pickles take to develop flavor?
They start tasting good after 12 hours but reach their best tang and crunch around 24 hours in the fridge.
Can I use regular cucumbers instead of pickling cucumbers?
You can, but pickling cucumbers are firmer and less watery, so they hold up better and stay crisp.
Do I need to sterilize the jars for refrigerator pickles?
It’s best to clean jars thoroughly but no need for sterilization since these pickles are kept refrigerated and consumed quickly.
Can I reuse the pickle brine?
Yes, once or twice to quick-pickle other vegetables like carrots or green beans, but flavor and acidity will be weaker each time.
Why are my refrigerator pickles sometimes soggy?
Common causes include skipping the ice water soak, using overripe cucumbers, or not keeping cucumbers fully submerged in brine.
For a similar fresh homemade touch, you might enjoy my crispy garlic chicken recipe that pairs beautifully with pickles. Also, these pickles make a great condiment alongside a hearty hearty beef stew on cold evenings.
Pin This Recipe!
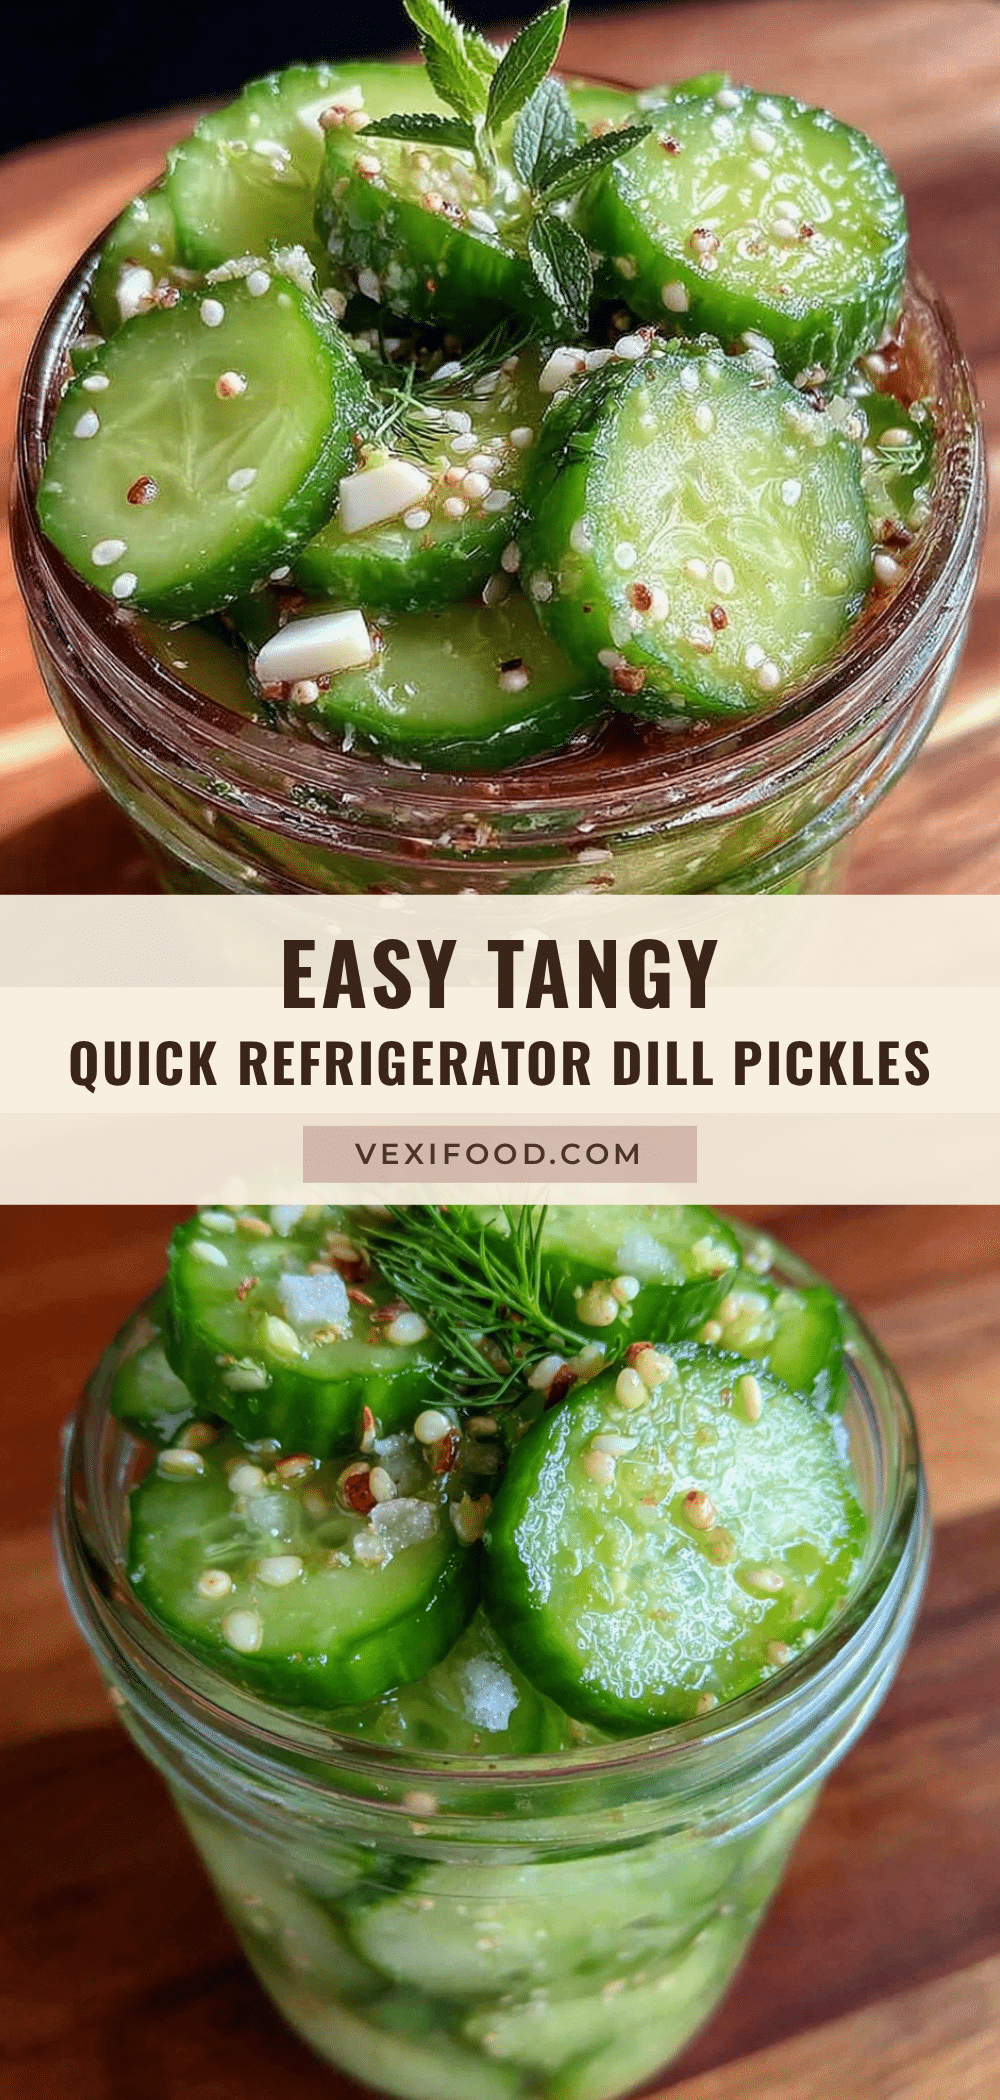
Easy Quick Refrigerator Dill Pickles Recipe for Perfect Tangy Flavor
A quick and easy refrigerator dill pickles recipe that delivers tangy, crisp pickles ready in under 24 hours, perfect for snacking or as a side dish.
- Prep Time: 20 minutes
- Cook Time: 5 minutes
- Total Time: 12 to 24 hours (including refrigeration time)
- Yield: About 4 servings 1x
- Category: Condiment
- Cuisine: American
Ingredients
- 4–5 small to medium pickling cucumbers (about 1 pound or 450 g)
- 3–4 sprigs fresh dill (or 1 tablespoon dried dill)
- 2–3 garlic cloves, peeled and lightly smashed
- 1 cup (240 ml) white vinegar (distilled preferred)
- 1 cup (240 ml) water (filtered or tap)
- 1 tablespoon kosher salt or pickling salt
- 1 teaspoon granulated sugar (optional)
- 1 teaspoon whole black peppercorns
- 1/4 teaspoon red chili flakes (optional)
- 1 small bay leaf (optional)
Instructions
- Wash and dry the cucumbers. Slice into 1/4-inch (6 mm) thick rounds or spears, depending on preference.
- In a small saucepan, combine white vinegar, water, kosher salt, and sugar. Warm gently over medium heat, stirring until salt and sugar dissolve. Remove from heat and let cool slightly for 5 minutes.
- Place sliced cucumbers in a medium bowl filled with ice water. Soak for 15 minutes to boost crunchiness. Drain and pat dry with a clean towel.
- Tightly pack the cucumbers into a clean glass jar. Add fresh dill sprigs, smashed garlic cloves, black peppercorns, optional red chili flakes, and bay leaf if using.
- Pour the warm brine over the cucumbers, covering completely. Leave about 1/2 inch (1.3 cm) of space at the top. Tap the jar gently to remove air bubbles.
- Seal the jar with a lid and refrigerate. Allow pickles to develop flavor for at least 12 hours; best tang and crunch occur around 24 hours. Keep refrigerated up to 2 weeks.
Notes
Use fresh, firm cucumbers for best crunch. Soaking cucumbers in ice water before pickling enhances crispness. Keep cucumbers fully submerged in brine to avoid softening or mold. Adjust resting time for desired tanginess (12 hours minimum, 24-48 hours optimal). Warm brine to dissolve salt and sugar evenly. Optional ingredients like chili flakes and bay leaf add flavor variations.
Nutrition
- Serving Size: 1/4 cup (60 g)
- Calories: 10
- Sodium: 500
- Carbohydrates: 2
- Fiber: 1
Keywords: quick pickles, refrigerator pickles, dill pickles, easy pickles, tangy pickles, homemade pickles, snack, side dish