Love this? Save it for later!
Share the inspiration with your friends
“I wasn’t planning on making any pies that day,” I admit, thinking back to that chaotic Saturday afternoon. The power flickered twice, and I had just realized I was out of store-bought pie filling. What I did have was a bag of frozen sour cherries tucked away in the back of my freezer — a forgotten treasure from last summer’s farmer’s market haul. Honestly, I was skeptical. Making a homemade sour cherry pie filling sounded like one of those fancy kitchen adventures that ends with a big mess and a half-hearted shrug.
But as I started mixing the simple ingredients — sugar, a splash of lemon juice, a pinch of cinnamon — it just clicked. The cherries softened, the juices thickened, and a familiar, tangy aroma filled the kitchen. I made a mental note that this easy sour cherry pie filling wasn’t just a last-minute fix; it was the kind of recipe that deserved to be in every freezer, ready to transform into a flaky, golden pie whenever the mood struck.
If you’ve ever stood in front of your freezer wondering how to turn those frozen fruits into something spectacular, you might get it. This recipe has become my go-to for freezer-ready pies — no fuss, no fancy ingredients, just straightforward, honest flavor that makes you smile with every bite. Let me tell you, after a few tries (and one slightly over-sugared batch), I nailed it — and you’ll find it’s your new secret weapon too.
Why You’ll Love This Recipe
After testing this easy sour cherry pie filling recipe more times than I can count (and yes, sometimes with a sticky kitchen counter), I’m convinced it’s a keeper. Here’s why it stands out:
- Quick & Easy: You’ll have the filling ready in under 20 minutes — perfect for those days when you want pie without all the hassle.
- Simple Ingredients: No obscure spices or ingredients needed; most are pantry staples or common fresh items.
- Perfect for Freezer-Ready Pies: Make your pies ahead of time and freeze them for whenever the craving hits.
- Crowd-Pleaser: The tartness of sour cherries balanced with just the right sweetness always wins over family, friends, and even picky eaters.
- Unbelievably Delicious: The filling has that perfect texture — thick but juicy — that bakes into a pie that’s both cozy and refreshing.
This isn’t just another pie filling recipe. What makes it different? The trick I learned was to gently thicken the filling with corn starch while preserving that fresh cherry zing. Plus, a little splash of almond extract adds a subtle, unexpected depth. Honestly, I never thought something this simple could taste this good. It’s become my fallback for holidays, potlucks, or just an impromptu treat.
So, whether you’re a freezer meal fan or just love the idea of fresh-tasting pie anytime, this recipe is your new best friend.
What Ingredients You Will Need
This easy sour cherry pie filling recipe uses straightforward, wholesome ingredients to create a filling that’s bursting with flavor and perfect for freezing. Most of these you probably already have on hand!
- Frozen Sour Cherries (about 4 cups / 600 g) – Tart and juicy, these are the star of the show. I prefer pitted cherries for convenience; if yours aren’t pitted, take a few extra minutes to remove them.
- Granulated Sugar (1 cup / 200 g) – Balances the tartness perfectly. You can adjust slightly depending on how sweet or tart your cherries are.
- Cornstarch (3 tablespoons / 24 g) – Acts as the thickener to give the filling that luscious texture. I’ve tried tapioca starch, but cornstarch gives the best clarity and smoothness.
- Fresh Lemon Juice (2 tablespoons / 30 ml) – Brightens the flavor and balances sweetness. Freshly squeezed is best, but bottled works in a pinch.
- Almond Extract (1/2 teaspoon) – Adds a subtle nutty note that pairs beautifully with cherries. Totally optional but highly recommended.
- Salt (a pinch) – Just enough to bring out the flavors without being noticeable.
- Water (1/2 cup / 120 ml) – Helps dissolve the cornstarch and meld the flavors.
If you want to swap things up, you can use honey or maple syrup instead of sugar for a different sweetness profile. For a gluten-free option, cornstarch works perfectly, but you can also try arrowroot powder.
Equipment Needed
- Medium Saucepan: For cooking the filling gently. A heavy-bottomed pan prevents burning and uneven heating.
- Measuring Cups and Spoons: Accuracy is key, especially for the cornstarch and lemon juice.
- Wooden Spoon or Silicone Spatula: For stirring the filling without scratching your pan.
- Fine Mesh Strainer (optional): If you want an ultra-smooth filling, you can push it through, but honestly, I like it a little rustic.
- Freezer-Safe Containers or Pie Shells: To store your filling or assemble pies for freezing later.
If you don’t have a heavy-bottomed saucepan, just keep the heat low and stir often to avoid scorching. I once tried making the filling in a microwave (don’t ask), but it was messy and uneven. Stick to the stovetop for best results.
Preparation Method
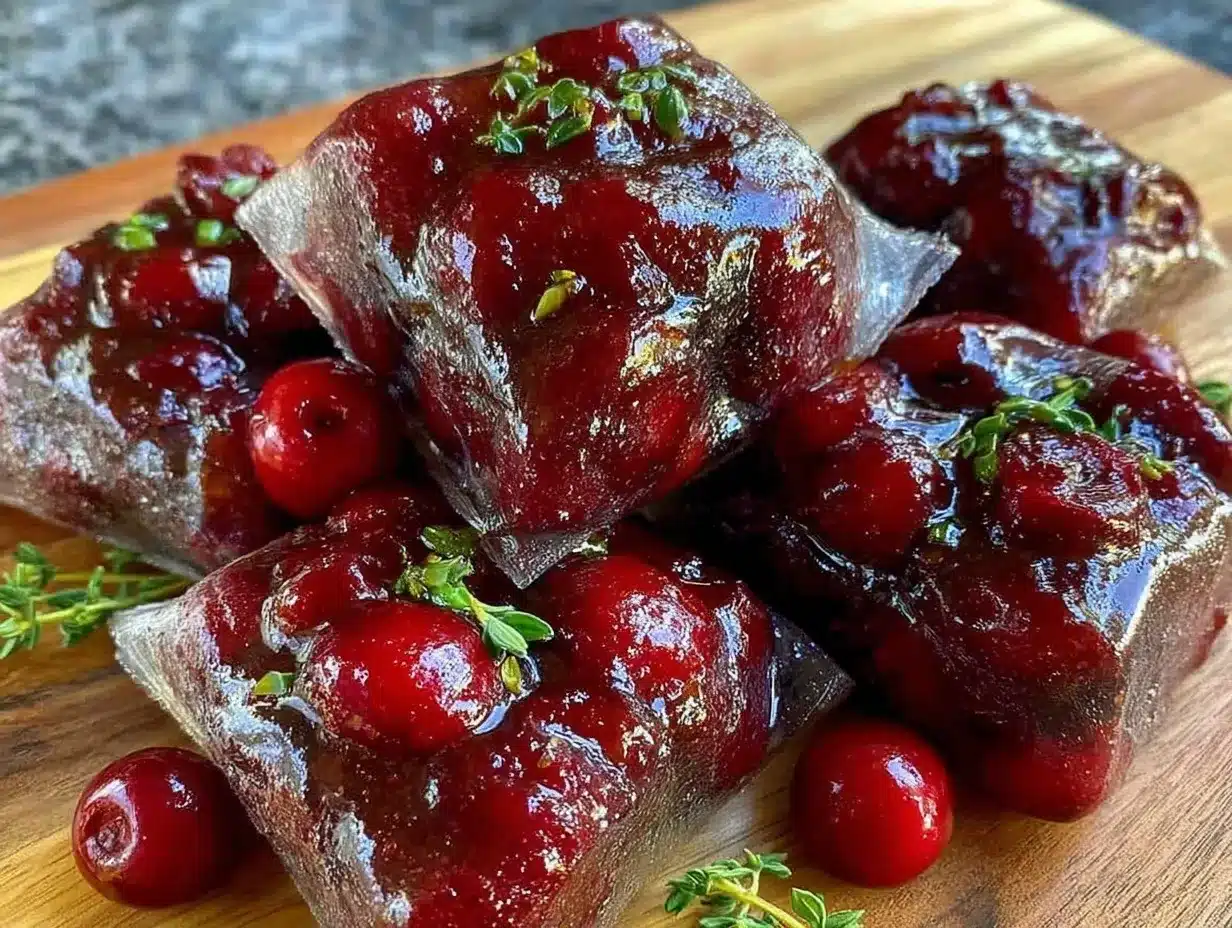
- Measure and thaw: Take 4 cups (600 g) of frozen sour cherries out of the freezer and let them thaw for about 10 minutes. You want them soft but not mushy.
- Mix sugar and cornstarch: In your saucepan, combine 1 cup (200 g) granulated sugar and 3 tablespoons (24 g) cornstarch. Stir them together dry to distribute the thickener evenly.
- Add water and lemon juice: Pour in 1/2 cup (120 ml) water and 2 tablespoons (30 ml) fresh lemon juice. Whisk until the mixture is smooth and no lumps remain.
- Cook the base: Place the saucepan over medium heat and stir constantly. The mixture will start to thicken after a few minutes—about 3 to 5 minutes. Be patient, and don’t rush or it might clump.
- Add cherries and salt: Once thickened, gently fold in the thawed sour cherries and a pinch of salt. Continue cooking for another 2 to 3 minutes to warm the cherries through and combine flavors.
- Add almond extract: Remove the pan from heat and stir in 1/2 teaspoon almond extract. This adds that wonderful depth—if you’re not a fan, just skip it.
- Cool the filling: Transfer the filling to a bowl or container. Let it cool completely before using it for pies or freezing. This prevents soggy crusts and keeps the filling stable.
Pro tip: Stir frequently during cooking to avoid burning and keep the texture smooth. If the filling seems too thin after cooling, whisk in a tiny bit more cornstarch dissolved in water and gently reheat.
Cooking Tips & Techniques
Making good pie filling is as much about technique as it is about ingredients. Here’s what I learned the hard way:
- Thaw cherries just enough: You want them thawed but still firm so they hold shape when cooked. Too mushy and the filling gets soupy.
- Low and slow: Cooking the filling over medium or medium-low heat prevents lumps and burning. Stir often—trust me, I once walked away and ended up scraping burned bits for 20 minutes.
- Use cornstarch carefully: Too much thickener makes the filling gummy, too little makes it runny. Stick to the recommended amounts and adjust cautiously.
- Don’t skip the lemon juice: It’s the secret to balancing sweetness and brightening the cherry flavor.
- Cool completely before pie assembly: Hot filling can make pie crusts soggy. Patience pays off here.
- Freezing tips: Freeze the filling flat in freezer bags for easier storage and quicker thawing.
One lesson I learned after a failed attempt: adding the almond extract at the end keeps its aroma fresh. Adding it too early during cooking mutes the flavor.
Variations & Adaptations
- Seasonal Twist: Try swapping sour cherries for fresh or frozen blueberries, raspberries, or a mix of berries for a vibrant summer filling.
- Spice it up: Add a pinch of ground cinnamon, nutmeg, or even a splash of vanilla extract to give the filling a warm twist.
- Sweetener swaps: Use honey, maple syrup, or coconut sugar instead of granulated sugar for a different flavor profile and a touch of natural sweetness.
- Dietary Needs: For a refined sugar-free option, combine erythritol or monk fruit sweetener with a little stevia, adjusting to taste.
- Personal Favorite: I once added a tablespoon of brandy to the filling for an adult-only dessert that was surprisingly good — just a tiny splash to keep the texture intact.
For different cooking methods, you could make this filling in a slow cooker on low for 2 hours, stirring occasionally, but I prefer the stovetop for speed and control.
Serving & Storage Suggestions
This easy sour cherry pie filling is begging to be the star of your next pie, cobbler, or even as a topping for ice cream or yogurt.
- Serving Temperature: Best served warm or room temperature to enjoy the full depth of flavors.
- Presentation: Spoon it into a buttery pie crust, top with a lattice, and bake until golden. Or serve as a sauce over vanilla ice cream for a quick dessert.
- Storage: Store cooled filling in airtight containers or freezer bags in the freezer for up to 6 months. Label with the date and contents.
- Reheating: Thaw overnight in the fridge, then warm gently on the stovetop or microwave, stirring occasionally.
- Flavor Development: The filling tastes even better after a day or two in the fridge as the flavors meld beautifully.
Pro tip: If you’re making freezer-ready pies, assemble the pies with frozen filling, then freeze fully wrapped. Bake from frozen, adding extra baking time.
Nutritional Information & Benefits
One serving of this sour cherry pie filling (approx. 1/2 cup or 120 g) contains roughly:
| Calories | 120 |
|---|---|
| Carbohydrates | 30 g |
| Fiber | 2 g |
| Sugars | 25 g |
| Protein | 1 g |
| Fat | 0 g |
Sour cherries are rich in antioxidants and vitamins A and C, which can support immune health. This recipe is naturally gluten-free and can be adapted to be refined sugar-free. Keep in mind the sugar content if watching intake, and adjust sweetener as needed.
From a wellness perspective, using real fruit and simple ingredients means you get a dessert with familiar flavors and no mystery additives.
Conclusion
Making your own easy sour cherry pie filling is a game-changer for anyone who loves homemade desserts with less fuss. It’s simple, quick, and freezes beautifully, giving you the freedom to enjoy fresh-tasting pies anytime you want. I love this recipe because it’s reliable, tastes fresh, and brings back the cozy feeling of a kitchen filled with warm cherry aromas.
Feel free to tweak it to your taste and share your own twists — maybe you’ll discover a new favorite just like I did. Let me know how your pies turn out or if you tried the almond extract trick. Your feedback always makes my day!
Happy baking and savor every bite!
FAQs
Can I use fresh sour cherries instead of frozen?
Absolutely! Just make sure to pit and wash them well. You might need to adjust the cooking time slightly since fresh cherries release different amounts of juice.
How long can I store the pie filling in the freezer?
Stored properly in airtight containers or freezer bags, the filling will keep well for up to 6 months without losing quality.
Is this filling suitable for gluten-free pies?
Yes! This filling is naturally gluten-free. Just pair it with a gluten-free pie crust, and you’re good to go.
Can I make this pie filling ahead for a freezer-ready pie?
Definitely. Make the filling, let it cool completely, then assemble your pie and freeze. Bake the pie directly from frozen, adding extra time to the baking process.
What can I substitute for cornstarch if I don’t have any?
Tapioca starch or arrowroot powder can be used as a thickener. Use the same amount as cornstarch, but be cautious as each thickener behaves a bit differently.
Pin This Recipe!
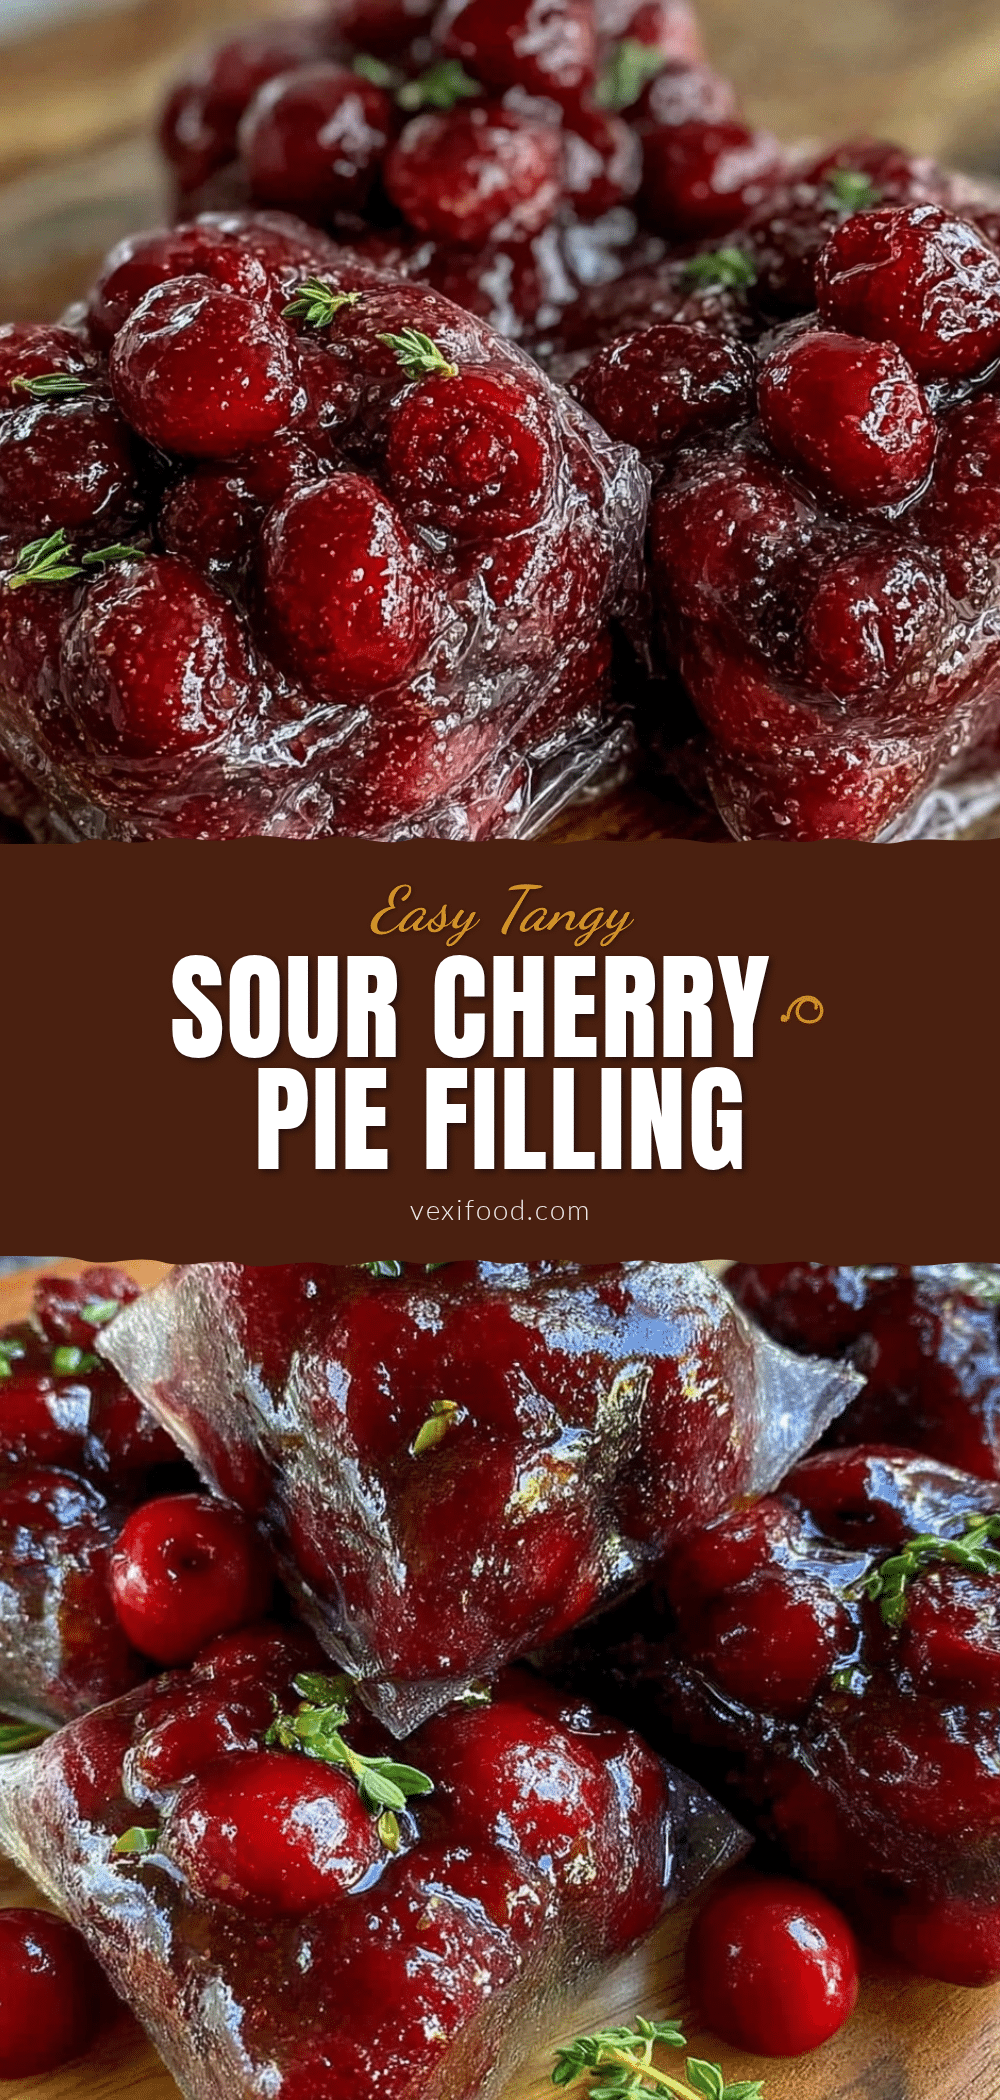
Easy Sour Cherry Pie Filling Recipe for Perfect Freezer-Ready Pies
A quick and easy homemade sour cherry pie filling that is perfect for freezer-ready pies, balancing tartness and sweetness with a luscious texture.
- Prep Time: 10 minutes
- Cook Time: 10 minutes
- Total Time: 20 minutes
- Yield: About 6 cups filling 1x
- Category: Dessert
- Cuisine: American
Ingredients
- 4 cups (600 g) frozen sour cherries, pitted
- 1 cup (200 g) granulated sugar
- 3 tablespoons (24 g) cornstarch
- 2 tablespoons (30 ml) fresh lemon juice
- 1/2 teaspoon almond extract (optional)
- a pinch of salt
- 1/2 cup (120 ml) water
Instructions
- Take 4 cups (600 g) of frozen sour cherries out of the freezer and let them thaw for about 10 minutes until soft but not mushy.
- In a medium saucepan, combine 1 cup (200 g) granulated sugar and 3 tablespoons (24 g) cornstarch. Stir them together dry to distribute the thickener evenly.
- Pour in 1/2 cup (120 ml) water and 2 tablespoons (30 ml) fresh lemon juice. Whisk until the mixture is smooth and no lumps remain.
- Place the saucepan over medium heat and stir constantly. The mixture will start to thicken after about 3 to 5 minutes.
- Once thickened, gently fold in the thawed sour cherries and a pinch of salt. Continue cooking for another 2 to 3 minutes to warm the cherries through and combine flavors.
- Remove the pan from heat and stir in 1/2 teaspoon almond extract, if using.
- Transfer the filling to a bowl or container and let it cool completely before using or freezing.
Notes
Thaw cherries just enough to keep them firm. Stir frequently during cooking to avoid burning. Cool filling completely before pie assembly to prevent soggy crusts. Freeze flat in freezer bags for easier storage and thawing. Almond extract is optional but recommended for depth of flavor.
Nutrition
- Serving Size: 1/2 cup (120 g)
- Calories: 120
- Sugar: 25
- Carbohydrates: 30
- Fiber: 2
- Protein: 1
Keywords: sour cherry pie filling, freezer-ready pie filling, homemade pie filling, easy cherry pie filling, gluten-free pie filling