Love this? Save it for later!
Share the inspiration with your friends
I was standing in the produce aisle last October, staring at a pile of sugar pumpkins, when the smell hit me—not from the pumpkins themselves, but from the woman next to me who had just cracked one open. That earthy, sweet scent, mixed with the faint warmth of cinnamon from someone’s nearby shopping cart, sent me straight back to my neighbor Mrs. Kwan’s kitchen. I was maybe nine years old, sitting on a wobbly stool, watching her swirl maple syrup into a bowl of pumpkin puree like she was painting. She’d always say, “This bread doesn’t need to be fancy—it needs to feel like home.” I never forgot that. And honestly, I’ve been chasing that feeling ever since.
So when I got home that day, I grabbed my sourdough starter—affectionately named “Betty”—and decided to merge two of my favorite things: the tangy chew of sourdough and the cozy warmth of pumpkin maple bread. Let me tell you, it wasn’t love at first bake. My first loaf came out so dense you could have used it as a doorstop. But I kept at it, tweaking the hydration, the fermentation time, and the amount of maple syrup until I got it right. Now, this homemade maple pumpkin sourdough bread is my fall obsession, and I think it might become yours too.
Maybe you’ve tried pumpkin bread before and found it too sweet or too wet. Or maybe you’re a sourdough purist who thinks fruit and veg have no place in your starter. I get it. But this recipe? It’s different. The sourdough starter adds a subtle tang that balances the sweetness of the maple and pumpkin, while the fermentation makes the crumb tender and the crust crackly. It’s the kind of bread that makes you slow down, close your eyes after that first bite, and wonder why you didn’t try it sooner. That’s why I keep making it—and why I think you will too.
Why You’ll Love This Recipe
This isn’t just another pumpkin bread recipe. I’ve tested this one in my tiny kitchen (more times than I’d like to admit), and I can tell you it’s the real deal. Here’s what makes it stand out:
- Quick & Easy: Yes, sourdough takes time, but the active prep is only about 20 minutes. The rest is just waiting for the magic to happen.
- Simple Ingredients: You probably have most of these in your pantry already—flour, pumpkin puree, maple syrup, butter, and your trusty starter.
- Perfect for Fall Gatherings: This bread is a showstopper at Thanksgiving, brunch, or even just a cozy Tuesday night.
- Crowd-Pleaser: Kids love the sweetness, adults love the complexity, and everyone loves the texture.
- Unbelievably Delicious: The combination of tangy sourdough, earthy pumpkin, and rich maple syrup is next-level comfort food. It’s the kind of bread that makes a simple slice feel like a special occasion.
What makes this recipe different from the rest? It’s all in the technique. I use a long, cold fermentation to develop flavor without making the bread too sour. And I balance the pumpkin’s moisture with just the right amount of flour—no gummy, soggy loaves here. Plus, the maple syrup isn’t just for sweetness; it helps create that deep, caramelized crust you usually only get from a bakery.
This recipe isn’t just good—it’s the kind that makes you close your eyes after the first bite. It’s comfort food reimagined: healthier because of the fermentation, faster than traditional sourdough, but with the same soul-soothing satisfaction. Perfect for impressing guests without stress, or turning a rainy afternoon into something memorable.
What Ingredients You Will Need
This recipe uses simple, wholesome ingredients to deliver bold flavor and satisfying texture without the fuss. Most of these are pantry staples, especially during fall, and they’re easy to find at any grocery store.
For the Dough
- All-purpose flour: 3 cups (360g) – I prefer King Arthur Flour for consistent results, but any brand works. Bread flour also works for a chewier crumb.
- Active sourdough starter: 1/2 cup (120g) – Make sure it’s bubbly and fed within the last 4-6 hours. A hungry starter won’t give you the rise you need.
- Pumpkin puree: 1/2 cup (120g) – Use canned or homemade. If using canned, avoid pumpkin pie filling—it has added sugar and spices that will throw off the balance.
- Maple syrup: 1/4 cup (60ml) – Pure maple syrup, not pancake syrup. Grade A or B both work; grade B has a stronger flavor.
- Warm water: 1/2 cup (120ml) – About 85°F (30°C). Too hot and you’ll kill the yeast; too cold and fermentation will slow down.
- Unsalted butter: 2 tablespoons (28g), melted – Adds richness and helps the crust stay soft. You can substitute coconut oil for a dairy-free version.
- Salt: 1 teaspoon (6g) – I use fine sea salt. Don’t skip it—it balances the sweetness.
For the Pumpkin Spice Blend
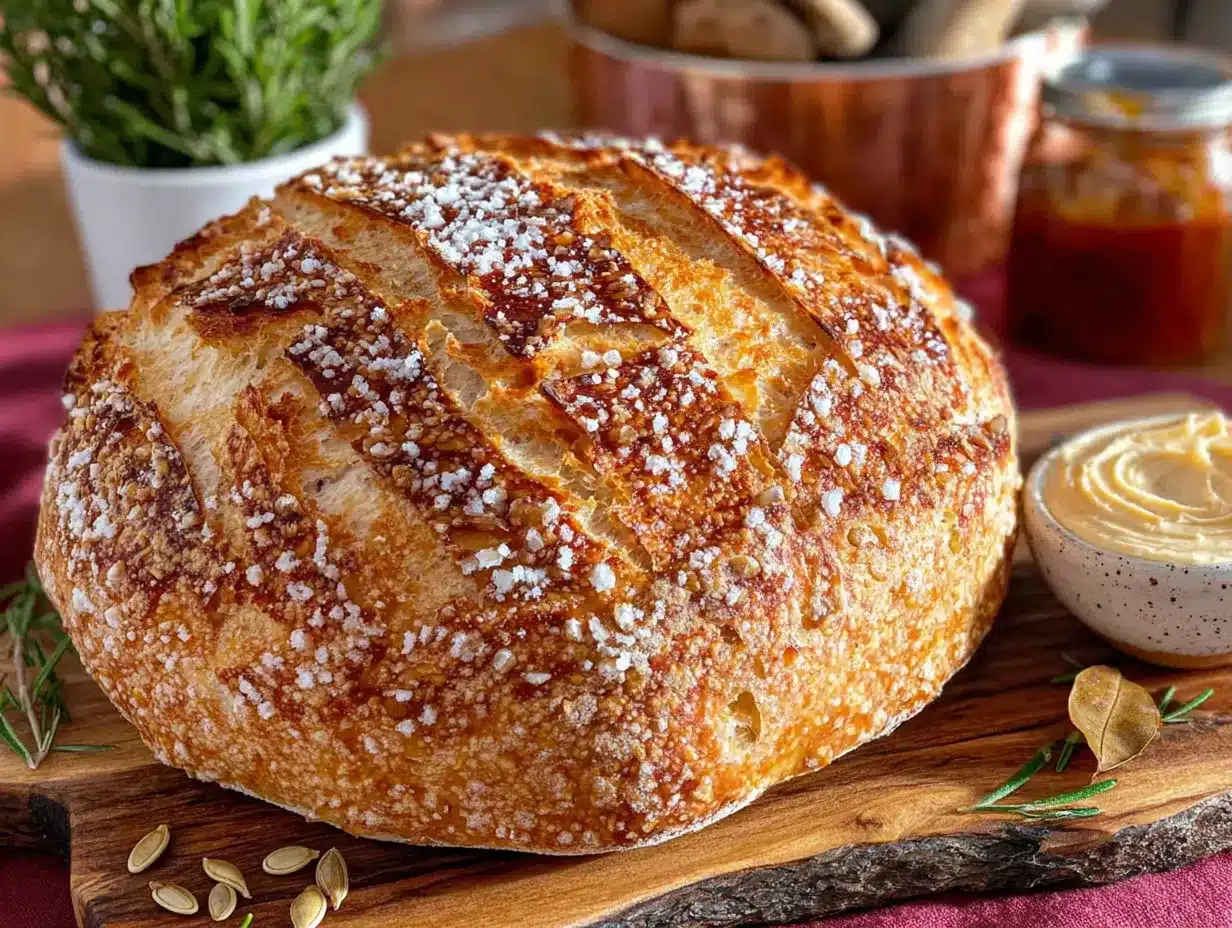
- Ground cinnamon: 1 teaspoon
- Ground ginger: 1/2 teaspoon
- Ground nutmeg: 1/4 teaspoon (freshly grated if you have it)
- Ground cloves: 1/8 teaspoon – A little goes a long way. Too much clove can make the bread taste medicinal.
Optional Add-Ins
- Pepitas (pumpkin seeds): 1/4 cup – For topping. They add a nice crunch and look beautiful.
- Dried cranberries: 1/4 cup – For a tart pop of flavor.
- Chopped pecans: 1/4 cup – Toasted for extra depth.
Ingredient Tips: Look for pumpkin puree that’s 100% pumpkin with no additives. I’ve tried Libby’s and Farmer’s Market brands—both work great. For the maple syrup, I always reach for the darker grade B when I want a stronger maple flavor. And if you’re using a young sourdough starter, don’t worry—it just might take a little longer to rise.
Equipment Needed
You don’t need a professional bakery setup for this recipe. Here’s what I use and what you can substitute:
- Large mixing bowl: Glass or stainless steel works best. Plastic can hold onto odors.
- Dutch oven or baking sheet: A 5-quart Dutch oven gives the best crust, but a baking sheet with a steam pan works too. I’ve used both, and honestly, the Dutch oven is worth the investment.
- Parchment paper: For easy transfer and cleanup. Trust me—don’t skip this.
- Bench scraper: Optional but helpful for shaping the dough. A spatula works in a pinch.
- Kitchen scale: Highly recommended for accuracy. I use a simple OXO scale, and it’s been a game-changer.
- Plastic wrap or a damp kitchen towel: For covering the dough during fermentation.
- Cooling rack: Essential for preventing a soggy bottom.
Budget-Friendly Tip: If you don’t have a Dutch oven, preheat a baking sheet upside down in the oven, then slide the dough onto it and place a metal pan of hot water on the lower rack to create steam. It’s not perfect, but it gets the job done.
Preparation Method
Let’s get to the fun part. This recipe takes about 24 hours from start to finish, but most of that is hands-off fermentation. Here’s how it breaks down:
Step 1: Mix the Dough (20 minutes)
- In a large bowl, combine 3 cups (360g) all-purpose flour, 1 teaspoon salt, and the pumpkin spice blend (cinnamon, ginger, nutmeg, cloves). Whisk to distribute the spices evenly.
- In a separate bowl, whisk together 1/2 cup (120g) active sourdough starter, 1/2 cup (120ml) warm water, 1/2 cup (120g) pumpkin puree, 1/4 cup (60ml) maple syrup, and 2 tablespoons (28g) melted butter. Mix until smooth—it should look like a thick, orange milkshake.
- Pour the wet ingredients into the dry ingredients. Stir with a wooden spoon or your hands until a shaggy dough forms. It will be sticky—that’s normal. Cover the bowl with plastic wrap and let it rest for 30 minutes. This is called the autolyse, and it helps the flour absorb the liquid.
Step 2: Stretch and Folds (2 hours)
- After the rest, perform a series of stretch and folds. Wet your hands to prevent sticking, grab one side of the dough, stretch it up, and fold it over the top. Rotate the bowl 90 degrees and repeat. Do this 4 times total, covering the dough between sets. Wait 30 minutes, then repeat the process. Do this 3-4 times over 2 hours. You’ll notice the dough becoming smoother and more elastic.
- If you’re adding dried cranberries or pecans, fold them in during the last set of stretch and folds. Sprinkle them over the dough, then fold to incorporate.
Step 3: Bulk Fermentation (8-12 hours at room temperature, or 24 hours in the fridge)
- Cover the bowl tightly with plastic wrap and let it sit at room temperature (70-75°F) for 8-12 hours, or until the dough has doubled in size and looks bubbly. If your kitchen is cold, it might take longer. For a deeper flavor, refrigerate the dough for 18-24 hours after the first 2 hours of room temperature rise.
- The dough is ready when you see bubbles on the surface and it jiggles when you shake the bowl. Don’t rush this step—under-fermented dough will be dense.
Step 4: Shape the Dough (10 minutes)
- Lightly flour your work surface. Turn the dough out and gently shape it into a round (boule) or oval (batard). Be gentle—you don’t want to deflate all those lovely bubbles. Use a bench scraper to create tension on the surface.
- Place the shaped dough seam-side up in a floured banneton or a bowl lined with a floured kitchen towel. Cover with plastic wrap and let it rest for 30 minutes at room temperature, then refrigerate overnight (8-12 hours) for the final cold proof. This step is optional but highly recommended for flavor and ease of scoring.
Step 5: Bake (45 minutes)
- Preheat your oven to 450°F (230°C) with your Dutch oven inside for at least 30 minutes. If you’re using a baking sheet, place a metal pan on the lower rack to preheat as well.
- Carefully remove the hot Dutch oven. Place a piece of parchment paper over the dough, invert it, and score the top with a sharp knife or lame. Sprinkle with pepitas if using.
- Bake covered for 30 minutes. Remove the lid and bake for another 15-20 minutes, until the crust is deep golden brown and the internal temperature reaches 200°F (93°C). If the top is browning too fast, tent it with foil.
- Cool on a wire rack for at least 2 hours before slicing. I know it’s hard to wait, but cutting too early will give you a gummy crumb.
Cooking Tips & Techniques
I’ve made this bread at least a dozen times, and I’ve learned a few things the hard way. Here are my best tips:
- Don’t overhydrate: Pumpkin puree adds a lot of moisture. If your dough feels too wet, add a tablespoon of flour at a time until it becomes manageable. Conversely, if it’s too dry, add a splash of water.
- Use cold fermentation: This is my secret weapon. After shaping, refrigerating the dough overnight (or up to 24 hours) deepens the tangy flavor and makes scoring much easier. Plus, you can bake it fresh in the morning!
- Score with confidence: A shallow, quick slash (about 1/2 inch deep) is all you need. If you hesitate, you’ll drag the dough. Use a lame or a sharp razor blade.
- Watch the crust: Maple syrup can cause the crust to darken faster than regular bread. If it’s getting too dark, cover it with foil after the first 25 minutes of uncovered baking.
- Check the temperature: The best way to know your bread is done is to use a thermometer. 200°F (93°C) is the sweet spot. If you don’t have one, tap the bottom—it should sound hollow.
I once forgot to add the salt—don’t do that. The bread was flat and tasted like cardboard. Another time, I used a weak starter that had been sitting in the fridge for two weeks. The dough barely rose, and the loaf was dense as a brick. Lesson learned: always feed your starter the night before.
Variations & Adaptations
This recipe is flexible, and I’ve tried several variations over the years. Here are some of my favorites:
- Gluten-Free Version: Substitute the all-purpose flour with a gluten-free bread flour blend (I like Cup4Cup). Add 1 teaspoon xanthan gum if your blend doesn’t include it. The texture will be slightly denser but still delicious.
- Vegan Option: Replace the butter with melted coconut oil or vegan butter. The flavor changes slightly, but it’s still rich and satisfying.
- Extra Spiced: Add 1/4 teaspoon cardamom or allspice to the spice blend for a more complex flavor. I did this for a holiday party, and everyone asked for the recipe.
- Chocolate Chip Pumpkin Sourdough: Fold in 1/2 cup dark chocolate chips during the last stretch and fold. The bitterness of the chocolate pairs beautifully with the sweet maple and pumpkin.
- Savory Twist: Omit the maple syrup and add 1/2 cup grated Parmesan cheese and 1 tablespoon fresh rosemary. It’s amazing with soup.
For a quick version, skip the cold proof and bake after the bulk fermentation. The flavor won’t be as developed, but you’ll have bread in about 6 hours instead of 24.
Serving & Storage Suggestions
This bread is best served warm, but it’s also fantastic at room temperature. Here’s how I like to enjoy it:
- Serving Temperature: Toast slices lightly and spread with salted butter or a drizzle of honey. For a treat, add a smear of cream cheese and a sprinkle of cinnamon.
- Pairings: This bread is perfect with a bowl of butternut squash soup, a hearty chili, or simply alongside a cup of hot apple cider. It also makes incredible French toast—just slice it thick, dip in egg mixture, and fry until golden.
- Storage: Store in an airtight container at room temperature for up to 3 days. To keep the crust from getting soft, don’t wrap it in plastic—use a paper bag or a bread box.
- Freezing: This bread freezes beautifully. Wrap the cooled loaf tightly in plastic wrap, then foil, and freeze for up to 3 months. Thaw at room temperature, then reheat in a 300°F oven for 10 minutes to refresh the crust.
- Flavor Development: The maple flavor actually deepens after a day or two. If you can resist eating it all at once, day-old bread has a more complex, caramelized taste.
Nutritional Information & Benefits
Here’s an approximate nutritional breakdown per slice (based on 12 slices):
- Calories: 190
- Total Fat: 4g
- Saturated Fat: 2g
- Carbohydrates: 35g
- Fiber: 2g
- Sugar: 8g
- Protein: 5g
- Sodium: 200mg
Health Benefits: Pumpkin is packed with vitamin A (great for eye health) and fiber, which aids digestion. The sourdough fermentation process reduces phytic acid, making the minerals in the flour more bioavailable. Plus, the maple syrup provides antioxidants and a lower glycemic index compared to refined sugar. This bread is a healthier indulgence—it satisfies your sweet tooth while still offering some nutritional value.
Dietary Considerations: This recipe is vegetarian. For a vegan version, use coconut oil instead of butter. For gluten-free, use a GF flour blend. It’s not low-carb, but it’s made with real, whole ingredients.
Conclusion
This homemade maple pumpkin sourdough bread is more than just a recipe—it’s a way to slow down and savor the season. The tangy sourdough, sweet maple, and earthy pumpkin come together in a loaf that’s perfect for fall mornings, holiday tables, or just a quiet afternoon with a good book. I’ve made it countless times, and it never gets old.
I’d love to hear how yours turns out! Did you add chocolate chips? Try it with the savory twist? Let me know in the comments below. And if you’re looking for more cozy fall recipes, don’t forget to check out my easy pumpkin soup or these maple pecan scones—they’re both perfect companions to this bread. Happy baking, and remember: the best bread is the one you share with people you love.
Frequently Asked Questions
Can I use a store-bought sourdough starter?
Absolutely! You can buy dried or active sourdough starter online or at some bakeries. Just make sure to feed it and get it bubbly before using it in this recipe.
Why is my pumpkin sourdough bread so dense?
This usually happens when the dough is under-fermented or the starter isn’t active enough. Make sure your starter is bubbly and has doubled in size before using. Also, don’t skip the stretch and folds—they build the gluten structure needed for a light crumb.
Can I use canned pumpkin pie filling instead of puree?
I don’t recommend it. Pumpkin pie filling has added sugar and spices that will throw off the balance of this recipe. Stick with 100% pure pumpkin puree for the best results.
How do I know when the dough has fermented enough?
Look for visual cues: the dough should have doubled in size, look bubbly on the surface, and jiggle when you shake the bowl. You can also do the “poke test”—gently poke the dough with a wet finger. If it springs back slowly and leaves a slight indent, it’s ready.
Can I make this bread without a Dutch oven?
Yes! Use a baking sheet and create steam by placing a metal pan of hot water on the lower rack of the oven. The crust won’t be as crispy, but the bread will still be delicious.
Pin This Recipe!
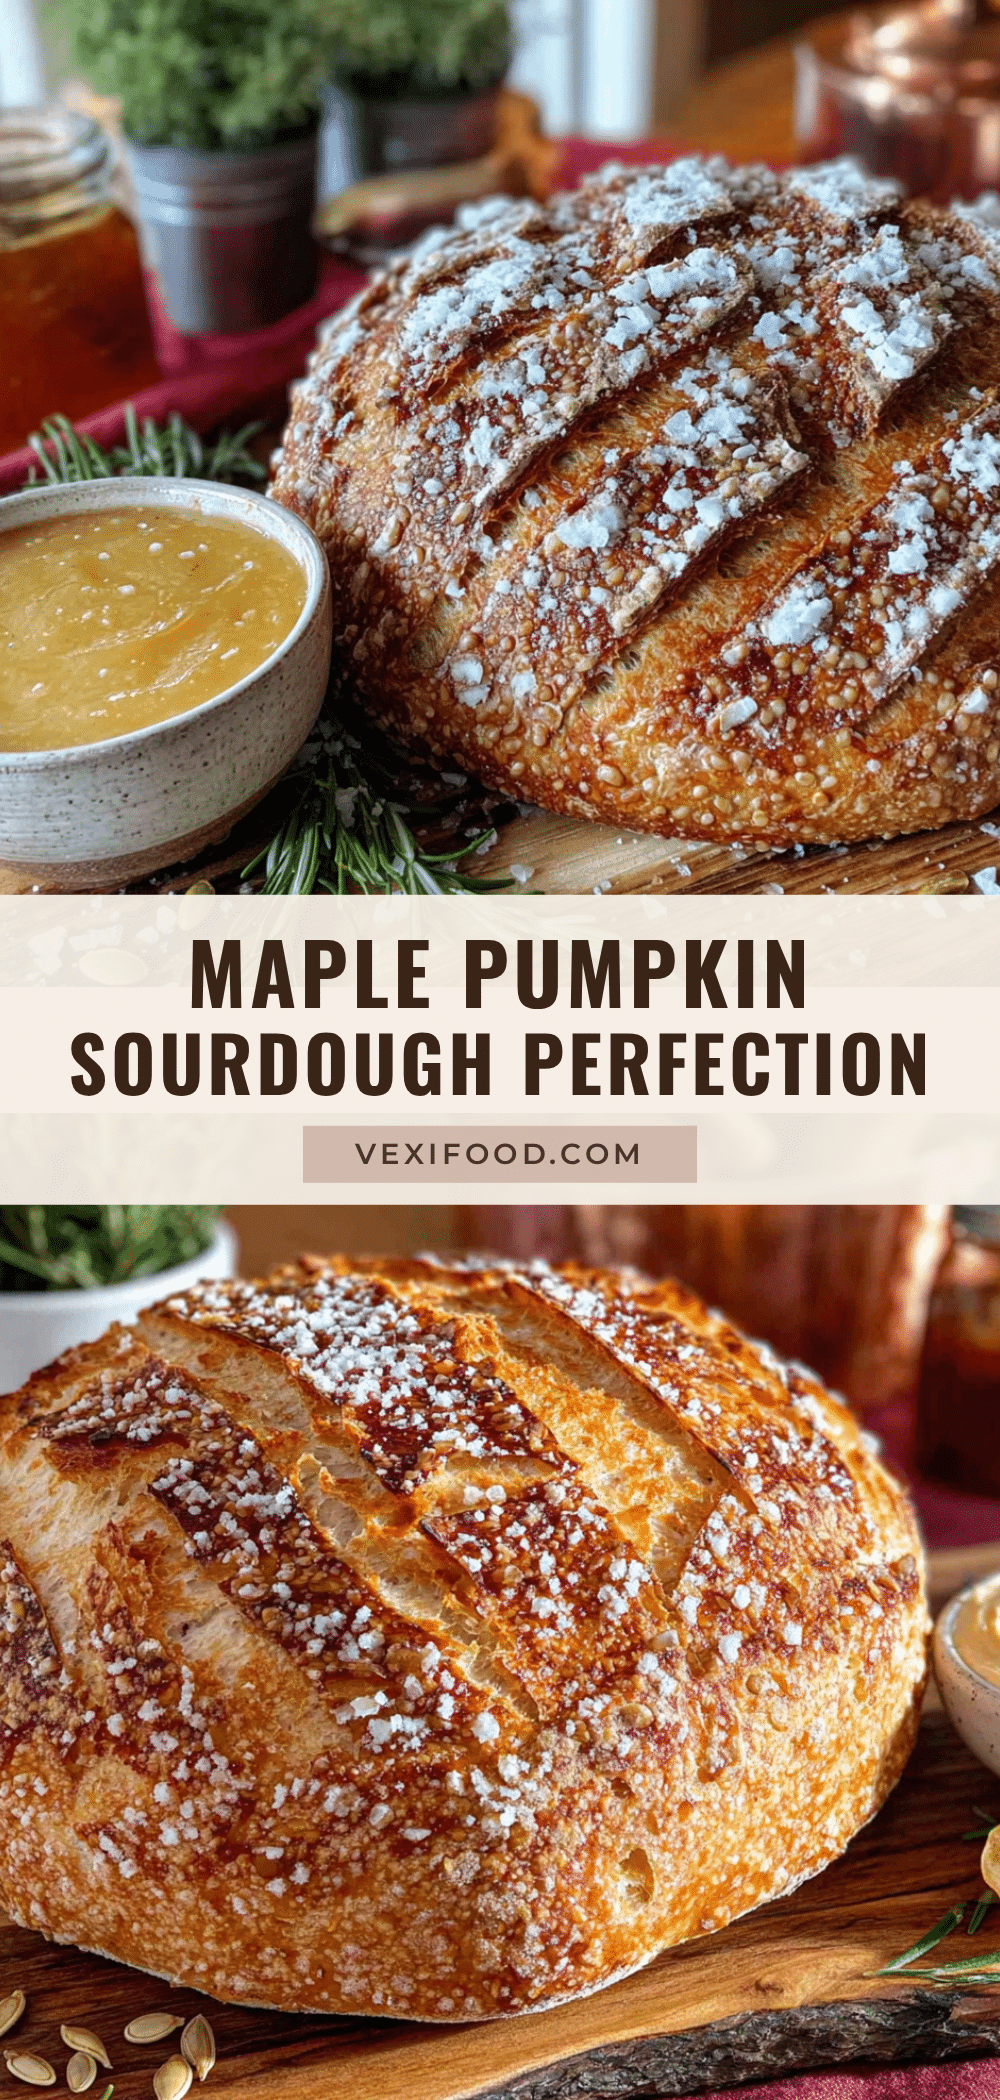
Homemade Maple Pumpkin Sourdough Bread: Easy Fall Recipe
This tangy sourdough bread combines the earthy sweetness of pumpkin with rich maple syrup, creating a tender crumb and crackly crust. Perfect for fall gatherings, it’s a healthier indulgence that tastes like home.
- Prep Time: 20 minutes
- Cook Time: 45 minutes
- Total Time: 24 hours (includes fermentation and proofing)
- Yield: 12 servings 1x
- Category: Bread
- Cuisine: American
Ingredients
- 3 cups (360g) all-purpose flour
- 1/2 cup (120g) active sourdough starter
- 1/2 cup (120g) pumpkin puree
- 1/4 cup (60ml) pure maple syrup
- 1/2 cup (120ml) warm water (about 85°F/30°C)
- 2 tablespoons (28g) unsalted butter, melted
- 1 teaspoon (6g) fine sea salt
- 1 teaspoon ground cinnamon
- 1/2 teaspoon ground ginger
- 1/4 teaspoon ground nutmeg
- 1/8 teaspoon ground cloves
- 1/4 cup pepitas (pumpkin seeds) for topping (optional)
- 1/4 cup dried cranberries (optional)
- 1/4 cup chopped pecans (optional)
Instructions
- In a large bowl, combine 3 cups (360g) all-purpose flour, 1 teaspoon salt, and the pumpkin spice blend (cinnamon, ginger, nutmeg, cloves). Whisk to distribute the spices evenly.
- In a separate bowl, whisk together 1/2 cup (120g) active sourdough starter, 1/2 cup (120ml) warm water, 1/2 cup (120g) pumpkin puree, 1/4 cup (60ml) maple syrup, and 2 tablespoons (28g) melted butter until smooth.
- Pour the wet ingredients into the dry ingredients. Stir until a shaggy dough forms. Cover with plastic wrap and let rest for 30 minutes (autolyse).
- After the rest, perform a series of stretch and folds: wet your hands, grab one side of the dough, stretch it up, and fold it over the top. Rotate the bowl 90 degrees and repeat. Do this 4 times total. Cover and wait 30 minutes. Repeat the process 3-4 times over 2 hours. If adding dried cranberries or pecans, fold them in during the last set.
- Cover the bowl tightly with plastic wrap and let it sit at room temperature (70-75°F) for 8-12 hours, or until doubled in size and bubbly. For deeper flavor, refrigerate for 18-24 hours after the first 2 hours of room temperature rise.
- Lightly flour your work surface. Turn the dough out and gently shape it into a round (boule) or oval (batard). Place seam-side up in a floured banneton or bowl lined with a floured kitchen towel. Cover and let rest for 30 minutes at room temperature, then refrigerate overnight (8-12 hours) for the final cold proof.
- Preheat your oven to 450°F (230°C) with a Dutch oven inside for at least 30 minutes.
- Carefully remove the hot Dutch oven. Place a piece of parchment paper over the dough, invert it, and score the top with a sharp knife or lame. Sprinkle with pepitas if using.
- Bake covered for 30 minutes. Remove the lid and bake for another 15-20 minutes, until the crust is deep golden brown and the internal temperature reaches 200°F (93°C). If browning too fast, tent with foil.
- Cool on a wire rack for at least 2 hours before slicing.
Notes
For best flavor, use a long cold fermentation. If the crust darkens too quickly, tent with foil after 25 minutes of uncovered baking. Always feed your starter the night before for best results.
Nutrition
- Serving Size: 1 slice
- Calories: 190
- Sugar: 8
- Sodium: 200
- Fat: 4
- Saturated Fat: 2
- Carbohydrates: 35
- Fiber: 2
- Protein: 5
Keywords: sourdough bread, pumpkin bread, maple pumpkin bread, fall recipe, homemade bread, sourdough recipe, pumpkin sourdough