Love this? Save it for later!
Share the inspiration with your friends
My nephew, Leo, had claimed to hate bread for roughly eight years. Eight years. He’d pick the crust off pizza, slide the bread out of a sub sandwich, and look at a dinner roll like it had personally offended him. Then, last Tuesday, I made this cheesy garlic pull-apart bread for a family get-together. I set it on the table, went to grab the butter, and came back to find him with a string of mozzarella hanging from his chin, reaching for a third piece. He didn’t even look guilty. He just said, “This isn’t bread.” And honestly? In a way, he was right. This gooey, buttery, garlicky skillet situation is something else entirely. It’s the kind of thing that makes you forget you’re eating bread at all — you’re just chasing that next perfect bite of melted cheese and soft, savory dough. Maybe you’ve had a picky eater in your house who swears they don’t like something, only to catch them in the act of proving themselves wrong. That’s this recipe. It’s the quiet, buttery victory of changing a mind without even trying.
Why You’ll Love This Recipe
I have tested this recipe at least a dozen times, tweaking the garlic-to-butter ratio, the cheese blend, the baking time, until it was absolutely foolproof. It’s the kind of recipe I bring to every potluck and every family dinner, and it disappears every single time. Here is why it works so well for busy home cooks like us.
- Quick & Easy: This comes together in about 30 minutes, start to finish. It is perfect for those afternoons when you need a side dish or snack fast, and you don’t have time for complicated doughs or techniques.
- Simple Ingredients: You probably already have butter, garlic, and cheese in your fridge. The rest is just basic pantry staples. No fancy grocery trips required.
- Perfect for Family Dinners: It works as a side for pasta, soup, salad, or even just as a snack while you’re waiting for the main dish. It makes any meal feel a little more special.
- Crowd-Pleaser: I have yet to meet a kid (or an adult) who can resist this. It is cheesy, garlicky, soft, and utterly addictive. It’s the first thing to go at any gathering.
- Unbelievably Delicious: The combination of the buttery garlic coating, the gooey mozzarella, and the soft, pull-apart texture is pure comfort food magic. It is next-level, I promise you.
What makes this version different from all the others is the technique. I don’t just toss the dough balls in butter. I make a proper garlic butter sauce, let the dough rise in it for a few minutes, and then layer the cheese so it melts into every single crevice. It is not just another pull-apart bread. It is the best version I have ever made, and I have made a lot of them. It is the kind of bread that makes you close your eyes after the first bite. It is comfort food at its finest — fast, easy, and full of soul-soothing satisfaction. Perfect for impressing guests without any stress, or turning a simple weeknight meal into something memorable.
What Ingredients You Will Need
This recipe uses simple, everyday ingredients to create something that tastes anything but ordinary. The magic is in how they come together. Most of these are pantry staples, and the ones that aren’t are easy to find.
- For the Dough:
- 1 can (16.3 oz) refrigerated buttermilk biscuits (I recommend the Pillsbury Grands! brand for the best texture and size. Do not use the flaky layers kind — you want the soft, fluffy ones.)
- For the Garlic Butter:
- 1/2 cup (1 stick) unsalted butter, melted (Salted butter works too, just reduce the added salt a little.)
- 4 cloves garlic, minced (Fresh garlic is non-negotiable here. The jarred stuff just doesn’t have the same punch.)
- 1 tablespoon fresh parsley, chopped (Or 1 teaspoon dried parsley. It adds a little freshness and color.)
- 1/2 teaspoon salt
- 1/4 teaspoon black pepper
- For the Cheese:
- 1 1/2 cups shredded mozzarella cheese (Buy a block and shred it yourself — it melts so much better than the pre-shredded stuff, which has anti-caking agents.)
- 1/2 cup grated Parmesan cheese (The real stuff, not the green can. It adds a salty, nutty depth.)
- Optional for serving:
- Marinara sauce, for dipping (I like Rao’s Homemade, but any good jarred sauce works.)
- Extra chopped parsley, for garnish
- Red pepper flakes, for a little heat (if you’re into that)
Ingredient Tips: If you want to make this a little more indulgent, you can add 1/4 cup of cream cheese to the garlic butter mixture. It makes the sauce extra creamy. For a dairy-free version, use a good quality dairy-free butter and cheese alternative. I have done it with Miyoko’s brand, and it was still delicious.
Equipment Needed
You do not need a lot of fancy equipment for this recipe, which is part of its beauty. Here is what you will need.
- 10-inch cast iron skillet: This is my go-to for this recipe. It heats evenly and gives the bread a gorgeous golden-brown bottom. If you don’t have one, a 9×13-inch baking dish works perfectly. I have also used a round cake pan in a pinch.
- Mixing bowls: One small bowl for the garlic butter and one large bowl for tossing the dough.
- Sharp knife or kitchen shears: For cutting the biscuits into quarters. Kitchen shears are actually faster and less messy.
- Measuring cups and spoons: For accuracy, especially with the butter and cheese.
- Garlic press or microplane: For mincing the garlic. I prefer a microplane because it creates a paste that distributes evenly.
- Pastry brush: For brushing the extra garlic butter on top before baking. A spoon works too.
Budget-Friendly Tip: Cast iron skillets can be expensive, but they last forever. You can find them at thrift stores for a few dollars. Or just use a baking dish you already own. The recipe will still turn out great.
Preparation Method
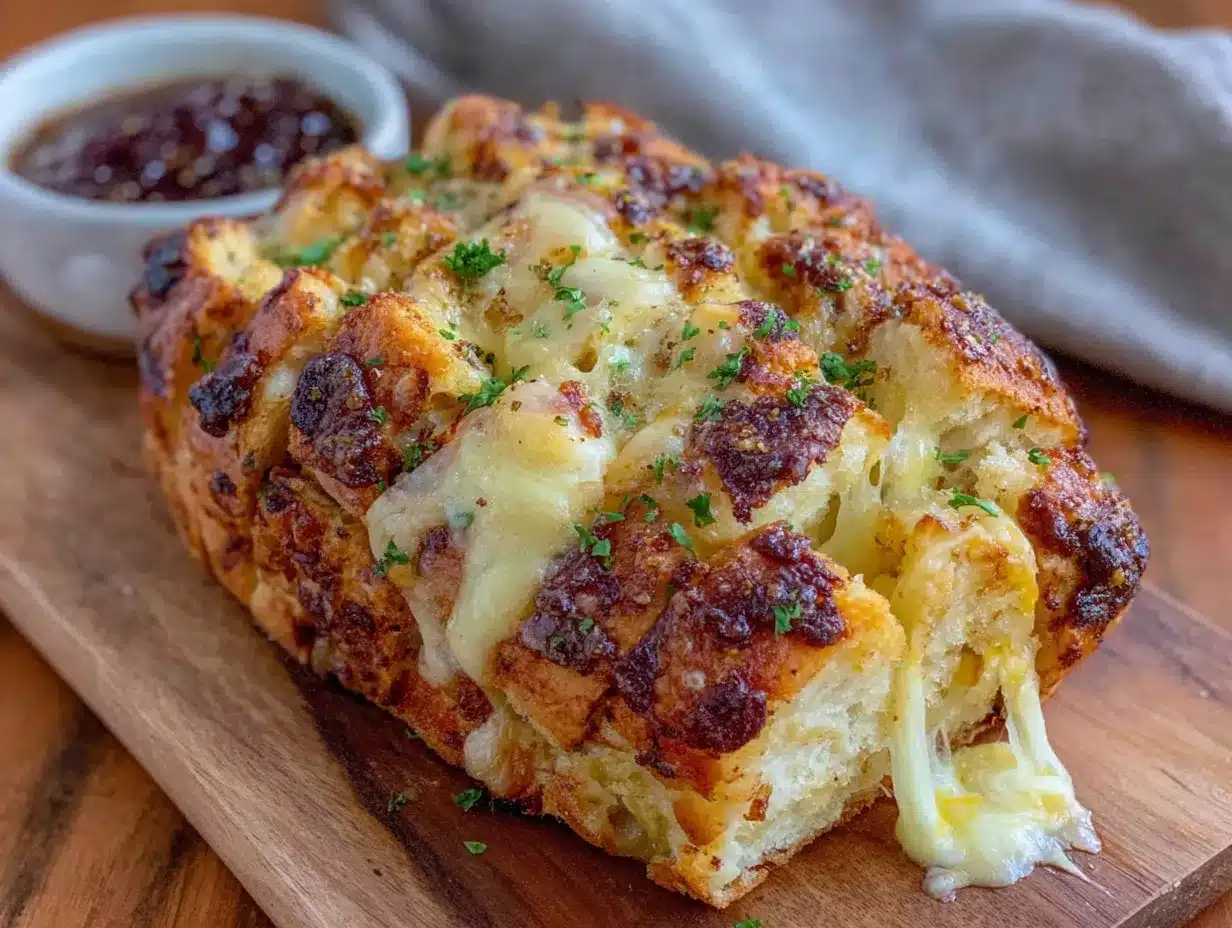
Alright, let’s get to the good part. Follow these steps, and you will have a pan of cheesy, garlicky perfection in no time.
- Preheat your oven to 375°F (190°C). Place your cast iron skillet or baking dish in the oven to warm up while it preheats. This helps the butter sizzle when you add the dough.
- Make the garlic butter: In a small bowl, combine the melted butter, minced garlic, chopped parsley, salt, and pepper. Stir it together and let it sit for a few minutes so the garlic infuses the butter. The smell at this point is incredible.
- Prepare the biscuits: Open the can of biscuits — that satisfying pop never gets old. Separate them and cut each biscuit into quarters. You should have about 32 small pieces of dough. A tip from my own trials: if the dough gets too sticky, lightly dust your hands with flour. I forgot to do this the first time, and I had dough stuck to my fingers for a good ten minutes.
- Toss the dough in garlic butter: Place the biscuit pieces in a large bowl. Pour about three-quarters of the garlic butter over them, reserving the rest for later. Use a spatula or your hands to gently toss the dough pieces until they are all evenly coated. Be gentle — you don’t want to deflate the dough too much.
- Layer the dough and cheese: Carefully remove the hot skillet from the oven. Pour the butter-coated dough pieces into the skillet and spread them out in an even layer. Sprinkle about half of the mozzarella and half of the Parmesan over the dough. Gently toss everything together with a spatula so the cheese gets mixed in. Then, top with the remaining mozzarella and Parmesan. Drizzle the reserved garlic butter over the top.
- Bake: Place the skillet in the oven and bake for 18-22 minutes, or until the bread is golden brown and the cheese is bubbly and melted. The top should be a deep golden color, and you should see the cheese bubbling around the edges. If the top is browning too quickly, tent it loosely with foil for the last 5 minutes.
- Rest and serve: Let the bread cool in the skillet for about 5 minutes. This is important — it allows the cheese to set slightly so it doesn’t all slide off when you pull it apart. Sprinkle with extra parsley and serve warm, straight from the skillet. I like to put a small bowl of marinara sauce right in the middle for dipping.
Sensory Cues: At step 5, the dough should look glossy and fragrant from the garlic butter. At step 6, your kitchen will smell like a garlic bread dream. The top should be golden and crispy, and when you pull a piece off, you should see long, stretchy strings of mozzarella. That is the moment of truth.
Cooking Tips & Techniques
I have made this recipe more times than I can count, and I have learned a few things the hard way. Here are my best tips to ensure success every time.
- Shred your own cheese. I cannot stress this enough. Pre-shredded cheese is coated with cellulose and starch to prevent clumping, which also prevents it from melting smoothly. Freshly shredded mozzarella melts into a creamy, gooey pool. It makes a real difference.
- Do not overmix the dough. When you toss the biscuit pieces with the butter and cheese, be gentle. Overworking the dough can make it tough. You want light, fluffy pieces of bread, not dense hockey pucks.
- Let it rest before serving. I know it is hard to wait, but those 5 minutes of resting time are crucial. The first time I made this, I dug in immediately, and the cheese was so hot it slid right off the bread and burned my tongue. Let it set, and you will get perfect, cheesy pulls every time.
- Use a hot skillet. Preheating the skillet ensures that the butter sizzles when you add the dough, creating a crispy, golden bottom. It also helps the bread cook evenly from the bottom up. I once forgot to preheat the skillet, and the bottom was pale and doughy while the top was perfectly browned. Lesson learned.
- Double the garlic. If you love garlic as much as I do, do not be shy. Four cloves is a good starting point, but I often use six. The garlic mellows as it bakes, so it won’t be overpowering. It will just be perfectly savory.
Variations & Adaptations
One of the best things about this recipe is how easy it is to change up. Here are some variations I have tried and loved.
- Spicy Jalapeño Popper Version: Add 1/4 cup of diced pickled jalapeños and 4 ounces of cream cheese, cut into small cubes, along with the cheese. The cream cheese melts into the crevices and makes everything extra creamy. The jalapeños add a nice kick that cuts through the richness.
- Herb and Cheese Version: Add 1 teaspoon each of dried oregano, basil, and thyme to the garlic butter. Use a mix of mozzarella and provolone cheese. This version is fantastic with Italian dishes like spaghetti and meatballs.
- Everything Bagel Version: After you sprinkle the cheese on top, add 2 tablespoons of everything bagel seasoning. The sesame seeds, poppy seeds, garlic, and onion flakes add an incredible crunch and flavor. This is my kids’ absolute favorite version.
- Gluten-Free Adaptation: Use a gluten-free canned biscuit dough. I have tried this with the brand “Bisquick” gluten-free biscuits, and it worked well. Just be careful not to overbake them, as gluten-free dough can dry out faster.
- Breakfast Version: Omit the garlic and add 1/2 cup of cooked, crumbled breakfast sausage and 1/2 cup of shredded cheddar cheese instead of mozzarella. Serve it with scrambled eggs for a fun weekend breakfast.
Serving & Storage Suggestions
This bread is best served warm, straight from the oven. The cheese is at its stretchiest, and the butter is still soaking into the dough. Here is how I like to serve it.
- Serving Temperature: Serve it warm, not piping hot. Let it rest for 5 minutes after baking so the cheese sets slightly. It should be warm enough to melt in your mouth but not so hot that it burns.
- Presentation: I serve it right in the cast iron skillet. It looks rustic and inviting. Place a small bowl of warm marinara sauce in the center for dipping. You can also serve it with a side of ranch dressing or a simple balsamic glaze.
- Complementary Dishes: This bread is perfect alongside a big bowl of tomato soup, a hearty minestrone, or a simple green salad. It also works great as an appetizer before a pasta dinner, like spaghetti bolognese or creamy chicken Alfredo.
- Storage: If you have leftovers (which is rare in my house), store them in an airtight container in the refrigerator for up to 3 days. The bread will lose some of its crispness, but the flavor will still be great.
- Reheating: The best way to reheat this is in the oven. Place the bread in a 350°F (175°C) oven for 5-7 minutes, or until warmed through and the cheese is bubbly again. You can also use an air fryer at 350°F for 3-4 minutes. The microwave works in a pinch, but the bread will be soft, not crispy.
Flavor Development: Honestly, the flavors actually meld together even more after a day in the fridge. The garlic and cheese get deeper and more integrated. It is almost better the next day, if you can believe it.
Nutritional Information & Benefits
This is comfort food, so it is not exactly health food, but it is made with real ingredients. Here is a rough estimate of the nutritional content per serving (based on 8 servings).
| Nutrient | Amount per Serving |
|---|---|
| Calories | 320 |
| Total Fat | 18g |
| Saturated Fat | 10g |
| Cholesterol | 45mg |
| Sodium | 680mg |
| Total Carbohydrates | 28g |
| Dietary Fiber | 1g |
| Sugars | 4g |
| Protein | 12g |
Health Benefits: Garlic is known for its immune-boosting properties and can help lower blood pressure. Cheese provides calcium and protein, which are important for bone health and muscle function. The butter, in moderation, provides fat-soluble vitamins like A and E. This is a treat, but it is made with real, whole ingredients that offer some nutritional value. I always feel better about serving this to my family than something made with processed ingredients and preservatives.
Dietary Considerations: This recipe is vegetarian. It is not gluten-free unless you use gluten-free biscuits. It is also not dairy-free, but you can make it so with substitutions. The main allergens are wheat (gluten) and dairy (milk).
Conclusion
This cheesy garlic pull-apart bread is more than just a recipe. It is a little moment of joy that you can create in your own kitchen with almost no effort. It is the bread that makes picky eaters forget they don’t like bread. It is the side dish that steals the show. It is the snack that turns an ordinary Tuesday night into something special. I love this recipe because it is forgiving, adaptable, and always, always delicious. It has saved me more times than I can count — from last-minute dinner guests to hungry kids who need something fast. I hope you make it your own. Add your favorite cheese, throw in some herbs, or keep it classic. However you make it, I promise it will be good. I would love to hear how it turns out for you. Leave a comment below and tell me about your favorite variation, or tag me in your photos on social media. Let’s keep sharing the joy of good food, one pull-apart piece at a time. Happy cooking!
Frequently Asked Questions
Can I make this pull-apart bread ahead of time?
Yes, you can prepare it a few hours ahead. Assemble the bread in the skillet, cover it, and refrigerate it. When you are ready to bake, add about 5 minutes to the baking time since it will be starting from cold. I do not recommend assembling it more than 6 hours ahead, as the dough can get soggy.
Can I use homemade pizza dough instead of canned biscuits?
Absolutely. If you have a favorite pizza dough recipe, use it. Roll it out, cut it into small pieces, and follow the same steps. You will need about 1 pound of dough. The baking time might be slightly longer, so keep an eye on it.
Why is my bread soggy in the middle?
This usually happens if the skillet is not hot enough when you add the dough, or if you overcrowded the pan. Make sure your skillet is preheated, and do not use a pan that is too small. Also, make sure your oven is fully preheated before you put the bread in. A hot oven creates steam that helps the bread rise and cook through.
Can I freeze this cheesy garlic bread?
Yes, you can freeze it after baking. Let it cool completely, then wrap it tightly in foil and place it in a freezer bag. It will keep for up to 3 months. To reheat, thaw it in the refrigerator overnight, then warm it in a 350°F oven for 10-15 minutes. The texture will be slightly softer, but it is still delicious.
What other cheeses can I use?
You can use almost any melting cheese. Provolone, fontina, gouda, or even a mild cheddar all work great. For a sharper flavor, try adding some asiago or pecorino romano. Just avoid cheeses that don’t melt well, like feta or halloumi. I have used a mix of mozzarella and smoked gouda, and it was incredible.
Pin This Recipe!
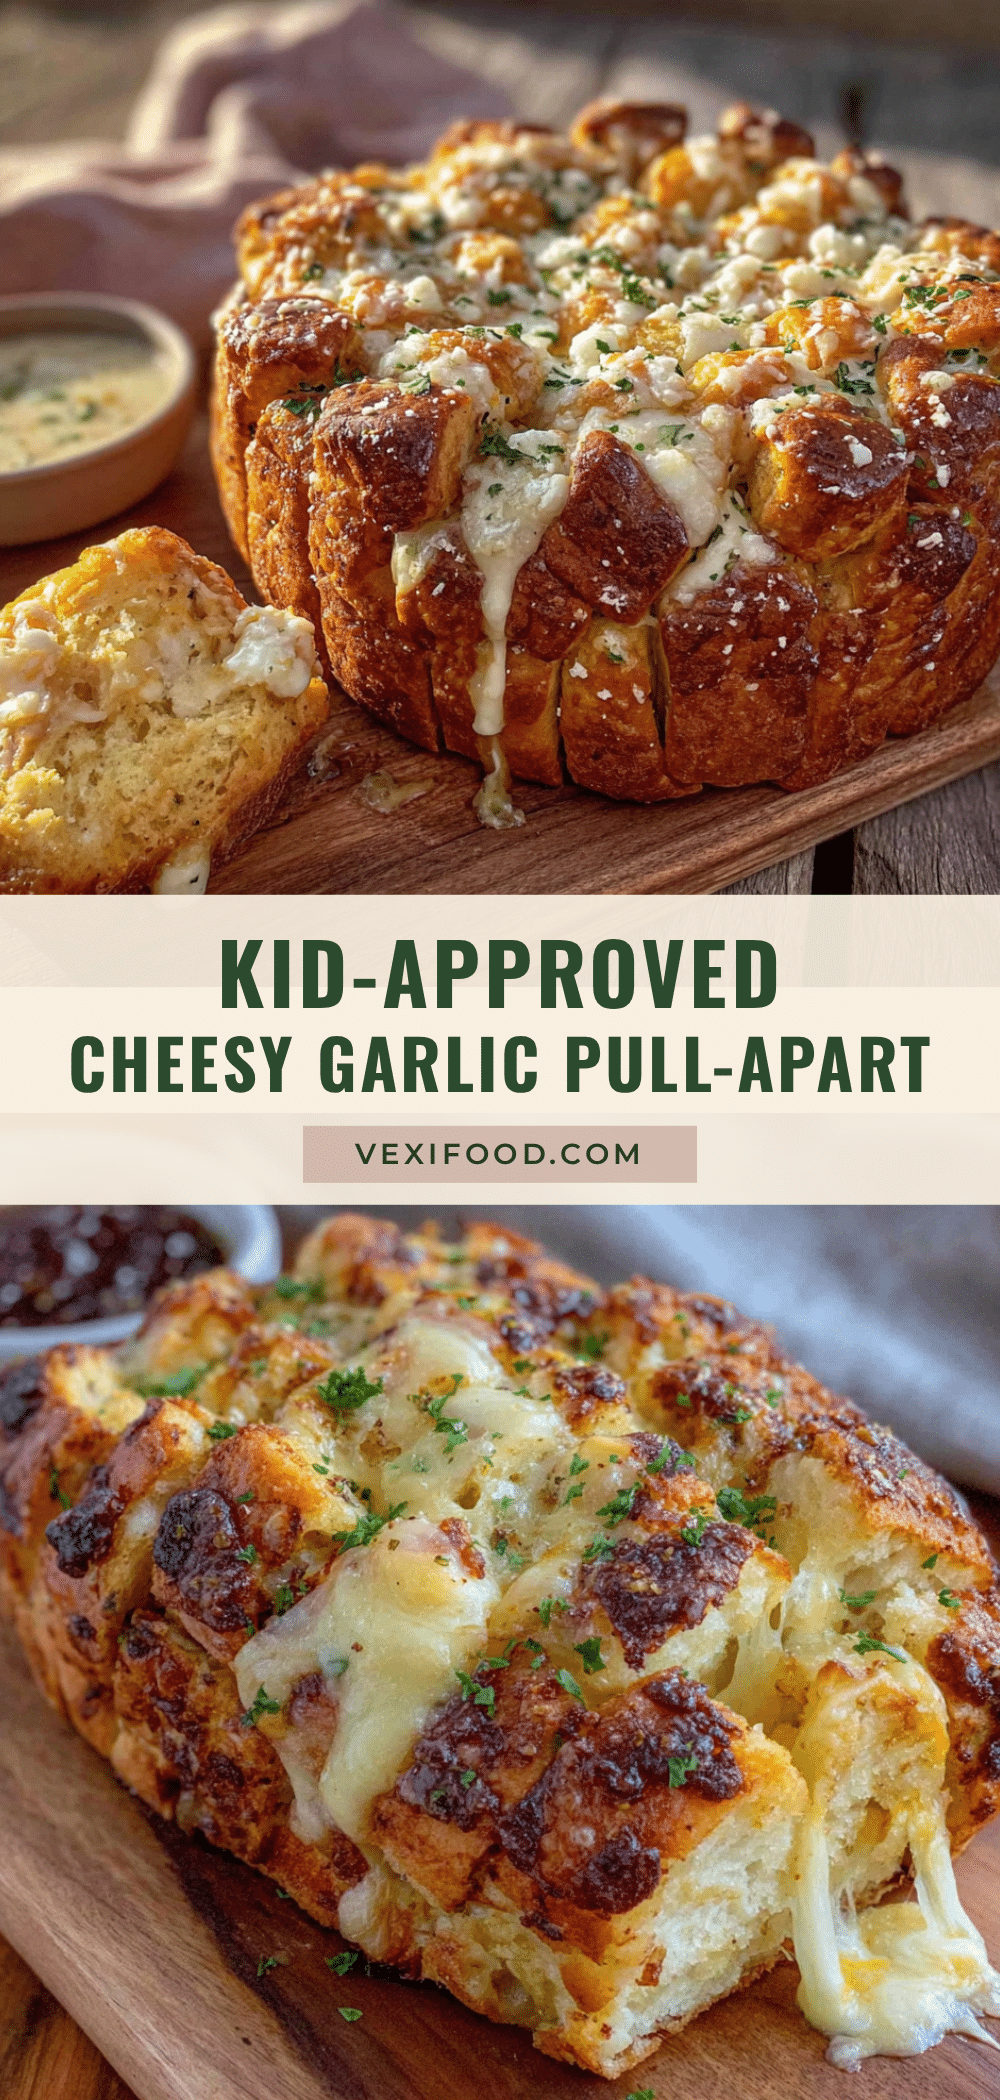
Kid-Approved Cheesy Garlic Pull-Apart Bread: Easy Homemade Recipe
This gooey, buttery, garlicky pull-apart bread is made with refrigerated biscuits, a homemade garlic butter sauce, and a blend of mozzarella and Parmesan cheese. It’s a quick and easy side dish or snack that even picky eaters love, ready in about 30 minutes.
- Prep Time: 10 minutes
- Cook Time: 20 minutes
- Total Time: 30 minutes
- Yield: 8 servings 1x
- Category: Side Dish
- Cuisine: American
Ingredients
- 1 can (16.3 oz) refrigerated buttermilk biscuits (such as Pillsbury Grands!)
- 1/2 cup (1 stick) unsalted butter, melted
- 4 cloves garlic, minced
- 1 tablespoon fresh parsley, chopped (or 1 teaspoon dried parsley)
- 1/2 teaspoon salt
- 1/4 teaspoon black pepper
- 1 1/2 cups shredded mozzarella cheese (freshly shredded recommended)
- 1/2 cup grated Parmesan cheese
- Marinara sauce, for dipping (optional)
- Extra chopped parsley, for garnish (optional)
- Red pepper flakes, for heat (optional)
Instructions
- Preheat your oven to 375°F (190°C). Place a 10-inch cast iron skillet or 9×13-inch baking dish in the oven to warm up while it preheats.
- In a small bowl, combine the melted butter, minced garlic, chopped parsley, salt, and pepper. Stir and let sit for a few minutes to infuse.
- Open the can of biscuits, separate them, and cut each biscuit into quarters (about 32 pieces). Lightly dust hands with flour if dough is sticky.
- Place the biscuit pieces in a large bowl. Pour about three-quarters of the garlic butter over them, reserving the rest. Gently toss to coat evenly.
- Carefully remove the hot skillet from the oven. Pour the butter-coated dough pieces into the skillet and spread in an even layer. Sprinkle half of the mozzarella and half of the Parmesan over the dough. Gently toss with a spatula, then top with remaining mozzarella and Parmesan. Drizzle reserved garlic butter over the top.
- Bake for 18-22 minutes, until golden brown and cheese is bubbly. If browning too quickly, tent with foil for the last 5 minutes.
- Let the bread cool in the skillet for about 5 minutes. Sprinkle with extra parsley and serve warm, with marinara sauce for dipping if desired.
Notes
Shred your own cheese for best melting. Do not overmix the dough. Let the bread rest for 5 minutes before serving to allow cheese to set. For extra garlic flavor, use up to 6 cloves. To make ahead, assemble in skillet, cover, and refrigerate for up to 6 hours; add 5 minutes to baking time. Freeze baked bread for up to 3 months.
Nutrition
- Serving Size: 1 serving (about 1/8
- Calories: 320
- Sugar: 4
- Sodium: 680
- Fat: 18
- Saturated Fat: 10
- Carbohydrates: 28
- Fiber: 1
- Protein: 12
Keywords: cheesy garlic pull-apart bread, easy pull-apart bread, garlic bread recipe, cheesy bread, pull-apart bread with biscuits, kid-friendly bread, quick bread recipe



