Love this? Save it for later!
Share the inspiration with your friends
“I’m not great at fancy desserts,” my colleague said as she watched me wrestle with a batch of cookies that stubbornly refused to keep their shape. Then, without a word, she slid a small, well-loved recipe card across the table. It was for alphabet letter cookies—simple, charming, and topped with this unbelievably glossy royal icing that looked like it was just waiting to be licked off. That Tuesday afternoon in the cramped office kitchenette, with the hum of the copier in the background, I figured I’d give it a try. Honestly, the way the icing dried with that perfect sheen, not too matte and not too sticky, was mesmerizing. I remember accidentally knocking over my cup of tea mid-mix, making a lovely mess, but somehow the recipe didn’t mind—it kept working.
Maybe you’ve been there too: wanting a sweet treat that feels personal, playful even, and yet looks like you put in a whole lot more effort than you actually did. The perfect alphabet letter cookies with glossy royal icing are just that kind of recipe. They come from a quiet exchange, a shared moment, not a grand culinary event. Over time, I’ve adapted that recipe, making it my own while keeping the spirit of that day alive. It’s the kind of baking that turns into a conversation starter, a little gift, or a way to celebrate someone’s name or special event with edible art.
Let me tell you, these cookies have stayed on my baking list ever since. They bring that small joy, that little spark of delight, every single time. Because really, isn’t that what baking should be about?
Why You’ll Love This Recipe
After countless batches and some friendly critique from cookie lovers of all ages, I’ve fine-tuned this recipe into something truly special. Here’s why it might just become your go-to for alphabet cookies:
- Quick & Easy: From mixing to decorating, you can have these ready in under 90 minutes—perfect for last-minute celebrations or sweet cravings.
- Simple Ingredients: No need to hunt for rare spices or fancy extracts. This recipe uses pantry staples you probably already have.
- Perfect for Gifting or Parties: Whether it’s a birthday, baby shower, or just spelling out a heartfelt message, these cookies bring that personal touch effortlessly.
- Crowd-Pleaser: Kids love picking out their initials, and adults can’t resist the glossy icing and buttery cookie base.
- Unbelievably Delicious: The balance between a tender, buttery cookie and the sweet, smooth royal icing is honestly next-level comfort food.
What sets this recipe apart? It’s the royal icing technique—smooth, glossy, and perfectly set without cracking. I’ve found that mixing the icing just right and letting it rest before piping makes all the difference. It’s not just any cookie; it’s a canvas for creativity, yet forgiving enough if you’re new to decorating. The way the icing hardens just enough to hold its shine but stays soft under the teeth is something I haven’t seen in many cookie recipes. And the best part? It’s adaptable—whether you want bold colors, delicate pastels, or simple white gloss, this recipe handles it all with grace.
What Ingredients You Will Need
This recipe uses simple, wholesome ingredients to deliver bold flavor and that satisfying texture without fuss. Most of these are pantry staples, but I’ll share a few tips along the way for the best results.
- For the Cookies:
- All-purpose flour – 2 ¾ cups (345 g) (I like King Arthur Flour for consistent texture)
- Unsalted butter – 1 cup (227 g), softened (makes the cookie tender and rich)
- Granulated sugar – ¾ cup (150 g)
- Large egg – 1, room temperature (helps bind the dough)
- Pure vanilla extract – 1 teaspoon (adds warm, familiar flavor)
- Baking powder – 1 teaspoon (for slight lift and softness)
- Salt – ½ teaspoon (balances sweetness)
- For the Glossy Royal Icing:
- Powdered sugar – 3 cups (360 g), sifted (for smooth texture)
- Egg whites – 2 large (or 4 tablespoons pasteurized egg whites for safety)
- Lemon juice – 1 tablespoon (freshly squeezed, brightens flavor)
- Light corn syrup – 1 tablespoon (creates that glossy finish)
- Food coloring (optional) – gel-based recommended for vibrant colors without thinning the icing
If you prefer a gluten-free option, swapping in almond flour or a gluten-free baking blend works well, though the texture will be a bit different. For dairy-free, use vegan butter alternatives and substitute egg whites with aquafaba (chickpea water) whipped to stiff peaks for the icing. I’ve tested these swaps with great success!
Equipment Needed
- Mixing bowls – various sizes for dough and icing
- Electric mixer or stand mixer – makes creaming butter and whipping icing easier
- Rolling pin – essential for evenly rolling dough to about ¼ inch (6 mm)
- Alphabet cookie cutters – ideally metal for sharp edges, but plastic works too
- Baking sheets lined with parchment paper or silicone mats – prevents sticking and promotes even baking
- Cooling racks – for letting cookies cool completely before icing
- Piping bags and small round tips (size #1 or #2) – for precise royal icing application
- Toothpicks or scribe tools – handy for spreading icing into corners or fixing bubbles
If you don’t have piping bags, small zip-top bags with a tiny corner snipped off do the trick. I once improvised with a clean sandwich bag during a spur-of-the-moment cookie decorating session, and it worked just fine! For budget-friendly options, silicone mats really pay off with easy cleanup and reusable surface.
Preparation Method
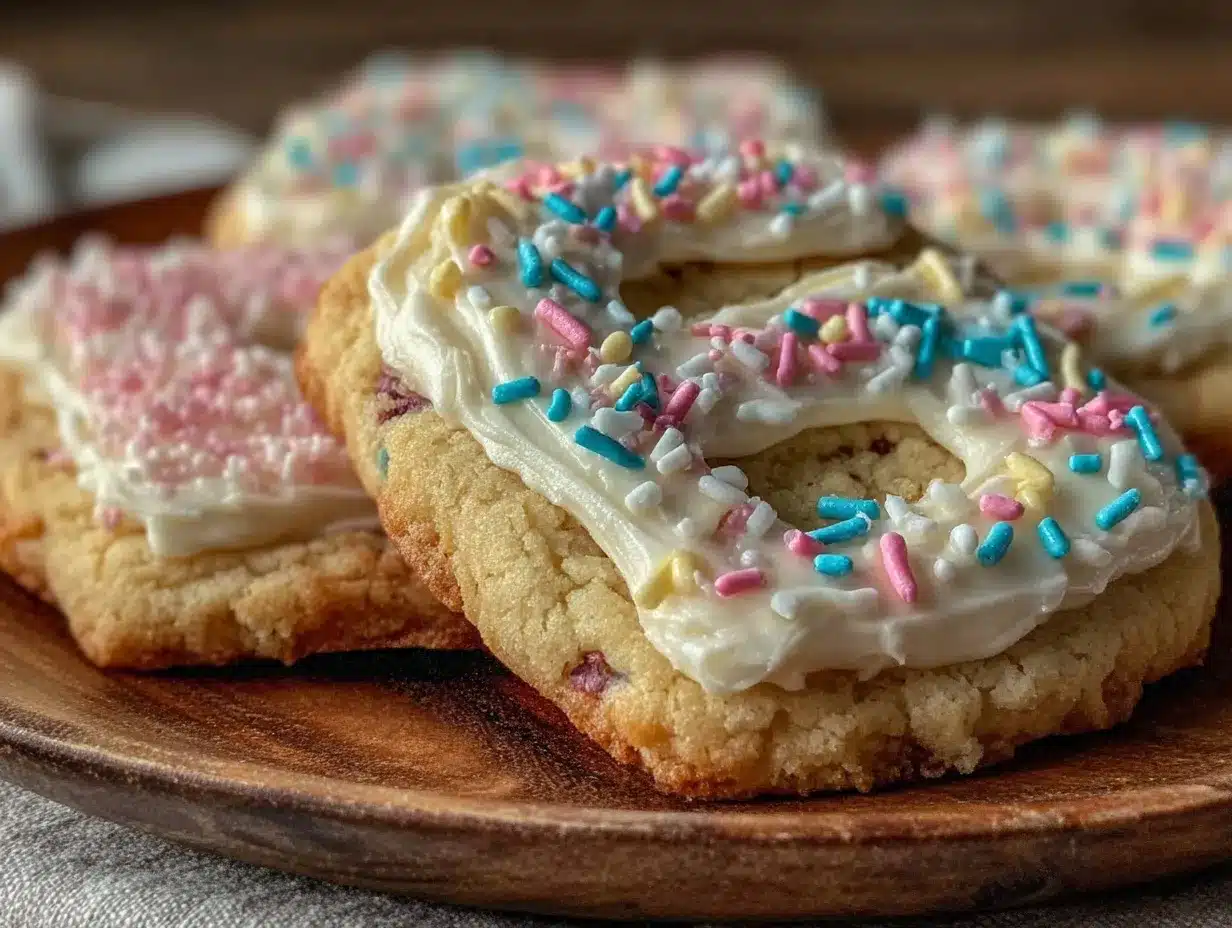
- Make the Cookie Dough: In a large bowl, cream together 1 cup (227 g) softened unsalted butter and ¾ cup (150 g) granulated sugar until light and fluffy—about 3 to 5 minutes with an electric mixer. This step is key for tender cookies. Note: If your butter isn’t soft enough, the mixture won’t aerate properly, leading to dense cookies.
- Add Egg and Vanilla: Beat in 1 large egg and 1 teaspoon pure vanilla extract until fully incorporated.
- Combine Dry Ingredients: In a separate bowl, whisk together 2 ¾ cups (345 g) all-purpose flour, 1 teaspoon baking powder, and ½ teaspoon salt.
- Mix Dry into Wet: Gradually add the dry mixture to the butter mixture, mixing on low speed just until combined. Avoid overmixing—overworked dough can become tough.
- Chill the Dough: Divide dough into two discs, wrap in plastic wrap, and chill for at least 1 hour. This step helps the dough firm up for easier rolling and prevents cookie spread.
- Preheat Oven and Roll Out Dough: Preheat oven to 350°F (175°C). On a lightly floured surface, roll out one disc of dough to about ¼ inch (6 mm) thickness. If the dough is too soft, pop it back in the fridge for 10 minutes.
- Cut Out Letters: Use alphabet cookie cutters to cut shapes. Gather scraps, reroll, and cut more cookies—try to avoid over-handling dough to keep cookies tender.
- Bake Cookies: Place cutouts on parchment-lined baking sheets about 1 inch (2.5 cm) apart. Bake for 8–10 minutes, until edges are just golden. Keep a close eye after 7 minutes—overbaking dries cookies out.
- Cool Completely: Transfer cookies to wire racks and let cool fully before icing. This prevents royal icing from melting or sliding off.
- Prepare Royal Icing: In a clean bowl, whisk 3 cups (360 g) sifted powdered sugar with 2 large egg whites, 1 tablespoon fresh lemon juice, and 1 tablespoon light corn syrup. Beat until smooth and glossy, about 5 minutes. Adjust consistency with a few drops of water or extra sugar—stiff enough to hold shape but fluid enough to pipe smoothly.
- Color and Pipe: Divide icing into portions if using colors. Fill piping bags fitted with small round tips. Outline each cookie letter first, then flood the inside with thinned icing. Use a toothpick to spread icing evenly and pop air bubbles.
- Dry and Set: Let iced cookies rest at room temperature for at least 4 hours or overnight to fully harden the royal icing’s glossy finish.
Cooking Tips & Techniques
Here are some pro tips and lessons learned the hard way to make your alphabet letter cookies shine:
- Consistency is Key: For royal icing, don’t rush the mixing. Beat it long enough to get that silky sheen. If it looks dull or grainy, keep mixing a bit more.
- Practice Piping: If you’re new to royal icing, practice piping on parchment paper first. It helps get a feel for the pressure and speed before decorating cookies.
- Don’t Skip Chilling: Chilling the dough is essential to maintain thick, neat edges on your letter cookies. I once skipped this step, and my letters looked more like blobs than letters—lesson learned.
- Rolling Evenly: Use rolling pin guides or bands to keep dough thickness uniform. Uneven dough leads to uneven baking and inconsistent cookie textures.
- Timing Matters: Bake one tray at a time in the middle rack for even heat. Multitasking helps—while cookies bake, prep icing so you’re ready to decorate as soon as they cool.
- Handle Icing Carefully: Avoid over-thinning the icing. If it’s too runny, it won’t hold shape; too thick, and it’s a struggle to pipe. Find the sweet spot with small adjustments.
Variations & Adaptations
This recipe is a great base to customize based on your preferences or occasion:
- Dietary Variation: Use almond flour or gluten-free flour blends for gluten-free cookies. For vegan royal icing, try aquafaba with powdered sugar and lemon juice instead of egg whites.
- Flavor Twists: Add a teaspoon of almond extract or orange zest to the dough for a new flavor dimension. For the icing, try a drop of peppermint or vanilla extract.
- Seasonal Themes: Swap food coloring to match holidays—think pastel tones for spring or rich golds and reds for winter festivities.
- Alternative Decorating: Instead of royal icing, dip cookies in melted chocolate and decorate with edible glitter or sprinkles for a different look and texture.
- Personal Variation: I once mixed in finely chopped dried lavender into the dough for a subtly floral cookie that paired beautifully with lemon royal icing—a surprise hit at a garden party!
Serving & Storage Suggestions
Serve these alphabet letter cookies at room temperature to enjoy the perfect balance of soft cookie and crisp icing. They make wonderful edible place cards or personalized treats for any gathering. Pair them with a cup of tea or coffee to round out the experience.
Store cookies in an airtight container at room temperature for up to 5 days. For longer storage, freeze undecorated cookies wrapped tightly in plastic wrap and aluminum foil for up to 3 months. Icing can be added after thawing.
When reheating, avoid microwaves as they soften the icing too much. Instead, let frozen cookies thaw at room temperature gradually. Over time, the flavors mellow and the texture of the cookie softens slightly, making each bite even more comforting.
Nutritional Information & Benefits
Each cookie (assuming standard 3-inch size) roughly contains:
| Calories | Fat | Carbohydrates | Protein | Sugar |
|---|---|---|---|---|
| 120 kcal | 6 g | 16 g | 1.5 g | 10 g |
The butter and eggs provide a good source of protein and healthy fats, while the lemon juice adds a touch of vitamin C. This recipe is naturally gluten-containing, but easy to adapt for gluten-free diets. Allergens include eggs, dairy, and wheat, so adjust accordingly for guests. Personally, I appreciate how this treat balances indulgence with familiar, wholesome ingredients.
Conclusion
If you’ve been looking for a cookie recipe that’s not just delicious but also fun and personal, these perfect alphabet letter cookies with glossy royal icing are it. They’re straightforward enough for beginners and versatile enough to make your own. I love how they bring people together—whether it’s spelling out a friend’s name or sending a sweet message in cookie form.
Give them a try, tweak the colors and flavors as you like, and don’t be afraid to get a little messy (trust me, the icing hides a lot!). I’d love to hear how your cookies turn out or any special messages you create with them. Share your stories and photos—there’s something magical about baking that’s better when it’s shared.
Happy baking and sweet spelling!
FAQs
How do I keep royal icing from cracking?
Mix the royal icing until smooth and glossy, avoid adding too much powdered sugar which can dry it out, and let the icing dry slowly at room temperature. Avoid moving the cookies while icing is setting.
Can I make the cookie dough ahead of time?
Yes! The dough can be wrapped tightly and refrigerated for up to 3 days or frozen for up to 1 month. Thaw in the fridge before rolling.
What if I don’t have alphabet cookie cutters?
You can cut letters freehand with a sharp knife or print letter stencils to trace onto rolled dough. It takes a bit more patience, but the results are charmingly rustic.
Is it safe to use raw egg whites in royal icing?
Using pasteurized egg whites or meringue powder is safer, especially if serving to children or pregnant individuals. Pasteurized egg whites provide the same glossy finish without the risk.
How long do the cookies stay fresh after decorating?
Store them in an airtight container at room temperature for up to 5 days. After that, cookies may lose crispness, but the flavor often improves with time.
Pin This Recipe!
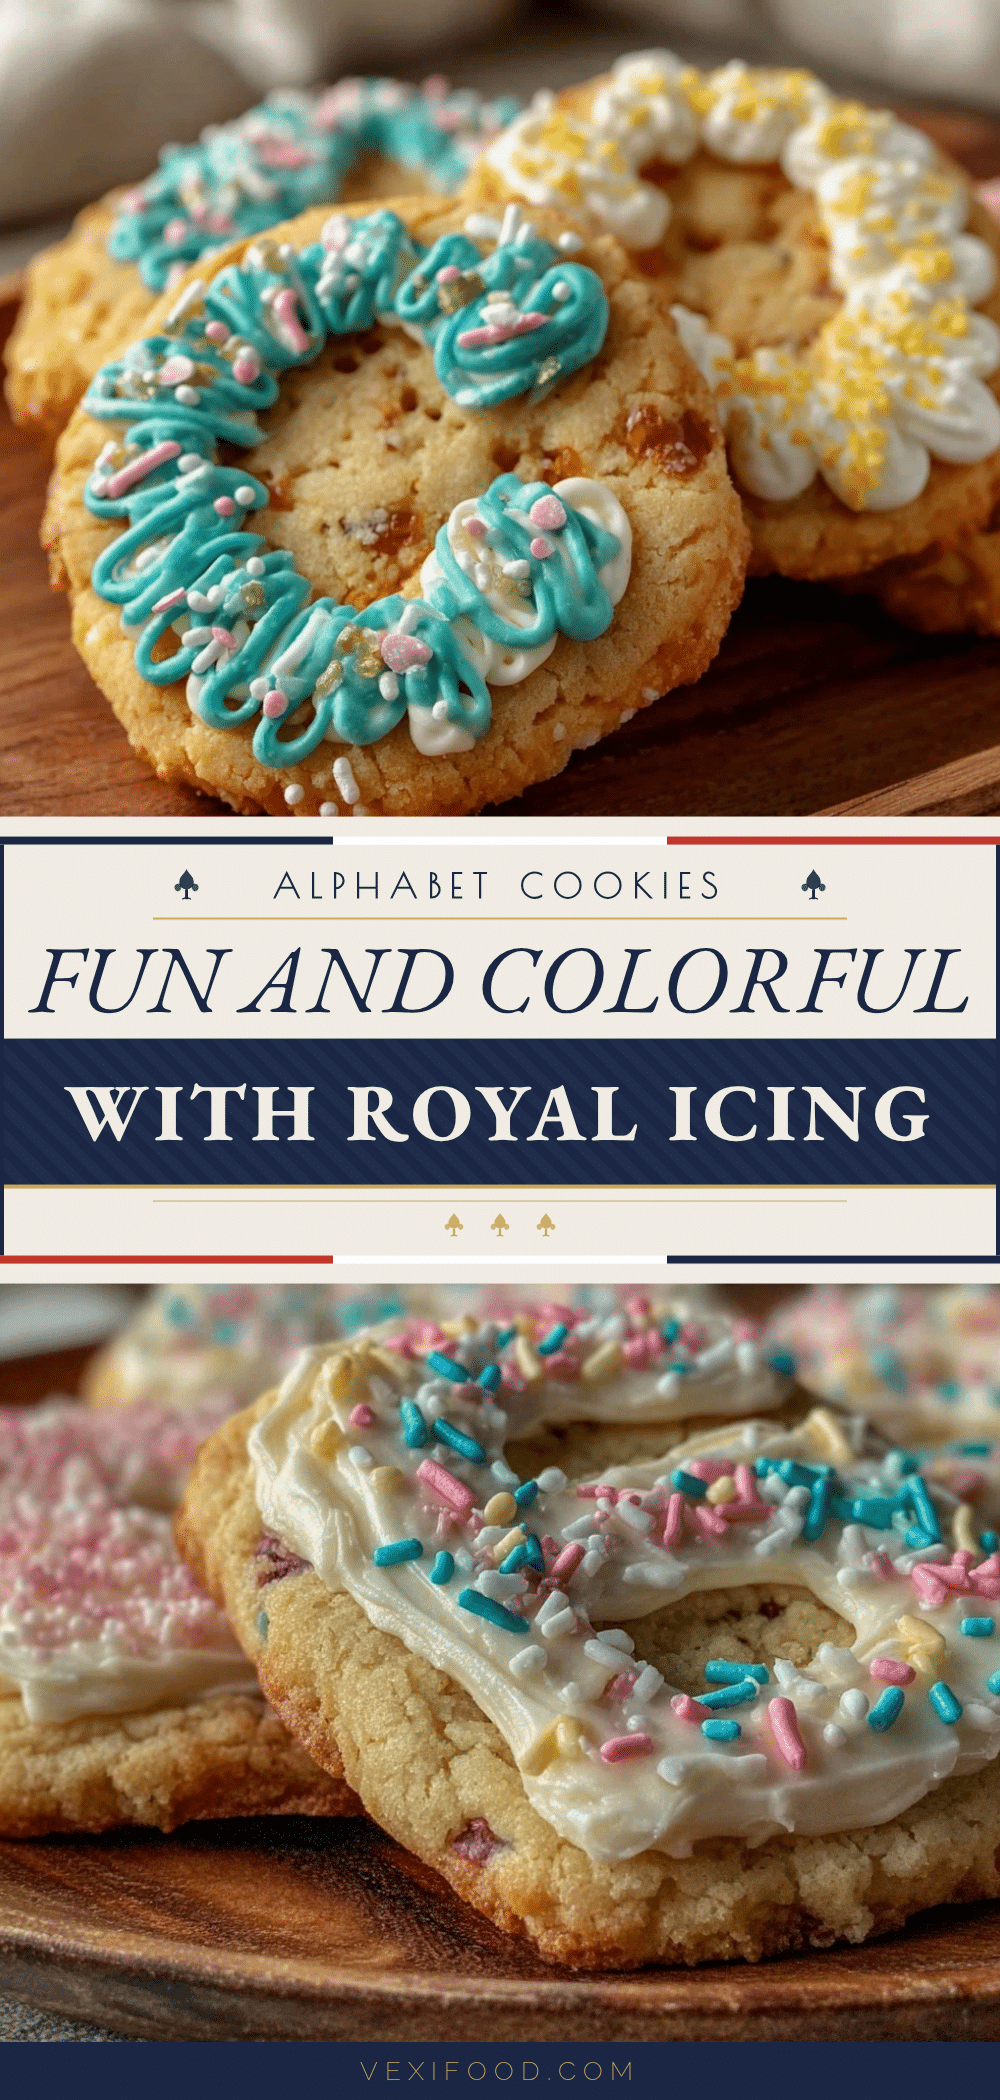
Perfect Alphabet Letter Cookies Recipe Easy Glossy Royal Icing Tutorial

These alphabet letter cookies feature a tender, buttery base topped with a smooth, glossy royal icing that dries perfectly shiny. Ideal for personal messages, gifts, or celebrations, this recipe is quick, easy, and adaptable.
- Prep Time: 20 minutes
- Cook Time: 10 minutes
- Total Time: 1 hour 30 minutes
- Yield: 24 cookies 1x
- Category: Dessert
- Cuisine: American
Ingredients
- 2 ¾ cups (345 g) all-purpose flour
- 1 cup (227 g) unsalted butter, softened
- ¾ cup (150 g) granulated sugar
- 1 large egg, room temperature
- 1 teaspoon pure vanilla extract
- 1 teaspoon baking powder
- ½ teaspoon salt
- 3 cups (360 g) powdered sugar, sifted
- 2 large egg whites (or 4 tablespoons pasteurized egg whites)
- 1 tablespoon fresh lemon juice
- 1 tablespoon light corn syrup
- Food coloring (optional, gel-based recommended)
Instructions
- In a large bowl, cream together 1 cup (227 g) softened unsalted butter and ¾ cup (150 g) granulated sugar until light and fluffy, about 3 to 5 minutes with an electric mixer.
- Beat in 1 large egg and 1 teaspoon pure vanilla extract until fully incorporated.
- In a separate bowl, whisk together 2 ¾ cups (345 g) all-purpose flour, 1 teaspoon baking powder, and ½ teaspoon salt.
- Gradually add the dry mixture to the butter mixture, mixing on low speed just until combined. Avoid overmixing.
- Divide dough into two discs, wrap in plastic wrap, and chill for at least 1 hour.
- Preheat oven to 350°F (175°C). On a lightly floured surface, roll out one disc of dough to about ¼ inch (6 mm) thickness. If dough is too soft, chill for 10 minutes.
- Use alphabet cookie cutters to cut shapes. Gather scraps, reroll, and cut more cookies.
- Place cutouts on parchment-lined baking sheets about 1 inch (2.5 cm) apart. Bake for 8–10 minutes until edges are just golden. Watch closely after 7 minutes.
- Transfer cookies to wire racks and let cool completely before icing.
- In a clean bowl, whisk 3 cups (360 g) sifted powdered sugar with 2 large egg whites, 1 tablespoon fresh lemon juice, and 1 tablespoon light corn syrup until smooth and glossy, about 5 minutes. Adjust consistency as needed.
- Divide icing into portions if using colors. Fill piping bags fitted with small round tips. Outline each cookie letter first, then flood the inside with thinned icing. Use a toothpick to spread icing evenly and pop air bubbles.
- Let iced cookies rest at room temperature for at least 4 hours or overnight to fully harden the royal icing’s glossy finish.
Notes
Chill dough for at least 1 hour to prevent spreading and maintain neat edges. Beat royal icing until smooth and glossy for the perfect sheen. Practice piping on parchment paper if new to decorating. Use pasteurized egg whites for safety. Store cookies in an airtight container at room temperature for up to 5 days. Freeze undecorated cookies for up to 3 months.
Nutrition
- Serving Size: 1 cookie (3-inch siz
- Calories: 120
- Sugar: 10
- Fat: 6
- Carbohydrates: 16
- Protein: 1.5
Keywords: alphabet cookies, royal icing, letter cookies, glossy icing, cookie decorating, easy cookies, baking, personalized cookies