Love this? Save it for later!
Share the inspiration with your friends
There used to be a tiny bakery tucked between a dry cleaner and a vintage shop on Main Street that made the most incredible pumpkin scones I have ever tasted. When they closed their doors three years ago—literally overnight, with a handwritten sign taped to the window—I felt a genuine pang of loss. I mean, I actually stood there staring at that empty storefront like I had lost a friend. After twelve attempts—some burnt, some too dry, one that honestly resembled hockey pucks more than scones—I finally got it. These Perfect Brown Sugar Pumpkin Scones with Maple Glaze are the ones that finally made me stop trying.
The first time I nailed the texture, I actually texted my sister a photo with the caption “WE’RE BACK.” She knew exactly what I meant. That bakery scone had this magical thing going on—crispy on the outside, impossibly tender on the inside, with just enough pumpkin flavor to feel like fall without hitting you over the head with spice. The glaze was never too sweet either, which is rare for a bakery item. You know that feeling when you take a bite of something and immediately think “I need to figure out how to make this”? That was me, for three straight autumns.
What took me so long to get right was the moisture balance. Pumpkin has so much water in it, and if you don’t handle it correctly, your scones turn into dense little rocks. I ruined an entire batch the second week of my obsession because I got distracted by a phone call and added the pumpkin before mixing the dry ingredients properly. The dough turned into this sticky mess that I tried to salvage, and let me tell you, those scones were not fit for anyone. But every failure taught me something, and now I have a method that works every single time.
These scones have become my fall baking signature, the thing friends request for brunches and cozy gatherings. They’re the reason I keep making pumpkin puree from scratch even when the canned stuff is perfectly fine. There is just something about that first bite—warm, slightly crisp, with that maple glaze melting into every crevice—that makes all those failed batches worth it. Maybe you have been chasing a memory like this too. If so, this recipe is for you.
Why You Will Love This Recipe
Let me tell you why these scones have earned a permanent spot in my fall baking rotation. After testing this recipe more times than I care to admit, I can confidently say these are the pumpkin scones you have been looking for.
- Quick & Easy: From start to finish, these come together in about 35 minutes. No stand mixer required, no complicated techniques. Just a bowl, a pastry cutter, and your hands.
- Simple Ingredients: You probably have most of these in your kitchen right now. Brown sugar, flour, butter, pumpkin puree, and maple syrup. Nothing fancy, nothing hard to find.
- Perfect for Fall Gatherings: These scones are made for cozy mornings, Thanksgiving brunches, or that moment when you need something warm with your coffee and the leaves are changing outside.
- Crowd-Pleaser: I have brought these to potlucks, work breakfasts, and family gatherings. They disappear fast. Kids love them, adults love them, even people who claim they do not like pumpkin end up reaching for seconds.
- Unbelievably Delicious: The texture is what gets everyone. That crispy exterior gives way to a tender, almost creamy interior. The brown sugar adds a deep caramel note that pairs perfectly with the maple glaze.
What makes this recipe different from all the other pumpkin scone recipes out there is the technique. I use cold butter cut into the flour mixture until it resembles coarse meal, then I add the pumpkin mixture and barely mix it. Overworking the dough is the number one mistake people make, and I have definitely made it myself. The brown sugar adds moisture and flavor that white sugar just cannot match, and the maple glaze is thin enough to soak in slightly but thick enough to leave that signature white drizzle on top.
This is not just another pumpkin scone recipe. This is the one that makes you close your eyes after the first bite. It is comfort food reimagined—faster than you expect, simpler than you think, but with the same soul-soothing satisfaction that makes fall baking so special. Perfect for impressing guests without stress, or turning a regular Tuesday morning into something memorable.
What Ingredients You Will Need
This recipe uses simple, wholesome ingredients to deliver that bakery-quality flavor and texture without any fuss. Most of these are pantry staples, especially once fall hits and you stock up on pumpkin everything.
For the Scones
- 2 cups all-purpose flour (I prefer King Arthur Flour for consistent results, but any brand works fine)
- 1/2 cup packed light brown sugar (dark brown sugar works too, but light gives a more delicate caramel flavor)
- 1 tablespoon baking powder (make sure it is fresh—test it by dropping a bit in water; if it fizzes, you are good)
- 1/2 teaspoon baking soda
- 1/2 teaspoon salt
- 1 teaspoon ground cinnamon
- 1/2 teaspoon ground ginger
- 1/4 teaspoon ground nutmeg (freshly grated if you have it, pre-ground is fine)
- 1/4 teaspoon ground cloves
- 1/2 cup cold unsalted butter, cut into small cubes (this is crucial—the butter must be cold)
- 1/2 cup pumpkin puree (not pumpkin pie filling—check the label)
- 1/3 cup heavy cream, plus extra for brushing (whole milk works in a pinch)
- 1 large egg, room temperature
- 1 teaspoon vanilla extract
For the Maple Glaze
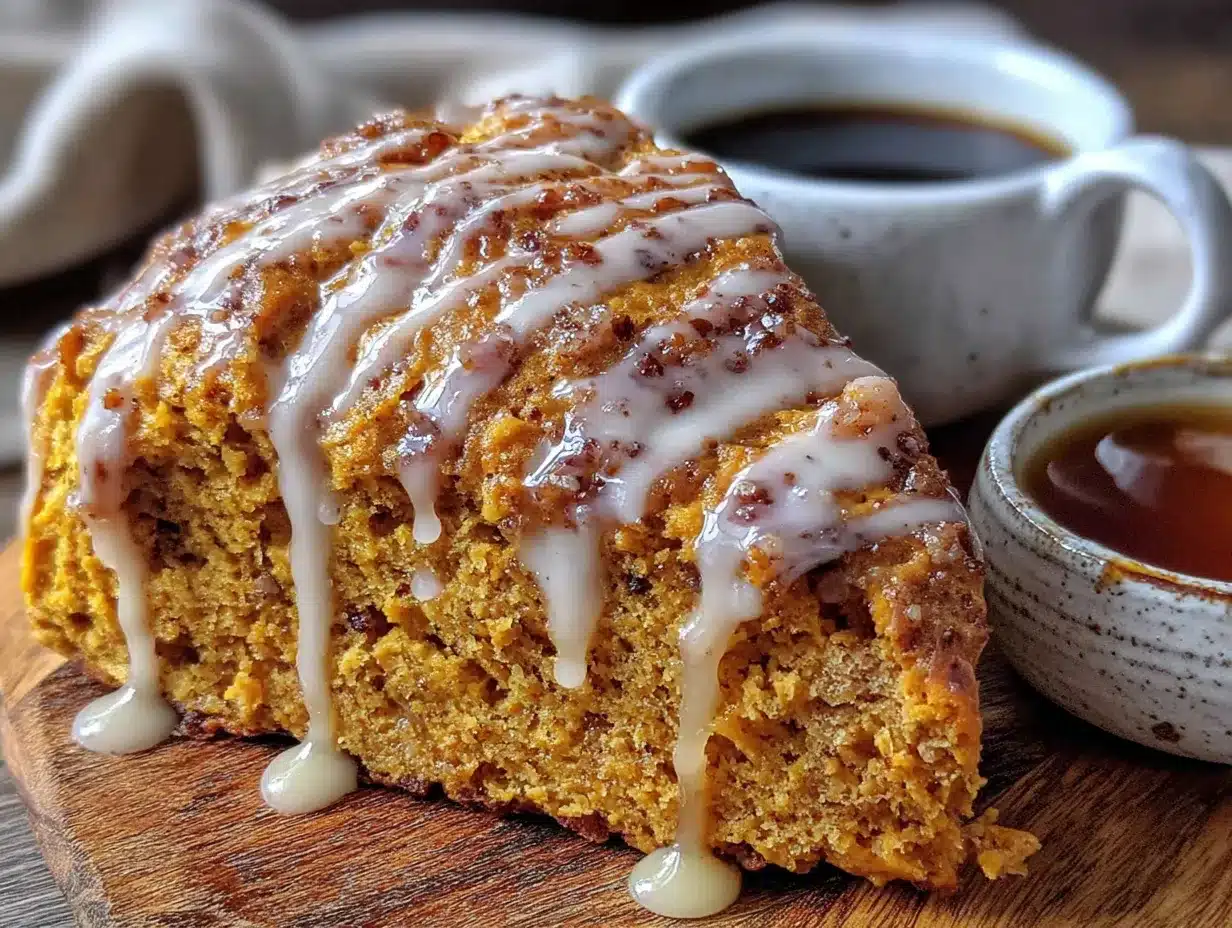
- 1 cup powdered sugar, sifted (sifting prevents lumps)
- 3 tablespoons pure maple syrup (not pancake syrup—the real stuff makes a difference)
- 1-2 tablespoons milk or heavy cream, as needed for consistency
- 1/4 teaspoon maple extract (optional, but it really amps up the maple flavor)
A few notes on ingredients. For the pumpkin puree, I have used both canned and homemade, and honestly, both work great. If you are using homemade, make sure you drain it a bit by pressing it through a fine-mesh strainer or paper towels. Homemade pumpkin tends to have more water than canned, and too much moisture will make your scones dense. I learned this the hard way after making a batch that looked beautiful but tasted like wet cardboard.
For the butter, I recommend using unsalted so you can control the salt level. If you only have salted butter, just reduce the added salt to 1/4 teaspoon. And please, please use cold butter. I sometimes pop my cubed butter in the freezer for 10 minutes before starting. It makes a real difference in creating those flaky layers that make scones so good.
The heavy cream adds richness that milk just cannot replicate. If you are in a pinch, whole milk works, but the scones will be slightly less tender. You can also use buttermilk for a tangier flavor, which is actually lovely with the pumpkin and maple.
For the maple syrup, splurge on the real stuff. I know it is more expensive, but the flavor is incomparable. I use Grade A dark amber for its robust maple taste. The maple extract is optional but I highly recommend it—it gives that concentrated maple punch that makes people ask “how did you get so much maple flavor?”
Equipment Needed
You do not need anything fancy for these scones. Here is what you will need:
- Large mixing bowl (any size works, just big enough to mix everything without flour flying everywhere)
- Pastry cutter or two forks (for cutting the butter into the flour. I prefer a pastry cutter—it is faster and more consistent)
- Baking sheet (lined with parchment paper or a silicone baking mat)
- Parchment paper (non-negotiable for easy cleanup and preventing sticking)
- Sharp knife or bench scraper (for cutting the dough into wedges. A dull knife will squish the edges)
- Measuring cups and spoons (for accuracy—baking is a science)
- Whisk (for mixing dry ingredients and the glaze)
- Small bowl (for the egg and cream mixture)
- Pastry brush (for brushing cream on top before baking)
- Wire cooling rack (essential for letting the glaze set properly)
If you do not have a pastry cutter, do not worry. Two forks work perfectly fine, or you can even use your hands. Just work quickly so the butter stays cold. I have also used a food processor in the past for the dry ingredients and butter—just pulse a few times until the mixture looks like coarse sand. Be careful not to over-process, or the butter will melt.
For the baking sheet, any rimmed baking sheet works. I like using a light-colored metal sheet because it promotes even browning. Dark sheets can cause the bottoms to brown too quickly. If that is all you have, just keep an eye on them and maybe reduce the oven temperature by 25 degrees.
One more thing—if you do not have a bench scraper, a chef’s knife works great for cutting the scones. Just make sure it is sharp so you get clean cuts. Ragged edges can cause the scones to spread unevenly while baking.
Preparation Method
- Preheat your oven to 400°F (200°C). Line a baking sheet with parchment paper and set aside. Getting the oven hot before you start is important—scones need that initial blast of heat to rise properly.
- Mix the dry ingredients. In a large bowl, whisk together the flour, brown sugar, baking powder, baking soda, salt, cinnamon, ginger, nutmeg, and cloves. Make sure there are no lumps of brown sugar. I sometimes press the brown sugar through a sieve if it feels clumpy. This step only takes a minute but makes a difference.
- Cut in the cold butter. Add the cold butter cubes to the flour mixture. Using a pastry cutter or two forks, cut the butter into the flour until the mixture resembles coarse meal with some pea-sized butter pieces remaining. Do not overdo it—those little butter bits are what create flaky layers. You want some visible butter pieces, about the size of small peas. Work quickly so the butter stays cold. If your hands start warming up the mixture, pop the bowl in the fridge for 5 minutes.
- Mix the wet ingredients. In a separate small bowl, whisk together the pumpkin puree, heavy cream, egg, and vanilla extract until smooth. The mixture should be a uniform orange color with no streaks of egg white. I use a fork for this because it breaks up the pumpkin better than a whisk sometimes.
- Combine wet and dry ingredients. Pour the pumpkin mixture into the flour mixture. Stir with a spatula or wooden spoon until just combined. The dough will look shaggy and dry—that is exactly what you want. Do not overmix. Stop as soon as you no longer see dry flour. Overmixing develops gluten and makes tough scones. I have done this before and regretted it every time.
- Shape the dough. Turn the dough out onto a lightly floured surface. Gently bring it together with your hands, patting it into a circle about 3/4-inch thick. Do not knead it—just press it together. If the dough is too sticky, sprinkle a little more flour on top and on your hands. The dough should be soft but not sticky. If it is falling apart, that is okay—just press it together gently.
- Cut the scones. Using a sharp knife or bench scraper, cut the circle into 8 wedges like a pizza. For even scones, I mark the center and cut in half, then quarters, then eighths. Transfer the wedges to the prepared baking sheet, spacing them about 2 inches apart. They will spread a little, so give them room.
- Brush with cream. Brush the tops of the scones with a little extra heavy cream. This helps them brown beautifully and gives that slight crispness on top. Do not skip this step—it makes a real difference in the final appearance.
- Bake. Bake for 15-18 minutes, or until the scones are golden brown on the bottom and lightly golden on top. The tops should feel firm to the touch but not hard. A toothpick inserted into the center should come out clean or with a few moist crumbs. Every oven is different, so start checking at 15 minutes. My oven runs hot, so I usually check at 14 minutes.
- Cool completely. Transfer the scones to a wire cooling rack and let them cool completely before glazing. This is important—if you glaze them while they are still warm, the glaze will melt and soak in completely, leaving you with shiny scones but no visible glaze. Patience here pays off. I know it is tempting, but trust me on this.
- Make the maple glaze. While the scones are cooling, make the glaze. In a small bowl, whisk together the sifted powdered sugar, maple syrup, and 1 tablespoon of milk or cream. Add the maple extract if using. Whisk until smooth. The glaze should be thick but pourable—think the consistency of honey. If it is too thick, add more milk a teaspoon at a time. If it is too thin, add more powdered sugar.
- Glaze the scones. Once the scones are completely cool, drizzle the glaze over the top. I use a spoon and just let it drip naturally, but you can also use a piping bag for a more controlled drizzle. Let the glaze set for about 10-15 minutes before serving. The glaze will harden slightly but remain soft and creamy.
Cooking Tips & Techniques
After making these scones more times than I can count, I have picked up a few tricks that make the process smoother and the results more consistent. Let me share what I have learned.
Keep everything cold. This is the most important tip I can give you. Cold butter creates steam pockets in the oven, which makes flaky layers. If your butter warms up, your scones will be dense and flat. I sometimes put my mixing bowl in the fridge for 10 minutes between steps. On warm days, I even chill the flour mixture before adding the butter. It sounds extra, but it works.
Do not overmix the dough. I cannot stress this enough. Mix until just combined—stop when you no longer see dry flour. Overmixing develops gluten, which makes tough scones. The dough should look shaggy and imperfect. That is the goal. I ruined my first three batches by mixing until the dough was smooth and uniform. They came out like hockey pucks.
Use a sharp cutter. When cutting the scones, use a sharp knife or bench scraper. Press straight down—do not twist. Twisting seals the edges and prevents the scones from rising properly. Clean cuts give you those beautiful layers. I learned this from a pastry chef friend who told me “twisting is for cocktails, not scones.”
Chill the shaped scones. If you have time, pop the cut scones in the fridge for 15-20 minutes before baking. This helps them hold their shape and creates even better layers. I do this whenever I am not in a rush. It makes a noticeable difference in the final texture.
Watch the baking time. Ovens vary wildly. Start checking at 15 minutes. The scones should be golden on the bottom and lightly golden on top. If the tops are browning too fast but the centers are not done, tent them loosely with foil. I have a convection oven that bakes faster, so I usually start checking at 12 minutes.
Let them cool properly. I know it is hard to wait, but cooling is crucial. If you glaze warm scones, the glaze melts and disappears. If you eat them too soon, they might seem doughy in the center. They continue to set as they cool. Trust the process.
Double the recipe for crowds. These scones freeze beautifully, so I often make a double batch. Bake one batch fresh and freeze the other batch of unbaked scones. When you want fresh scones, just pop the frozen ones in the oven and add 2-3 minutes to the baking time. Fresh scones anytime—what could be better?
Variations & Adaptations
One of the best things about this recipe is how adaptable it is. I have tried several variations over the years, and they all turned out delicious in their own way.
Gluten-Free Version: Substitute the all-purpose flour with a good gluten-free baking blend that contains xanthan gum. I have had great results with Bob’s Red Mill 1-to-1 Baking Flour. The texture is slightly more delicate, so handle the dough gently. Add an extra tablespoon of cream if the dough seems too dry. My gluten-free friends love these, and honestly, I can barely tell the difference.
Vegan Adaptation: Replace the butter with cold vegan butter or coconut oil (solid, not melted). Use a flax egg (1 tablespoon ground flaxseed mixed with 3 tablespoons water, let sit for 5 minutes) instead of the egg. Substitute the heavy cream with full-fat coconut cream or oat milk. The texture is a bit different—slightly more crumbly—but the flavor is still fantastic. I made these for a vegan friend’s brunch and they were gone within minutes.
Spice Variations: Play around with the spice blend. Sometimes I add a pinch of cardamom for a more exotic flavor, or swap the ginger for allspice. For a chai-inspired version, add 1/2 teaspoon of cardamom and 1/4 teaspoon of black pepper. The pepper adds a subtle warmth that is really interesting. My neighbor tried this version and now requests it every fall.
Add-Ins: Fold in 1/2 cup of chopped pecans, walnuts, or dried cranberries before shaping the dough. The nuts add crunch and the cranberries add a tart contrast to the sweet maple glaze. I once added white chocolate chips and it was incredible—like pumpkin pie meets cookie. Just make sure any add-ins are chopped small so they distribute evenly.
Different Glazes: Not a maple fan? Try a cream cheese glaze (4 oz cream cheese, 1 cup powdered sugar, 2 tablespoons milk) or a simple vanilla glaze (1 cup powdered sugar, 2 tablespoons milk, 1 teaspoon vanilla extract). For a spicy kick, add a pinch of cinnamon to the maple glaze. I have even made a bourbon maple glaze for adult gatherings—just replace the milk with bourbon. That one is dangerous in the best way.
Pumpkin Swap: You can use butternut squash puree or sweet potato puree instead of pumpkin. The flavor will be slightly different, but the texture remains the same. I tried this during a pumpkin shortage one year and honestly, no one noticed the difference.
Serving & Storage Suggestions
These scones are best served warm, but they are honestly delicious at any temperature. Here is how I like to serve and store them.
Serving: I love serving these scones slightly warm with a pat of butter melting into the glaze. They pair perfectly with a hot cup of coffee, a chai latte, or a spiced apple cider. For a fall brunch, arrange them on a wooden board with fresh apple slices, a bowl of cinnamon butter, and maybe some whipped cream. They also make fantastic gifts—wrap them in a pretty box with a ribbon and everyone thinks you spent hours in the kitchen.
Storage: Store leftover scones in an airtight container at room temperature for up to 3 days. Do not refrigerate them—the fridge dries them out. If you need to store them longer, freeze them. The glaze might get a bit sticky in the container, so I recommend layering them with parchment paper between each scone.
Freezing: You can freeze both baked and unbaked scones. For baked scones, let them cool completely, then wrap each one individually in plastic wrap and place in a freezer bag. They keep for up to 3 months. To thaw, just leave them at room temperature for about an hour, then warm them in a 300°F oven for 5-10 minutes. For unbaked scones, cut them and freeze on a baking sheet until solid, then transfer to a freezer bag. Bake from frozen, adding 2-3 minutes to the baking time.
Reheating: The best way to reheat scones is in the oven. Preheat to 300°F (150°C) and warm them for 5-7 minutes. This restores that crispy exterior and soft interior. The microwave works in a pinch, but it makes them soft and a bit rubbery. If you must use the microwave, do it in 10-second bursts and eat them immediately.
Flavor Development: Interestingly, these scones taste even better the next day. The flavors meld together and the spices become more pronounced. The texture softens slightly, but in a good way—like a really good muffin. I often make them the night before I plan to serve them, just so they have time to develop that deeper flavor.
Nutritional Information & Benefits
While these scones are definitely a treat, they do have some redeeming qualities. Here is the estimated nutritional breakdown per scone (based on 8 servings):
| Nutrient | Amount Per Scone |
|---|---|
| Calories | 320 |
| Total Fat | 14g |
| Saturated Fat | 8g |
| Cholesterol | 55mg |
| Sodium | 320mg |
| Total Carbohydrates | 46g |
| Dietary Fiber | 2g |
| Sugars | 24g |
| Protein | 4g |
| Vitamin A | 70% DV |
| Vitamin C | 2% DV |
| Calcium | 8% DV |
| Iron | 10% DV |
Pumpkin is packed with vitamin A, which supports eye health and immune function. It is also a good source of fiber, which helps with digestion and keeps you feeling full. The brown sugar and maple syrup provide quick energy, while the butter and cream add richness and satisfaction. Of course, these are still a sweet treat, so enjoy them in moderation. I like to think of them as a way to get some vegetables into my breakfast—even if that vegetable is pumpkin and it is surrounded by butter and sugar.
For those watching their sugar intake, you can reduce the brown sugar to 1/3 cup and use a sugar-free maple syrup substitute. The texture will be slightly different, but the scones will still be delicious. I have also made these with coconut sugar, which has a lower glycemic index, and they turned out great.
Conclusion
These Perfect Brown Sugar Pumpkin Scones with Maple Glaze are more than just a recipe—they are a little piece of fall you can make in your own kitchen. After chasing that memory of the bakery that closed, I can honestly say these are even better than the original. The brown sugar adds a depth of flavor that white sugar just cannot match, and the maple glaze is the perfect finishing touch.
I hope you give these a try and make them your own. Maybe you will add pecans, or swap the glaze for cream cheese, or double the spices. That is the beauty of baking—you can tweak and adjust until it feels like yours. And when you take that first bite of a warm scone with the glaze melting into every crevice, I hope it makes you smile the way it makes me smile.
If you make these, I would love to hear about it. Leave a comment below and tell me how they turned out, what variations you tried, or just share your own scone story. Do not forget to pin this recipe for later and share it with your fellow pumpkin lovers. Happy baking, friends—may your scones always be flaky and your maple glaze always be perfectly drizzly.
Frequently Asked Questions
Can I use pumpkin pie filling instead of pumpkin puree?
No, please do not. Pumpkin pie filling has added sugar and spices that will throw off the balance of this recipe. Stick with pure pumpkin puree. If you accidentally bought pie filling, save it for making actual pumpkin pie.
Why did my scones turn out dry?
Dry scones usually mean either too much flour or overbaking. Make sure you measure your flour correctly—spoon it into the measuring cup and level it off, rather than scooping directly from the bag. Also, check your oven temperature with an oven thermometer. Many ovens run hotter than they say.
Can I make these scones without a pastry cutter?
Absolutely. Two forks work perfectly fine, or you can use your hands. Just work quickly so the butter stays cold. You can also use a food processor—pulse the dry ingredients and butter a few times until the mixture looks like coarse sand.
How do I get that perfect drizzle on top?
The key is the glaze consistency. It should be thick but pourable—like honey. If it is too thick, add more milk a teaspoon at a time. If it is too thin, add more powdered sugar. Use a spoon to drizzle it back and forth over the cooled scones. For a more controlled drizzle, use a piping bag with a small round tip.
Can I freeze these scones?
Yes, and they freeze beautifully. You can freeze both baked and unbaked scones. For baked scones, wrap each one individually and freeze for up to 3 months. For unbaked scones, freeze them on a baking sheet, then transfer to a freezer bag. Bake from frozen, adding 2-3 minutes to the baking time.
Pin This Recipe!
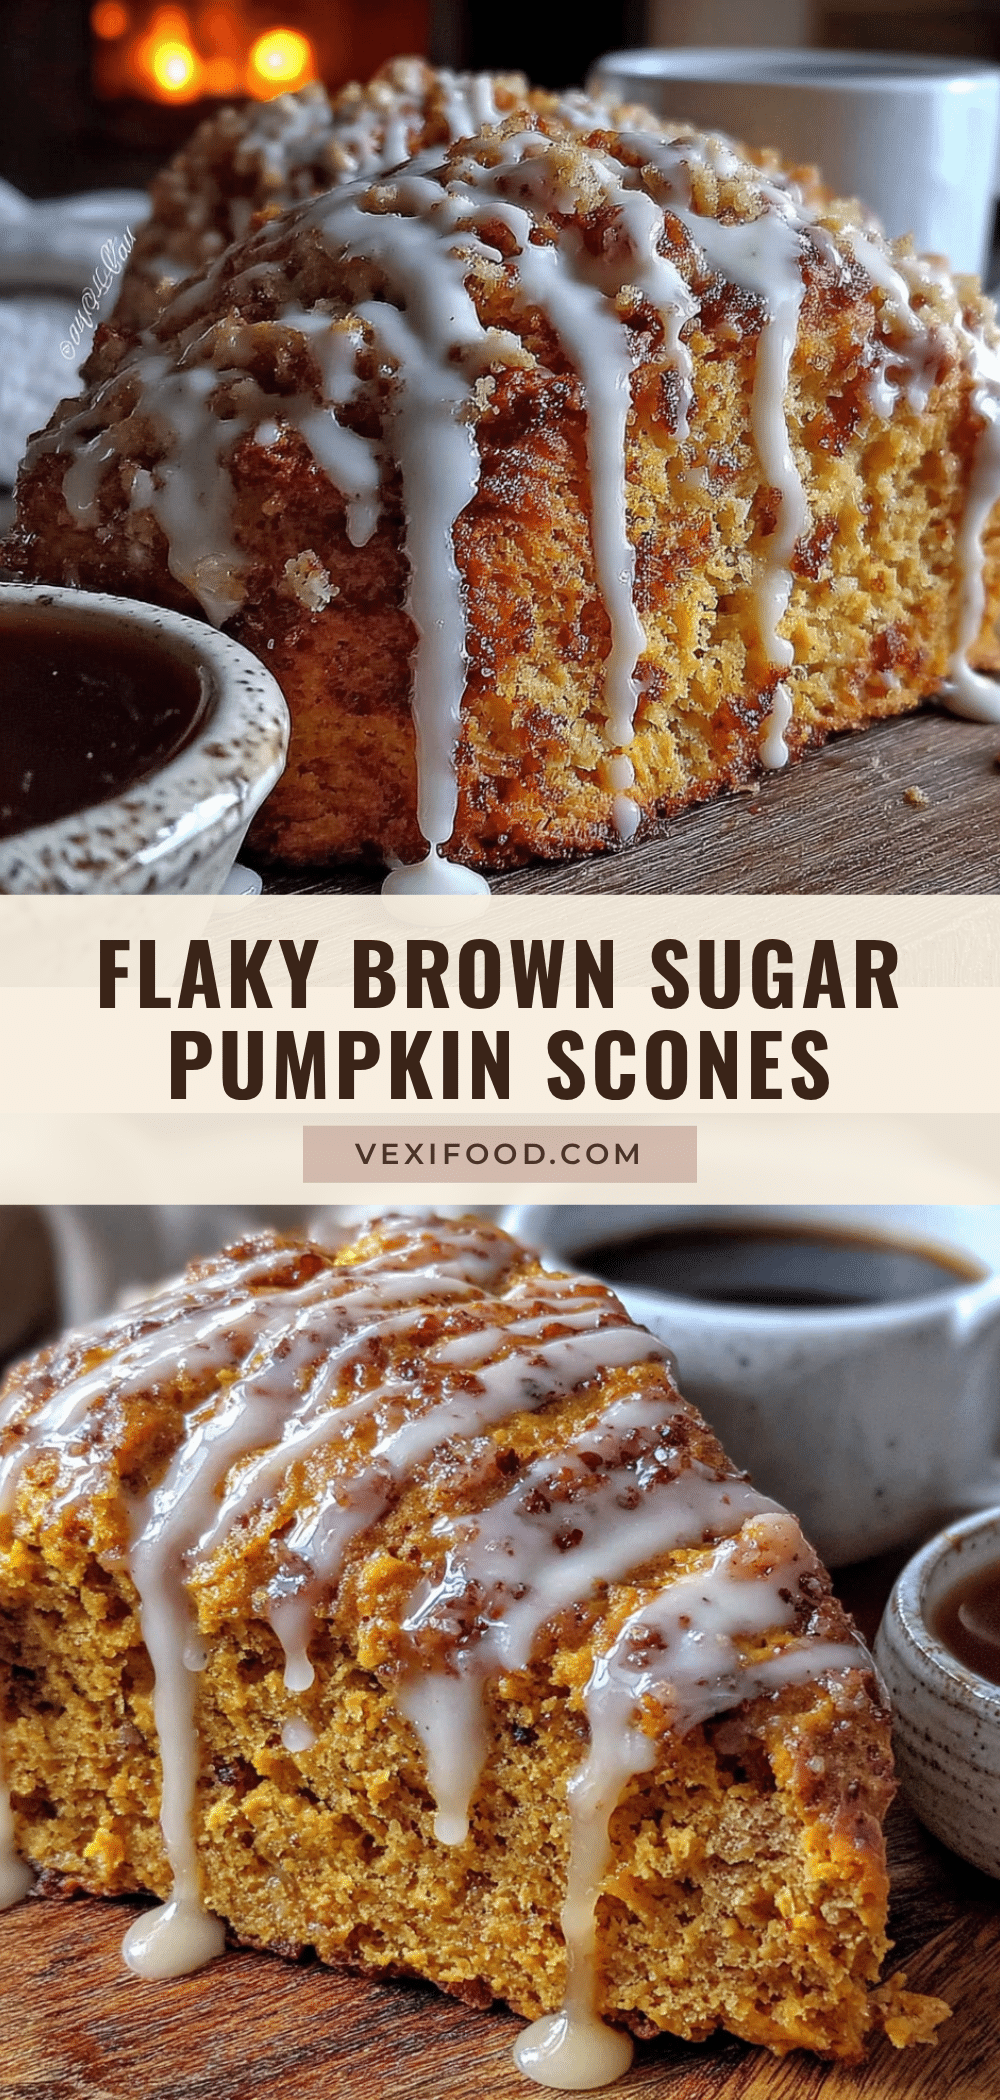
Perfect Brown Sugar Pumpkin Scones with Easy Maple Glaze
These Perfect Brown Sugar Pumpkin Scones with Maple Glaze are tender, flaky, and full of fall flavor. The brown sugar adds a deep caramel note, and the maple glaze is the perfect finishing touch.
- Prep Time: 15 minutes
- Cook Time: 18 minutes
- Total Time: 33 minutes
- Yield: 8 servings 1x
- Category: Breakfast
- Cuisine: American
Ingredients
- 2 cups all-purpose flour
- 1/2 cup packed light brown sugar
- 1 tablespoon baking powder
- 1/2 teaspoon baking soda
- 1/2 teaspoon salt
- 1 teaspoon ground cinnamon
- 1/2 teaspoon ground ginger
- 1/4 teaspoon ground nutmeg
- 1/4 teaspoon ground cloves
- 1/2 cup cold unsalted butter, cut into small cubes
- 1/2 cup pumpkin puree
- 1/3 cup heavy cream, plus extra for brushing
- 1 large egg, room temperature
- 1 teaspoon vanilla extract
- 1 cup powdered sugar, sifted
- 3 tablespoons pure maple syrup
- 1–2 tablespoons milk or heavy cream, as needed
- 1/4 teaspoon maple extract (optional)
Instructions
- Preheat your oven to 400°F (200°C). Line a baking sheet with parchment paper and set aside.
- Mix the dry ingredients. In a large bowl, whisk together the flour, brown sugar, baking powder, baking soda, salt, cinnamon, ginger, nutmeg, and cloves.
- Cut in the cold butter. Add the cold butter cubes to the flour mixture. Using a pastry cutter or two forks, cut the butter into the flour until the mixture resembles coarse meal with some pea-sized butter pieces remaining.
- Mix the wet ingredients. In a separate small bowl, whisk together the pumpkin puree, heavy cream, egg, and vanilla extract until smooth.
- Combine wet and dry ingredients. Pour the pumpkin mixture into the flour mixture. Stir with a spatula or wooden spoon until just combined. The dough will look shaggy and dry.
- Shape the dough. Turn the dough out onto a lightly floured surface. Gently bring it together with your hands, patting it into a circle about 3/4-inch thick.
- Cut the scones. Using a sharp knife or bench scraper, cut the circle into 8 wedges like a pizza. Transfer the wedges to the prepared baking sheet, spacing them about 2 inches apart.
- Brush with cream. Brush the tops of the scones with a little extra heavy cream.
- Bake. Bake for 15-18 minutes, or until the scones are golden brown on the bottom and lightly golden on top.
- Cool completely. Transfer the scones to a wire cooling rack and let them cool completely before glazing.
- Make the maple glaze. In a small bowl, whisk together the sifted powdered sugar, maple syrup, and 1 tablespoon of milk or cream. Add the maple extract if using. Whisk until smooth. The glaze should be thick but pourable.
- Glaze the scones. Once the scones are completely cool, drizzle the glaze over the top. Let the glaze set for about 10-15 minutes before serving.
Notes
Keep everything cold for flaky layers. Do not overmix the dough. Use a sharp cutter and press straight down without twisting. For best results, chill the shaped scones for 15-20 minutes before baking. Let scones cool completely before glazing.
Nutrition
- Serving Size: 1 scone
- Calories: 320
- Sugar: 24
- Sodium: 320
- Fat: 14
- Saturated Fat: 8
- Carbohydrates: 46
- Fiber: 2
- Protein: 4
Keywords: pumpkin scones, brown sugar scones, maple glaze, fall baking, pumpkin recipes, scone recipe