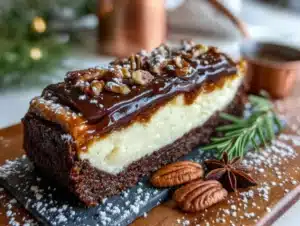
Love this? Save it for later!
Share the inspiration with your friends
It was 9:47 PM on a sleepy Wednesday in late November, and I had a ridiculous, almost aggressive craving for something that tasted like Christmas but felt like a secret. I didn’t have the patience for a full gingerbread house or a fussy layer cake, but I had a block of cream cheese that needed using, a jar of molasses that was gathering dust, and a wild idea that arrived fully formed: what if I took the spicy, dark warmth of gingerbread and made it meet the cool, tangy creaminess of cheesecake? I mean, honestly, the idea felt a little dangerous at that hour.
I started pulling things out of the pantry—ginger, cinnamon, cloves—and that familiar, cozy smell filled my tiny kitchen. I crushed some gingersnap cookies with a rolling pin because my food processor was buried somewhere, and I got crumbs absolutely everywhere. It was a glorious mess. The bars came together in a slightly frantic, hopeful haze, and when I finally pulled them out of the oven, the kitchen smelled like a holiday hug. Let me tell you, that first bite was a revelation. The spicy, crumbly crust, the silky cheesecake, and that tangy spiced glaze drizzled on top? It was exactly what I needed, and I knew right then this recipe was staying with me.
Maybe you’ve been there—wanting the payoff of a showstopper dessert without the stress of a complicated recipe. These perfect gingerbread cheesecake bars are that payoff. They have all the festive spirit of a holiday baking marathon, but they come together with the ease of a weeknight treat. I keep making them because they make people stop mid-bite and just close their eyes for a second. That’s the kind of magic you want on your dessert table.
Why You’ll Love This Recipe
This isn’t just another holiday dessert recipe. After testing this about four times in one week (my neighbors were very happy), I can tell you with confidence that these gingerbread cheesecake bars are the real deal. They blend the expertise of a classic cheesecake with the soul of a spiced gingerbread cookie, and the result is something that feels both familiar and totally new.
- Quick & Easy: Forget the water bath and the cracking anxiety. These bars come together in about 30 minutes of active work, then the oven does the rest. Perfect for busy holiday prep.
- Simple Ingredients: You probably have most of these in your pantry right now. No weird, hard-to-find items. Just good, honest baking staples.
- Perfect for Holiday Gatherings: These are a total crowd-pleaser. They look fancy on a platter but are as easy to cut and serve as a brownie.
- Unbelievably Delicious: The texture is what gets me every time. That crisp, spiced crust against the dense, creamy cheesecake, finished with a glossy glaze that has a little kick. It’s next-level comfort food.
- Stress-Free Showstopper: You can make them a day ahead. In fact, they taste even better the next day after the flavors have had a chance to get to know each other in the fridge.
What makes these different from the rest? It’s the balance. I use a blend of brown sugar and molasses in the crust for depth, and the cheesecake filling is just tangy enough to cut through the sweetness. The spiced glaze isn’t an afterthought—it’s the finishing touch that ties the whole thing together. This is the kind of dessert that makes you close your eyes after the first bite. It’s comfort food reimagined—faster, easier, but with the same soul-soothing satisfaction as a full holiday feast.
What Ingredients You Will Need
This recipe uses simple, wholesome ingredients to deliver that bold, festive flavor. Most of these are pantry staples, especially if you do a bit of holiday baking. Let’s break down what you need and why each one matters.
For the Gingerbread Crust
- Gingersnap cookies, finely crushed (2 cups / about 200g): I use store-bought gingersnaps for convenience. They already have that perfect spice blend. Pulse them in a food processor or crush them in a zip-top bag with a rolling pin. (Pro tip: look for the ones that are crisp, not soft.)
- Granulated sugar (2 tablespoons / 25g): Just a little to sweeten the crust and help it bind.
- Unsalted butter, melted (5 tablespoons / 70g): This is the glue that holds the crust together. I prefer unsalted so I can control the salt level.
- Ground ginger (1/2 teaspoon): For an extra ginger punch in the crust itself.
For the Cheesecake Filling
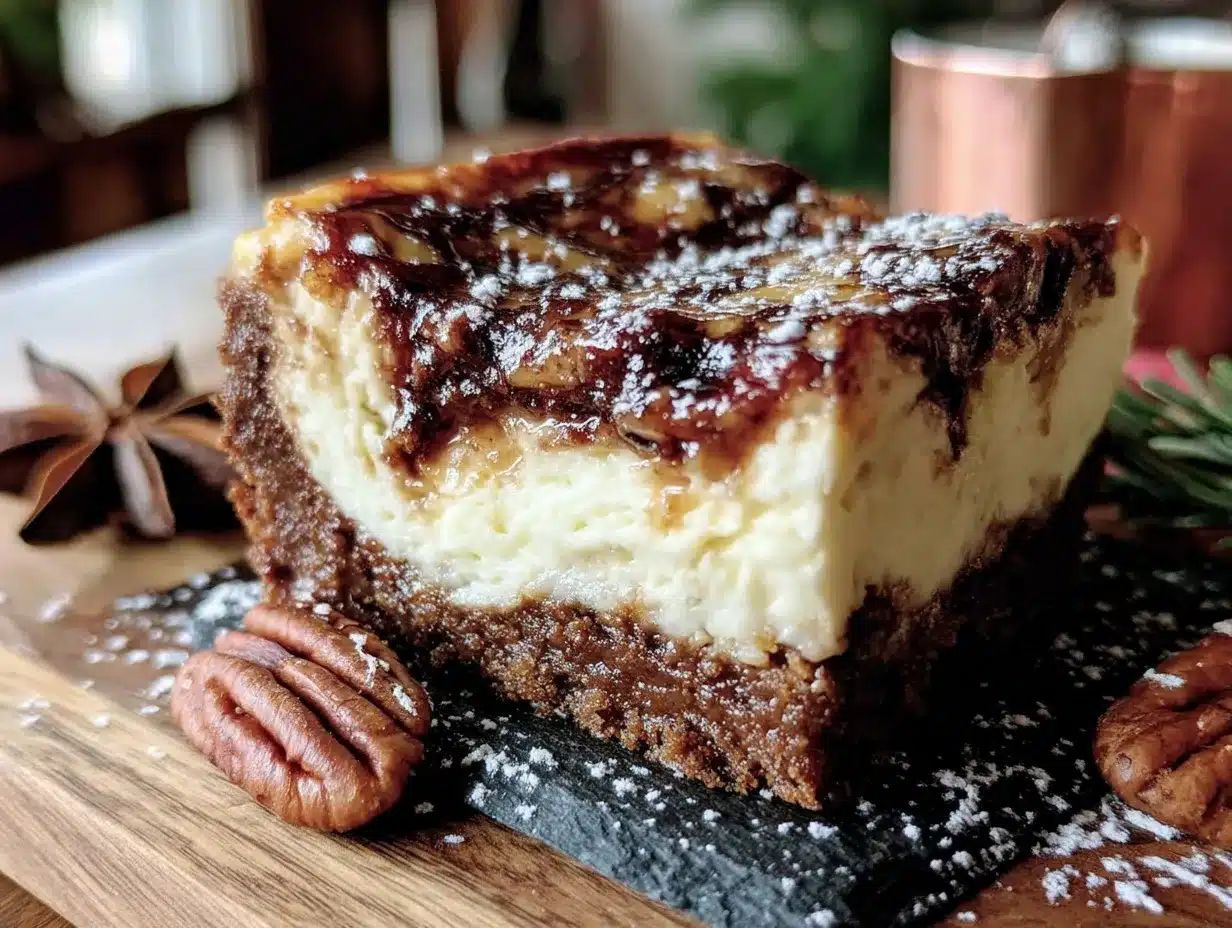
- Full-fat cream cheese, softened (24 ounces / 680g, three 8-ounce blocks): This is non-negotiable for the creamiest texture. Let it sit on the counter for at least an hour before you start.
- Granulated sugar (3/4 cup / 150g): Sweetens the filling without making it cloying.
- Light brown sugar, packed (1/4 cup / 50g): This adds a subtle molasses note that ties the filling to the gingerbread theme.
- Large eggs, room temperature (3): Room temperature eggs incorporate much more smoothly into the batter, preventing lumps.
- Sour cream (1/2 cup / 120g): Adds moisture and a slight tang that balances the sweetness. Greek yogurt works as a substitute.
- Molasses (2 tablespoons / 30ml): The star of the show for that deep, dark gingerbread flavor. Use unsulphured molasses for the best taste.
- Vanilla extract (1 teaspoon): Enhances all the other flavors.
- Ground ginger (1 teaspoon): Warm and slightly peppery.
- Ground cinnamon (1 teaspoon): Sweet and woody.
- Ground cloves (1/4 teaspoon): Potent and aromatic. A little goes a long way.
- Salt (1/4 teaspoon): Balances the sweetness and enhances the spices.
For the Spiced Glaze
- Powdered sugar (1 cup / 120g): The base of the glaze.
- Milk or heavy cream (2-3 tablespoons / 30-45ml): Heavy cream makes a richer, thicker glaze. Milk works well for a thinner drizzle.
- Molasses (1 tablespoon / 15ml): For color and that signature gingerbread flavor in the glaze.
- Ground cinnamon (1/4 teaspoon): For warmth.
- Ground nutmeg (1/8 teaspoon): Adds a subtle, nutty spice.
- Vanilla extract (1/2 teaspoon): For depth.
Equipment Needed
You don’t need a professional pastry kitchen for this one. Here’s what I used, along with some honest thoughts on alternatives.
- 9×13-inch baking pan: This is the perfect size for these bars. A metal pan will give you a crisper crust than glass, but glass works fine too—just keep an eye on the baking time.
- Parchment paper: A total lifesaver. Cut two long strips that overhang the pan on opposite sides to create a sling for lifting the bars out cleanly.
- Food processor or zip-top bag and rolling pin: For crushing the gingersnaps. I’ve used both methods, and honestly, the bag and rolling pin is oddly satisfying and creates a nice, varied crumb.
- Electric hand mixer or stand mixer: A hand mixer is perfectly fine here. A stand mixer is a luxury, not a necessity. You just need something to get the cream cheese smooth.
- Large mixing bowls (2-3): One for the crust, one for the filling, and one for the glaze.
- Measuring cups and spoons: For accuracy.
- Spatula: For scraping the bowl clean—don’t waste a single bit of that filling.
- Wire rack: For cooling the bars completely before glazing.
Preparation Method
Alright, let’s get baking. This is a straightforward process, but I’ve included all the little details I wish someone had told me the first time I made these.
- Preheat and Prep (5 minutes): Preheat your oven to 325°F (160°C). Line your 9×13-inch pan with parchment paper, leaving a 2-inch overhang on the long sides. This is your handle for lifting the bars out later. Lightly spray the parchment with non-stick spray for extra insurance.
- Make the Crust (10 minutes): In a medium bowl, combine the finely crushed gingersnap crumbs, 2 tablespoons of granulated sugar, and 1/2 teaspoon of ground ginger. Pour the 5 tablespoons of melted butter over the crumbs and stir with a fork until every crumb is moistened. It should look like wet sand. Press this mixture firmly and evenly into the bottom of your prepared pan. I use the flat bottom of a measuring cup to get it really compact. Bake the crust for 10 minutes. It will smell amazing. Set it aside to cool slightly while you make the filling.
- Make the Cheesecake Filling (15 minutes): In a large bowl, beat the softened cream cheese with an electric mixer on medium speed until it’s completely smooth and fluffy—about 2 minutes. Scrape down the sides and the bottom of the bowl with a spatula. Add the granulated sugar and brown sugar, and beat for another 2 minutes until light and creamy. Add the room temperature eggs one at a time, beating on low speed after each addition just until the yolk disappears. Over-mixing at this stage can incorporate too much air, which leads to cracks. Add the sour cream, 2 tablespoons of molasses, 1 teaspoon of vanilla, and all the spices (1 teaspoon ginger, 1 teaspoon cinnamon, 1/4 teaspoon cloves) and the 1/4 teaspoon of salt. Mix on low speed until just combined. Give it one last scrape of the bowl to make sure everything is incorporated.
- Assemble and Bake (55-65 minutes): Pour the cheesecake filling over the pre-baked crust. Gently spread it into an even layer with your spatula. Give the pan a few gentle taps on the counter to release any air bubbles. Bake for 50-60 minutes. The edges should be set and look slightly puffed, but the center should still have a slight jiggle—like a firm Jell-O. It will continue to cook as it cools. Turn off the oven, crack the door open, and leave the cheesecake bars in there for another 15 minutes. This gentle cooling helps prevent cracks.
- Cool and Chill (6 hours or overnight): Transfer the pan to a wire rack and let the bars cool completely at room temperature. This will take about 1-2 hours. Once cool, cover the pan with plastic wrap or foil and refrigerate for at least 4 hours, but overnight is truly best. This is the hardest part, but the patience pays off with clean slices and a perfect texture.
- Make the Spiced Glaze (5 minutes): About 10 minutes before you’re ready to serve, make the glaze. In a small bowl, whisk together the powdered sugar, 1 tablespoon of molasses, 1/4 teaspoon cinnamon, 1/8 teaspoon nutmeg, and 1/2 teaspoon vanilla. Add the milk or heavy cream one tablespoon at a time until you reach a thick but pourable consistency. You want it to drizzle off the whisk in a ribbon.
- Slice and Serve: Once the bars are fully chilled, use the parchment paper sling to lift the entire block out of the pan onto a cutting board. Use a sharp, long knife to cut into squares. For the cleanest cuts, wipe the knife clean with a damp paper towel between each slice. Drizzle the spiced glaze generously over the top. I like to add a little sprinkle of flaky sea salt right at the end—it really makes the gingerbread pop.
Cooking Tips & Techniques
I’ve made these bars about seven times now, and I’ve definitely learned a few things the hard way. Let me save you some trouble.
- The Room Temperature Rule: This is the most important tip. Cold cream cheese and cold eggs will give you a lumpy filling. Set your cream cheese out on the counter for at least an hour. Place your eggs in a bowl of warm water for 5 minutes if you forget. It makes a world of difference in the silkiness of the final texture.
- Don’t Overmix the Filling: I know it’s tempting to whip the filling into a frenzy, but you’re not making whipped cream. Overmixing incorporates too much air, which can cause the cheesecake to puff up and then crack as it deflates. Mix on low speed once the eggs go in, and stop as soon as everything is combined.
- The Jiggle Test: Don’t be afraid of the jiggle. A perfectly baked cheesecake will have a slight wobble in the center when you gently shake the pan. If it’s completely firm, it’s overbaked and will be dry. Trust the jiggle.
- Patience with Chilling: I know you want to eat them right away. I get it. But if you try to cut them while they’re still warm or even just barely cool, you’ll get a gooey mess. That overnight chill is what gives you those beautiful, clean, Instagram-worthy squares.
- Crust Pressing: Press that crust down hard. Use the bottom of a glass or a measuring cup. A loose crust will crumble when you try to cut the bars. A well-packed crust holds everything together.
Variations & Adaptations
One of the best things about this recipe is how easy it is to play with. Here are some ways I’ve tweaked it depending on my mood or what’s in the fridge.
- Gluten-Free Version: Simply use gluten-free gingersnap cookies for the crust. The filling is naturally gluten-free, so you’re good to go. I’ve tested this with a few brands, and they all work perfectly.
- Pumpkin Spice Twist: In the fall, I sometimes swap the molasses in the filling for pumpkin puree (about 1/2 cup) and add a teaspoon of pumpkin pie spice. It makes for a lighter, fluffier bar that is still incredibly festive. Just note the bake time might increase by 5-10 minutes.
- Dark Chocolate Drizzle: For the chocolate lovers out there (I’m one of them), melt 1/2 cup of dark chocolate chips with a teaspoon of coconut oil and drizzle it over the chilled bars along with the spiced glaze. The bitterness of the dark chocolate is a perfect counterpoint to the sweet, spicy gingerbread.
- Mincemeat Swirl: This is a bit of a throwback, but I love it. Before pouring the filling over the crust, swirl in 1/2 cup of fruit mincemeat (the kind you find around the holidays). It adds these little pockets of chewy, spiced fruit that are just incredible.
- Dairy-Free Adaptation: Use a high-quality dairy-free cream cheese alternative (like Kite Hill or Violife) and a dairy-free sour cream. Use a vegan butter stick for the crust. The texture will be slightly less dense, but the flavor is still fantastic.
Serving & Storage Suggestions
These bars are incredibly versatile, which is part of their charm. Here’s how to serve and store them like a pro.
Serving: These bars are best served cold, straight from the fridge. The texture is firm and creamy, and the crust stays perfectly crisp. I like to let them sit out for about 5 minutes after slicing just to take the chill off. A dollop of lightly sweetened whipped cream on the side is never a bad idea. For a truly decadent presentation, serve with a scoop of vanilla bean ice cream and a sprinkle of cinnamon.
Storage: Store any leftover bars in an airtight container in the refrigerator. They will keep beautifully for up to 5 days. Honestly, the flavor gets even better on day two and three as the spices meld together. I’ve been known to sneak a cold square for breakfast during the holiday season—no judgment.
Freezing: These bars freeze like a dream. Once they are fully chilled and sliced, arrange the squares on a baking sheet lined with parchment paper and freeze for 1 hour until solid. Then, transfer the frozen bars to a freezer-safe zip-top bag or container. They will keep for up to 3 months. To thaw, just transfer a square to the refrigerator overnight. I recommend glazing them after they have thawed for the best presentation.
Nutritional Information & Benefits
Let’s be real—this is a dessert, and it’s meant to be indulged in. But that doesn’t mean it can’t have a few redeeming qualities. Here’s a rough estimate per bar (based on 16 servings).
| Nutrient | Amount Per Bar (approx.) |
|---|---|
| Calories | 320 |
| Total Fat | 18g |
| Saturated Fat | 10g |
| Cholesterol | 85mg |
| Sodium | 220mg |
| Total Carbohydrates | 36g |
| Dietary Fiber | 1g |
| Sugars | 27g |
| Protein | 5g |
The Healthier Side: The ginger and cinnamon in this recipe are known for their anti-inflammatory properties. Molasses is a good source of iron, calcium, and magnesium. The cream cheese and eggs provide a decent amount of protein, which helps keep you feeling full. So, while I wouldn’t call these a health food, they are made with real, whole ingredients. That counts for something, right?
Dietary Considerations: This recipe contains dairy, eggs, and gluten. For a dairy-free or gluten-free option, please see the variations section above.
Conclusion
Look, there are a million holiday desserts out there, but these perfect gingerbread cheesecake bars are the ones I come back to year after year. They’re the perfect balance of spicy and sweet, creamy and crunchy, fancy and easy. They don’t require a ton of fuss or a pastry degree, but they look and taste like you spent all day in the kitchen.
I really hope you give these a try. Make them your own—add a little extra ginger if you like it spicy, or go heavy on the glaze. I’d love to hear how they turn out for you. Drop a comment below and let me know if you tried any of the variations, or if you came up with your own twist. And if you share a photo on social media, tag me—I love seeing your baking wins.
Happy baking, friend. May your kitchen smell like gingerbread and your heart feel full.
Frequently Asked Questions
Can I use a different type of cookie for the crust?
Absolutely. While gingersnaps give you that perfect gingerbread flavor, you can use graham crackers, vanilla wafers, or even shortbread cookies. If you use a less-spiced cookie, you might want to add an extra teaspoon of ground ginger and cinnamon to the crust mixture to keep that festive flavor.
My cheesecake filling cracked. What did I do wrong?
Don’t worry, it happens to the best of us. Cracks are usually caused by overmixing the batter (which introduces too much air) or overbaking. Make sure you stop mixing once the ingredients are just combined, and take the bars out of the oven when the center still has a slight jiggle. The spiced glaze is also very forgiving and will cover up any minor imperfections!
Can I make these bars without a mixer?
Yes, you can, but it will take a bit more elbow grease. Make sure your cream cheese is very soft. Use a wooden spoon and a strong arm to beat it until it’s smooth before adding the other ingredients. A whisk can help incorporate the eggs. It’s totally doable, just a good arm workout.
How far in advance can I make these?
This is the perfect make-ahead dessert. You can bake the bars, cool them, and keep them in the refrigerator for up to 2 days before glazing and serving. You can also freeze the unglazed bars for up to 3 months. I often make the glaze fresh on the day I plan to serve them for the best look and texture.
Can I use a different pan size?
A 9×13-inch pan is ideal for this recipe. If you only have an 8×8-inch pan, you can still make it, but the bars will be much thicker and will need a longer bake time—likely 70-80 minutes. Keep an eye on the center jiggle. A 9-inch round springform pan also works; just increase the bake time by about 10 minutes.
Pin This Recipe!
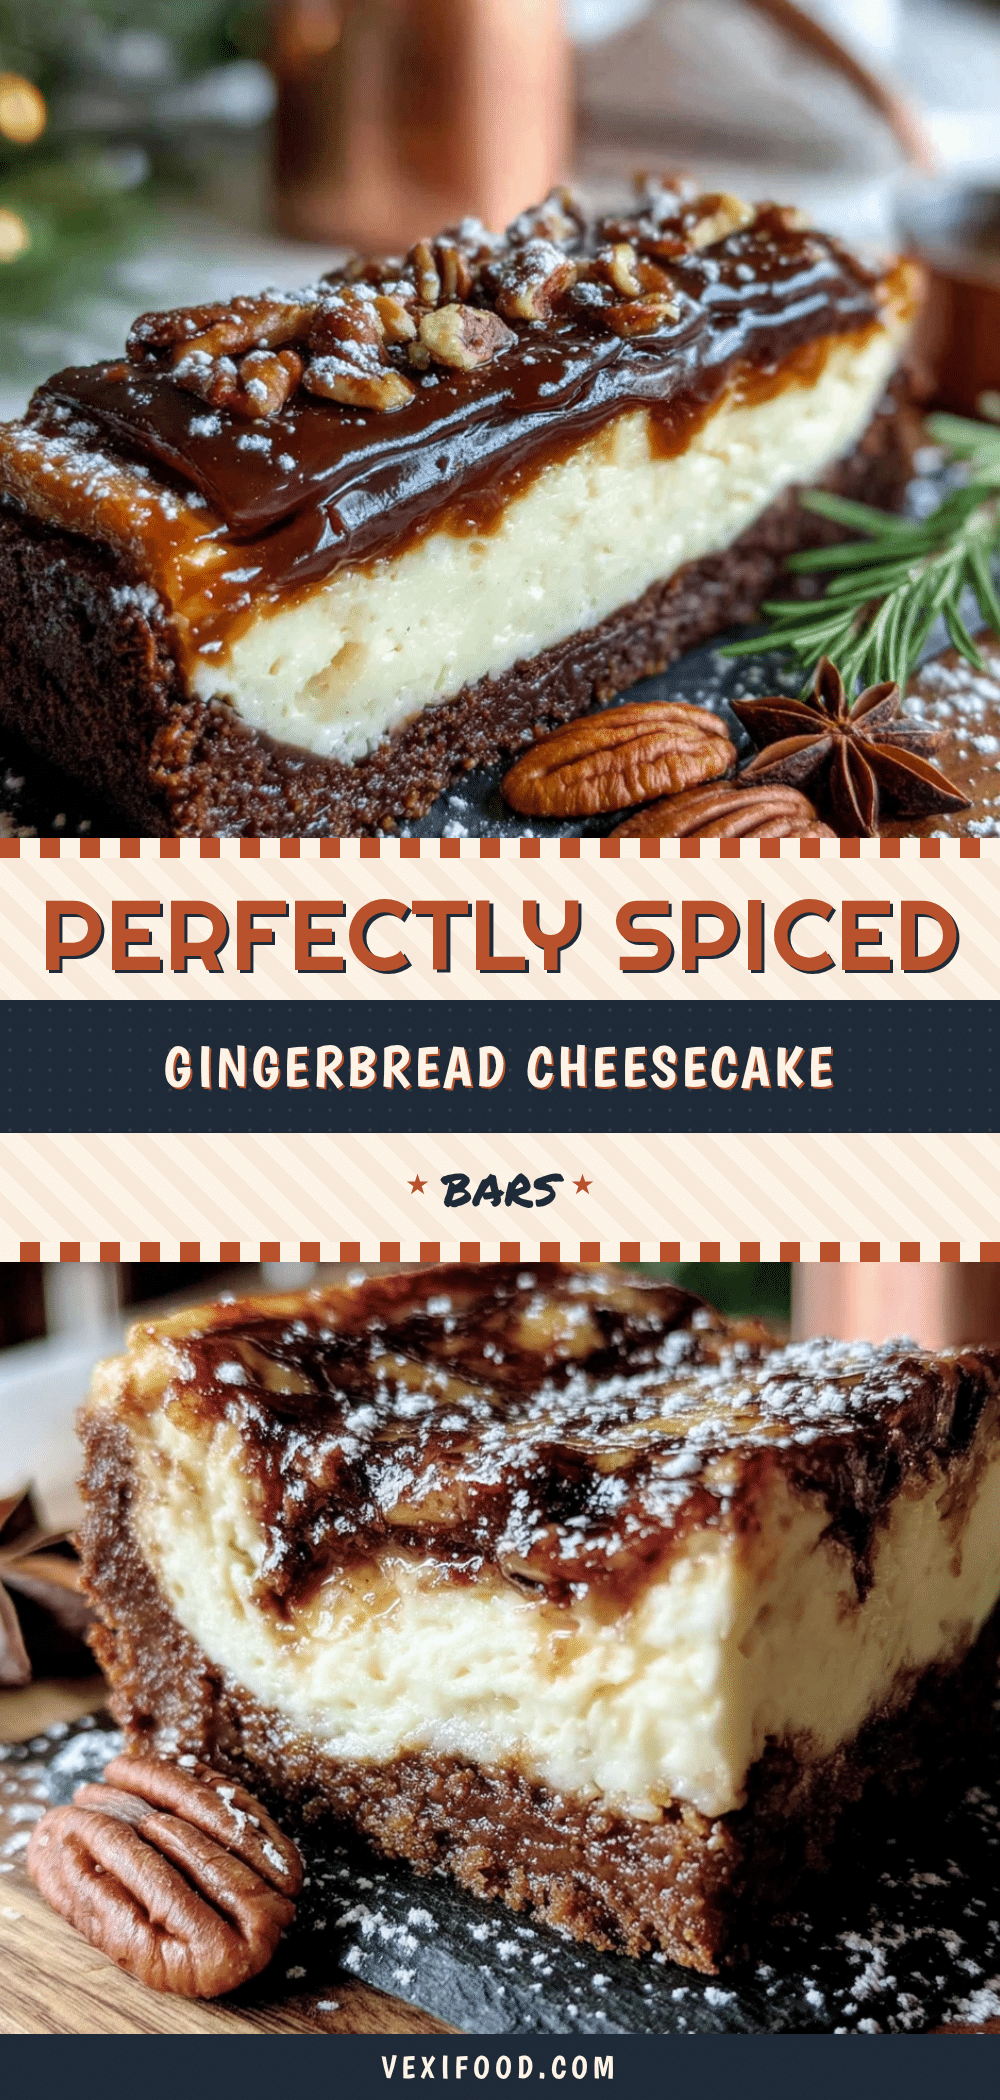
Perfect Gingerbread Cheesecake Bars with Spiced Glaze – Easy Holiday Dessert
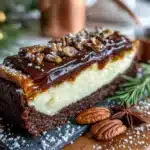
These gingerbread cheesecake bars combine a spicy gingersnap crust with a creamy, tangy cheesecake filling, all topped with a glossy spiced glaze. They’re an easy, stress-free holiday showstopper that tastes like Christmas in every bite.
- Prep Time: 30 minutes
- Cook Time: 60 minutes
- Total Time: 6 hours 30 minutes (includes chilling)
- Yield: 16 servings 1x
- Category: Dessert
- Cuisine: American
Ingredients
- 2 cups (200g) finely crushed gingersnap cookies
- 2 tablespoons (25g) granulated sugar
- 5 tablespoons (70g) unsalted butter, melted
- 1/2 teaspoon ground ginger
- 24 ounces (680g) full-fat cream cheese, softened
- 3/4 cup (150g) granulated sugar
- 1/4 cup (50g) light brown sugar, packed
- 3 large eggs, room temperature
- 1/2 cup (120g) sour cream
- 2 tablespoons (30ml) molasses
- 1 teaspoon vanilla extract
- 1 teaspoon ground ginger
- 1 teaspoon ground cinnamon
- 1/4 teaspoon ground cloves
- 1/4 teaspoon salt
- 1 cup (120g) powdered sugar
- 2–3 tablespoons (30-45ml) milk or heavy cream
- 1 tablespoon (15ml) molasses
- 1/4 teaspoon ground cinnamon
- 1/8 teaspoon ground nutmeg
- 1/2 teaspoon vanilla extract
Instructions
- Preheat oven to 325°F (160°C). Line a 9×13-inch baking pan with parchment paper, leaving a 2-inch overhang on the long sides. Lightly spray with non-stick spray.
- Make the crust: In a medium bowl, combine crushed gingersnap crumbs, 2 tablespoons granulated sugar, and 1/2 teaspoon ground ginger. Pour in melted butter and stir until all crumbs are moistened. Press firmly into the bottom of the prepared pan. Bake for 10 minutes. Set aside to cool slightly.
- Make the filling: In a large bowl, beat softened cream cheese with an electric mixer on medium speed until smooth and fluffy, about 2 minutes. Add granulated sugar and brown sugar; beat for another 2 minutes. Add eggs one at a time, beating on low after each addition. Add sour cream, 2 tablespoons molasses, 1 teaspoon vanilla, 1 teaspoon ginger, 1 teaspoon cinnamon, 1/4 teaspoon cloves, and 1/4 teaspoon salt. Mix on low until just combined.
- Pour filling over pre-baked crust and spread evenly. Tap pan gently on counter to release air bubbles. Bake for 50-60 minutes, until edges are set and center has a slight jiggle. Turn off oven, crack door, and leave bars in oven for 15 minutes.
- Transfer pan to a wire rack and cool completely at room temperature (1-2 hours). Cover and refrigerate for at least 4 hours, preferably overnight.
- Make the glaze: In a small bowl, whisk together powdered sugar, 1 tablespoon molasses, 1/4 teaspoon cinnamon, 1/8 teaspoon nutmeg, and 1/2 teaspoon vanilla. Add milk or cream 1 tablespoon at a time until thick but pourable.
- Use parchment sling to lift bars onto a cutting board. Slice into squares with a sharp knife, wiping blade clean between cuts. Drizzle with glaze and serve.
Notes
For best results, ensure cream cheese and eggs are at room temperature. Do not overmix the filling to avoid cracks. The bars taste even better the next day. For clean slices, wipe the knife between cuts. The glaze can be made fresh on serving day.
Nutrition
- Serving Size: 1 bar
- Calories: 320
- Sugar: 27
- Sodium: 220
- Fat: 18
- Saturated Fat: 10
- Carbohydrates: 36
- Fiber: 1
- Protein: 5
Keywords: gingerbread cheesecake bars, holiday dessert, easy cheesecake bars, spiced glaze, gingersnap crust