Love this? Save it for later!
Share the inspiration with your friends
My neighbor, a seven-year-old named Leo, asked me why I couldn’t just leave the butter in the pan a little longer. I was trying to teach him how to make cookies, patiently explaining the step where you cream butter and sugar. He was staring at the brown butter I’d just made, a batch cooling in a bowl, and he pointed at the dark bits stuck to the bottom. “It smells even better when it’s darker,” he said with the absolute certainty only a child possesses. I started to explain why that wouldn’t work—that burnt butter would ruin the whole batch. Then I stopped. I had nothing to lose, honestly. It was a small batch anyway, just enough for a Tuesday afternoon. I scraped those dark, nutty bits right back into the mixer. Let me tell you, Leo was right. That little bit of “burnt” butter gave these cookies a toasty depth I’d been missing for years. I mean, I’ve been making chocolate chip cookies for two decades, and a second-grader cracked the code. Maybe you’ve been there, too—stuck in your ways, convinced you know the best method, only to have a kitchen helper show you something better. That’s the story of this recipe. It’s the one that finally made me listen more and talk less, and it’s the one I keep coming back to because it just works.
Why You’ll Love This Recipe
These aren’t just any chocolate chip cookies. They are a small batch of pure, buttery, chewy joy designed for a family that doesn’t need three dozen cookies lying around. I’ve tested this recipe more times than I can count, tweaking the brown butter time and the ratio of sugars until it was absolutely perfect. It’s the kind of recipe that feels like a secret weapon.
- Small Batch, Big Flavor: You get exactly 8 perfect cookies. No waste, no temptation, just the right amount for a family treat.
- Kid-Approved and Tested: My own kids and the neighborhood crew have given this a unanimous thumbs-up. They love the crispy edges and soft centers.
- Simple Pantry Ingredients: You likely have everything you need already. The brown butter is the only “extra” step, and it’s worth every second.
- Unbelievably Delicious: The nutty, toasty flavor from the brown butter takes these cookies to a whole new level. It’s comfort food reimagined.
- Perfect for a Weeknight Craving: From start to finish, you’re looking at about 30 minutes of active time. Perfect for when the kids ask for cookies after dinner.
What makes this recipe different from the rest is the technique. Most recipes tell you to brown the butter and then cool it completely. I’ve found that using it while it’s still warm—but not hot—creates a dough that spreads just right, giving you that beautiful crinkly top and a chewy center. It’s a small change that makes a huge difference. This recipe isn’t just good—it’s the kind that makes you close your eyes after the first bite.
What Ingredients You Will Need
This recipe uses simple, wholesome ingredients to deliver a bold, nutty flavor without any fuss. Most of these are pantry staples, which makes it even better for a last-minute baking session.
- Unsalted Butter (5 tablespoons / 70g): This is the star. Using unsalted butter lets you control the salt level. I recommend a good quality brand like Kerrygold for the richest flavor, but any standard stick will work. You’ll be browning it, so the milk solids are key.
- Brown Sugar (¼ cup / 50g, packed): Light or dark brown sugar works. Dark brown sugar will give you a deeper, more molasses-like flavor that pairs beautifully with the brown butter. Pack it firmly into the measuring cup.
- Granulated Sugar (2 tablespoons / 25g): This adds a touch of sweetness and helps create those crispy edges. Don’t skip it, even if you’re tempted to use all brown sugar.
- Large Egg Yolk (1): Using just the yolk gives you a richer, chewier cookie. The white would make them more cakey. Save the white for scrambled eggs the next morning!
- Vanilla Extract (½ teaspoon): Pure vanilla extract is best. It enhances the nuttiness of the brown butter. Imitation vanilla can sometimes taste a bit artificial in such a simple recipe.
- All-Purpose Flour (½ cup / 60g): Standard all-purpose flour works perfectly. Spoon it into your measuring cup and level it off with a knife—don’t scoop directly from the bag, or you’ll pack in too much flour and get dry cookies.
- Baking Soda (¼ teaspoon): This helps the cookies spread and become golden brown. Make sure it’s fresh—test it by dropping a little into vinegar; it should fizz.
- Salt (¼ teaspoon): I use fine sea salt. It balances the sweetness and enhances the brown butter flavor. If you use salted butter, reduce this to a pinch.
- Chocolate Chips (⅓ cup / 60g): Semi-sweet or dark chocolate chips are my go-to. They stand up to the rich, nutty dough. You can also chop up a good quality chocolate bar for those beautiful pools of chocolate.
- Flaky Sea Salt (for finishing, optional): A sprinkle of Maldon sea salt on top right when they come out of the oven is a game-changer. It’s not mandatory, but it takes these cookies from great to unforgettable.
Equipment Needed
You don’t need a fancy kitchen to make these cookies. Here’s what you’ll need:
- Small Skillet or Saucepan: For browning the butter. A light-colored pan is best so you can see the color of the milk solids turning golden.
- Mixing Bowls: One medium bowl for the wet ingredients and one small bowl for the dry ingredients. I use a set of glass nesting bowls.
- Whisk: For combining the wet ingredients.
- Rubber Spatula: For folding everything together. It’s much gentler than a mixer and prevents over-mixing.
- Baking Sheet: A standard half-sheet pan works perfectly. If you have a light-colored one, it will help the cookies brown evenly.
- Parchment Paper or Silicone Baking Mat: This prevents sticking and makes cleanup a breeze. I prefer parchment paper for the crispiest bottoms.
- Cookie Scoop (about 1.5 tablespoons): This ensures your cookies are all the same size and bake evenly. A spoon works too, but a scoop is much easier.
- Cooling Rack: Essential for letting the cookies cool without getting soggy bottoms.
If you don’t have a cookie scoop, just use a regular tablespoon and shape the dough into balls with your hands. It’s a little more work, but it gets the job done.
Preparation Method
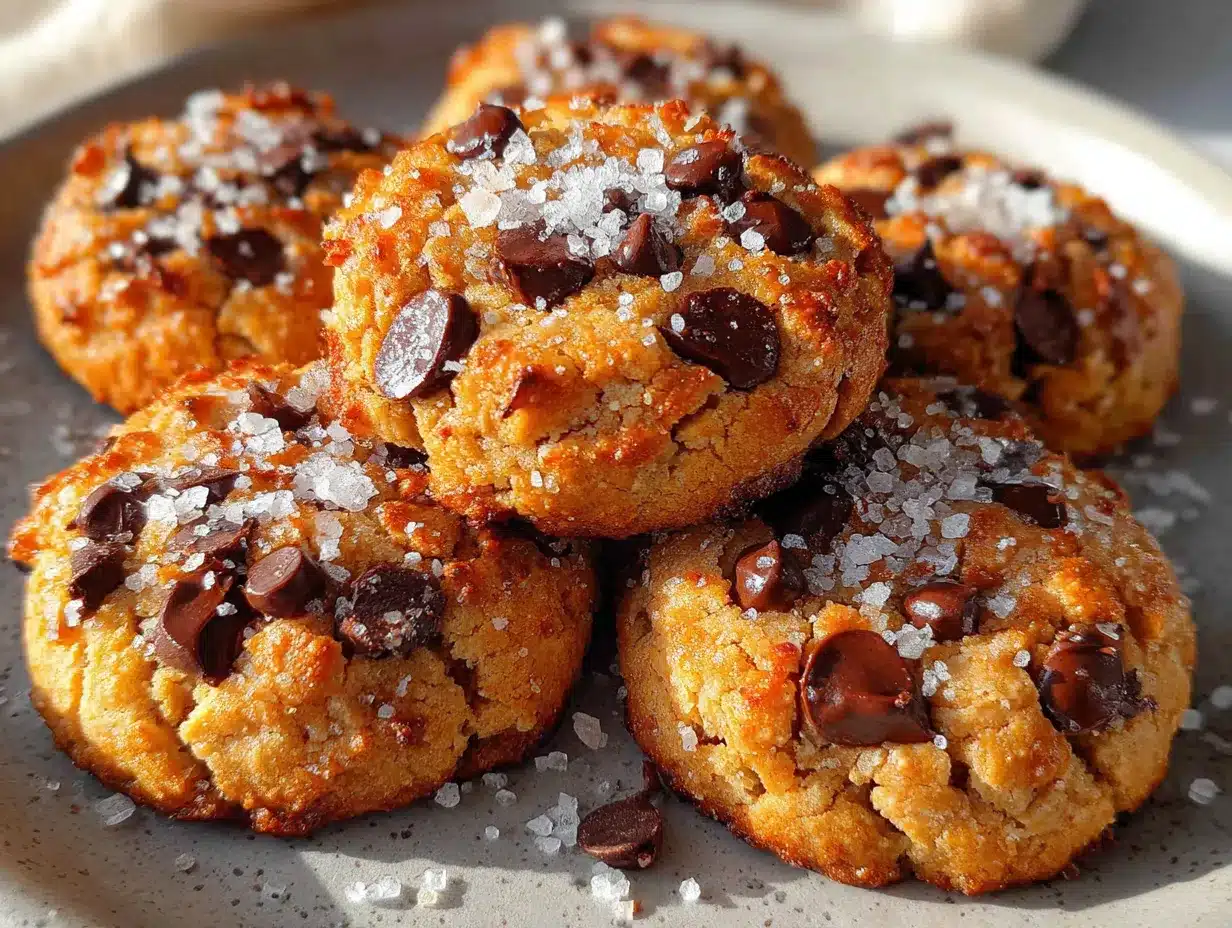
Let’s get baking! This small batch comes together quickly, so have all your ingredients measured and ready to go.
- Brown the Butter: Place the 5 tablespoons of butter in a small skillet or saucepan over medium heat. Let it melt, then continue cooking, swirling the pan occasionally. The butter will foam up, then subside. Watch closely for the milk solids at the bottom to turn a golden-amber color and smell nutty. This takes about 3-4 minutes. Immediately remove the pan from the heat and pour the butter into a medium mixing bowl to stop it from cooking further. Let it cool for 5-10 minutes. It should be warm, not hot.
- Mix the Wet Ingredients: To the warm brown butter, add the packed brown sugar and granulated sugar. Whisk vigorously for about 30 seconds until the mixture looks like a thick paste and the sugar has started to dissolve. It should look a bit like wet sand. Add the egg yolk and vanilla extract, and whisk again until smooth and glossy.
- Combine the Dry Ingredients: In a separate small bowl, whisk together the flour, baking soda, and salt. This ensures the baking soda is evenly distributed so your cookies rise properly.
- Make the Dough: Pour the dry ingredients into the wet ingredients. Use your rubber spatula to fold everything together gently. Stir just until you see the last streaks of flour disappear. Do not over-mix, or your cookies will be tough. Fold in the chocolate chips until they are evenly distributed.
- Chill the Dough (Crucial Step!): Cover the bowl with plastic wrap and place it in the refrigerator for at least 30 minutes. This is non-negotiable. Chilling the dough solidifies the brown butter, which prevents the cookies from spreading too much and gives them that perfect thick, chewy center.
- Preheat and Prepare: While the dough chills, preheat your oven to 350°F (175°C). Line your baking sheet with parchment paper or a silicone mat.
- Scoop and Bake: Once the dough is firm, use your cookie scoop to portion out 8 equal balls of dough. Place them on the prepared baking sheet, leaving about 2 inches of space between each one. Bake for 10-12 minutes, or until the edges are golden brown and the centers still look slightly soft and puffy. The tops should be lightly cracked.
- Finish and Cool: Remove the baking sheet from the oven. If using, sprinkle a tiny pinch of flaky sea salt over each warm cookie. Let the cookies cool on the baking sheet for 5 minutes—they will continue to set up. Then, carefully transfer them to a wire rack to cool completely. I know it’s hard, but try to let them cool for at least 10 more minutes. The texture is best when they are fully set.
Cooking Tips & Techniques
I’ve burned a lot of butter in my time. Here’s what I’ve learned so you don’t have to.
The Butter Browning Trick: The moment you see the milk solids turn a deep amber and smell that nutty aroma, pull the pan off the heat. It will continue to cook in the hot pan. If you’re nervous, you can pour it into a cool bowl immediately. I once let it go too far, thinking “just a few more seconds,” and ended up with a black, acrid mess. Learn from my impatience!
Don’t Skip the Chill: I know it’s tempting to skip this step when you’re craving cookies. But trust me, a 30-minute chill makes the difference between a flat, greasy cookie and a thick, chewy one. The warm butter creates a very soft dough. Chilling it solidifies the fat, so the cookies hold their shape in the oven. I’ve made the mistake of baking them right away, and they spread into one giant, thin cookie.
Use a Cookie Scoop for Consistency: Getting all the cookies the same size ensures they bake evenly. Some will be done while others are still raw in the middle if the sizes vary wildly. A small scoop is a cheap investment that pays off every single time.
The “Puffy” Test: Take the cookies out when the edges are set and golden, but the centers are still a bit puffy and soft. They will look slightly underdone. This is perfect! They will continue to bake on the hot baking sheet as they cool, giving you that gooey center.
Variations & Adaptations
This is your recipe now, so feel free to make it your own.
- Gluten-Free Option: Swap the all-purpose flour for a good quality 1-to-1 gluten-free baking flour blend. I’ve used Bob’s Red Mill with great success. You may need to add an extra tablespoon of flour if the dough feels too sticky.
- Double Chocolate Chip: Replace 1 tablespoon of the all-purpose flour with 1 tablespoon of unsweetened cocoa powder. Use white chocolate chips instead of semi-sweet for a beautiful contrast. My kids went nuts for this version.
- Add Some Crunch: Fold in ¼ cup of toasted, chopped pecans or walnuts along with the chocolate chips. Toasting the nuts first really brings out their flavor. Just toss them in a dry skillet over medium heat for 2-3 minutes until they smell fragrant.
- Spiced Brown Butter: Add ¼ teaspoon of cinnamon and a pinch of nutmeg to the dry ingredients. It gives the cookies a warm, cozy fall flavor that pairs perfectly with the nutty brown butter.
- Sea Salt Caramel Drizzle: After the cookies have cooled, drizzle them with a simple caramel sauce (store-bought is fine!) and another pinch of flaky salt. It turns a simple cookie into a fancy dessert.
Serving & Storage Suggestions
These cookies are best enjoyed warm, about 15 minutes after they come out of the oven. The edges are perfectly crisp, and the center is still soft and gooey. Serve them with a cold glass of milk for the kids or a cup of strong coffee for the grown-ups.
Storage: Store any leftover cookies in an airtight container at room temperature. They will stay fresh and chewy for up to 3 days. I like to put a slice of plain bread in the container—it absorbs excess air and helps keep the cookies soft. Just change the bread out every day.
Freezing: You can freeze the baked cookies for up to 3 months. Place them in a single layer in a freezer-safe bag or container. To reheat, just pop one in a 300°F (150°C) oven for 5 minutes, or microwave for 10-15 seconds. They taste almost as good as fresh!
Freeze the Dough: This is my favorite trick. Scoop the dough into balls and place them on a parchment-lined baking sheet. Freeze until solid, then transfer the dough balls to a freezer bag. You can bake them straight from frozen! Just add 2-3 minutes to the baking time. It’s the perfect solution for a last-minute cookie craving.
Nutritional Information & Benefits
Let’s be real—these are a treat, and they’re meant to be enjoyed as such. But there are a few small benefits to this version.
Using brown butter means you get a huge punch of flavor from a relatively small amount of butter. The nutty flavor is so intense that you don’t need as much fat as a traditional recipe. Plus, the small batch size means portion control is built right in. You get eight cookies, not three dozen.
The egg yolk provides a good dose of protein and healthy fats, which can help keep you feeling satisfied. Dark chocolate chips are also a source of antioxidants. This recipe is naturally vegetarian and can be made gluten-free with a simple swap. Please note that it contains dairy, eggs, and gluten (unless you use a gluten-free flour blend).
Estimated per cookie (based on 8 cookies):
| Nutrient | Amount |
|---|---|
| Calories | ~210 |
| Fat | ~12g |
| Carbohydrates | ~26g |
| Protein | ~3g |
| Sugar | ~16g |
Conclusion
These small batch brown butter chocolate chip cookies are more than just a recipe—they’re a reminder that sometimes the best ideas come from the most unexpected places. They’re proof that you don’t need a fancy kitchen or a long list of ingredients to create something truly special. This is the cookie I make when I need a little comfort, when the kids are asking for a treat, or when I just want to feel like a baking superstar without a huge commitment.
I hope you give them a try and make them your own. Maybe you’ll add a little extra salt, or swap the chips for M&Ms. That’s the beauty of a simple, solid recipe. Please let me know in the comments how they turned out for you! Did you try a fun variation? I’d love to hear about your baking adventures. Happy baking, friends!
Frequently Asked Questions
Can I use salted butter instead of unsalted?
Yes, you can. Just reduce the added salt in the recipe to a pinch. The brown butter flavor will still be fantastic, but you’ll have less control over the overall saltiness.
Why did my cookies spread too much?
This usually happens for two reasons: the dough wasn’t chilled long enough, or the butter was too warm when you mixed it. Make sure you chill the dough for at least 30 minutes, and let the brown butter cool to warm, not hot, before adding the sugars.
Can I double this recipe?
Absolutely! Just double all the ingredients. The baking time should stay about the same, but you may need to bake in batches. The chilling time might need to be a bit longer for a larger batch of dough.
My cookies came out cakey, not chewy. What happened?
This is usually a sign of too much flour. Make sure you’re spooning the flour into your measuring cup and leveling it off, not scooping directly from the bag. Also, using only the egg yolk instead of the whole egg helps keep them chewy.
Can I make the dough ahead of time?
Yes! You can make the dough and keep it in the refrigerator for up to 48 hours. The flavor actually gets better as it rests. Just let it sit at room temperature for 10 minutes before scooping if it gets too hard.
Pin This Recipe!
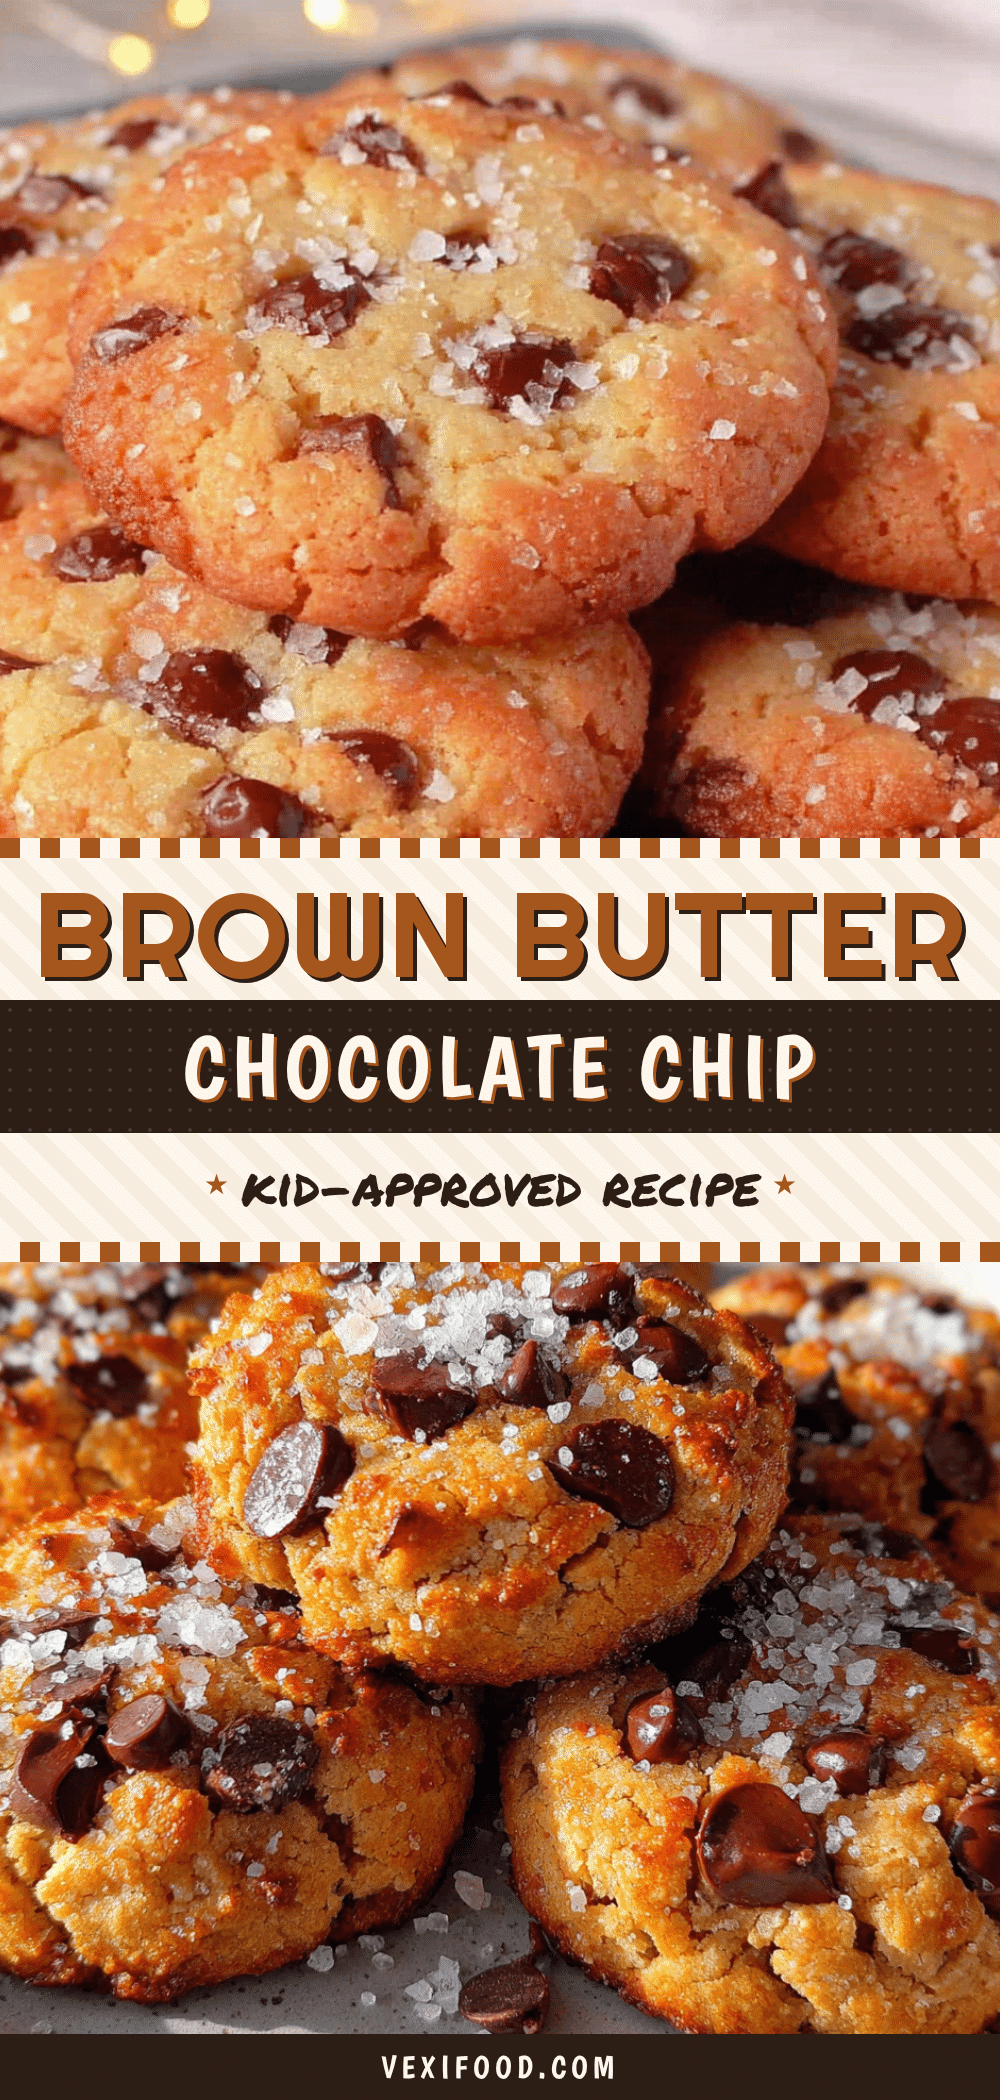
Small Batch Brown Butter Chocolate Chip Cookies: Best Easy Recipe

These small batch brown butter chocolate chip cookies are pure, buttery, chewy joy. With a nutty, toasty flavor from browned butter, they deliver crispy edges and soft centers in just 8 perfect cookies.
- Prep Time: 15 minutes
- Cook Time: 12 minutes
- Total Time: 1 hour 2 minutes (includes 30 minutes chilling)
- Yield: 8 cookies 1x
- Category: Dessert
- Cuisine: American
Ingredients
- 5 tablespoons (70g) unsalted butter
- ¼ cup (50g) packed brown sugar (light or dark)
- 2 tablespoons (25g) granulated sugar
- 1 large egg yolk
- ½ teaspoon vanilla extract
- ½ cup (60g) all-purpose flour
- ¼ teaspoon baking soda
- ¼ teaspoon fine sea salt
- ⅓ cup (60g) semi-sweet or dark chocolate chips
- Flaky sea salt for finishing (optional)
Instructions
- Brown the butter: Place 5 tablespoons butter in a small skillet or saucepan over medium heat. Melt and cook, swirling occasionally, until the milk solids turn golden-amber and smell nutty (3-4 minutes). Immediately pour into a medium mixing bowl to stop cooking. Let cool 5-10 minutes until warm, not hot.
- Mix wet ingredients: To the warm brown butter, add packed brown sugar and granulated sugar. Whisk vigorously for about 30 seconds until it forms a thick paste. Add egg yolk and vanilla extract; whisk until smooth and glossy.
- Combine dry ingredients: In a small bowl, whisk together flour, baking soda, and salt.
- Make the dough: Pour dry ingredients into wet ingredients. Fold gently with a rubber spatula just until no streaks of flour remain. Fold in chocolate chips until evenly distributed. Do not over-mix.
- Chill the dough: Cover bowl with plastic wrap and refrigerate for at least 30 minutes. This is crucial for thick, chewy cookies.
- Preheat and prepare: Preheat oven to 350°F (175°C). Line a baking sheet with parchment paper or a silicone mat.
- Scoop and bake: Scoop dough into 8 equal balls (about 1.5 tablespoons each). Place on prepared baking sheet, 2 inches apart. Bake for 10-12 minutes, until edges are golden and centers are still slightly soft and puffy.
- Finish and cool: Remove from oven. If using, sprinkle flaky sea salt over warm cookies. Cool on baking sheet for 5 minutes, then transfer to a wire rack to cool completely (at least 10 more minutes).
Notes
Chilling the dough is non-negotiable for thick, chewy cookies. Use a light-colored pan to monitor butter browning. For best results, use a cookie scoop for even sizing. Cookies continue to bake on the hot sheet after removal.
Nutrition
- Serving Size: 1 cookie
- Calories: 210
- Sugar: 16
- Fat: 12
- Carbohydrates: 26
- Protein: 3
Keywords: small batch cookies, brown butter chocolate chip cookies, easy cookie recipe, chewy cookies, kid-friendly



