Love this? Save it for later!
Share the inspiration with your friends
My sister swore she didn’t care about Halloween. For years. “It’s just an excuse for bad candy and uncomfortable costumes,” she’d say every October, rolling her eyes while the rest of us debated pumpkin carving designs. Then last year, I volunteered to host the family Halloween party and texted her a photo of the punch bowl sitting on my counter. She showed up twenty minutes later, still in her work clothes, holding a bag of gummy worms and trying to act casual. “I was in the neighborhood,” she said, but her eyes kept darting to the freezer.
That punch bowl had been the source of a minor obsession of mine for weeks. I’d seen those frozen hand punches all over the internet—you know the ones, where an ice hand floats creepily in a bubbling, colorful drink—and I was determined to make one that actually looked terrifying, not just silly. My first attempt? Let me tell you, it looked less like a severed hand and more like a melted snowman had a bad day. The fingers were all smashed together, and the color was this weird, murky gray. I almost gave up. Honestly, I shoved the failed hand back in the freezer and didn’t look at it for three days.
But then I figured out the trick. It’s all about the layering and the positioning, and once I got it right, the result was genuinely spooky. Like, made-my-neighbor-jump spooky. The way the hand floats up from the bottom of the punch as the ice melts, the eerie red color of the drink swirling around it—it’s the kind of thing that makes you do a double-take. Maybe you’ve been there, scrolling through party ideas and thinking, “That looks way too complicated.” I get it. But this recipe? It’s simpler than it looks, and the payoff is huge. This is the recipe that finally made my sister admit Halloween might be fun after all. And that, my friends, is a victory worth celebrating.
Why You’ll Love This Spooky Frozen Hand Halloween Punch
Look, I’ve tested this recipe more times than I care to admit. I’ve used different juices, different molds, different freezing techniques. I’ve made hands that looked like they were waving hello and hands that looked like they were trying to escape the bowl. Through all that trial and error, I’ve landed on a version that works every single time. Here’s why this one is different:
- Show-Stopping Visuals: This isn’t just a drink—it’s a centerpiece. The frozen hand floating in the punch is guaranteed to get gasps, screams, and endless photos. It’s the kind of thing people remember long after the party is over.
- Surprisingly Simple: Despite the dramatic effect, the ingredients are basic grocery store staples. No weird extracts, no specialty syrups. You probably have most of this stuff in your pantry right now.
- Customizable for Any Crowd: I’ve made this for kid-friendly parties with lemonade and for adult gatherings with a splash of something bubbly. The base recipe works for everyone, and I’ll show you how to tweak it.
- Perfect for Halloween: Whether it’s a costume party, a family movie night, or just a Tuesday in October that feels like it needs some spooky energy, this punch fits the bill. It’s festive without being fussy.
- Actually Tastes Good: Some party punches are all about the look and taste like watered-down Kool-Aid. Not this one. The combination of cranberry, pineapple, and citrus is bright and refreshing—the kind of drink you actually want to refill your cup for.
What really sets this recipe apart is the technique for the frozen hand. I tried the simple method of just freezing water in a glove, and it was a disaster. The hand looked bloated and unnatural. My method uses a careful layering process and a specific freezing angle to create a hand that looks eerily realistic. It’s the little details—the way the fingers curl, the pale, almost waxy color—that make people do a double-take. And isn’t that the whole point of Halloween? To make people look twice and shiver a little?
What Ingredients You Will Need
This recipe uses simple, everyday ingredients to create something that looks anything but ordinary. The magic is really in the presentation, not in hard-to-find items. Here’s everything you’ll need to pull off this spooky punch:
For the Frozen Hand
- 1 food-grade latex glove (the kind without powder on the inside—check the box carefully)
- 3-4 cups distilled water (tap water can look cloudy, and we want that creepy, clear ice look)
- Red or blue food coloring (gel works best for vibrant color; I prefer a deep, bloody red)
- Optional: Gummy worms or candy eyeballs (for freezing inside the hand for an extra gross-out factor)
For the Punch
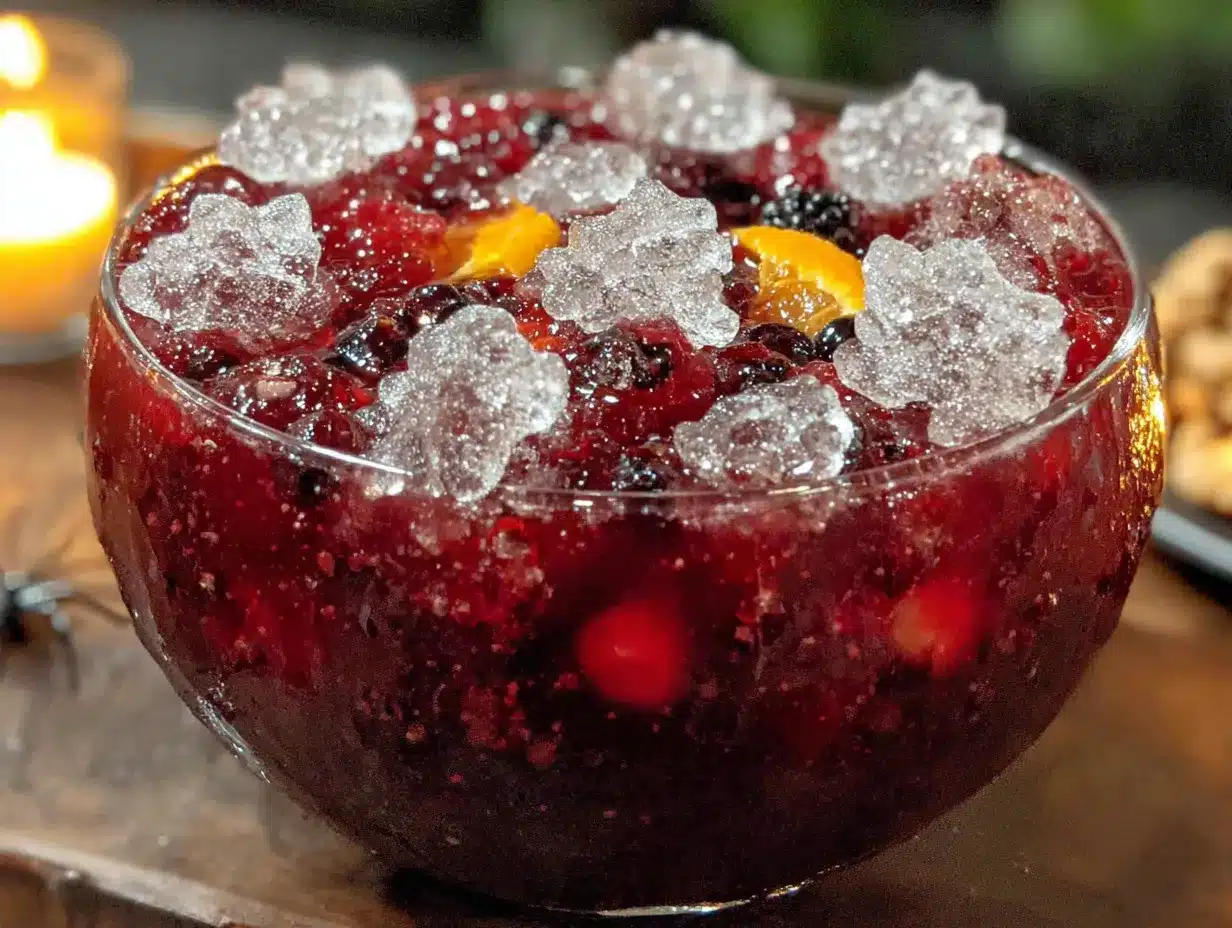
- 6 cups cranberry juice (unsweetened or cocktail blend—both work, but the tartness balances the sweetness)
- 4 cups pineapple juice (adds a tropical sweetness that cuts through the cranberry)
- 2 cups orange juice (fresh-squeezed is nice, but store-bought is perfectly fine)
- 1 cup lemon-lime soda (like Sprite or 7UP—adds fizz and lightness)
- 1 cup ginger ale (for extra bubbles and a little spicy kick)
- 1 cup water (to thin the punch slightly so it doesn’t feel syrupy)
- Ice cubes (regular ones, to keep the punch cold without diluting the hand too fast)
For Garnish (Optional but Fun)
- Fresh orange or lemon slices
- Gummy worms or spiders
- Dry ice (for that bubbling, smoky effect—handle with care and follow safety instructions)
- Fresh mint leaves (for a pop of green against the red)
A few notes from my personal testing: I’ve tried different juice combinations, and this ratio is the one that consistently gets the best feedback. The cranberry gives it that deep, bloody color, while the pineapple and orange keep it from tasting like a tart bomb. If you want a less sweet punch, swap the lemon-lime soda for sparkling water. For a more adult version, you can add a cup of vodka or rum—just stir it in right before serving so the alcohol doesn’t dilute the color.
One thing I learned the hard way: don’t use cheap food coloring. The liquid stuff from the grocery store can make the ice hand look streaky and unnatural. Spend a few extra dollars on gel food coloring—it gives a much more even, intense color. I like the brand Americolor for this, but any gel will work.
Equipment Needed
You don’t need a ton of fancy equipment for this recipe, but a few specific items will make your life much easier. Here’s what I use:
- Food-grade latex or nitrile gloves: These are the most important piece of equipment. Make sure they’re powder-free and intended for food contact. I’ve found them at restaurant supply stores or online. Do NOT use cleaning gloves—they’re not food-safe.
- Large punch bowl: You need something big enough to hold at least 12 cups of liquid with room for the hand to float. A clear glass bowl is ideal because you can see the hand from all angles.
- Pitcher or large mixing bowl: For combining the juices before pouring them into the punch bowl.
- Rubber bands or twist ties: To seal the glove and keep the water from leaking while it freezes.
- Freezer space: You’ll need a flat surface in your freezer where the glove can sit undisturbed for at least 12 hours. Clear a shelf ahead of time.
- Measuring cups and spoons: Standard kitchen stuff.
- Ladle: For serving the punch without disturbing the hand too much.
If you can’t find food-grade gloves, you can use a clean, unused disposable glove from a first-aid kit, but check the packaging to make sure it’s food-safe. I once tried using a regular kitchen glove, and it left a weird rubbery taste on the ice. Not ideal.
Preparation Method
Alright, let’s get to the fun part. This recipe takes a bit of planning because the hand needs to freeze overnight, but the actual hands-on time is pretty minimal. Here’s how I do it:
- Prepare the glove (the night before): Start by rinsing the inside of the food-grade glove with distilled water to remove any dust or residue. Turn it inside out and rinse again. This step is important—it prevents any weird flavors from transferring to the ice.
- Color the water: In a measuring cup, mix 3 cups of distilled water with 10-15 drops of red gel food coloring. Stir until the color is even. You want a deep, bloody red—almost opaque. If it looks too pink, add more coloring. If it looks too dark, add a splash of water. Trust your eyes on this one.
- Fill the glove: Carefully pour the colored water into the glove. Don’t fill it all the way—leave about an inch at the top. You want the hand to be full enough to look realistic but not so full that it bulges. I usually fill it until the fingers are plump but not stretched.
- Seal and shape: Twist the open end of the glove and secure it with a rubber band or twist tie. Now, here’s the trick: lay the glove flat on a baking sheet and gently shape the fingers. You want them slightly curled, not straight out like a starfish. I usually bend the fingers inward a little, like the hand is reaching for something. This makes it look much more natural when it floats.
- Freeze flat: Place the baking sheet with the glove in the freezer. Make sure it’s completely flat—if the glove is tilted, the water will pool in one area and the hand will look misshapen. Freeze for at least 12 hours, preferably overnight. I’ve found that 24 hours is even better for a solid, clear freeze.
- Prepare the punch base (30 minutes before serving): In a large pitcher or mixing bowl, combine the cranberry juice, pineapple juice, orange juice, and water. Stir well. Refrigerate until you’re ready to serve.
- Assemble the punch bowl: Just before your party starts, pour the juice mixture into your punch bowl. Add the lemon-lime soda and ginger ale. Stir gently—you don’t want to lose all the bubbles.
- Release the hand: Here’s the moment of truth. Run the glove under warm water for about 30 seconds to loosen the ice. Carefully peel the glove away from the ice hand. It should slide off pretty easily if you’ve frozen it long enough. If it’s stuck, run it under warm water a little longer. Once the glove is off, you’ll have a creepy, colored ice hand.
- Add the hand to the punch: Gently place the ice hand into the punch bowl, fingers pointing up. It will float to the surface, and as the punch warms it up, the hand will slowly rise and bob. This is the spooky effect you’re going for!
- Add garnishes and serve: Drop in some gummy worms, orange slices, or whatever garnishes you like. If you’re using dry ice, add it now according to the package instructions. Serve the punch with a ladle, making sure to warn guests about the floating hand so they don’t get too startled.
A quick note: the hand will start to melt after about an hour, so this is best served within the first 90 minutes of your party. If you want it to last longer, you can make two hands and swap them out when the first one gets too small.
Cooking Tips & Techniques
I’ve made this punch more times than I can count, and I’ve picked up a few tricks along the way. Let me share the ones that made the biggest difference:
The biggest mistake I see people make is using tap water. Tap water has minerals and air bubbles that make ice look cloudy and white. For a truly creepy hand, you want clear ice that looks almost glassy. Distilled water is the secret. It freezes clear and shows off the food coloring much better. I know it’s an extra step, but trust me—it’s worth it.
Another common issue is the hand looking bloated or misshapen. This happens when you fill the glove too full or don’t shape the fingers before freezing. Take the extra minute to curl the fingers and press out any air pockets. I also like to tap the glove gently on the counter after filling it to release any trapped bubbles. A smooth, bubble-free hand looks much more realistic.
Timing is everything with this recipe. The hand needs at least 12 hours to freeze solid, but I recommend starting it 24 hours ahead. That gives you a buffer in case something goes wrong (like the first time I tried this and the glove leaked in the freezer—what a mess). Also, don’t add the soda and ginger ale until right before serving. If you add them too early, the fizz will be gone and the punch will taste flat.
One lesson I learned the hard way: make sure the glove is completely sealed. I once used a twist tie that wasn’t tight enough, and the water slowly leaked out overnight. I woke up to a puddle of red water in my freezer and a half-formed, sad-looking hand. Now I double-check the seal and even add a second rubber band for security.
For the most dramatic effect, serve the punch in a dimly lit room. The red color and floating hand look much spookier in low light. I usually turn off the overhead lights and use a few candles or string lights instead. It sets the mood perfectly.
Variations & Adaptations
One of the best things about this recipe is how easy it is to adapt. Here are a few variations I’ve tried and loved:
Kid-Friendly Version: Skip the ginger ale and use all lemon-lime soda for a sweeter, milder punch. You can also use a lighter hand color—try green or purple food coloring for a less “bloody” look. My niece’s friends loved the green hand version at their Halloween party last year.
Adult Halloween Party Punch: Add 1-2 cups of vodka, white rum, or bourbon to the punch base. I’ve found that vodka works best because it doesn’t compete with the fruit flavors. Just stir it in right before serving so the alcohol doesn’t affect the color.
Non-Alcoholic “Spooky” Version: For a punch that feels grown-up without the alcohol, use a combination of sparkling water and ginger beer instead of soda. The ginger beer adds a nice spicy kick that adults will appreciate.
Different Hand Colors: Instead of red, try using blue food coloring for a frozen, icy look, or green for a swampy, monster vibe. I once made a purple hand for a witch-themed party, and it was a huge hit.
Dietary Adaptations: This punch is naturally vegan and gluten-free as long as you check your food coloring (some brands use animal-based ingredients). For a lower-sugar version, use unsweetened cranberry juice and diet lemon-lime soda. The taste will be slightly different, but the visual effect is the same.
Add-ins for Extra Creepiness: Before freezing the hand, drop a few gummy worms or candy eyeballs into the glove. They’ll freeze inside the hand and look like weird, floating veins or growths. It’s gross in the best possible way.
Serving & Storage Suggestions
This punch is best served cold, right after you assemble it. The hand will slowly melt over the course of about an hour, so plan to serve it within the first 90 minutes of your party for maximum visual impact. Here’s how I like to set it up:
Place the punch bowl on a separate table from the food, if possible. It deserves to be the centerpiece. I usually surround it with small cups or glasses, a ladle, and a few extra garnishes so guests can customize their drinks. A small sign warning about the “floating hand” adds to the fun—and prevents anyone from accidentally sticking their hand in the bowl to grab an ice cube.
For storage, the punch base (without the soda and hand) can be made a day ahead and kept in the refrigerator. Just give it a good stir before adding the fizzy ingredients. The frozen hand can be made up to a week in advance and stored in a sealed plastic bag in the freezer. Just make sure it’s completely frozen before you bag it, or it will stick to the bag and lose its shape.
Leftover punch can be stored in the refrigerator for up to 3 days. The soda will go flat, but it’s still drinkable. I like to use leftovers as a base for smoothies or freeze them into ice cubes for future drinks. The hand, once melted, is obviously gone—but you can always make a new one for round two!
One thing I’ve noticed: the flavors actually meld together and get better after a few hours in the fridge. If you’re making the punch base ahead of time, the cranberry and pineapple flavors will deepen and become more cohesive. Just don’t add the soda until you’re ready to serve.
Nutritional Information & Benefits
Let’s be honest—this is a party punch, not a health drink. But that doesn’t mean it’s completely empty calories. Here’s a rough breakdown per 8-ounce serving (without alcohol):
- Calories: Approximately 120-150
- Carbohydrates: 30-35g (mostly from natural fruit sugars)
- Sugar: 25-30g (depending on the juice brands you use)
- Vitamin C: A solid dose from the orange and pineapple juices—about 60% of your daily value
- Antioxidants: Cranberry juice is packed with antioxidants that support immune health
If you’re watching your sugar intake, you can lighten this up by using unsweetened juices and diet soda. The flavor will be tarter, but it’s still refreshing. For a lower-calorie option, swap the pineapple juice for more sparkling water and use a sugar-free cranberry juice blend.
Potential allergens to note: This recipe is free of the top eight allergens (dairy, eggs, peanuts, tree nuts, soy, wheat, fish, shellfish) as written. However, always check your food coloring and any garnishes for hidden allergens. The gummy worms I use are made in a facility that processes wheat, so if you have celiac disease, look for certified gluten-free candies.
My personal take? This is a treat for special occasions, and I don’t stress about the sugar content. Halloween comes once a year. Enjoy the spooky fun, and maybe balance it out with a veggie tray on the side.
Conclusion
This Spooky Frozen Hand Halloween Punch is more than just a drink—it’s a conversation starter, a photo op, and a memory maker. I’ve made it for three Halloweens now, and it never fails to get the reaction I’m hoping for. The gasps, the laughs, the “how did you do that?!” questions—it’s all part of the fun.
What I love most about this recipe is that it looks incredibly complicated but is actually pretty simple. Anyone can do it. You don’t need to be a pastry chef or a special effects artist. You just need a glove, some juice, and a little bit of patience. And the payoff? Watching people’s faces when they see that hand floating in the punch bowl is absolutely priceless.
I’d love to hear how yours turns out. Did you add gummy worms inside the hand? Did you use a different color? Did anyone actually scream? Drop a comment below and share your spooky creation. And if you’re looking for more Halloween party ideas, check out my easy Halloween appetizers and spiderweb dip recipe—they pair perfectly with this punch for a full spooky spread.
Now go forth and make something wonderfully weird. Happy Halloween, friends!
Frequently Asked Questions
Can I make the frozen hand more than a week in advance?
Yes, absolutely. Once the hand is fully frozen, wrap it tightly in plastic wrap and then place it in a sealed freezer bag. It will keep for up to two weeks without any issues. Just make sure your freezer doesn’t have any strong odors (like garlic or fish) that could transfer to the ice.
What if I can’t find food-grade latex gloves?
No problem. You can use nitrile gloves, which are also food-safe and widely available. Avoid vinyl gloves, as they can be thin and prone to tearing. If you’re really stuck, a clean, unused disposable glove from a first-aid kit will work in a pinch, but check the packaging for food-safety information.
How do I get the hand to float with fingers pointing up?
The key is in how you position the glove while freezing. Lay the glove flat on a baking sheet with the fingers slightly curled upward. As the water freezes, the fingers will set in that raised position. When you add the hand to the punch, the fingers will naturally float upward because they’re less dense than the liquid. If your hand sinks or floats sideways, it just means the fingers were positioned differently during freezing—it’ll still look spooky!
Can I use this recipe for a non-Halloween party?
Definitely. You can adapt the color and theme for any occasion. Use green food coloring for a St. Patrick’s Day “zombie hand,” pink for a Valentine’s Day “love punch,” or clear ice with edible flowers for a more elegant look. The technique is the same—just change the colors and garnishes to match your theme.
What’s the best way to clean the punch bowl after the hand melts?
The food coloring can stain porous surfaces, so I recommend using a glass or ceramic punch bowl. To clean it, rinse with cold water first (hot water can set the stain), then wash with warm, soapy water. If there’s any lingering color, a paste of baking soda and water rubbed gently on the stain should lift it. Avoid abrasive scrubbers that could scratch the surface.
Pin This Recipe!
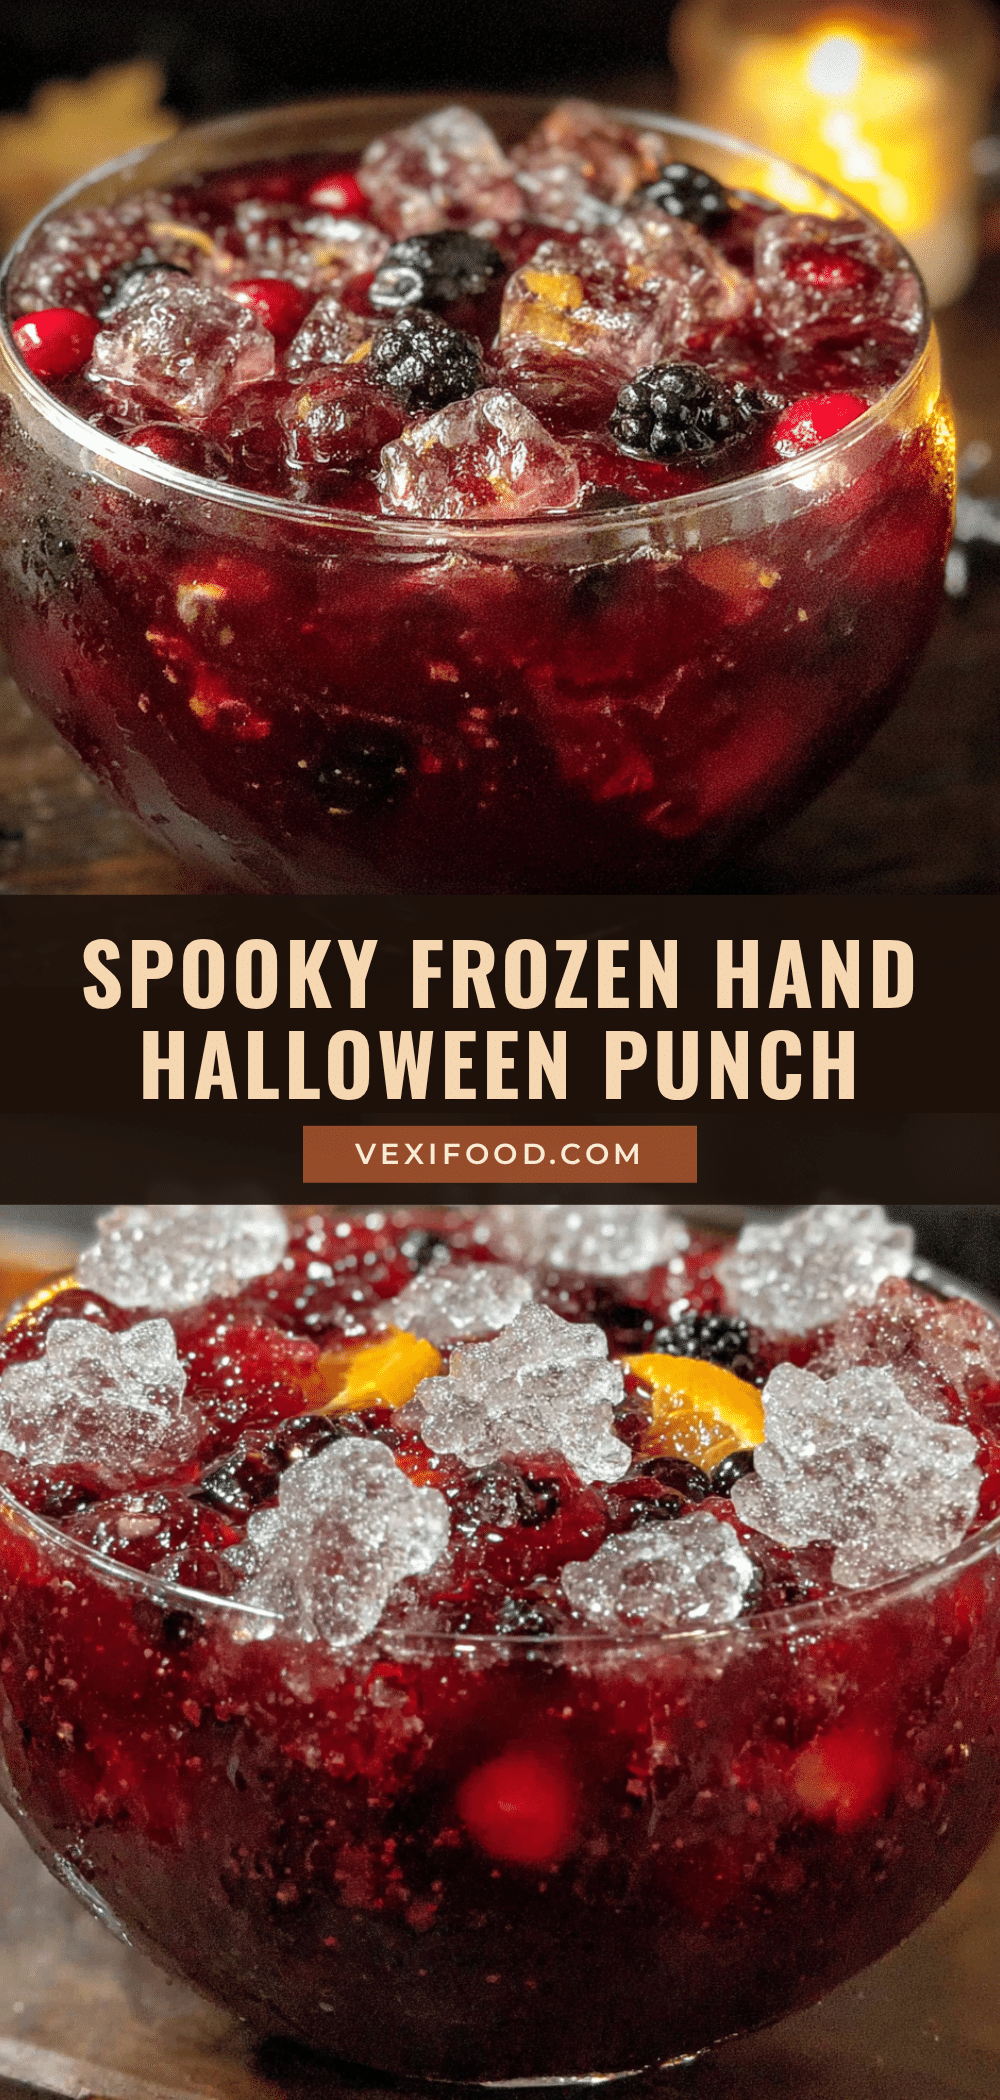
Spooky Frozen Hand Halloween Punch: Easy Party Recipe
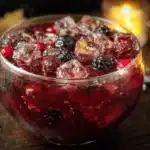
A show-stopping Halloween punch featuring a creepy frozen hand floating in a bright, refreshing blend of cranberry, pineapple, and citrus juices. This easy recipe creates a spooky centerpiece that’s guaranteed to get gasps and photos at any Halloween party.
- Prep Time: 15 minutes
- Cook Time: 0 minutes
- Total Time: 12 hours 15 minutes (includes freezing time)
- Yield: 12 servings 1x
- Category: Beverage
- Cuisine: American
Ingredients
- 1 food-grade latex glove (powder-free)
- 3–4 cups distilled water
- 10–15 drops red gel food coloring
- Optional: gummy worms or candy eyeballs (for freezing inside the hand)
- 6 cups cranberry juice (unsweetened or cocktail blend)
- 4 cups pineapple juice
- 2 cups orange juice
- 1 cup lemon-lime soda (like Sprite or 7UP)
- 1 cup ginger ale
- 1 cup water
- Ice cubes (regular, for serving)
- Fresh orange or lemon slices (for garnish, optional)
- Gummy worms or spiders (for garnish, optional)
- Dry ice (for smoky effect, optional, handle with care)
- Fresh mint leaves (for garnish, optional)
Instructions
- Prepare the glove the night before: Rinse the inside of the food-grade glove with distilled water to remove any dust or residue. Turn it inside out and rinse again.
- Color the water: In a measuring cup, mix 3 cups of distilled water with 10-15 drops of red gel food coloring. Stir until the color is even, aiming for a deep, bloody red.
- Fill the glove: Carefully pour the colored water into the glove, leaving about an inch at the top. Fill until the fingers are plump but not stretched.
- Seal and shape: Twist the open end of the glove and secure it with a rubber band or twist tie. Lay the glove flat on a baking sheet and gently shape the fingers so they are slightly curled inward.
- Freeze flat: Place the baking sheet with the glove in the freezer, ensuring it is completely flat. Freeze for at least 12 hours, preferably 24 hours.
- Prepare the punch base (30 minutes before serving): In a large pitcher or mixing bowl, combine the cranberry juice, pineapple juice, orange juice, and water. Stir well and refrigerate until ready to serve.
- Assemble the punch bowl: Just before serving, pour the juice mixture into a large punch bowl. Add the lemon-lime soda and ginger ale. Stir gently.
- Release the hand: Run the glove under warm water for about 30 seconds to loosen the ice. Carefully peel the glove away from the ice hand.
- Add the hand to the punch: Gently place the ice hand into the punch bowl, fingers pointing up. It will float to the surface.
- Add garnishes and serve: Drop in gummy worms, orange slices, or other garnishes. If using dry ice, add it according to package instructions. Serve with a ladle, warning guests about the floating hand.
Notes
The hand will start to melt after about an hour, so serve within 90 minutes. For longer parties, make two hands and swap them out. Use distilled water for clear ice. Gel food coloring gives the best color. The punch base (without soda and hand) can be made a day ahead. Leftover punch can be refrigerated for up to 3 days.
Nutrition
- Serving Size: 8 ounces
- Calories: 135
- Sugar: 28
- Sodium: 15
- Carbohydrates: 33
Keywords: Halloween punch, frozen hand punch, spooky punch, Halloween drink, party punch, cranberry punch, easy Halloween recipe