Love this? Save it for later!
Share the inspiration with your friends
My six-year-old neighbor, Lily, asked why I couldn’t just dip pretzel rods in green candy melts and call them witch fingers. I started to explain why that wouldn’t work — that real witch fingers needed that knobby knuckle look, the almond nail, the creepy factor. Then I stopped. She was holding up a bag of pretzel rods with this look that said, “Why are you making this complicated?”
Honestly, she had a point. I had been overthinking it for weeks, browsing Pinterest boards full of intricate sugar cookies and fondant monstrosities that would take me three hours per batch. Lily’s question cut right through all that noise. Why couldn’t I just use pretzel rods? They’re already finger-shaped. They’re salty, which contrasts perfectly with sweet coating. And they’re sturdy enough to hold up to dipping without snapping in half.
That afternoon, I grabbed a bag of pretzel rods from the pantry, a package of green candy melts I’d been hoarding since last Halloween, and a jar of sliced almonds. I melted the candy in the microwave — and promptly forgot about it for thirty seconds, resulting in a lumpy, scorched mess. Round two went better. I dipped the first pretzel rod, pressed an almond onto the tip, and used a toothpick to create little crease lines at the “knuckles.”
I brought the finished tray over to Lily’s house. Her mom laughed so hard she almost dropped her coffee. Lily grabbed one, inspected it seriously, then took a bite. “Told you,” she said with a shrug and a grin.
Maybe you’ve been there — that moment when a kid suggests something so simple and obvious that you feel a little embarrassed you didn’t think of it yourself. These Spooky Witch Finger Pretzel Rods are proof that sometimes the best Halloween treats come from listening to the six-year-olds in your life. They’re creepy, they’re delicious, and they come together in about twenty minutes. I’ve been making them every October since, and I still think about Lily’s smug little face every single time.
Why You’ll Love This Recipe
Let me tell you why these Spooky Witch Finger Pretzel Rods have earned a permanent spot in my Halloween rotation. I’ve tested this recipe at three different Halloween parties, two classroom celebrations, and one very memorable movie night where the kids refused to eat anything else. Here’s what makes them stand out:
- Incredibly Easy: You need exactly four ingredients and about twenty minutes. No baking, no complicated techniques, no fancy equipment. If you can melt chocolate and dip things, you can make these.
- Kid-Friendly Activity: This is the perfect recipe to make with children. The dipping is messy in a fun way, and decorating the “knuckles” feels like arts and crafts you can eat afterward.
- Naturally Gluten-Free Adaptable: Use gluten-free pretzel rods and dairy-free candy melts, and you’ve got a treat that works for almost everyone at the party.
- Perfectly Balanced Flavors: The salty pretzel crunch against the sweet candy coating creates that irresistible sweet-and-salty combo that makes you reach for just one more.
- Customizable Creep Factor: You can make them as mild or as gory as you want. Add red drizzle for blood effects, use different colors for zombie or monster themes, or keep them classic witch green.
- Travel-Friendly: Unlike frosted cookies that smudge or cupcakes that slide around, these pretzel rods hold their shape and are easy to pack for parties or school events.
This isn’t just another Halloween treat recipe. I’ve refined the dipping technique so the coating is smooth and even. I’ve figured out exactly how to position the almond nail so it stays put. And I’ve learned the hard way which candy melts work best (hint: not the cheap store brand that separates into a greasy mess). These Spooky Witch Finger Pretzel Rods are the version I wish I’d had when Lily first asked me that question.
They’re the kind of treat that makes people do a double-take — then laugh, then grab three. Perfect for Halloween parties, classroom treats, or just making a Tuesday in October feel a little more magical.
What Ingredients You Will Need
This recipe uses simple, straightforward ingredients to create maximum creepy effect with minimum fuss. Most of these items are available at any grocery store, though you might need to hunt a little for the green candy melts depending on the season.
For the Witch Fingers
- Pretzel rods (12-15 rods) — Look for thick, sturdy pretzel rods that won’t snap easily. I prefer the Utz brand for their consistent thickness and satisfying crunch. Avoid thin pretzel sticks, as they’ll break during dipping.
- Green candy melts (10 ounces or one standard bag) — These are the foundation of your witch finger color. Wilton brand melts smoothly and dries with a nice matte finish. If you can’t find green, white candy melts with green food coloring work, but the color won’t be as vibrant.
- Sliced almonds (about 30-40 pieces) — These become the fingernails. Look for whole sliced almonds, not slivered or chopped. The natural curve of the almond mimics a real nail beautifully. You’ll need one almond per pretzel rod, plus a few extras for breakage.
- Optional: Red decorating gel or red candy melts — For adding “blood” effects at the nail base or knuckle joints. This is entirely optional but takes the creep factor from fun to fantastic.
Ingredient Selection Tips
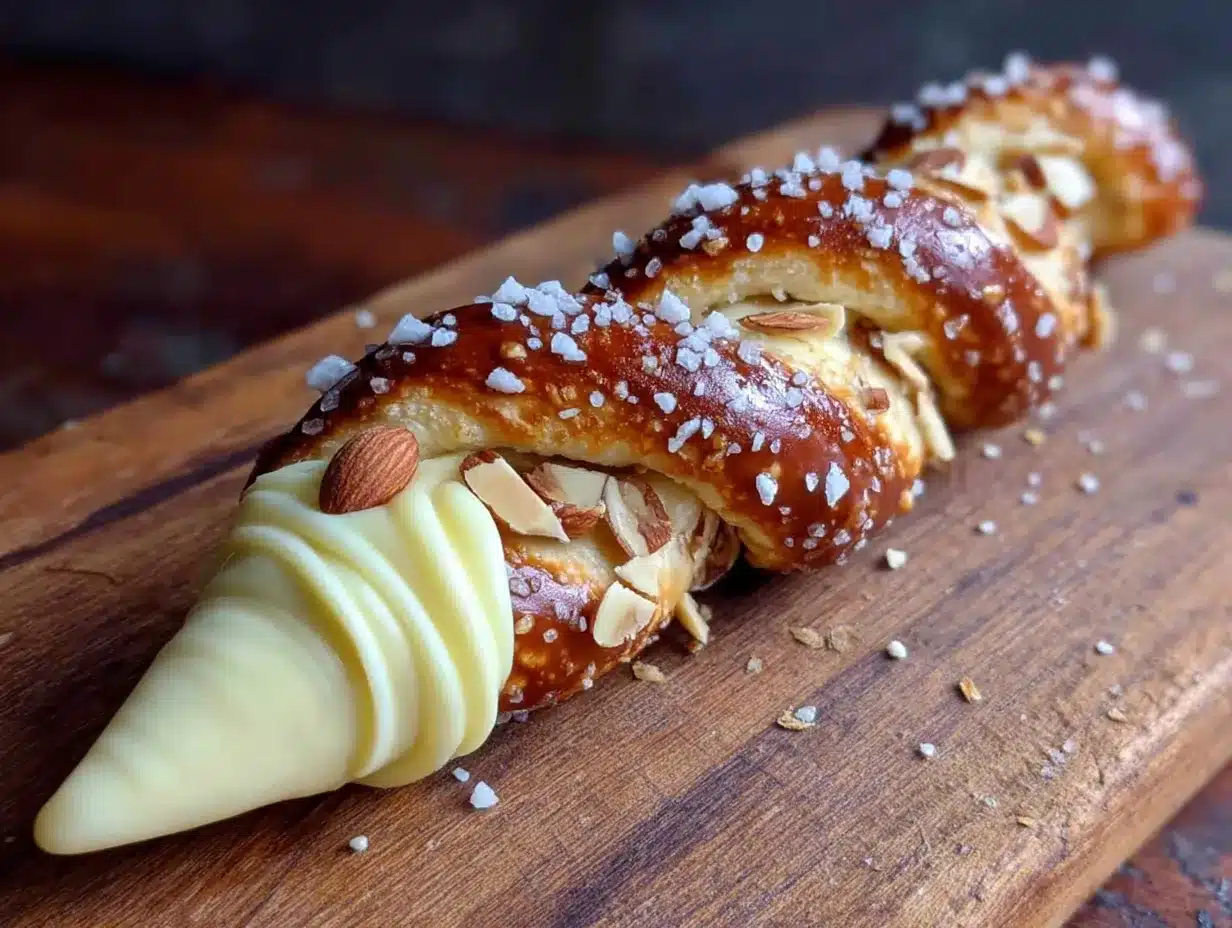
I’ve learned through trial and error that not all candy melts are created equal. The cheap store brand stuff tends to seize up and turn into a grainy paste that won’t coat evenly. Spend the extra dollar on Wilton or Merckens brand — your witch fingers will look smoother and more professional.
For the pretzel rods, check the expiration date. Stale pretzels will taste flat and won’t have that satisfying snap when bitten. Fresh pretzel rods make all the difference in texture.
If you’re making these for a classroom or party with dietary restrictions, look for gluten-free pretzel rods at health food stores or online. The candy melts are typically dairy-free, but always check the label — some brands add milk solids.
Substitution Guidance
- No green candy melts? Use white melts with green gel food coloring. Add the color drop by drop until you reach the desired shade. Avoid liquid food coloring, which can cause the melts to seize.
- Nut allergy concerns? Skip the almond nails entirely. You can pipe a small dollop of green candy melt at the tip and let it set to form a “nail” shape, or use a small piece of dried fruit like a raisin or dried cranberry.
- Want different colors? These work beautifully in purple, orange, or even black for a more general Halloween theme. Red or pink could work for zombie or monster-themed parties.
Equipment Needed
You don’t need a professional pastry kitchen for these Spooky Witch Finger Pretzel Rods. Here’s what you’ll need:
- Microwave-safe bowl — For melting the candy. Glass or ceramic works best. Avoid plastic bowls that might stain or retain odors.
- Parchment paper or wax paper — For setting the dipped pretzels. The candy won’t stick to either surface. A baking sheet underneath gives you a stable work surface.
- Toothpicks — For creating the knuckle crease lines and adjusting almond placement. You’ll want at least two or three on hand.
- Small offset spatula or butter knife — For smoothing the candy coating if needed, though a good dip usually does the trick.
- Baking sheet or large cutting board — To hold your parchment paper and provide a stable surface for the pretzels to set.
I’ve made these with nothing but a microwave, a cereal bowl, and a piece of parchment paper. It works fine. But if you want to get fancy, a double boiler setup gives you more control over the melting process and reduces the risk of scorching. I bought a cheap double boiler insert at a thrift store for three dollars, and it’s been worth every penny for candy work.
One tip: keep a damp paper towel nearby to wipe melted candy off your fingers. Trust me, you’ll get it everywhere the first few times. It’s part of the fun.
Preparation Method
- Line your work surface. Place a sheet of parchment paper on a baking sheet or cutting board. This is where your witch fingers will set. Make sure you have enough room to lay out all the pretzel rods without crowding.
- Prepare the almond nails. Sort through your sliced almonds and pick out the best-looking pieces — ones with a nice curve and no cracks. You’ll need one per pretzel rod. Set them aside within easy reach.
- Melt the green candy melts. Pour the candy melts into a microwave-safe bowl. Microwave in 30-second intervals at 50% power, stirring thoroughly between each interval. This gentle approach prevents scorching. After about 90 seconds total, the melts should be smooth and fully liquid. If they’re too thick, add a teaspoon of coconut oil or vegetable shortening and stir until smooth. Warning: Do not add water or butter — even a drop will cause the candy to seize into a grainy, unusable mess.
- Test the temperature. Dip a clean finger into the melted candy. It should feel warm but not hot. If it’s too hot, let it cool for a minute or two. Hot candy will melt the almond’s placement and create a mess.
- Dip the first pretzel rod. Hold a pretzel rod by the end and submerge about two-thirds of it into the melted green candy. Twist gently as you pull it out to encourage excess candy to drip off. Let the excess drip back into the bowl for a few seconds. You want a thin, even coating — not a thick glob.
- Place the almond nail. Immediately after dipping, press a sliced almond onto the tip of the pretzel rod. Position it so the curved side faces outward, like a real fingernail. Press gently but firmly so it adheres. The almond should extend slightly past the end of the pretzel rod.
- Create the knuckle creases. While the candy is still wet, use a toothpick to draw two or three horizontal lines across the middle of the dipped section. These lines should look like the creases on a real knuckle. Don’t press too hard — you’re just parting the candy, not digging into the pretzel.
- Add wrinkle details (optional). Use the toothpick to create tiny vertical lines near the knuckle creases for added realism. Think of the wrinkles on an old witch’s hand. A few subtle lines go a long way.
- Set the pretzel rod on parchment. Carefully place the finished witch finger on the parchment paper. The almond nail should be pointing outward. Repeat steps 5-9 for all remaining pretzel rods.
- Add blood effects (optional). If you want extra creepy fingers, let the green coating set for about 10 minutes, then use red decorating gel to add a small dab at the base of the almond nail. It looks like the witch just pricked her finger on something sharp.
- Let them set completely. Allow the witch fingers to sit at room temperature for about 20-30 minutes, or until the candy coating is firm to the touch. Don’t rush this step — moving them too early will smudge your knuckle details and ruin the effect.
- Display and serve. Arrange the finished witch fingers on a platter, pointing outward in a fan shape for maximum creepy impact. You can also stand them upright in a jar or cup for a “hand reaching out of the ground” effect.
One thing I learned the hard way: don’t try to speed-set these in the refrigerator. The condensation will make the candy coating look dull and spotty. Room temperature setting gives you that nice matte witchy finish.
Cooking Tips & Techniques
After making about a hundred of these things over the past few Halloweens, I’ve picked up a few tricks that make the process smoother and the results more impressive.
Keep your candy warm but not hot. If the candy starts to thicken as you work, pop it back in the microwave for 10 seconds at half power. But don’t overheat it — candy that’s too hot will run off the pretzel rod and pool on your parchment, leaving you with a thin, uneven coating.
Work in small batches. Don’t try to dip all twelve pretzel rods at once if you’re new to this. Dip three or four, place the almonds, add the knuckle lines, then move on to the next batch. The candy sets faster than you think, and you’ll feel rushed if you try to do too many at once.
Use a dipping fork or two forks. If you hate getting melted candy all over your fingers, use two forks to lower and retrieve the pretzel rod. It takes a little practice, but it keeps your hands clean and gives you more control over the coating thickness.
My biggest failure: I once tried to use red food coloring in white candy melts to make blood effects. The liquid coloring seized the entire batch into a lumpy, unusable mess. I had to throw it out and start over. Use gel food coloring or, better yet, pre-colored candy melts. Learn from my mistake.
Timing strategy: These witch fingers are best made the day before you need them. They set overnight and the flavors meld together beautifully. Plus, you’re not scrambling on party day. Just arrange them on a platter and you’re done.
Consistency tip: If your candy coating is too thick, add a teaspoon of coconut oil or vegetable shortening. If it’s too thin, let it cool for a minute and stir — sometimes it just needs to thicken slightly. The perfect consistency is like warm honey: it coats the pretzel rod smoothly but doesn’t run off too quickly.
Variations & Adaptations
One of the best things about this recipe is how easy it is to adapt. Here are some variations I’ve tried and loved:
Zombie Fingers
Use gray or pale green candy melts instead of bright green. Add red decorating gel at the knuckle creases and the base of the nail for a gory, undead look. These were a huge hit at my nephew’s zombie-themed birthday party.
Monster Claws
Skip the almond nails and press a small candy corn into the tip of each pretzel rod instead. The orange and white stripes look like monster claws. Use purple or black candy melts for the coating. My kids went absolutely wild for these.
Gluten-Free Version
Use gluten-free pretzel rods (available at most health food stores or online). The rest of the ingredients are naturally gluten-free. Just double-check the candy melt labels — some brands process them in facilities that also handle wheat.
Dairy-Free Version
Most candy melts are dairy-free, but check the label to be sure. Wilton brand is typically dairy-free, while some generic brands add milk solids. Serve immediately or store at room temperature — refrigeration can cause condensation that ruins the finish.
Spider Web Effect
After the green coating sets, drizzle white candy melts in a thin zigzag pattern across the surface. Use a toothpick to drag the white lines into a web pattern. This is more time-consuming but looks incredible for a more elaborate Halloween display.
Serving & Storage Suggestions
These Spooky Witch Finger Pretzel Rods are best served at room temperature. The candy coating is firm but not rock-hard, and the pretzel retains its satisfying crunch. Arrange them on a black platter or dark-colored tray for maximum visual impact. I like to fan them out in a circle with the almond nails pointing outward, like a witch’s hand reaching up from below.
For a truly creepy presentation, stand them upright in a clean tin can or mason jar filled with black beans or coffee grounds. The beans hold the pretzels in place and look like dirt from a distance. Add a few fake spider webs around the base for extra atmosphere.
Storage: Store leftover witch fingers in an airtight container at room temperature for up to one week. Layer them between sheets of parchment paper to prevent sticking. Do not refrigerate — the moisture will make the candy coating dull and sticky.
Freezing: These freeze surprisingly well. Place them in a single layer on a baking sheet and freeze for one hour, then transfer to a freezer bag. They’ll keep for up to three months. Thaw at room temperature for about 30 minutes before serving. The texture is almost as good as fresh.
Flavor development: The pretzel absorbs a tiny bit of the candy flavor overnight, creating a more integrated taste. I actually prefer them the day after making them — the flavors have mellowed and blended together beautifully.
Nutritional Information & Benefits
These Spooky Witch Finger Pretzel Rods are a treat, not a health food, but here’s what you should know:
- Calories: Approximately 120-150 calories per witch finger, depending on coating thickness
- Carbohydrates: Mostly from the pretzel rod and candy coating
- Fat: Minimal — about 4-6 grams per serving, primarily from the candy melts
- Protein: About 2 grams per serving from the almond and pretzel
The almonds actually add a small amount of healthy fats, vitamin E, and magnesium. So there’s that tiny silver lining. The pretzel provides quick energy, and the candy coating is mostly sugar — which is exactly what you want in a Halloween treat.
If you’re watching your sugar intake, you can use sugar-free candy melts (available at specialty baking stores) or reduce the coating thickness by dipping only the top half of the pretzel rod. The visual effect is slightly different, but the taste is still fantastic.
For allergen considerations: these contain wheat (pretzels), almonds (tree nuts), and potentially dairy (check candy melt labels). Always inform guests about ingredients if serving at a party.
Conclusion
These Spooky Witch Finger Pretzel Rods are the Halloween treat that keeps on giving. They’re easy enough for a weeknight project with the kids, impressive enough for a party platter, and delicious enough that people will reach for seconds before they even notice the creepy details.
I love this recipe because it proves that you don’t need complicated techniques or expensive ingredients to create something memorable. A six-year-old’s simple question led me to a recipe that’s become a October tradition in our house. Every time I make them, I think about Lily standing in my kitchen with her bag of pretzel rods and her unshakeable confidence that she was right. She was.
I’d love to hear how yours turn out. Did you add blood effects? Try a different color? Did your kids come up with their own variations? Drop a comment below and share your witch finger creations. And if you’re looking for more Halloween fun, check out my Halloween popcorn balls and mummy hot dogs for a complete spooky spread.
Happy Halloween, and may your kitchen be full of sweet, salty, slightly creepy treats!
Frequently Asked Questions
Can I make these witch fingers ahead of time?
Absolutely! In fact, they’re better made a day ahead. Store them in an airtight container at room temperature for up to a week. The flavors meld together overnight for a more cohesive taste.
Why did my candy melts seize up?
Most likely, a tiny amount of water or steam got into the bowl. Candy melts are extremely sensitive to moisture. Always use completely dry bowls and utensils. If they do seize, try adding a teaspoon of coconut oil and stirring vigorously — sometimes you can save them.
Can I use white chocolate instead of candy melts?
You can, but white chocolate behaves differently. It needs to be tempered to set properly, otherwise it stays soft and sticky at room temperature. Candy melts are formulated to set firm without tempering, which makes them much easier to work with for this recipe.
How do I get the almond nail to stay on?
Press the almond firmly into the wet candy coating immediately after dipping. The candy acts as glue. If the almond falls off after setting, you can reattach it with a tiny dab of melted candy. Make sure your almonds aren’t stale — fresh ones have more natural oil that helps them stick.
Can I use regular pretzel sticks instead of rods?
Regular pretzel sticks are too thin and fragile — they’ll snap during dipping. Stick with thick pretzel rods for the best results. If you can only find thin sticks, try dipping just the top inch or two and making “mini” witch fingers. They’re cute but less dramatic.
Pin This Recipe!
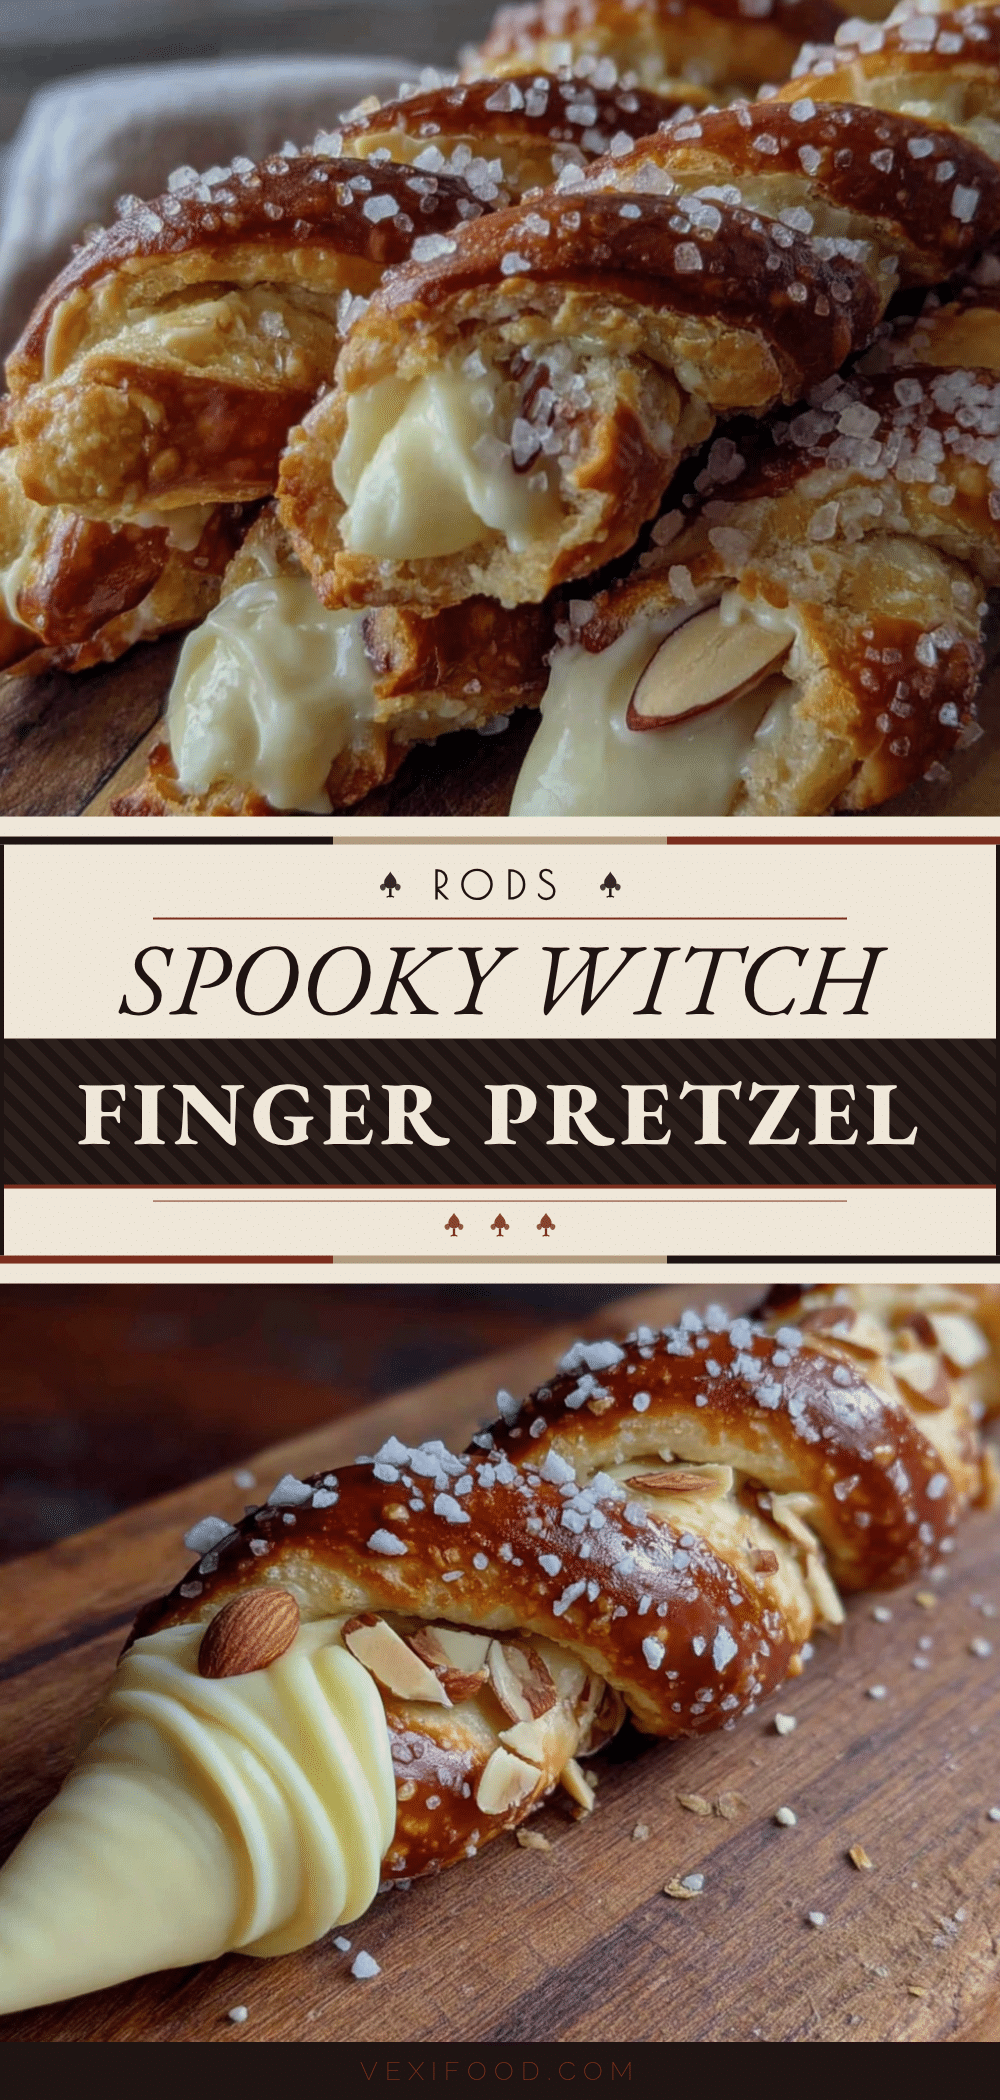
Spooky Witch Finger Pretzel Rods: Best Easy Halloween Treat

These Spooky Witch Finger Pretzel Rods are a quick and easy Halloween treat made with pretzel rods, green candy melts, and sliced almonds. They’re creepy, delicious, and come together in about twenty minutes.
- Prep Time: 10 minutes
- Cook Time: 10 minutes
- Total Time: 20 minutes
- Yield: 12-15 servings 1x
- Category: Dessert
- Cuisine: American
Ingredients
- 12–15 pretzel rods (thick, sturdy ones like Utz brand)
- 10 ounces green candy melts (e.g., Wilton brand)
- 30–40 sliced almonds (whole, not slivered)
- Optional: red decorating gel or red candy melts for blood effects
Instructions
- Line your work surface with parchment paper on a baking sheet or cutting board.
- Sort through sliced almonds and pick out the best-looking pieces (one per pretzel rod). Set aside.
- Pour green candy melts into a microwave-safe bowl. Microwave in 30-second intervals at 50% power, stirring thoroughly between each interval, until smooth (about 90 seconds total). If too thick, add 1 teaspoon coconut oil or vegetable shortening.
- Test the temperature: dip a clean finger into the melted candy; it should feel warm but not hot.
- Hold a pretzel rod by the end and submerge about two-thirds into the melted green candy. Twist gently as you pull it out to drip off excess.
- Immediately press a sliced almond onto the tip of the pretzel rod, curved side outward, extending slightly past the end.
- While candy is still wet, use a toothpick to draw 2-3 horizontal lines across the middle of the dipped section to create knuckle creases.
- Optional: Use the toothpick to create tiny vertical lines near the knuckle creases for added wrinkle details.
- Place the finished witch finger on the parchment paper, almond nail pointing outward. Repeat steps 5-9 for all pretzel rods.
- Optional: Let green coating set for 10 minutes, then add a small dab of red decorating gel at the base of the almond nail for blood effects.
- Let witch fingers set at room temperature for 20-30 minutes until candy coating is firm.
- Arrange on a platter, pointing outward in a fan shape, or stand upright in a jar filled with black beans or coffee grounds.
Notes
Do not refrigerate to set; condensation will dull the finish. Use gel food coloring if coloring white melts, not liquid. For gluten-free, use gluten-free pretzel rods. For dairy-free, check candy melt labels. Best made a day ahead.
Nutrition
- Serving Size: 1 witch finger
- Calories: 120150
- Sugar: 1215
- Sodium: 200250
- Fat: 46
- Saturated Fat: 23
- Carbohydrates: 1822
- Fiber: 1
- Protein: 2
Keywords: Halloween treats, witch fingers, pretzel rods, easy Halloween recipe, kid-friendly Halloween, spooky snacks