Love this? Save it for later!
Share the inspiration with your friends
The woman at the community garden plot next to mine watched me fumbling with a bag of flour that had split open in my tote bag. She didn’t say anything at first. Then she just reached into her own basket and pulled out a small glass jar filled with a pale, golden liquid. “Brown butter,” she said, like it was the most obvious thing in the world. “Put that in your cookies next time. You’ll never go back.” I thanked her, honestly a little confused, and tucked the jar into my bag next to the flour mess. Her name was Clara, and she grew the most incredible heirloom tomatoes I had ever tasted.
That jar sat on my counter for three days before I finally worked up the nerve to use it. I mean, I had made chocolate chip cookies a hundred times. They were fine. Good, even. But Clara’s quiet confidence stuck with me. So on a rainy Tuesday afternoon, I swapped out my usual melted butter for her mysterious brown butter. The smell that filled my kitchen was something else entirely—nutty, warm, almost like toasted hazelnuts. The dough looked different, felt different. I’ll admit, I was nervous pulling that first tray out of the oven.
One bite and I actually laughed out loud. That’s the honest truth. The edges were perfectly crisp, the centers were soft and chewy, and that deep, almost caramel flavor ran through every single crumb. I went back to the garden the next week to thank Clara, and she just smiled. “Told you,” she said. I’ve been making these chewy brown butter chocolate chip cookies ever since, and honestly, I don’t think I’ll ever make them any other way. Maybe you’ve had that moment with a recipe—where someone shares something small and it completely changes how you cook. That’s what this cookie is for me.
Why You’ll Love This Recipe
Let me tell you, these aren’t just any chocolate chip cookies. They’re the kind that disappear from the cooling rack before you can even get them into a container. And the best part? They’re made with simple ingredients you probably already have in your pantry. No fancy extracts, no weird stabilizers—just real butter, sugar, flour, and chocolate.
- Quick & Easy : Comes together in under 30 minutes, perfect for when a cookie craving hits hard on a weeknight.
- Simple Ingredients : No need for a special trip to the store. You likely have everything except maybe the chocolate chips.
- Perfect for Sharing : Great for bake sales, potlucks, or just surprising your coworkers on a Monday morning.
- Crowd-Pleaser : I’ve brought these to parties and watched people who “don’t really like sweets” go back for thirds.
- Unbelievably Chewy : The texture is next-level. The brown butter adds a richness that makes these feel special without being fussy.
What makes this recipe different from the rest? It’s the technique. Browning the butter adds a nutty, toasty depth that regular butter just can’t match. And by chilling the dough for just 30 minutes, you get that perfect balance of crispy edges and soft, chewy centers. This isn’t just another cookie recipe—it’s the one you’ll come back to again and again.
These cookies have that magical quality where they feel both indulgent and somehow wholesome. They’re comfort food, reimagined. A little healthier in spirit, maybe, because you’re using real ingredients and taking the time to do something special. But make no mistake—they’re still a treat. The kind that makes you close your eyes after the first bite.
What Ingredients You Will Need
This recipe uses simple, wholesome ingredients to deliver that incredible flavor and chewy texture. Most of these are pantry staples, but a couple of them need a little extra attention to get the best results.
For the Cookie Dough:
- 1 cup (2 sticks) unsalted butter — This is the star of the show. You’ll be browning it, so skip the salted butter here to control the salt level. I prefer using a good quality European-style butter like Kerrygold for the richest flavor, but any unsalted butter works fine.
- 1 ¼ cups packed light brown sugar — Brown sugar adds moisture and that deep, molasses-like sweetness that pairs perfectly with the nutty brown butter. Don’t substitute with white sugar here; it changes the texture completely.
- ¼ cup granulated sugar — A little white sugar helps with spreading and gives the edges that nice crispness.
- 2 large eggs, room temperature — Room temperature eggs incorporate more easily into the butter mixture, creating a smoother dough. If you forget to take them out ahead of time, place them in a bowl of warm water for 5 minutes.
- 2 teaspoons vanilla extract — Use pure vanilla extract if you can. It makes a difference in the overall flavor profile.
- 2 ¼ cups all-purpose flour — Spoon and level your flour for the most accurate measurement. Scooping directly from the bag can pack in too much flour and make your cookies dry.
- 1 teaspoon baking soda — This helps the cookies spread just the right amount and gives them that chewy texture.
- ½ teaspoon salt — I use fine sea salt. It balances the sweetness and enhances the brown butter flavor.
- 2 cups semi-sweet chocolate chips — Feel free to use dark chocolate chips or even chopped chocolate bars for a more rustic look. I’ve used Ghirardelli and Nestle Toll House both with great results.
- Flaky sea salt for sprinkling (optional but highly recommended) — A tiny pinch on top of each cookie right out of the oven takes these from delicious to absolutely unforgettable.
Ingredient Selection Tips:
For the best results, use fresh baking soda. Test it by dropping a small amount into vinegar—if it fizzes vigorously, it’s still active. Also, make sure your butter isn’t too cold when you start browning it. Let it sit at room temperature for about 10 minutes so it melts evenly.
Substitution Guidance:
If you’re out of brown sugar, you can make your own by mixing 1 cup of granulated sugar with 2 tablespoons of molasses. For a dairy-free option, use a high-quality vegan butter stick, though the browning process may vary slightly. And if you want a gluten-free version, a 1:1 gluten-free flour blend works well here—just add an extra tablespoon of flour to account for the lack of gluten structure.
Equipment Needed
You don’t need a lot of fancy equipment to make these cookies, which is part of why I love this recipe so much. But a few key tools make the process smoother.
- Light-colored saucepan or skillet — This is crucial for browning the butter. A light-colored pan lets you see the color change clearly so you don’t burn it. I use a stainless steel saucepan.
- Large mixing bowl — Any large bowl will do. I’ve used everything from a fancy ceramic bowl to a basic plastic one.
- Whisk — For combining the wet ingredients. A wooden spoon works too, but a whisk gets everything smoother faster.
- Rubber spatula — For folding in the chocolate chips and scraping every last bit of dough from the bowl.
- Baking sheets — I recommend using light-colored baking sheets. Dark sheets can cause the bottoms of the cookies to brown too quickly.
- Parchment paper or silicone baking mat — This prevents sticking and makes cleanup a breeze. Plus, it helps the cookies bake more evenly.
- Cookie scoop (about 1.5 tablespoons) — This gives you evenly sized cookies that bake at the same rate. If you don’t have one, use two spoons to portion the dough.
- Wire cooling rack — Essential for letting the cookies cool properly so they set up with that perfect chewy texture.
Honestly, I’ve made these cookies in a tiny apartment kitchen with a hand-me-down baking sheet and a fork. The equipment doesn’t have to be fancy. But a good cookie scoop? That’s a game changer. It’s worth the few dollars if you bake cookies often.
Preparation Method
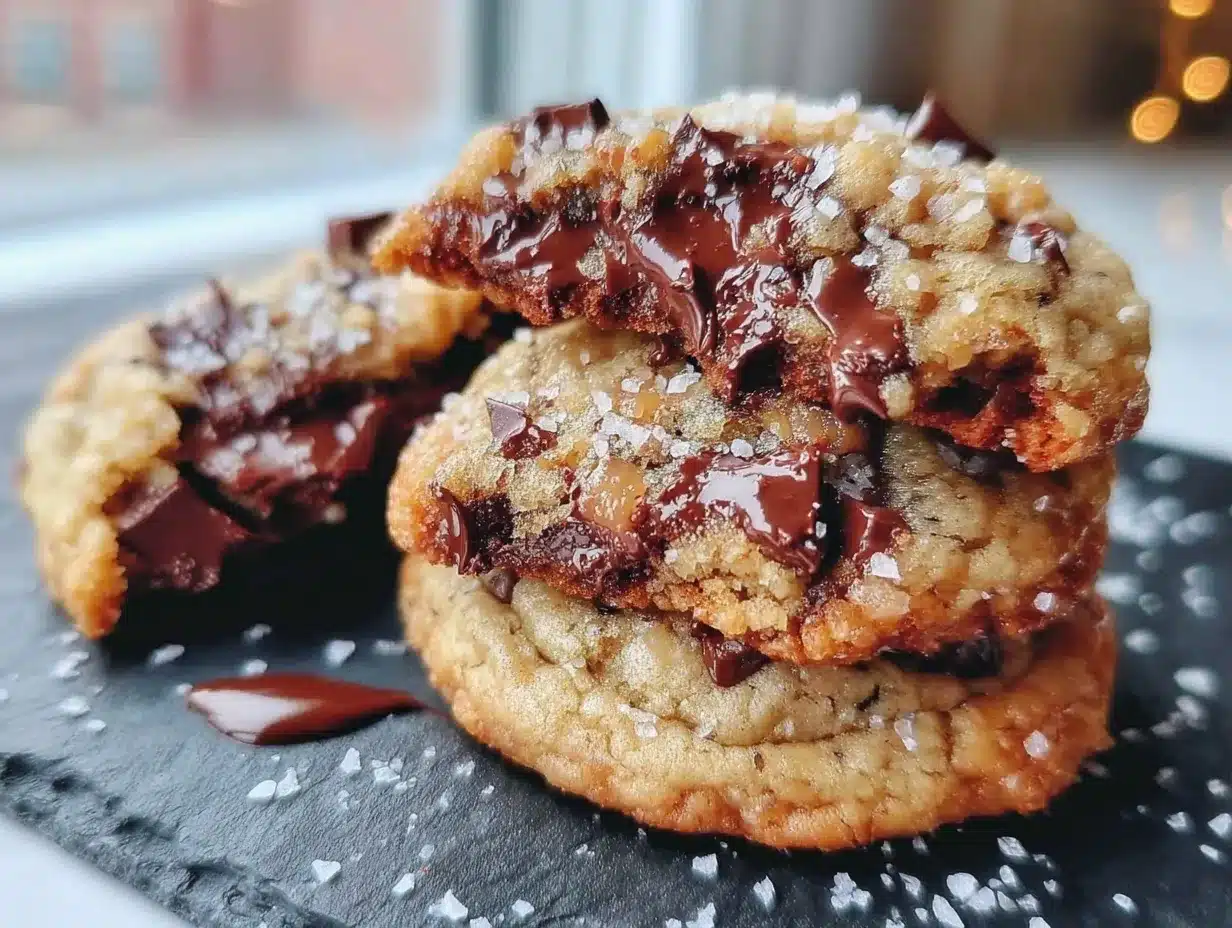
Alright, let’s get to the good part. Follow these steps carefully, and you’ll have the most incredible chewy brown butter chocolate chip cookies you’ve ever tasted.
-
Brown the butter. Place the 1 cup of unsalted butter in a light-colored saucepan over medium heat. Stir occasionally as it melts. The butter will foam and bubble, then start to turn golden. Watch it closely—once you see brown specks forming at the bottom and it smells nutty, remove it from the heat immediately. This usually takes about 5-7 minutes. Pour the browned butter into a heatproof bowl and let it cool for 10 minutes. Don’t skip this cooling step, or you’ll end up with scrambled eggs when you add them later.
-
Mix the wet ingredients. In a large mixing bowl, combine the cooled brown butter with 1 ¼ cups packed light brown sugar and ¼ cup granulated sugar. Whisk vigorously for about 2 minutes until the mixture looks smooth and slightly thickened. Add the 2 room temperature eggs, one at a time, whisking well after each addition. Then stir in the 2 teaspoons of vanilla extract. The mixture should look glossy and smell amazing.
-
Combine the dry ingredients. In a separate bowl, whisk together 2 ¼ cups all-purpose flour, 1 teaspoon baking soda, and ½ teaspoon salt. Make sure there are no lumps. This step ensures the baking soda is evenly distributed so your cookies rise uniformly.
-
Bring it all together. Gradually add the dry ingredients to the wet mixture, stirring with a rubber spatula until just combined. Be careful not to overmix—stop as soon as you no longer see streaks of flour. Overmixing develops too much gluten and can make your cookies tough instead of chewy.
-
Fold in the chocolate chips. Add 2 cups of semi-sweet chocolate chips to the dough. Fold them in gently with your spatula until they’re evenly distributed. The dough will be thick and slightly sticky—that’s exactly what you want.
-
Chill the dough. Cover the bowl with plastic wrap and refrigerate for at least 30 minutes. This step is non-negotiable for chewy cookies. Chilling solidifies the fat, which prevents the cookies from spreading too much in the oven. You can chill it for up to 72 hours if you want to prep ahead.
-
Preheat the oven. While the dough chills, preheat your oven to 375°F (190°C). Line two baking sheets with parchment paper or silicone mats.
-
Scoop and bake. Use a cookie scoop to portion the dough into balls about 1.5 tablespoons each. Place them 2 inches apart on the prepared baking sheets. Bake one sheet at a time for 10-12 minutes, or until the edges are golden brown and the centers still look slightly soft and puffy. They will continue to set as they cool.
-
Finish with flaky salt. As soon as the cookies come out of the oven, sprinkle a tiny pinch of flaky sea salt on top of each one. This step is optional, but trust me, it’s worth it. The salt balances the sweetness and makes the brown butter flavor pop.
-
Cool and enjoy. Let the cookies cool on the baking sheet for 5 minutes before transferring them to a wire cooling rack. This resting time allows them to set up properly. Then try to resist eating them all in one sitting—good luck with that!
Cooking Tips & Techniques
I’ve made these cookies more times than I can count, and I’ve definitely learned a few things the hard way. Here are my best tips for getting perfect results every time.
Watch the butter like a hawk. Browning butter happens fast. One minute it’s golden, the next it’s burnt. I’ve ruined more than a few batches by looking away for just a few seconds. Once you see those brown specks form and smell that nutty aroma, pull it off the heat immediately. Pour it into a bowl to stop the cooking process.
Don’t skip the chilling step. I know, waiting is hard. But if you bake the dough right away, the cookies will spread into flat, greasy puddles. Chilling for at least 30 minutes solidifies the brown butter and allows the flavors to meld. The result is a thicker, chewier cookie with a more complex taste. I once made the mistake of skipping this step when I was in a rush, and honestly, they were still good—but nowhere near as good as the chilled version.
Use a cookie scoop for even baking. When all your cookies are the same size, they bake at the same rate. No more burnt edges on some and raw centers on others. Plus, it makes the whole process faster and less messy.
Rotate your baking sheet halfway through. Ovens have hot spots, and rotating the sheet ensures even browning. I usually rotate mine at the 6-minute mark. It takes two seconds and makes a noticeable difference.
Let them cool on the sheet. I know it’s tempting to move them to a rack immediately, but those 5 minutes on the hot baking sheet are crucial for the centers to finish setting up. If you move them too soon, they might fall apart or end up too soft.
Variations & Adaptations
One of the best things about this recipe is how easy it is to customize. I’ve tried several variations, and they’ve all been delicious in their own way.
Dark Chocolate & Sea Salt. Swap the semi-sweet chips for dark chocolate chips or chopped dark chocolate bars. The bitterness of the dark chocolate pairs beautifully with the nutty brown butter and the flaky salt on top. This is my personal favorite variation.
Add Some Nuts. Fold in 1 cup of toasted walnuts or pecans along with the chocolate chips. Toast them first in a dry skillet for 3-4 minutes to bring out their flavor. The crunch adds a lovely texture contrast to the chewy cookie.
Gluten-Free Version. Use a 1:1 gluten-free flour blend in place of the all-purpose flour. I’ve had good results with both Bob’s Red Mill and King Arthur brands. Add an extra tablespoon of flour to the recipe, as gluten-free flours tend to absorb less liquid. The texture will be slightly more tender, but still deliciously chewy.
Double Chocolate Chip. Replace ¼ cup of the all-purpose flour with ¼ cup of unsweetened cocoa powder. The chocolate flavor becomes intense and fudgy, almost like a brownie in cookie form. Add an extra tablespoon of brown sugar to balance the bitterness of the cocoa.
M&M’s Version. Perfect for holidays or birthdays. Substitute half the chocolate chips with your favorite M&M’s. The candy shells add a pop of color and a satisfying crunch. I made these for a Fourth of July party with red, white, and blue M&M’s, and they were a huge hit.
Serving & Storage Suggestions
These cookies are best enjoyed warm, when the chocolate is still a little melty and the edges are perfectly crisp. But they’re pretty amazing at room temperature too, honestly.
Serving Temperature: If you’re serving them to guests, let them cool completely on a wire rack. They’ll firm up to that perfect chewy texture. For an extra special treat, warm a cookie in the microwave for 10 seconds before serving—it takes them right back to fresh-from-the-oven status.
What to Serve With Them: A cold glass of milk is the classic pairing, and for good reason. But these cookies also go beautifully with a cup of coffee or a scoop of vanilla ice cream. I’ve even crumbled them over a bowl of vanilla yogurt for a quick dessert.
Storage Instructions: Store the cookies in an airtight container at room temperature for up to 5 days. Place a slice of bread in the container to keep them soft—the cookies will absorb the moisture from the bread. Change the bread slice every other day if you’re storing them for longer.
Freezing Instructions: You can freeze the baked cookies for up to 3 months. Layer them between sheets of parchment paper in a freezer-safe container. Thaw at room temperature for about 30 minutes before serving. Alternatively, freeze the unbaked dough balls on a baking sheet, then transfer them to a freezer bag. Bake straight from frozen, adding 2-3 minutes to the baking time.
Flavor Development: Here’s a little secret—these cookies actually taste even better the next day. The flavors meld together overnight, and the brown butter flavor becomes more pronounced. So don’t be afraid to make them a day ahead. They’ll still be incredible.
Nutritional Information & Benefits
Let’s be real—these are cookies, not health food. But there are a few redeeming qualities worth mentioning.
Estimated Nutritional Values (per cookie, based on 24 cookies):
| Nutrient | Amount |
|---|---|
| Calories | 210 |
| Total Fat | 11g |
| Saturated Fat | 7g |
| Cholesterol | 35mg |
| Sodium | 120mg |
| Total Carbohydrates | 28g |
| Dietary Fiber | 1g |
| Sugars | 18g |
| Protein | 3g |
Health Benefits of Key Ingredients: Dark chocolate is rich in antioxidants and can help improve heart health when consumed in moderation. Brown butter, while still high in fat, offers a more complex flavor that allows you to feel satisfied with just one or two cookies instead of half the batch. And hey, there’s a little protein from the eggs and flour.
Dietary Considerations: This recipe contains wheat, dairy, and eggs. For a gluten-free version, see the variations section above. For a dairy-free version, use a high-quality vegan butter stick—though the browning process may not work exactly the same way.
My personal take? These cookies are a treat. They’re meant to be enjoyed in moderation, as part of a balanced diet. But they’re made with real ingredients, and there’s something to be said for that. No artificial flavors, no preservatives—just butter, sugar, flour, and chocolate. Sometimes that’s exactly what you need.
Conclusion
These chewy brown butter chocolate chip cookies have become a staple in my kitchen, and I have a feeling they’ll become one in yours too. They’re everything a chocolate chip cookie should be—crispy on the edges, soft and chewy in the center, and packed with that incredible nutty flavor that only brown butter can deliver.
What I love most about this recipe is how adaptable it is. Whether you’re making them for a holiday party, a bake sale, or just because it’s Tuesday and you deserve a treat, they always deliver. And the best part? They come together with simple ingredients and a little bit of patience. No complicated techniques, no hard-to-find items—just good, honest baking.
I’d love to hear how these turn out for you. Did you try any of the variations? Did you add your own twist? Drop a comment below and let me know. And if you loved them as much as I do, share this recipe with a friend who needs a little sweetness in their life. Happy baking!
Frequently Asked Questions
Can I use salted butter instead of unsalted?
You can, but reduce the added salt in the recipe to ¼ teaspoon. Salted butter contains varying amounts of salt, so the results may not be as consistent. I recommend unsalted butter for better control over the final flavor.
Why did my cookies turn out flat?
Flat cookies usually happen for one of three reasons: the butter was too warm when you mixed the dough, you skipped the chilling step, or your baking soda is expired. Make sure to chill the dough for at least 30 minutes and check that your baking soda is fresh.
Can I make the dough ahead of time?
Absolutely! The dough can be refrigerated for up to 72 hours before baking. In fact, letting it rest longer can improve the flavor as the ingredients meld together. Just make sure to wrap it tightly in plastic wrap to prevent it from drying out.
How do I get perfectly round cookies?
As soon as the cookies come out of the oven, place a round cookie cutter or a glass slightly larger than the cookie over each one and gently swirl it in a circular motion. This pushes the edges inward and creates a perfectly round shape. Do this while the cookies are still warm.
Can I use white chocolate chips instead of semi-sweet?
Yes, but keep in mind that white chocolate is much sweeter. You may want to reduce the brown sugar by 2 tablespoons to balance the sweetness. The texture will still be chewy and delicious.
Pin This Recipe!
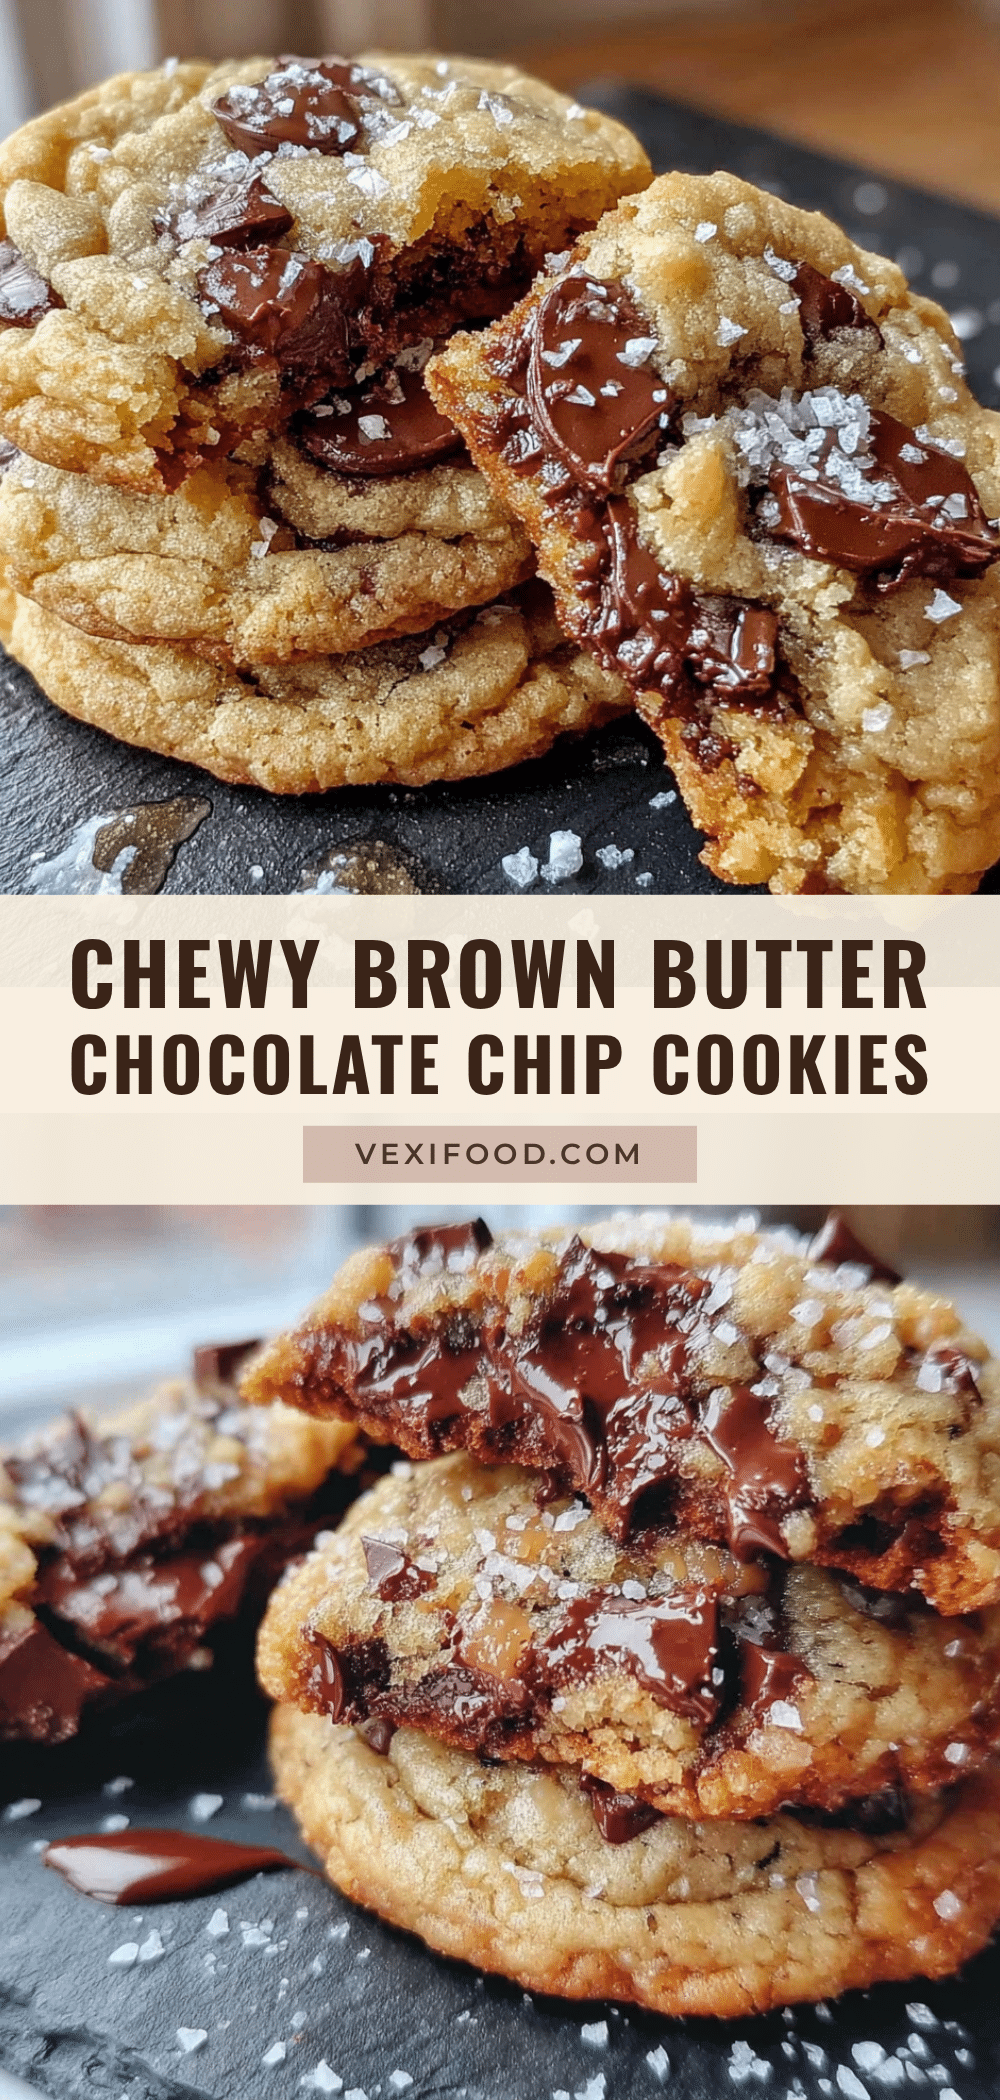
The Best Chewy Brown Butter Chocolate Chip Cookies Recipe

These chewy brown butter chocolate chip cookies have perfectly crisp edges, soft and chewy centers, and a deep, nutty flavor from browned butter. Made with simple ingredients, they’re the ultimate crowd-pleaser.
- Prep Time: 15 minutes
- Cook Time: 12 minutes
- Total Time: 57 minutes
- Yield: 24 servings 1x
- Category: Dessert
- Cuisine: American
Ingredients
- 1 cup (2 sticks) unsalted butter
- 1 ¼ cups packed light brown sugar
- ¼ cup granulated sugar
- 2 large eggs, room temperature
- 2 teaspoons vanilla extract
- 2 ¼ cups all-purpose flour
- 1 teaspoon baking soda
- ½ teaspoon salt
- 2 cups semi-sweet chocolate chips
- Flaky sea salt for sprinkling (optional but highly recommended)
Instructions
- Brown the butter. Place the 1 cup of unsalted butter in a light-colored saucepan over medium heat. Stir occasionally as it melts. The butter will foam and bubble, then start to turn golden. Watch it closely—once you see brown specks forming at the bottom and it smells nutty, remove it from the heat immediately. This usually takes about 5-7 minutes. Pour the browned butter into a heatproof bowl and let it cool for 10 minutes.
- Mix the wet ingredients. In a large mixing bowl, combine the cooled brown butter with 1 ¼ cups packed light brown sugar and ¼ cup granulated sugar. Whisk vigorously for about 2 minutes until the mixture looks smooth and slightly thickened. Add the 2 room temperature eggs, one at a time, whisking well after each addition. Then stir in the 2 teaspoons of vanilla extract.
- Combine the dry ingredients. In a separate bowl, whisk together 2 ¼ cups all-purpose flour, 1 teaspoon baking soda, and ½ teaspoon salt.
- Bring it all together. Gradually add the dry ingredients to the wet mixture, stirring with a rubber spatula until just combined. Be careful not to overmix.
- Fold in the chocolate chips. Add 2 cups of semi-sweet chocolate chips to the dough. Fold them in gently with your spatula until they’re evenly distributed.
- Chill the dough. Cover the bowl with plastic wrap and refrigerate for at least 30 minutes.
- Preheat the oven. While the dough chills, preheat your oven to 375°F (190°C). Line two baking sheets with parchment paper or silicone mats.
- Scoop and bake. Use a cookie scoop to portion the dough into balls about 1.5 tablespoons each. Place them 2 inches apart on the prepared baking sheets. Bake one sheet at a time for 10-12 minutes, or until the edges are golden brown and the centers still look slightly soft and puffy.
- Finish with flaky salt. As soon as the cookies come out of the oven, sprinkle a tiny pinch of flaky sea salt on top of each one.
- Cool and enjoy. Let the cookies cool on the baking sheet for 5 minutes before transferring them to a wire cooling rack.
Notes
Watch the butter closely when browning to avoid burning. Chilling the dough for at least 30 minutes is essential for chewy cookies. For perfectly round cookies, use a round cookie cutter or glass to gently swirl the warm cookies. These cookies taste even better the next day as flavors meld.
Nutrition
- Serving Size: 1 cookie
- Calories: 210
- Sugar: 18
- Sodium: 120
- Fat: 11
- Saturated Fat: 7
- Carbohydrates: 28
- Fiber: 1
- Protein: 3
Keywords: brown butter chocolate chip cookies, chewy cookies, chocolate chip cookies, easy cookie recipe, homemade cookies